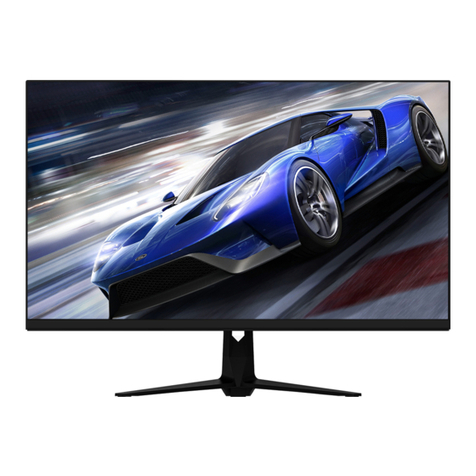
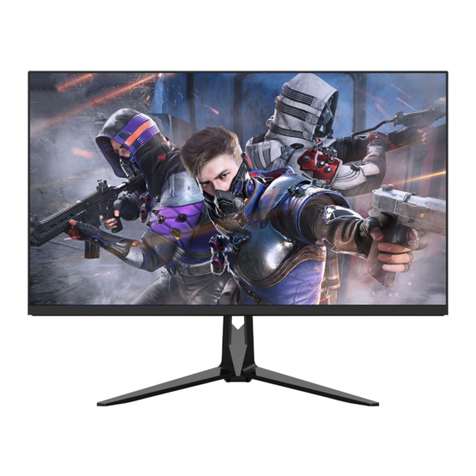
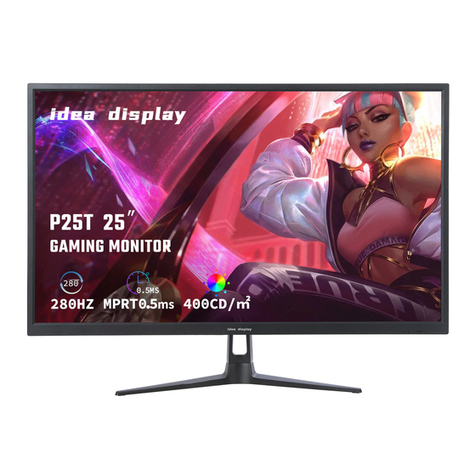
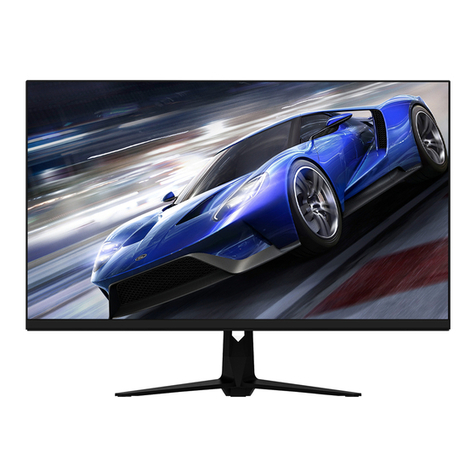
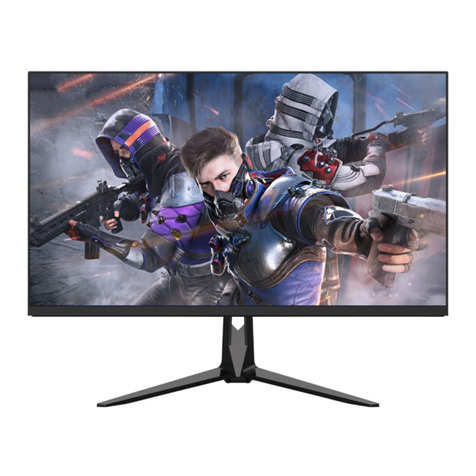
Perfect Display PG27F User manual

PG27F
Instruction Manual
Please read this manual thoroughiy before use,and keep it handy for future reference

GENERAL INFORMATION
Dear Customer,
Thank you for having purchased this product. This document describes how to install and use the
LCD colour monitor. Read this manual which contains information for correct, safe use carefully.
Keep this manual at hand so that you can refer to it when needed.
PRODUCT DESCRIPTION AND TYPE OF USE
The LCD color monitor presents a very rugged structure. It is designed for continuous operation and
can be used in closed circuit TV systems without risks of excessive fatigue. The Flat Panel Display has
an active matrix, thin-film transistor (TFT), liquid crystal display (LCD).
GENERAL FEATURES
Display area
Wall mounting with not included bracket
One composite USB-B to upgrade,oneDP,two HDMI
Wide inclination to allow viewing either from a seated position or standing up and when moving
from one position to the other
Multilingual OSD menu for easy setting and optimization of the display

OPENING THE BOX
Check that the packing and the contents are not visibly damaged. Contact the retailer immediately if
parts are either missing or damaged. Do not attempt to use the device in this case. Send the product
back in its original packing if it is damaged.
CONTENTS OF THE BOX
LCD monitor
Power Adaptor
Power cable
Single cable
Audio cable(Optional)
User's manual
Important Note: Accessories may be changed without prior notice.

WARNINGS
POWER
Only use the power unit provided to power the device. Check mains rating before plugging the
power unit in.
Do not pull the cable to unplug the device.
SAFETY PRECAUTIONS
Keep the device away from rain and humidity to prevent risk of fire and electrocution. Do not
introduce material (solid or liquid) inside. If this should accidentally occur, disconnect the device
from the mains and have it inspected by qualified personnel.
Never open the device. In all cases, contact the qualified personnel or authorized service center
for repairs.
Keep the device away from children, to prevent accidental damage.
Do not touch the device with wet hands to prevent electrical shock or mechanical damage.
Do not use the device if it should fall or the external casing is damaged. Risk of electrocution if
the device is used in such conditions. Contact the retailer or authorized installer.
It is advisable to disconnect the power wire if the monitor is not used for a certain time.
e

INSTALLATION PRECAUTIONS
To prevent overheating the device, arrange it in a position allowing the flow of air through the
slots in the casing. Ensure at least 5 cm of free space when installing inside a rack. For the same
reason, do not install sources of heat, such as radiators or hot air ducts. Keep away from direct
sunlight. Do not install in areas subject to excessive dust, mechanical vibrations or shocks.
Do not arrange this device on an unstable surface, such as a tottering or slanted table. The
device could fall causing injury or mechanical failures.
Do not install the device in a place where it could be exposed to humidity or water. Do not direct
a jet of water onto the device: risk of fire, electrocution or mechanical failure.
Stop using the device if water or other material should penetrate inside: risk of fire and
electrocution. Contact the retailer or authorized installer.
Slots and openings in the cabinet are provided for ventilation. These openings must not be
blocked or covered.
Do not place heavy or heat generating objects on top of the device: this could damage the casing
and/or increase internal temperature causing faults.
Do not cover the device with a cloth while it is running to prevent deforming the external casing
and overheating the internal parts: risk of fire, electrocution and mechanical failur .
Keep magnets and magnetized objects away from the device to prevent faults.
Do not use the device in presence of smoke, vapor, humidity, dust or intense vibrations.
Wait for a while before operating a device immediately after transporting it from a cold place to
a warm place and vice versa. Wait on average for three hours: this will allow the device to adapt
to the new ambient (temperature, humidity, etc.).
The monitor is provided with a plastic base and rubber feet. It can be positioned on a horizontal
surface, such as a desk or a table. Make sure that the device is fastened firmly and that it is not
resting on unstable supports or surfaces. Dropping could cause severe injury and damage the
device.
Remember to adjust the brightness and contrast to obtain a perfect image.
The monitor can also be installed on the wall by means of a bracket (not provided).
CLEANING THE DEVICE
Rub delicately with a dry cloth to remove dust and dirt.
Dip the cloth in neutral detergent if dirt cannot be eliminated with a dry cloth alone.
Do not use volatile liquids (such a petrol, alcohol, solvents, etc.) or chemically treated clothes to
clean the device to prevent deformation, deterioration or scratches to the paint finish.
PRIVACY AND COPYRIGHT
The LED monitor is a device for Gaming. Recording of images is subject to the laws in
force in your country. Recording of images protected by copyright is forbidden.
Product users shall be responsible for checking and respecting all local rules and regulations
concerning monitoring and recording video signals. The manufacturing SHALL NOT BE LIABLE for use
of this product not in compliance with the laws in force.

Accessories
Monitor User Manual
DP CableStand Stem Stand Base Power Adapter
AC
Setup Guide

Monitor Inputs
54321
HDMI1 HDMI2DP1 AUDIO OUT AC100-220V
Technical Drawing

Controls&Setting
The mon
than specified or damage will occur to the internal components.
NOTE: As the monitor is considered heavy, please consult with a professional wall mount installer to perform
GETTING STARTED
MONITOR CONTROLS
Press the power button to turn on, and press the pop-up menu
Change the value on selected menu/Switch a menu on OSD
1.
POWER
2.UP/DOWN/LEFT/RIGHT

Shortcut Key Guide
Activate the Signal Input Selection menu.Use ◄and ►to navigate and M to select the source.
Activeatethe Line of Sight feature. Further press to cycle between the colors or turn off.
Activeate the ECO Mode feature.Further press to cycle through the presets.
INITIAL SETUP
Connect the monitor to a power outlet.
1. Press the POW ER button on the monitor or to turn it on (The indicator will be blue).
2. Connect the relevant cable to the corresponding input on the monitor. The source will be
automatically detected.
3. To change between inputs, press the “Source” button to enter the source menu. Use the
“◄”and“►” buttons to choose the input source between Auto Select,DP, HDM I1 and HDM I 2.
MENU OPTIONS
The menu for the monitor can be accessed by pressing the menu button on the control panel. This menu is
separated into the following sub menus: Picture Settings, Image Settings, Colour Temperature, OSD Settings,
Reset, and M iscellaneous options, details of each menu can be found in the following section.
DP 1
HDMI 1
HDMI 2

OSD Menu
1920x1080@144Hz
Settings
Settings
DP 1
HDMI1
1920x1080@144Hz
HDMI1
HDMI1
HDMI2
Switch the signal input to DP,HDMI1,HDMI2,or have the monitor
Auto Select the source.
A. Input Source

B.Brightness/Contrast
Settings
Settings
HDMI1 1920x1080@144Hz
1920x1080@144Hz
HDMI1
Brightness: Change the display brightness value from 0 to 100.
Contrast: Adjust the display contrast value from 0 to 100.
DCR: Turn the Dynamic Contrast Ratio feature On or Off.

C.Color Settings
Settings
Settings
2.2
Standa rd
Warm
50
50
Low Blue Light 0
1920x1080@144Hz
HDMI1
HDMI1 1920×1080@144Hz
Low Blue Light: Change the display Saturation value from 0 to 100
Color Tempperature:Change the color temperature to:Normal,
Warm,Cool,User
ECO Mode:Change the pliture mode to:Standad,Photo,FPS,Movie,RTSU
Gamma:Change the display Gamma value to:2.0,2.2,2.4.
Saturation : Change the display Saturation value from 0 to 100
Hue : Change the display Hue valom from 0 to 10

D.Picture Quality Settings
Settings
Settings
Settings
50
1920x1080@144Hz
HDMI1
HDMI1 1920x1080@144Hz
Sharpness: Change the display Sharpness value from 0 to 100.
Response Time: Turn the Response Time feature On or Off.
Noise Reduction: Select the Noise Reduction Value from,Low,Middle,
High or turn it Off.
Super Resolution: Turn the Dynamic Luminance Control feature On or Off.
Dynamic Luminance Control: Turn the Dynamic Luminance Control feature
On or Off.

Settings
Settings
Wide
E.Display
HDMI1 1920x1080@144Hz
1920x1080@144Hz
HDMI1
Aspect Ratio: Change the image aspect ratio to Full Screen,
Auto,4:3,5:4, 1:1 or Wide Screen.

Settings
Settings
F.Audio
HDMI1
50
1920x1080@144Hz
1920x1080@144Hz
HDMI1
Mute:Turm On or Off to mute the audio source.
Volume: Change the audio source volume from 0 to 100.

Settings
Settings
HDMI1 1920x1080@144Hz
1920x1080@144Hz
HDMI1
Language: Change the OSD Menu display language.
Menu Transparency: Change the transparency value of the OSD Menu
from 0 to 100.
OSD H Position: Change the horizontal position of the OSD Menu.
OSD V Position: Change the vertical position of the OSD Menu.
OSD Timer: Change how long the OSD Menu is on before it automatically exits.
OSD Rotation: Rotate the OSD Menu.
H.OSD

Settings
Settings
Settings
FreeSync (Adaptive Sync) Off
Off
Off
HDR
MPRT
Firmware Update
Reset
I.Other
HDMI1 1920x1080@144Hz
1920x1080@144Hz
HDMI1
FreeSync Mode: Turn FreeSync On or Off.
HDR: Turn HDR On (requires HDMI 2.0 input).
MPRT: On or Off.
Firmware Update: On or Off.
Reset: On or Off.

Technical Specificaions
G27F
1920x1080
144Hz
350cd/m²
4ms
16:9
178°(H)/178°(V)
95%DCI-P3
x2
x1
3W x 2
Black
100x100mm
Typical 40W
AC100-220V
0~50℃
No
Eng/Fr/Spanish/Ger/Korean/Japan/Chinese
x1
Panel
In/Out
ETC
Resolution
Model
Refresh
Brightness (MAX)
Response Time (Typical)
Aspect Ratio
Viewing Angle
Display Color
HDMI In
DP In
Audio
Speaker
Color
VESA Mount
Power Consumption
Power Source
Operating Temperature
Remote Control
OSD
This manual suits for next models
1
Table of contents
Other Perfect Display Monitor manuals

Perfect Display
Perfect Display PG27DFI-165HZ User manual

Perfect Display
Perfect Display PG27DQI-100HZ User manual

Perfect Display
Perfect Display P25F User manual

Perfect Display
Perfect Display PG27DQI User manual

Perfect Display
Perfect Display P25T User manual

Perfect Display
Perfect Display G27P User manual

Perfect Display
Perfect Display PG27DQI-165HZ User manual

Perfect Display
Perfect Display G27S User manual

Perfect Display
Perfect Display G27Q User manual

Perfect Display
Perfect Display PG27S User manual