Phares Electric ZS12 User manual

User Manual
Model ZS12
Zero Speed Switch
Phares Electric
P.O. Box 67251
St. Petersburg, Florida 33736
Telephone: 727-351-2505
Online: PharesSensors.com


Table of Contents
Overview ....................................................................................... 1
Detail .......................................................................................... 1-2
Setup ......................................................................................... 3-6
Disclaimer ..................................................................................... 7
Warranty........................................................................................ 7
Specifications ................................................................................ 8
Troubleshooting ....................................................................... 9-10
Contact Information..................................................................... 11
The User Manual must be referred to for correct
installation. Failure to comply with the User Manual
shall void all warranties and liabilities.

1
ZS12 Zero Speed Switch – User Manual
Overview
The Phares Electric Model ZS12 Zero Speed Switch is self-contained and
includes sensor, control circuitry and switching relay. No additional control
boxes are needed.
Use the ZS12 for over speed, under speed, and zero speed applications.
The ZS12 is particularly useful in applications where environmental conditions
prohibit the use of certain electronics. It is housed in a cast aluminum
enclosure with a gasketed cover. The ZS12 is suitable for outdoor use, wash-
down areas, and dirty environments. The aluminum enclosure features a ½”
NPT threaded opening for conduits fittings, providing a clean installation.
It has a replaceable sensor, which is included with the unit. The sensor has ½”
NPT threads which conveniently mount to the ZS12 Zero Speed Switch. The
sensor can be extended from the ZS12 if mounting space is limited. Use ½”
conduit between the sensor and ZS12 Zero Speed Switch for a clean
installation.
Detail
The Phares Electric Model ZS12 Zero Speed Switch System consists of the ZS12
Zero Speed Switch Module and Sensor Target. No additional control boxes
needed.
The Sensor Target can be a magnet, bolt head, key stock, gear tooth, etc.
The ZS12 Zero Speed Switch Module uses frequency input to determine the
presence of motion or the lack thereof. When motion is either detected or
reaches set point, the relay energizes and the relay output changes state. It
remains in this state until either under speed or zero speed condition occurs,
depending upon the application.
The ZS12 Zero Speed Switch Module has 3 diagnostic LED's. These LED's
indicate Power, Pulses from Sensor input signal, and Relay status. LED's are
labeled Power, Pulse, and Relay. There is a trim pot which is used for adjusting
the set point.
The ZS12 Zero Speed Switch Module supplies 12 VDC to the Sensor. The Sensor
can be 2 or 3 wire, sourcing (PNP) or sinking (NPN) signal. The ZS12 utilizes
universal sensor input technology. Sensor type is automatically detected and
enabled via the ZS12.

2
ZS12 Zero Speed Switch – User Manual
Detail (continued)
Fixed Setpoint Option
The Relay Setpoint Adjustment can be disabled at the factory prior to assembly
for applications requiring a Fixed Relay Setpoint.
Relay Latch Option
The Relay Latch is a factory preset time delay allowing speed at the point of
measure time to ramp up to relay trip point. It is factory preset per order and
once set, cannot be changed. With the Relay Latch feature enabled, the ZS09P
Zero Speed Switch Sensor relay will energize as soon as the first sensor target
marker is detected and remain energized until speed at point of measure
reaches setpoint. The ZS09P Zero Speed Switch Sensor relay will remain
energized until speed falls below relay trip point or motion ceases. If speed at
point of measure does not ramp up to relay trip point within allotted time, the
relay will de-energize and remain de-energized until speed reaches setpoint.
Once the relay latch delay time has expired, the relay latch is disabled until
power is cycled to the ZS09P Zero Speed Switch Sensor unless a factory preset
Relay Latch auto reset is enabled. The Relay Latch is reset at power up.
Relay Lockout Option
The Relay Lockout is a factory preset feature which locks the relay off once
under speed or zero speed condition occurs. Normal operation is reset once
power to the ZS12 Zero Speed Switch is cycled.

3
ZS12 Zero Speed Switch – User Manual
Setup
1. Mount the Sensor and Sensor Target.
2. Connect wires to the ZS12 Zero Speed Switch Module.
3. When wiring is complete, apply power to the ZS12 Zero Speed Switch
Module. The Power LED should illuminate. Two seconds later, the Pulse LED
should illuminate.
4. Rotate Sensor Target and check the Pulse LED. It should blink each time a
marker on the Sensor Target passes the Sensor indicating motion.
If the Pulse LED does not blink:
a) Check the gap between Sensor and Sensor Target.
b) Make sure the Sensor is properly aligned with the Sensor Target.
c) Make sure the Sensor is wired correctly.
5. When the shaft on which the Sensor Target is mounted rotates at or above
operating speed, the Relay LED will illuminate indicating the Relay has
energized and changed state. The Relay will remain in this state until speed
either drops below set point or motion stops. At either point the Relay de-
energizes returning to its normal state and the Relay LED turns off.
6. If the Relay LED does not illuminate at the desired speed levels, adjust the
trim pot. The trim pot is a 10 turn precision pot which does not have stops.
Turning the trim pot counterclockwise will lower the set point to a slower RPM
setting; turning it clockwise will raise the set point to a faster RPM setting.
WIRING NOTES:
The "G" and "Shd" terminals are not connected to any circuit
nor to each other. These should be wired to Earth Ground if
used for grounding and/or shielding purposes.
WARNING:
For maximum safety, properly Ground the aluminum case.

4
ZS12 Zero Speed Switch – User Manual
Setup (continued)
7. The ZS12 Zero Speed Switch Module has an internal non-replaceable 1/2
amp fuse for circuit protection.
8. A 5 Amp external fuse is recommended to help protect the ZS12 relay
contacts from possible overload. Wire the fuse in-line to the Relay "Com"
terminal.
9. Installing the Hall Effect Sensor for magnetic targets for Part Numbers
ZS12-AM or ZS12-DM.
Table 1. Phares Electric Hall Effect Sensor Wiring
Wire Color
Function
Red
+
Black
-
White
Signal

5
ZS12 Zero Speed Switch – User Manual
Setup (continued)
10. Installing the Geartooth Sensor for ferrous targets for Part Numbers
ZS12-AF or ZS12-DF.

6
ZS12 Zero Speed Switch – User Manual
Setup (continued)
Figure 4. Indicators and Terminal Block (ZS12-A Shown)

7
ZS12 Zero Speed Switch – User Manual
Disclaimer
The ZS12 Zero Speed Switch Module is not rated UL or otherwise.
Not for use in applications in locations classified as hazardous.
This ZS12 Zero Speed Switch Module is not intended for safety critical
applications. Users of this Phares Electric product in such applications assume
all risks of such use and shall indemnify Phares Electric against all damages,
including attorney’s fees and costs, resulting from such use.
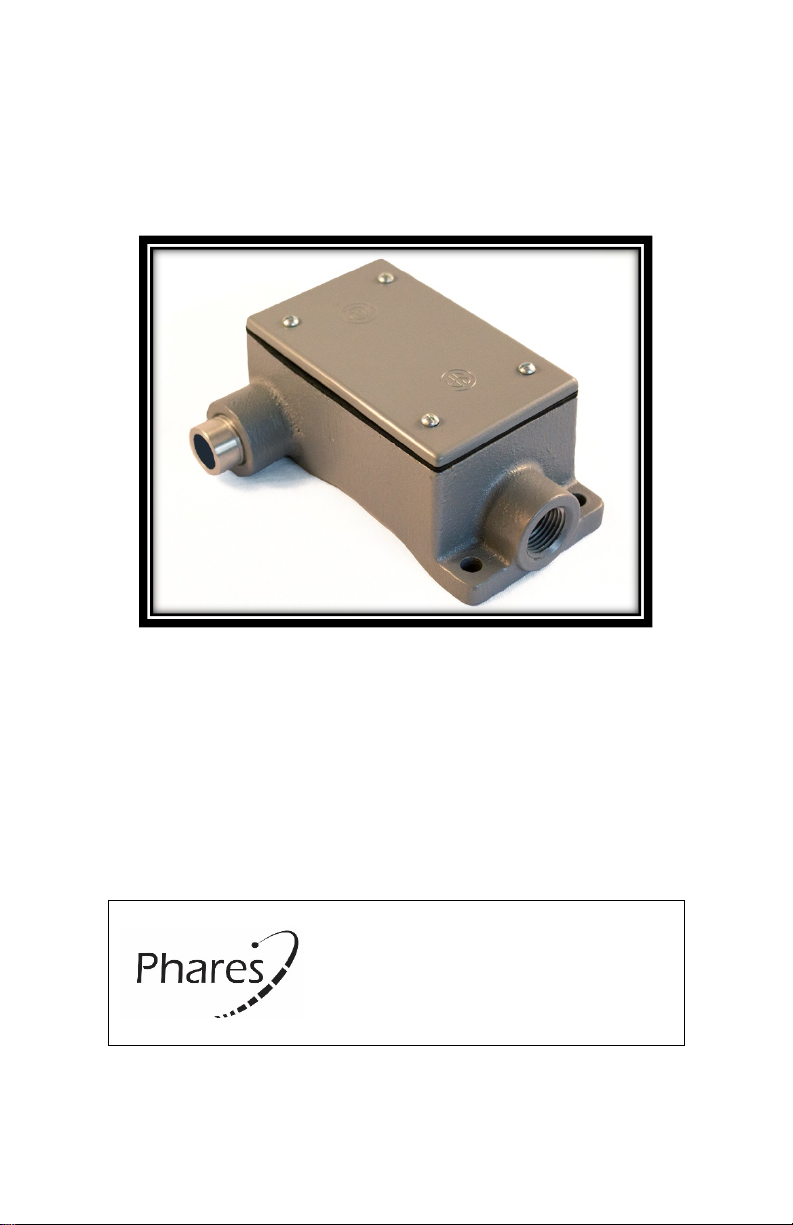
The cast aluminum enclosure cover contains the following warning from the
manufacturer. This refers to the enclosure cover only.
Warranty
All products are thoroughly tested before shipping. If a product is found to be
defective within 30 days from the date of purchase, not the date of installation,
we will repair or replace the unit. The defective unit must be received and
tested at Phares Electric before a replacement is shipped. If a replacement is
needed before the defective unit arrives at Phares Electric, the replacement
will be charged to your credit card, or invoiced to your Net30 Account. A credit
will be issued once the unit is received at Phares Electric and deemed defective
upon inspection and testing. Please call us for return shipping instructions.
The warranty is void if the unit is physically damaged from abuse or misuse, or
if the unit shows evidence of excessive current, heat, moisture, vibration, or
operating conditions outside of design limits or unauthorized modification.
The above constitutes the sole and exclusive warranty provided by Phares
Electric. In no event shall Phares Electric, or its agents, be liable for any
damages, whether direct, indirect, consequential, punitive or otherwise, arising
out of any product or service provided or arranged by Phares Electric.
WARNING:
This product can expose you to chemicals including lead and
lead compounds, which are known to the State of California to
cause cancer and birth defects or other reproductive harm.
For more information go to www.P65Warnings.ca.gov

8
ZS12 Zero Speed Switch – User Manual
Specifications
Power Requirements
(Please see product label for supply voltage)
100-240 VAC, 50/60 Hz (for Part No. ZS12-A)
9-36 VDC, 50/60 Hz (for Part No.ZS12-D)
Current Draw
50 mA
Circuit Protection
Internal ½ amp fuse, non-replaceable
Input Signal
12VDC, 3 wire, sourcing (PNP) or sinking (NPN)
Dimensions (in inches)
3-1/16" Wide x 3-1/4" High* x 2-1/2" Deep
*including DIN Rail Mount and Terminal Block
Relay
Output:
SPDT Form 'C' dry relay contact (N.O/N.C.)
Contact Rating:
5 A at 120 VAC; 5 A at 30 VDC
Maximum switching frequency:
1,800 operations/hr (under rated load)
Life expectancy:
Mechanical 10,000,000 operations min. (at 1,800 operations/hr)
Electrical 100,000 operations min. (at 1,800 operations/hr)
Part Number Chart
ZS12- Y Z
Y – Input Voltage
Z – Target Material
A: 120 VAC
M: Magnetic
D: 6-24 VDC
F: Ferrous (such as geartooth, bolt
head, or keystock)

9
ZS12 Zero Speed Switch – User Manual
Troubleshooting
Line
No.
Description
Causes
1.
Power LED does not light
with power applied.
•Confirm appropriate voltage is
across “L1” and “L2” terminals
•Remove power and wires to
"L1" and "L2" terminals. Check
continuity across "L1" and "L2"
terminals. If there is no
continuity, the internal fuse is
blown and ZS12 Zero Speed
Switch Module needs to be
replaced.
2.
Pulse LED does not blink.
•Confirm that the Sensor is
wired correctly to the ZS12
Zero Speed Switch Module.
•Check the gap between the
Sensor and the Sensor Target.
The Sensor may not be able to
detect the Sensor Target if
there is too large of a gap.
•Check Sensor alignment with
Sensor Target. If out of
alignment, the Sensor might
not be able to detect the
markers on the Sensor Target.
•Check the Sensor "+" and "-"
terminals. There should be 12
VDC across the terminals.
•Sensor may be the wrong type
or defective.

10
ZS12 Zero Speed Switch – User Manual
Troubleshooting (continued)
Line
No.
Description
Causes
3.
Relay LED does not light.
•Confirm that the Pulse LED is
blinking. At high speeds it may
appear to be lit continuously
because it is blinking very fast.
Slow the speed until it can be
determined that the Pulse LED
is actually blinking.
•If Pulse LED is blinking:
Speed is below set point.
Adjust trim pot. Turning the
trim pot counterclockwise will
lower the set point to a slower
RPM setting and turning it
clockwise will raise the set
point to a faster RPM setting.
•If Pulse LED is steady
regardless of speed, then the
sensor may be wired
incorrectly, the wrong type of
sensor or be defective.

11
ZS12 Zero Speed Switch – User Manual
Contact Information
Telephone: (727) 351-2505
Online:PharesSensors.com
Mailing Address:
Phares Electric
P.O. Box 67251
St. Petersburg, FL 33736
USA
Last revised October 2, 2021
© Phares Electric
Table of contents