manuals.online logo
Brands
  1. Home
  2. •
  3. Brands
  4. •
  5. Phase Technologies
  6. •
  7. Amplifier
  8. •
  9. Phase Technologies P350 User manual

Phase Technologies P350 User manual

TE CH NO LO GY
Power Professional
Owners Manual / Installation Instructions
Power FL-8 Power FL-10 Power FL-12
P350 Amplier
P350 FEATURES:
• Variableinputlevelcontrol
• Variablelowpasscrossoverat24dB/octave
• Phasecontrol
• Variablelowfrequencyequalizationforroomplacement
optimization
• SwitchableinputcircuitryforSubwoofer,LFEorFullRange
applications
• Auto-signalsensingforautomaticamplierturn-on
• 12Vautoturn-onforusewithhomeremotecontrolapplications
• Highcurrent/highcapacitypowersupply
• Ruggeddesignthattsinasinglerackspacewiththermostatically
controlledcoolingfan
• Designedtooperateefcientlyinto4ohmspeakerloads
CONTENTS:
PCSERIESFEATURES    1
SAFETYINSTRUCTIONS    2
OPERATINGINSTRUCTIONSANDCONTROLS 3-4
SPECIFICATIONS4

ThankyouforchoosingPhaseTechnology.Weknowthereareawidevarietyofchoicesavailabletoday,andwesincerely
appreciateyourpurchaseofourproduct.PhaseTechnologyproductsarebuilttoexactingstandardsandwillprovidemanyyears
oflisteningenjoyment.
TheP350isthecompanionampliertoPhaseTechnologycustomin-wallsubwoofersystemsbutitsuseisnotlimitedtoonly
subwooferapplications.Italsohastheexibilityofoperationasafullrangehighcurrent,highperformance,mono-blockaudio
poweramplier.
Regardlessofapplication,seriousaudiophilelisteningorhometheater,werecommendthatyoutakethetimetoreadthis
manualthoroughlybeforeconnectingthisampliertospeakersoryourreceiver.Inthehighlyunlikelyeventthatyoushould
experienceaproblemwithsetuporoperation,pleasecontactoneofourauthorizeddealersforassistance,orcontactusdirectly.
WetrustthatyournewPhaseTechnologyamplierwillenrichyourenjoymentofmusicandmoviesbeyondyourexpectations.We
inviteyoutovisitourwebsitewww.phasetech.comtobrowseourfullrangeofproductsforaudiophilelistening,hometheaterand
whole-homeaudioapplications.
R
Phase Technology Corporation www.phasetech.com
MSE Audio 13823 W 108th St. Lenexa, Kansas 66215 (866) 663-9770 www.mseaudio.com
1. Read Instructions - All the safety and operating
instructions should be read before the appliance is
operated.
2. Retain Instructions - The safety and operating
instructions should be retained for future reference.
3. Heed Warnings - All warnings on the appliance and in
the operating instructions should be adhered to.
4. Follow Instructions - All operating and other
instructions should be followed.
5. Water and Moisture - The appliance should not
be used near water - for example, near a bathtub,
washbowl, kitchen sink, laundry tub, in a wet basement,
or near a swimming pool, etc.
6. Carts and Stands - The appliance should be used
only with a cart or stand that is recommended by the
manufacturer.
PORTABLE CART WARNING
7. Wall or Ceiling Mounting - The appliance should be
mounted to a wall or ceiling only as recommended by the
manufacturer.
8. Ventilation - The appliance should be situated so that
its location or position does not interfere with its proper
ventilation. For example, the appliance should not be
situated on a bed, sofa, rug, or similar surface that may
block the ventilation openings; or placed in a built-in
installation, such as a bookcase or cabinet that may
impede the flow of air through the ventilation openings.
9. Heat - The appliance should be situated away from
SAFETY INSTRUCTIONS
heat sources such as radiators, stoves, or other
appliances that produce heat.
10. Power Source - The appliance should be connected
to a power supply only of the type described in the
operating instructions or as marked on the appliance.
11. Power Cord Protection - Power supply cords should
be routed so that they are not likely to be walked on
or pinched by items placed up or against them, paying
particular attention to cords at plugs, convenience
receptacles, and the point where they exit from the
appliance.
12. Cleaning - The appliance should be cleaned only as
recommended by the manufacturer.
13. Nonuse Periods - The power cord of the appliance
should be unplugged from the outlet when left unused
for a long period of time.
14. Object and Liquid Entry - Care should be taken so
that neither objects fall nor liquids spill into the inside of
the appliance.
15. Damage Requiring Service - The application should
be serviced by qualified service personnel when:
a. the power supply cord or the plug has been
damaged,
b. objects have fallen onto or liquid has been spilled
into the appliance,
c. the appliance has been exposed to rain,
d. the appliance does not appear to operate normally or
exhibits a marked change in performance, or
e. the appliance has been dropped or the cabinet
damaged.
16. Servicing - The user should not attempt to service
the appliance beyond those means described in the
operating instructions. All other servicing should be
referred to qualified service personnel.
17. Grounding or Polarization - Precautions should be
taken so that the grounding or polarization means of an
appliance is not defeated.
!
Explanation of Graphical Symbols
The lightning flash with arrowhead symbol, within an
equilateral triangle, is intended to alert you to the
presence of un-insulated “dangerous voltage: within the
product’s enclosure that may be off sufficient magnitude
to constitute a risk of electric shock to persons.
The exclamation point within an equilateral triangle
is intended to alert you to the presence of important
operating and maintenance (servicing) instructions in the
literature accompanying the appliance.
CAUTION: To reduce the risk of electric shock, do not remove cover (or
back). No user-serviceable parts inside. Refer servicing to qualified service
personnel.
CAUTION
RISK OF ELECTRIC
SHOCK !
APPLICABLE FOR USA, CANADA OR WHERE APPROVED FOR
USAGE
CAUTION: TO PREVENT ELECTRIC SHOCK, MATCH WIDE
BLADE PLUG TO WIDE SLOT, INSERT FULLY.
ATTENTION: POUR EVITER LES CHOCS ELECTRIQUES,
INTRODUIRE LA LAME LA PLUS LARGE DE LA FICHE
DANS LA BORNE CORRESPONDANTE DE LA PRESE ET
POUSSER JUSQU AU FOND.
OPERATING INSTRUCTIONS AND CONTROLS
FRONT PANEL
1.Power: The power LED on the front panel indicates the P350 status. A red indicator light means the main
power is on and the P350 is in the standby mode. A green indicator LED means that the P350 is active
and should be reproducing an audio signal. An orange or flashing red to orange LED means that the P350
has a problem or is overheated. Please check to be sure that your speaker is hooked up properly and is not shorted
and there is adequate ventilation around the P350.
2.Bass EQ: The bass equalizer control allows the adjustment of bass equalization around 30Hz to c o m p e n s a t e
for subwoofer placement. The adjustment range is from -3 dB to +6 dB. This control is active in both the Subwoofer
and LFE modes.
3.Sub Filter, In/Out Switch:Themodeselectorswitchselectstheoperatingmodeoftheamplierforeitherafull
rangeaudiomono-blockamplier(OUT)ormonosubwooferamplier(IN).IntheOUTfullrangepositiontheBASSEQ,
CROSSOVER,LFE,PHASEandSoftLimitcircuitsdonotfunction.
4.Crossover/LFE: The Low Pass crossover control is adjustable from 40-120 Hz. This control should be adjusted
to obtain the smoothest transition in sound between the subwoofer and your main speaker system when other
electronic crossovers are not being used such as a home theater receiver or processor. When using the P350
amplifier with a home theater receiver or processor set the switch to the LFE position. This will allow you to properly
crossover the subwoofer with your other speakers using the receiver or processor. Please check the owner’s manual
of your receiver or processor for the proper setting.
5.Level: This control is used for level matching of the subwoofer system to the main loudspeakers. We recommend
that you start with this control in about the 9-10 o’clock position as an initial setting and then adjust as necessary to
match your other speakers. Use the level controls on the main equipment for fine adjustment of the overall speaker
levels.
6.Phase: This switch is for adjusting the P350 amplifier output phase to match that of the main speakers. In the
0° setting the amplifier signal input and output are in phase. In the 180° setting the output signal of the amplifier is
inverted or out of phase with the main speakers. Please experiment with this setting. The correct setting is that which
yields the fullest bass and smoothest blend of the subwoofer with your main speakers. This control is active in both
the Subwoofer and LFE switch setting positions.
REAR PANEL
1.Balanced Input:ThisconnectorisforabalancedaudiolinelevelinputandacceptsstandardXLRtypeconnectors.
2.Unbalanced Input: This connector accepts a standard RCA audio interconnect cables.
3.12 V trigger:TheINconnectoracceptsastandardministylephoneplugandisusedtoremotelyturntheP350
fromstandbytoon.ConnectoneendtotheP350inandtheothertoyourreceiverorprocessortriggerout.TheOUT
connectorontheP350actsasaremotetriggertoturnadditionalequipmentonandoff.
123456
1234 5 8
679
4.Trigger mode:Theselectorswitchallowsyoutochoosethestandbymodeofoperationfortheamplier.TheON
positionmeansthattheP350isconstantlyonandwillnotreverttothestandbymode.Usethismodeifyouareturning
thepoweronandofffromanothersourcesuchasaswitchedoutlet.TheMUSICpositionwillwakeuptheamplier
whenthereisanaudiosignalpresentattheinputconnectors.TheP350willreturntothestandbymodeinabout10
minutesaftertheinputsignalceases.The12Vmodeisforuseinconjunctionwithremote12volttriggerfeatureson
yourmainreceiverorprocessor.
5. OUTPUT: The speaker output connection terminals are 5-way binding posts. They accept banana plugs, pins or
bare wires on your speaker cables. We recommend that you use at least 14-gauge speaker wire for these hookup
connections. The black terminal is the speaker negative (-) connection and the red terminal is the speaker positive
(+) connection. The speaker output of the P350 is compatible with standard 4-8 ohm speakers.
6. Exhaust Vent: This is the exhaust opening for the internal cooling fan. It is very important that this opening and
the ventilation holes on the top and bottom of the P350 are not blocked. Please allow adequate space around the
amplifier for ventilation.
7. INPUT VOLTAGE: The A/C power line voltage selector is used for properly matching the line voltage of your wall
outlet to the P350 amplifier. For the USA and Canada this switch is set to the 110-120V position. For other coun-
tries check with your retailer for the proper setting and line cord requirements.
8. Power ON/OFF: This is the master ON/OFF power control switch for the P350 amplifier.
9. 3-PIN POWER CONNECTOR: The power line cord socket is for the connection of the main power cord from your
wall outlet to the amplifier. In the USA and Canada the amplifier is supplied with a standard IEC polarized power
cord. For other countries you should check with your retailer for the proper line cord requirements.
RACK MOUNTING: The P350 is supplied with rack mounting adapters for the convenience of installing the ampli-
fier in standard 19” equipment racks. The P350 occupies 1 standard rack unit position. The supplied adapters are
easily attached to the left and right side of the P350 chassis with the supplied screws. Depending on the applica-
tion it may be necessary to remove the rubber isolation feet.
SPECIFICATIONS
Description P350 Class-G high current subwoofer/full range mono block amplifier
Amplifier Power 350 Watts RMS >.5% THD @ 4 Ohms, 700 Watts peak
225 Watts RMS >.5% THD @ 8 Ohms, 400 Watts peak
Crossover Frequency Low Pass 40 - 120 Hz adjustable @ 24 dB/octave
LFE Frequency Response 20 - 500 Hz
Full Range Response 10 Hz - 20 kHz +0/-.25 dB, 5-60 kHz +0/-3 dB
Low Frequency EQ -3 dB to +6 dB @ 30 Hz
Input Sensitivity 175 mV for full output unbalanced/ 220 mV balanced
THD >.1% 20-20kHz below rated output power
S/N Better than 80 dB unweighted
Damping Factor <200
Input Impedance 22K unbalanced, 37.5K balanced
Protection Features Soft Clipping (Subwoofer mode), Short Circuit/Overload, Thermostatic variable
speed fan cooling, Thermal overload protection, Transformer thermal protection,
Over current protection
Current consumption 120V 3A @ 8 ohms, 5.5A @ 4 ohms continuous
Dimensions (Overall) 17.25” W x 2.0” H x 13.25” D
Weight 17.8 lbs.
Phase Technology Corporation www.phasetech.com
MSE Audio Group 13823 W 108th St. Lenexa, Kansas 66215 (866) 663-9770 www.mseaudio.com

Other Phase Technologies Amplifier manuals

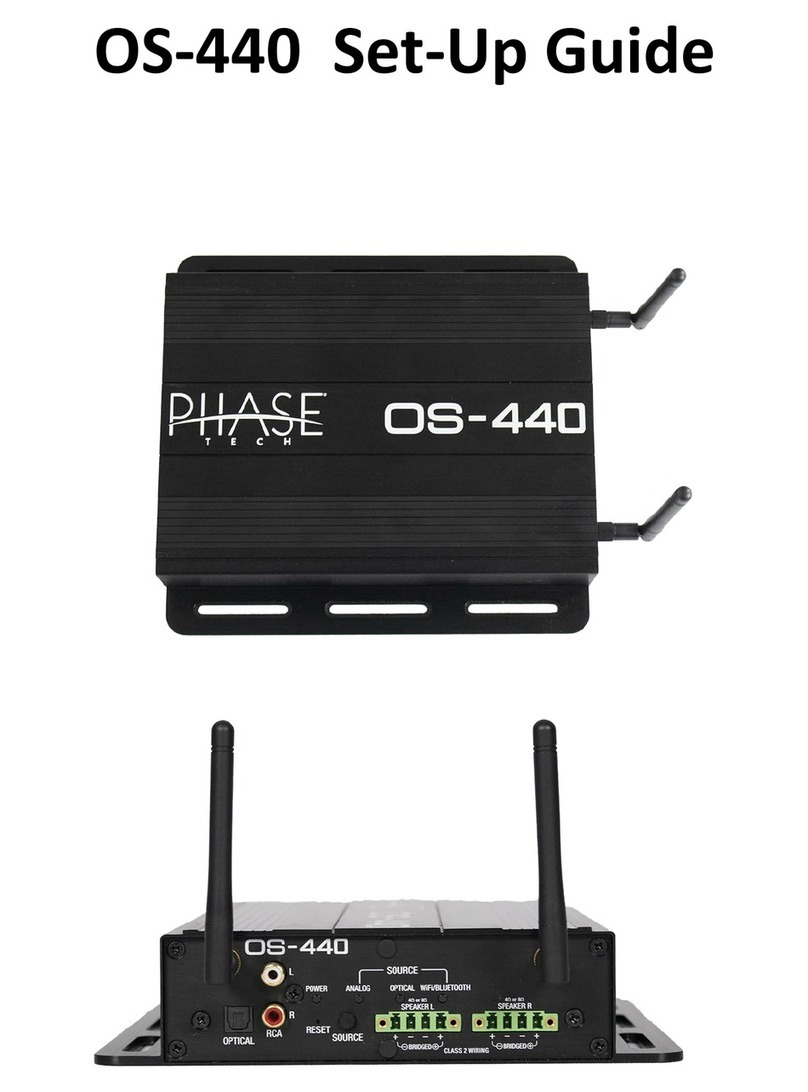
Phase Technologies OS-440 User manual

Phase Technologies

Phase Technologies OS-440 User manual

Phase Technologies P350 User manual

Phase Technologies

Phase Technologies P350 User manual

Phase Technologies OS-440 User manual

Phase Technologies

Phase Technologies OS-440 User manual

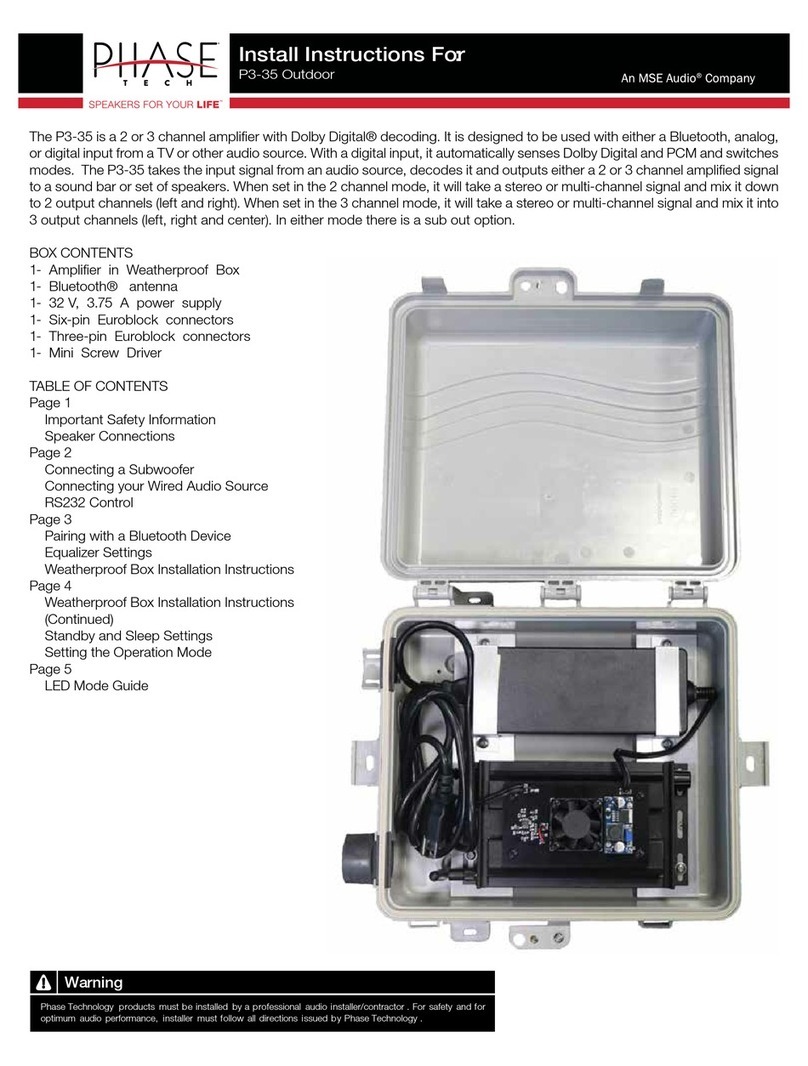
Phase Technologies P3-35 Configuration guide

Phase Technologies

Phase Technologies P3-35 Configuration guide

Phase Technologies P3-35 Configuration guide

Phase Technologies

Phase Technologies P3-35 Configuration guide

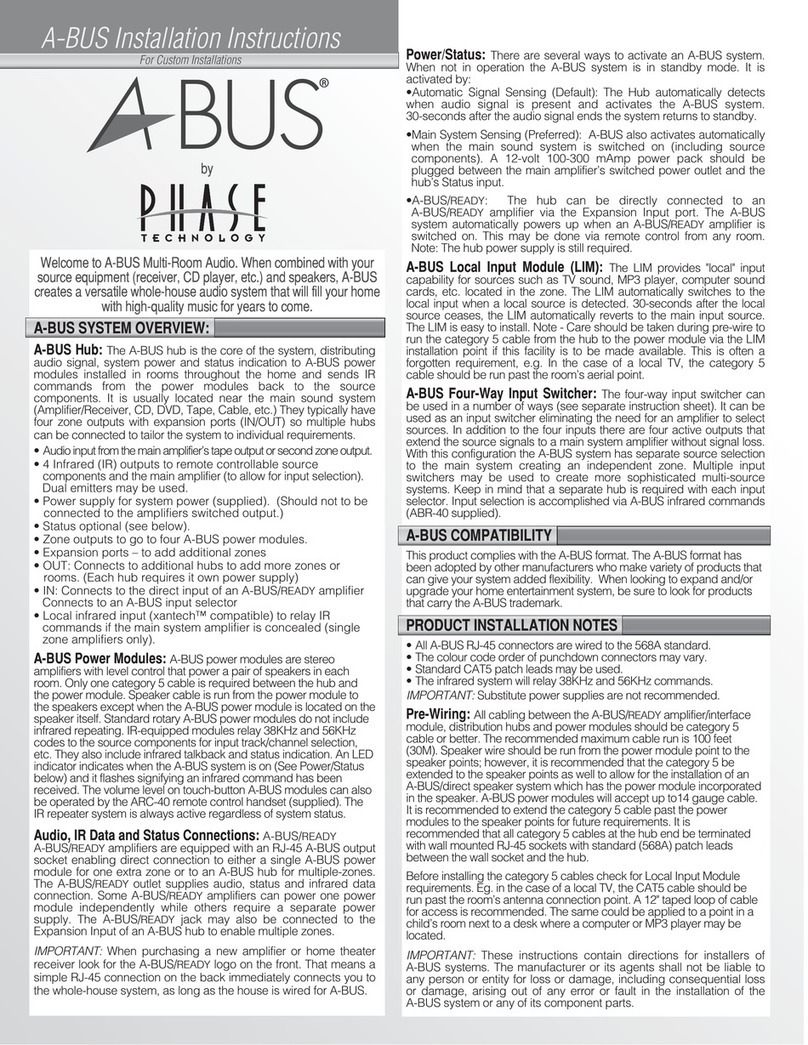
Phase Technologies A-BUS ABR-40 User manual

Phase Technologies

Phase Technologies A-BUS ABR-40 User manual

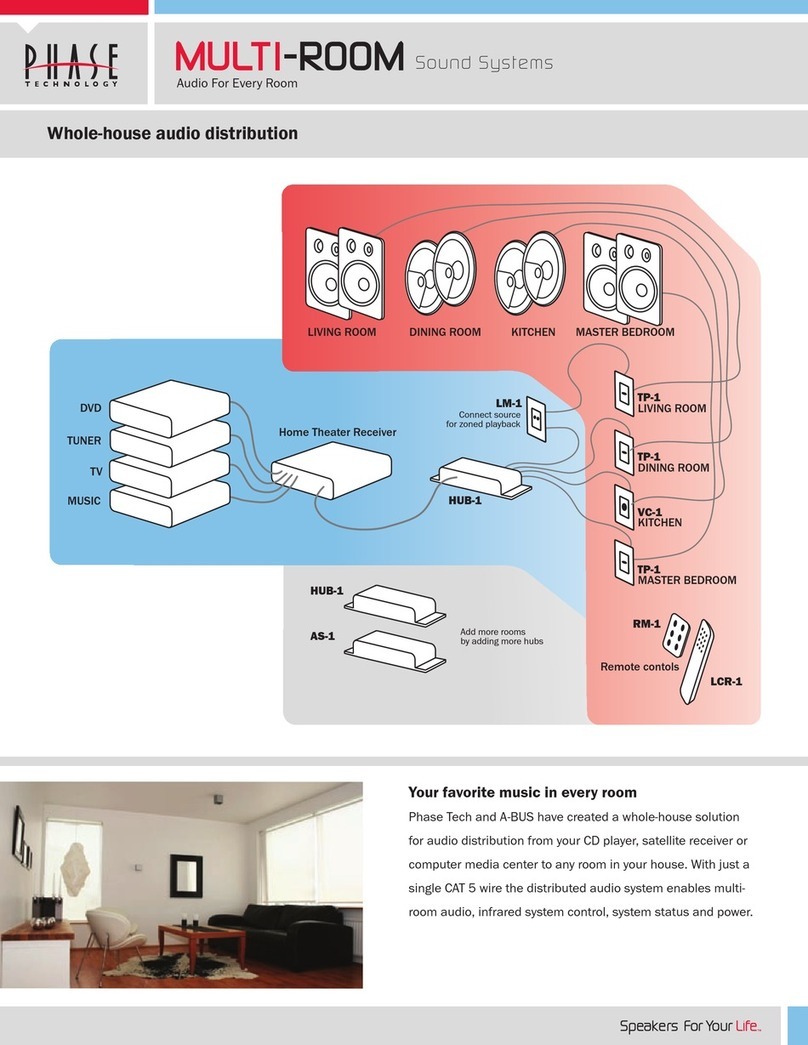
Phase Technologies AS-1 Owner's manual

Phase Technologies

Phase Technologies AS-1 Owner's manual

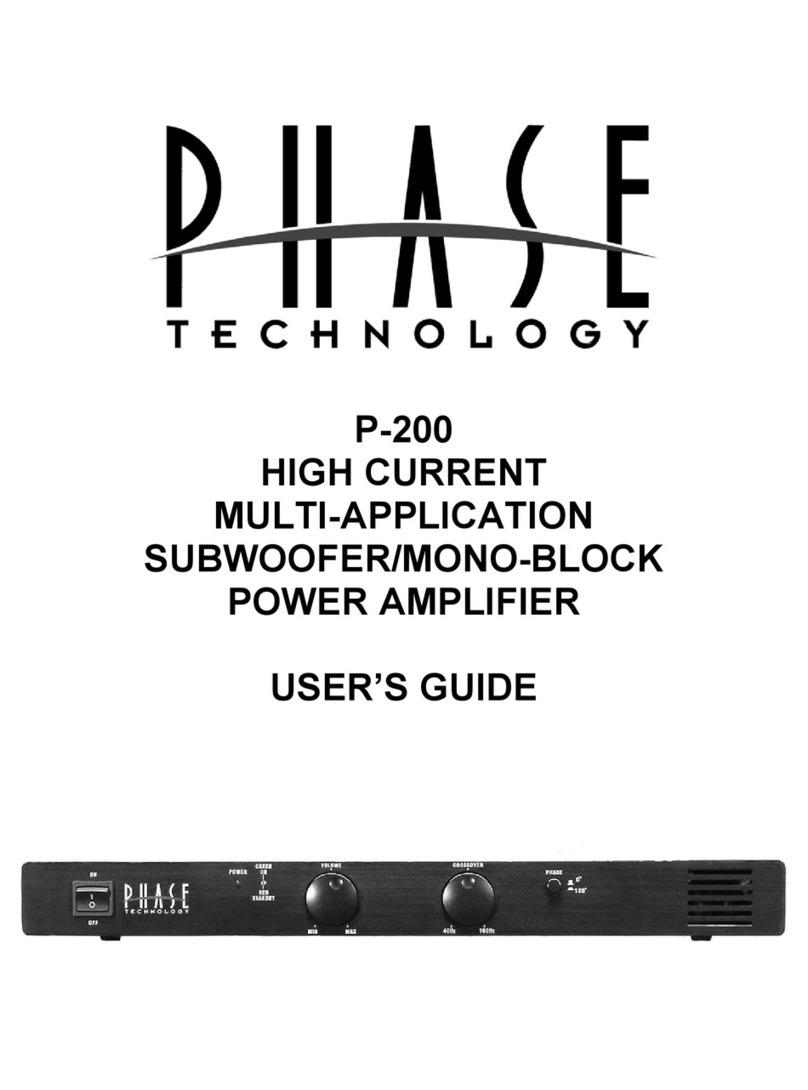
Phase Technologies P-200 User manual

Phase Technologies

Phase Technologies P-200 User manual

Popular Amplifier manuals by other brands

EHRHORN PA-76 Operating and technical manual

EHRHORN

EHRHORN PA-76 Operating and technical manual

Brunetti MARANELLO BLACK TOP owner's manual

Brunetti

Brunetti MARANELLO BLACK TOP owner's manual

McIntosh C4 - instruction manual

McIntosh

McIntosh C4 - instruction manual

AMC IA series user manual

AMC

AMC IA series user manual

Technics SU-C700A operating instructions

Technics

Technics SU-C700A operating instructions

Alto MC250.4 user manual

Alto

Alto MC250.4 user manual

Kramer PT-571 quick start guide

Kramer

Kramer PT-571 quick start guide

ESX VISION VX1000 PRO owner's manual

ESX

ESX VISION VX1000 PRO owner's manual

Wisi VS 21 operating instructions

Wisi

Wisi VS 21 operating instructions

Marantz MA-9S2 Catalog

Marantz

Marantz MA-9S2 Catalog

Marantz PM7000 Service manual

Marantz

Marantz PM7000 Service manual

Pepperl+Fuchs 2/209 manual

Pepperl+Fuchs

Pepperl+Fuchs 2/209 manual

Rotel A11MKII owner's manual

Rotel

Rotel A11MKII owner's manual

Kustom Quad 100 DFX owner's manual

Kustom

Kustom Quad 100 DFX owner's manual

Cambridge Audio Edge NQ instructions

Cambridge Audio

Cambridge Audio Edge NQ instructions

Kenwood KA-128 instruction manual

Kenwood

Kenwood KA-128 instruction manual

Pioneer GM-X544 owner's manual

Pioneer

Pioneer GM-X544 owner's manual

Alpine MRV-1507 Service manual

Alpine

Alpine MRV-1507 Service manual

manuals.online logo
manuals.online logoBrands
  • About & Mission
  • Contact us
  • Privacy Policy
  • Terms and Conditions

Copyright 2025 Manuals.Online. All Rights Reserved.