English
CD PLAYER CASSETTE RECORDER
14
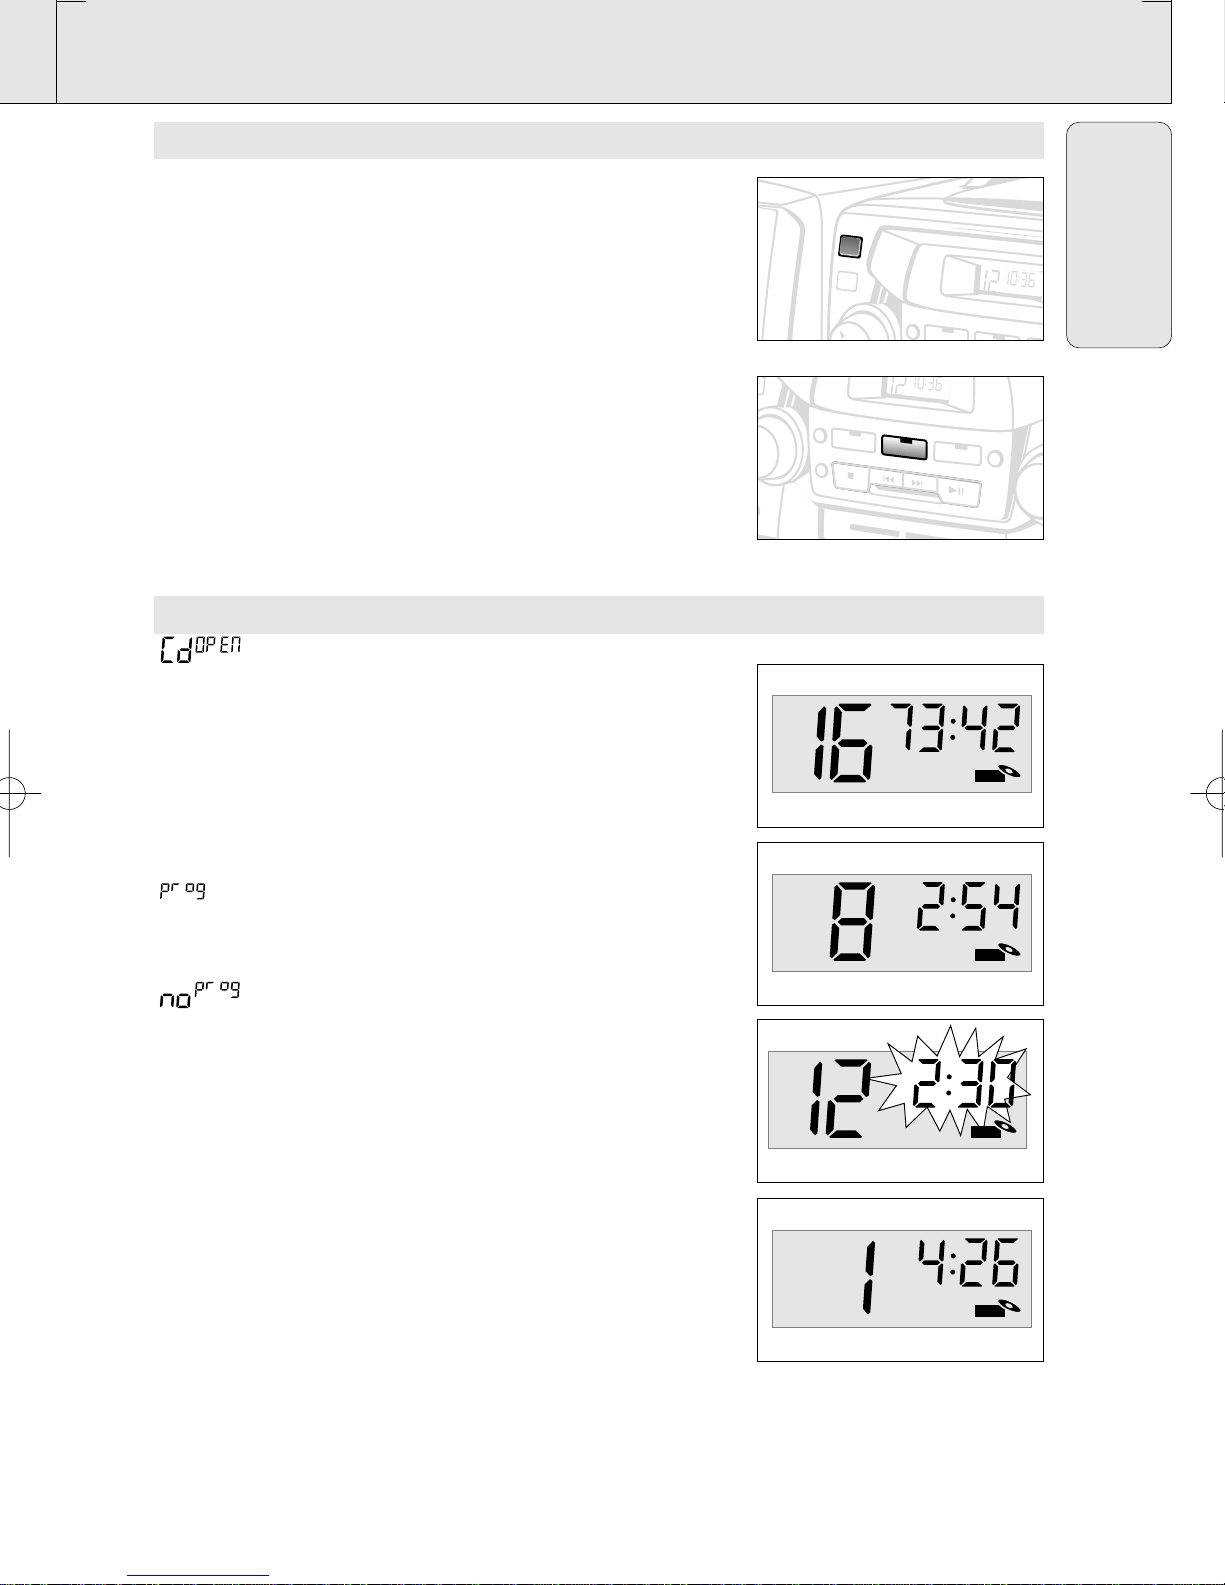
Programming track numbers
You may store up to 20 tracks in the desired sequence. If you like,
store any track more than once.
1. In the stop position, press SEARCH ¡or ™ for your desired
track.
2. When your chosen track number appears, press PROG once to
store the track.
– The display shows 'PROG' and ' ' briefly followed by your
selected track number.
3. Repeat steps 1. and 2. to select and store all desired tracks in
this way.
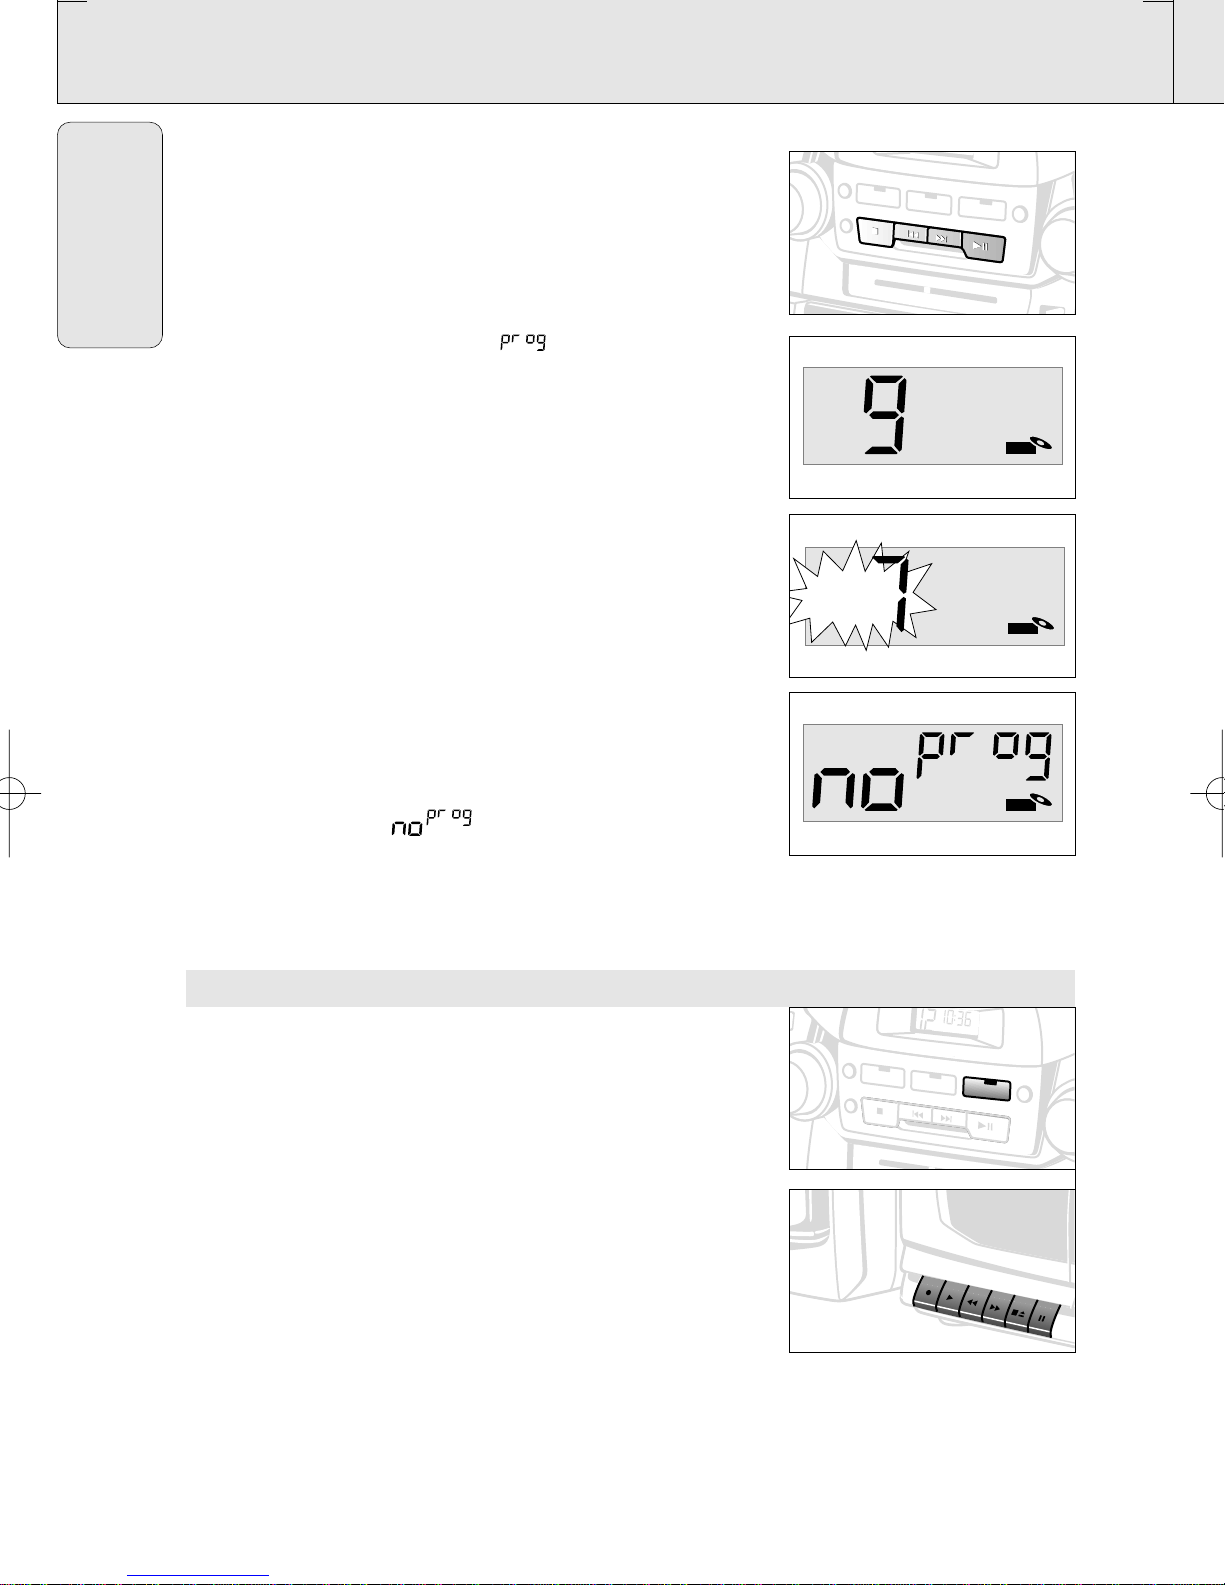
Reviewing your set program
• In the stop position, press and hold down PROG for one
second or more.
The display shows all your stored track numbers in sequence.
– You can also review the program during playback.
• To play your program press PLAY/PAUSE 2;.
Erasing a program
You can erase the contents of the memory by:
– pressing the CD door open;
– pressing TUNER or TAPE source button;
– pressing STOP 9twice during playback/ in stop position
• The display shows ' ' briefly when the program is
cancelled.
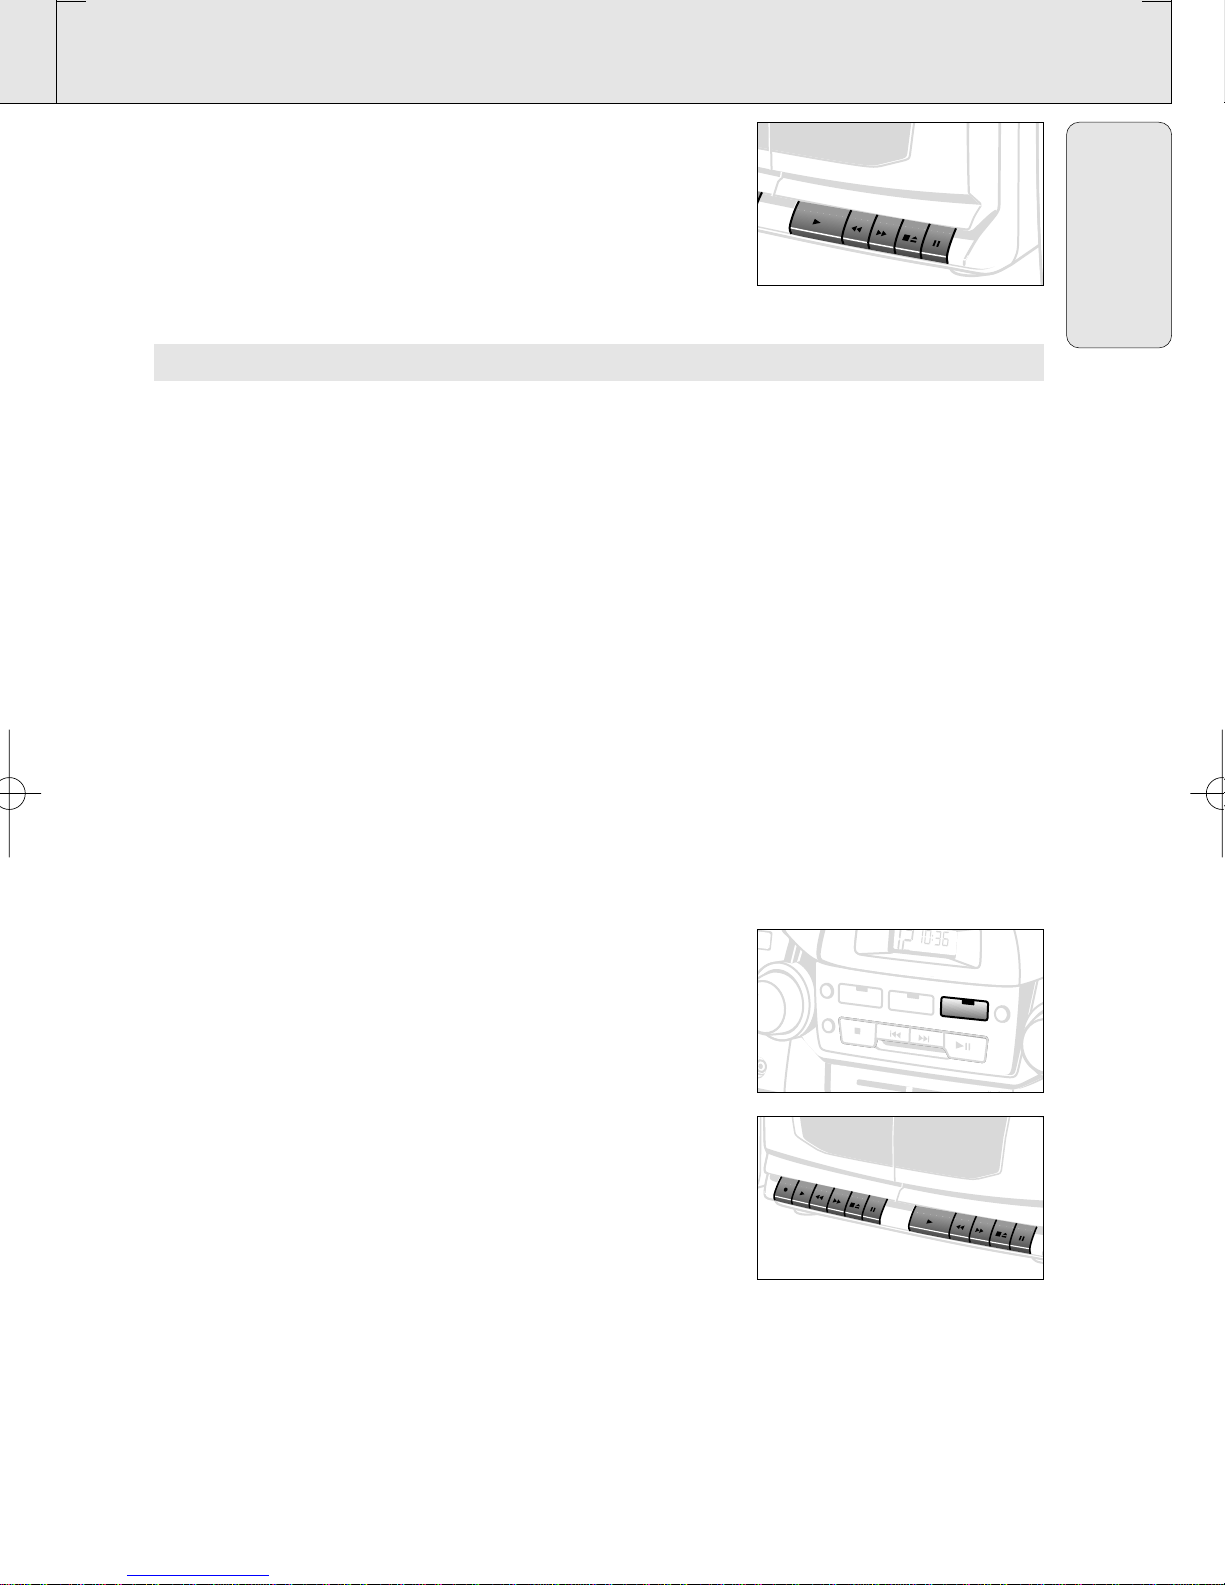
PLAYING A CASSETTE
1. Press POWER to on position.
2. Press TAPE source button.
– The TAPE indicator lights up.
3. Press STOP/EJECT 9/to open the cassette holder and
insert a cassette.
4. Press the cassette holder shut.
5. Press PLAY 2to start playback.
6. Adjust the sound using the VOLUME and DBB controls
7. To interrupt playback press PAUSE ;. To resume, press the key
again.
8. By pressing 5or 6,fast winding of the tape is possible in
both directions.To stop fast winding, press STOP/EJECT 9/.
9. To stop the tape, press STOP/EJECT 9/.
–The keys are automatically released at the end of the tape,
except if PAUSE ;has been activated.
10.Press POWER again to switch off the set.
– The TAPE indicator goes out.
AZ 2750 /17 page 14
CD
PLAY
RECORD
SEARCH
STOP/EJECT
PAUSE
PLAY
RECORD
SEARCH
STOP/EJECT
PAUSE
DECKA
RECORDPLAYBACK
TUNER
SHUFFLE
REPEAT
CD
STOPSEARCHPLAY/PAUSE
FM MW
BAND
TAPEPROG
FM
MHz
88
•
92
•
96
•
100
•
104
•
108
MHz
FM
MW
KHz
530 600 700 900 1160 1340 1600
KHz
MW
TUNER
SHUFFLE
REPEAT
CD
STOPSEARCHPLAY/PAUSE
TAPEPROG
FM
MHz
88
•
92
•
96
•
100
•
1
M
XP AZ 2750/17 19-09-2000 13:26 Pagina 14