Pinnacle Products International TT-40P-DH Manual
CONSUMER: Retain this manual for future reference.
Pinnacle Products International, Inc. 668 Stony Hill Road #302 Yardley, PA 19067 USA
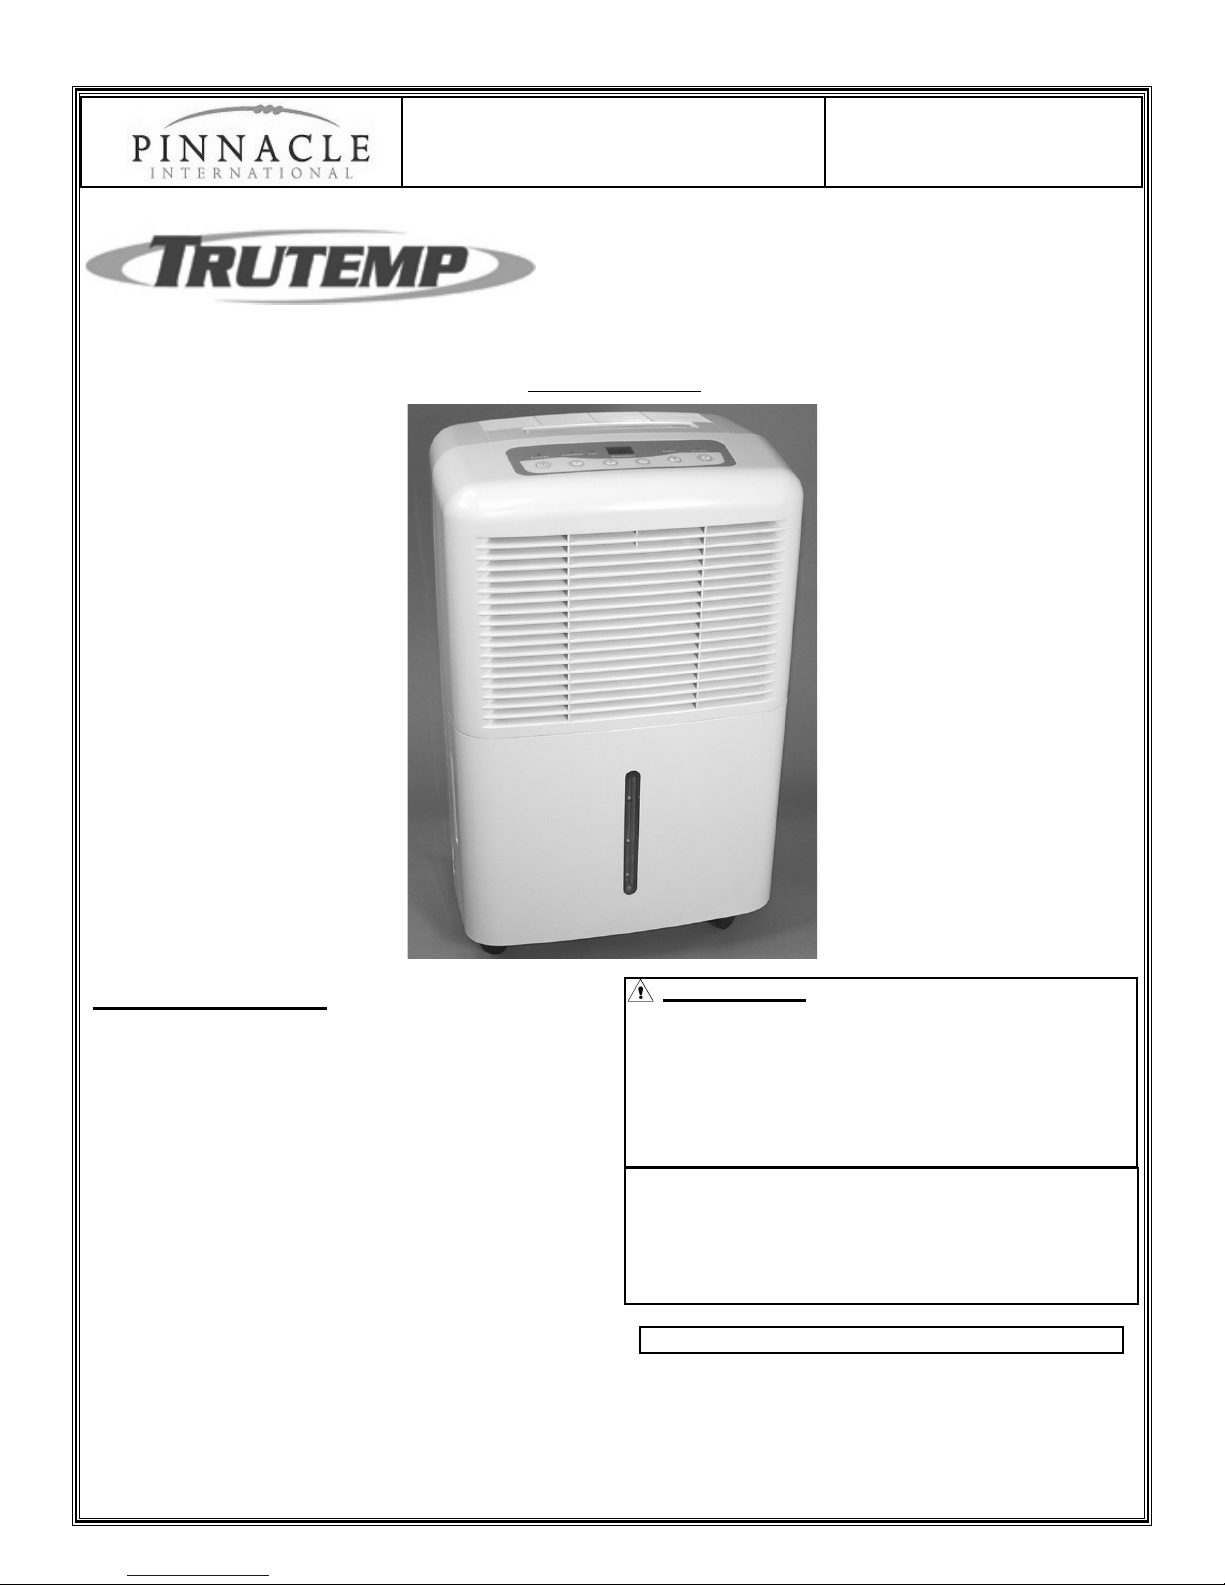
Owner’s Manual and
Operating Instructions
Residential
Dehumidifier
IMPORTANT: Read and understand all of
the directions in this manual before starting this
dehumidifier. Improper use of this dehumidifier
can cause serious injury. Keep this manual for
future reference.
This unit is fitted with an auto defrosting opera-
tion and starts when the evaporator generates
frost. This function ensures continuous running
when the temperature is down to 40° F (5° C).
Table of Contents
Safety Information............................................2
Installation........................................................3
Operation......................................................3-4
Maintenance.....................................................5
Storage.............................................................5
Exploded View..................................................5
Replacement Parts List....................................6
Troubleshooting................................................7
Warranty ..........................................................8
TT-40P-DH
Specifications subject to change without notice
Page 2 Pinnacle Products International, Inc. Residential Dehumidifier Owners’ Manual
Safety Information
WARNING:
1. This unit is designed for indoor use only. Do not expose to elements or allow to become
wet.
2. To guard against electric shock while operating, do not allow dehumidifier to come in contact
with other grounded objects such as pipes, radiators, etc.
3. Do not use this unit next to a source of heat such as a radiator, dryer, etc., an area where oil
or water is likely to splash, an area directly exposed to sunlight, near a bath, shower or swim-
ming pool, or in a greenhouse.
4. Always store the unit upright in order to maintain the compressor in a proper working condition.
Leave the unit upright for at least 24 hours prior to operating.
5. BEFORE moving, storing, and/or changing operating locations, be sure the dehumidifier is
turned off, unplugged AND the water tank is empty.
6. Operate only on 115 volt 60 Hz (cycle) current with a minimum of a 15 amp circuit.
7. Before operating always check dehumidifier for loose or damaged parts. Inspect power cord
for any damage. Never use dehumidifier if any parts are damaged or missing. There are no
user serviceable parts.
8. DO NOT use with an extension cord. Use only with a grounded 3 prong outlet furnished on the
dehumidifier’s power cord. Always keep power cord away from heat, oil, and sharp edges.
9. Disconnect dehumidifier from power source when not in use, before servicing and when clean-
ing or repairing.
10. Repair of this dehumidifier should be done by a qualified electrician.
11. In case of power failure, turn dehumidifier off at control panel to prevent unexpected restarting
and possible component damage.
12. Keep children away from dehumidifier at all times.
IMPORTANT: READ ALL INSTRUCTIONS CAREFULLY BEFORE USE OF THIS
DEHUMIDIFIER. FAILURE TO COMPLY WITH THESE INSTRUCTIONS COULD
RESULT IN SERIOUS PERSONAL INJURY AND / OR PROPERTY DAMAGE.
FOR BEST RESULTS:
KEEP ALL WINDOWS, DOORS
AND OTHER OPENINGS
CLOSED.
Residential
Dehumidifier

Installation
1. Be sure dehumidifier is on level ground which is
strong enough to support the unit with a full bucket
of water.
2. Allow at least 15-18 inches of space on all sides
of the unit to allow adequate air circulation.
3. When operating your dehumidifier, keep all out-
side doors, windows and other openings closed.
Additional humidity from outdoors will increase the
workload of your unit.
4. At room temperatures (floor level) below 65
degrees F, the evaporator coils will start to frost
over. This unit is fitted with an auto defrosting
operation and starts when the evaporator gener-
ates frost. This function ensures continuous run-
ning when the temperature is down to 40° F (5°
C).
It is recommended that you install your dehumid-
ifier in an area where the room temperature will
not fall below 40 degrees F. This unit was
designed to work in an environment between 40°
F and 90° F.
Operation
Turning the unit ON or OFF:
1. Plug in the power cord into an approved outlet.
The computer system of this unit will go through a
self-check. When normal, the Power Indicator will
slowly flash.
2. Press the Power Button. The Power Indicator will
stay on, and your unit will start operating under
dehumidifying mode with the factory setting of
60% relative humidity (RH). Pressing the
Humidity + or - Button will change the humidity
setting (see Figure 3 on Page 4).
3. Pressing the Continue Button will put the unit into
continuous dehumidifying mode; at this point the
Humidity + or - Button will become inactive.
4. To turn off unit, simply press the Power Button.
The Power Indicator will then not be lit. You do
not need to unplug the unit unless the unit will not
be in use for a long time.
The Water Tank:
1. Water will drain into the Water Tank (shown in
Figure 2). When the tank is full and the unit stops
operating, the Full Indicator will flash (see Figure
3).
2. Do not remove the water tank while the unit is
running. This will cause water to spill. If Full
Indicator is not lit but you want to empty the water
tank, Press the Power Button and wait a moment
for the water to finish draining before removing the
tank.
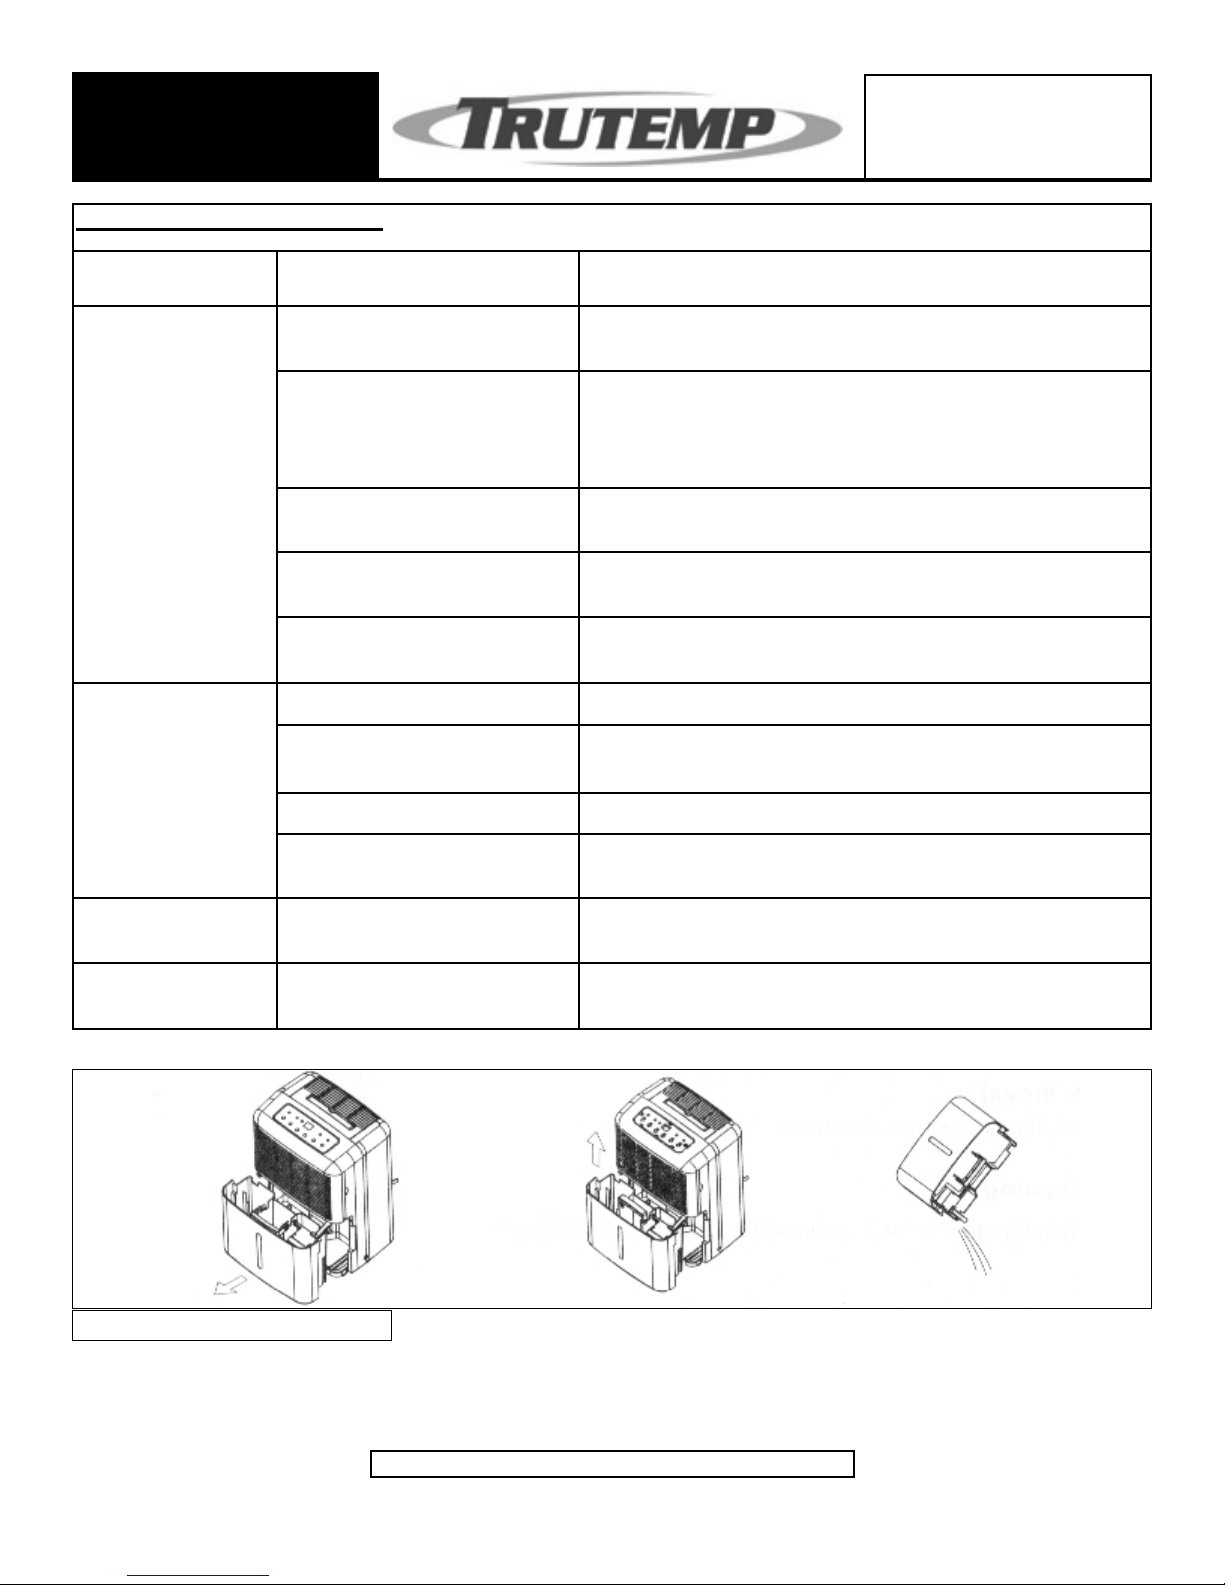
To remove Water Tank (see Figure 5 on page 7):
1. Grip both sides of the Water Tank and slide out
straight to avoid spilling water. Do not set down on
ground, as the bottom of the Water Tank is not
even!
2. Use the handle to carry Water Tank and to empty.
3. To replace, slide Water Tank gently all the way
into unit.
Pinnacle Products International, Inc. Residential Dehumidifier Owners’ Manual Page 3
FOR BEST RESULTS:
KEEP OUT OF DIRECT SUN-
LIGHT AND DO NOT USE
NEAR SOURCES OF HEAT.
Residential
Dehumidifier
Figure 2: TT-40P-DH Product Description
Control Panel
Air Inlet
Water Tank
Handle
Castor Power Cord
Air Filter
Air Outlet
Drain Hole
(Optional
use)
Band (for
Power Cord)

Button puts the unit directly into Dehumidifying
operation at the original factory humidity setting
(60% RH). Pressing the Power Button again will
stop the unit from operating.
2. Continue Button: Pressing this button while the
unit is operating will put the unit into
Continuous Dehumidifying mode.
3. Humidity + Button: Pressing this button while
the unit is operating will increase the humidity
setting. The range is from 35%RH to 80%RH.
4. Humidity - Button: Pressing this button while
the unit is operating will decrease the humidity
setting. The range is from 80%RH to 35%RH.
5. Turbo Fan Button: Pressing this button puts the
fan speed on high.
6. Normal Fan Button: Pressing this button puts
the fan speed on low.
7. Power Indicator: At first when connecting to
power, the Power Indicator will flash slowly.
Once unit is operating it will stay on, and turn off
when unit is off.
8. Continue Indicator: Lights up when unit is in
Continuous Dehumidifying mode.
9. Full Indicator: Lights up when Water Tank is
full; the unit then will stop operating.
10. Turbo Indicator: Lights up when the Turbo
Button is pressed and the fan is on high.
11. Normal Indicator: Lights up when the Normal
Fan Button is pressed and the fan is on low.
NOTE: This unit has an automatic shut-off. If the
bucket is full or is not replaced correctly, the unit will
not start and will display a “P2” warning. Please be
sure bucket is not full or inserted correctly.
For Continuous Drainage:
If a drain is located nearby, a 1/2” ID hose (sold
separately) can be connected to the unit for continu-
ous draining.
1. On the rear on the unit, carefully remove the rub-
ber plug from the drain hole (see Figure 2 on
page 3) and slide the drain hose into the drain
hole.
2. Remove the Water Tank then connect the water
hose to the connector located above the water
tank to the left.
3. Be sure the hose has no bends or kinks.
4. Place the other end of the hose into a suitable
drainage facility, and replace Water Tank.
NOTE: The drain is not pressured; it is gravity assist-
ed. Please be sure to note that the end of the hose
in the draining facility MUST be below the connector
in the unit. Any inclination of the drain hose will
cause the drain hose to back up to the unit and
cause a leak!
The Control Panel:
1. Power Button: Power indicator blinks slowly
when the unit is plugged in. Pressing the Power
Figure 3: Control Panel
123 4 56
78910 11
Operation (cont.)
FOR BEST RESULTS:
CLEAN AIR FILTER EVERY
TWO WEEKS.
Residential
Dehumidifier
Page 4 Pinnacle Products International, Inc. Residential Dehumidifier Owners’ Manual

WHEN IN CONTINUOUS DEHU-
MIDIFYING MODE, HUMIDITY +
AND - BUTTONS ARE
DISABLED.
Residential
Dehumidifier
30
12
3
4
5
6
7
8
9
10 11 12
13
14
15
16
17
18
19
20
21
22
23
24
26 27
25
28
29
Figure 3: Exploded View of TT-40P-DH
Pinnacle Products International, Inc. Residential Dehumidifier Owners’ Manual Page 5
Maintenance
Cleaning the Air Filter:
1. Remove Air Filter (see Figure 4 on page 6).
2. Wash with clean water, and then dry carefully.
3. Slide Air Filter back into unit once it is completely
dry.
NOTE: Clean the Air Filter once every two weeks to
prevent reduced performance of your unit!
Cleaning the Unit Enclosure:
1. Use a soft clean cloth to wipe the surface. Do not
use water as this may cause an electrical shock.
Cleaning the Water Tank:
1. Wash the tank using warm water (about 100° F)
with a mild detergent. Rinse and allow to dry.
Replace once the tank is dry.
IMPORTANT:
- Be sure to unplug unit before cleaning.
- Do not use any type of chemical agents, thinners
or fuel to clean the unit as this may damage the
unit.
- Do not wash the unit directly under a tap or a
hose. The electrical components inside will
become damaged and your unit will be unsafe!
Storage
1. Be sure to wash the Air Filter and drain the
Water Tank before storing your dehumidifier.
2. Water tank should be completely dry before stor-
ing for long periods of time.
3. Store cooler in its original carton.

Replacement Parts
Item # Description Part Number
1Water Tank Assembly 35-001-0100
2Front Panel 35-002-0100
3Air Filter 35-002-0200
4Display Label 35-003-0100
5Control Panel 35-003-0200
6Display PCB 35-003-0300
7Display Box 35-003-0400
8 Evaporator 35-004-0100
9 Condenser 35-004-0200
10 Base Pan Bracket 35-005-0100
11 Motor Capacitor 35-005-0200
12 Electronic Control Box 35-005-0300
13 Control PCB 35-005-0400
14 Humidity Sensor 35-005-0500
15 Electronic Control Box Cover 35-005-0600
16 Compressor 35-006-0100
17 Compressor Bracket 35-006-0200
18 Compressor Capacitor Cover 35-006-0300
19 Compressor Capacitor 35-006-0400
20 Base Pan 35-007-0100
21 Caster 35-007-0200
22 Motor 35-008-0100
23 Motor Mounting Bracket 35-008-0200
24 Handle Support A 35-009-0100
25 Handle Support B 35-009-0200
26 Handle 35-009-0300
27 Scroll 35-010-0100
28 Turbo Fan 35-010-0200
29 Rear Panel 35-011-0100
30 Evaporator Sensor 35-012-0100
NO SERVICEABLE PARTS
INSIDE. SEE PAGE 7 FOR
TROUBLESHOOTING.
Residential
Dehumidifier
Page 6 Pinnacle Products International, Inc. Residential Dehumidifier Owners’ Manual
Figure 4: Maintenance on the Air Filter
PLEASE VISIT US ON THE
WEB AT:
WWW.PINNACLEINT.COM
Residential
Dehumidifier
Pinnacle Products International, Inc. Residential Dehumidifier Owners’ Manual Page 7
Troubleshooting Guide
Problem Possible Cause Corrective Action
Dehumidifier
does not operate
1. No power Inspect Power Cord for damage. Be sure dehumidifier is
plugged in and turned on.
2. Water Bucket is full
(‘P2’) or is not installed
correctly
Remove Water Tank (as shown in Figure 5 below) and
empty Water Tank. ‘P2’ will display in Control Panel.
Be sure Water Tank has been replaced in the unit cor-
rectly or unit will not operate..
3. Unit is restarting When the unit has been re-started there will be a 2
minute delay.
4. Defrost mode (‘P1’) The unit will automatically restart after defrosting is com-
pleted. ‘P1’ will display in Control Panel.
5. Room humidity level is
lower than unit setting
Press the Humidity - Button to lower the humidity set-
ting below room humidity level (See Page 4).
Decreased
Performance
1. Blocked Air Filter Wash Air Filter.
2. Room windows and
doors are open
Close windows and doors.
3. Obstacles in air flow Remove obstacles from air inlet and air outlet.
4. Room temperature is too
low
Unit will operate efficiently when room temperature is
between 40°F (5°C) and 95°F (35°C)
Control Panel
shows ‘E1’
1. Humidity Sensor is off or
not working properly.
Turn the unit off, unplug and contact Customer Service.
Control Panel
shows ‘E2’
1. Humidity Sensor is off or
not working properly.
Turn the unit off, unplug and contact Customer Service.
Pinnacle Products International, Inc. reserves the right to make any changes in materials,
specifications, prices or design without notice. Pinnacle Products International, Inc. may also
discontinue items at any time.
Specifications subject to change without notice
Figure 5: Emptying the Water Tank

1 YEAR LIMITED WARRANTY
Pinnacle Products International, Inc. warrants this
product to the original retail purchaser only, to be free
from defects in material and workmanship for a peri-
od of one (1) year from the date of initial purchase.
This product must be properly installed, maintained
and operated in accordance with the instructions pro-
vided.
Pinnacle Products International, Inc. requires rea-
sonable proof of your date of purchase from an
authorized retailer or distributor. Therefore, you
should keep your sales slip, invoice, or cancelled
check from the original purchase. This Limited
Warranty shall be limited to the repair or replacement
of parts, which prove defective under normal use and
service within the warranty period, and which
Pinnacle Products International, Inc. shall deter-
mine at its reasonable discretion.
This warranty does not apply to products purchased
for rental use.
This Limited Warranty does not cover replacement of
the Air Filter, or any failures or operating difficulties
due to normal wear and tear, accident, abuse, mis-
use, alteration, misapplication, improper installation
or improper maintenance and service by you or any
third party. Failure to perform normal and routine
maintenance on the dehumidifier, shipping damage,
damage related to insects, birds, or animals of any
kind, and damage due to weather conditions are also
not covered. In addition, the Limited Warranty does
not cover damage to the finish, such as scratches,
dents, discoloration, rust or other weather damage,
after purchase.
All transportation costs for the return of the damaged
product or parts will be the responsibility of the pur-
chaser. Upon receipt of damaged item, Pinnacle
Products International, Inc. will examine the item
and determine if defective. Pinnacle Products
International, Inc. will repair or replace and return
the item, freight pre-paid. If Pinnacle Products
International, Inc. finds the item to be in normal
operating condition, or not defective, the item will be
returned freight collect.
This Limited Warranty is in lieu of all other express
warranties. Pinnacle Products International, Inc.
disclaims all warranties for products that are pur-
chased from sellers other than authorized retailers or
distributors.
AFTER THE PERIOD OF THE ONE (1) YEAR LIMIT-
ED WARRANTY EXPIRES, Pinnacle Products
International, Inc. DISCLAIMS ANY AND ALL
IMPLIED WARRANTIES, INCLUDING WITHOUT
LIMITATION THE IMPLIED WARRANTIES OF MER-
CHANTABILITY AND FITNESS FOR A PARTICULAR
APPLICATION. FURTHER, Pinnacle Products
International, Inc. SHALL HAVE NO LIABILITY
WHATSOEVER TO PURCHASER OR ANY THIRD
PARTY FOR ANY SPECIAL, INDIRECT, PUNITIVE,
INCIDENTAL, OR CONSEQUENTIAL DAMAGES.
Pinnacle Products International, Inc. assumes no
responsibility for any defects caused by third parties.
This Limited Warranty gives the purchaser specific
legal rights; a purchaser may have other rights
depending upon where he or she lives. Some states
do not allow the exclusion or limitation of special,
incidental or consequential damages, or limitations
on how long a warranty lasts, so the above exclusion
and limitations may not apply to you.
Pinnacle Products International, Inc. does not
authorize any person or company to assume for it
any other obligation or liability in connection with the
sale, installation, use, removal, return, or replace-
ment of its equipment, and no such representations
are binding on Pinnacle Products International,
Inc.
Always be sure to specify model number and serial
number when making any claim with Pinnacle
Products International, Inc. For your convenience
use the space provided below to list this information:
Model #: ____________________
Serial #: ______________________
Date of Purchase: _________________
Pinnacle Products International, Inc. Residential Dehumidifier Owners’ Manual
PLEASE NOTE YOUR
MODEL#, SERIAL#, AND DATE
OF PURCHASE IN THE
SPACES BELOW.
Residential
Dehumidifier
This manual suits for next models
1
Table of contents
Popular Dehumidifier manuals by other brands


Goldair
Goldair GWD20 operating instructions

EINHELL
EINHELL LE 10 Original operating instructions

Dielectric
Dielectric 2400 Instruction and operation manual

NANO
NANO D-Series Maintenance service manual

Andrews Dehumidification
Andrews Dehumidification FD 40 Operating instructions & safety guide

ACD
ACD APD Series owner's manual


