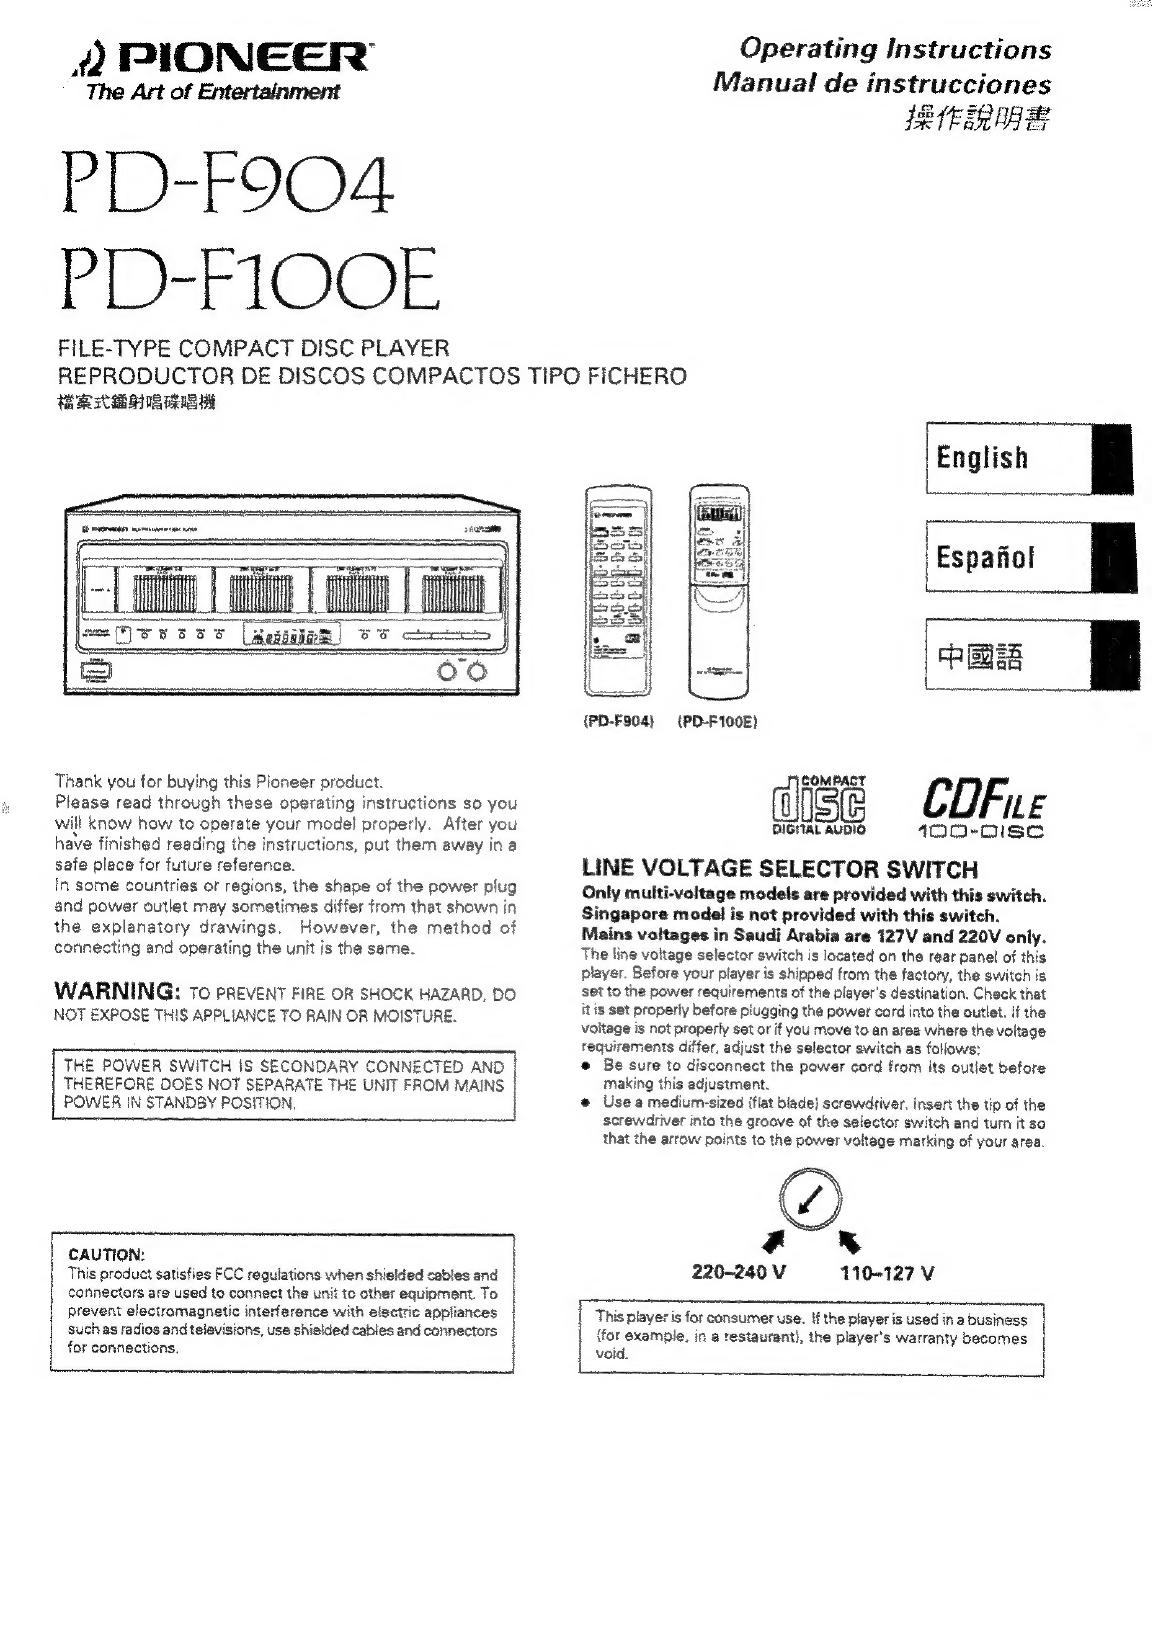
Pioneer PDF904 User manual
Other Pioneer CD Player manuals

Pioneer
Pioneer DEH-P4350 ES User manual

Pioneer
Pioneer PD-P910M User manual

Pioneer
Pioneer DEH-3400 User manual

Pioneer
Pioneer DEH-P8100R User manual

Pioneer
Pioneer LaserDisc CLD-2950 User manual

Pioneer
Pioneer PD-F957 User manual

Pioneer
Pioneer PD-7500 User manual

Pioneer
Pioneer DEH-P410 User manual

Pioneer
Pioneer DEH-1650XU/ES User manual

Pioneer
Pioneer DEH-6400BT User manual

Pioneer
Pioneer PD-30-K/-S User manual

Pioneer
Pioneer PD-F1009 - CD Changer User manual

Pioneer
Pioneer PD-207 User manual

Pioneer
Pioneer DRM-1004X40 User manual

Pioneer
Pioneer PD-M601 User manual

Pioneer
Pioneer DEH-3450 User manual

Pioneer
Pioneer LaserDisc CLD-S104 User manual

Pioneer
Pioneer DEH-345RX1M/EW User manual

Pioneer
Pioneer CDX-FM1277 User manual

Pioneer
Pioneer PD-T303 User manual