1
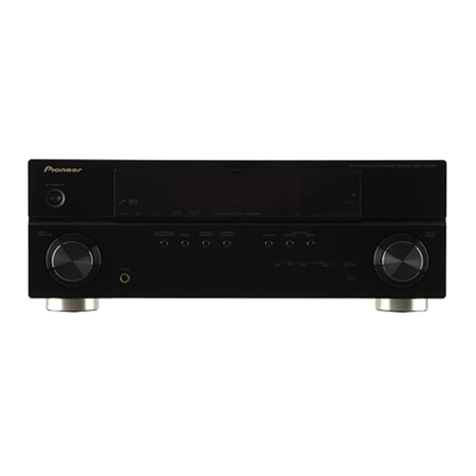
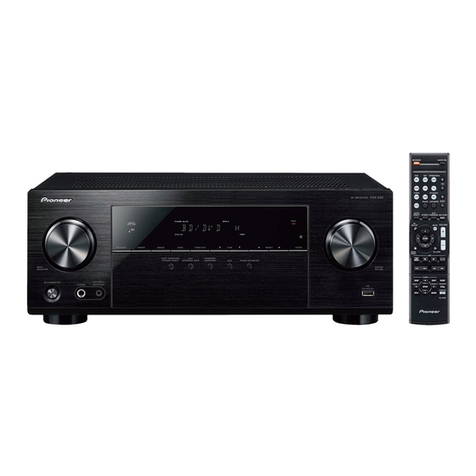
RECEIVER
–+
+
+–+–
–
–+
BASS
OFF SOUND TONE
MPX
AUTO
ROOM
SETUP TEST
TONE
SYSTEM
SETUP CHLEVEL
TUNING STATION
FM/AM TAPE/VCR TV CLASS
DIGITAL
INPUTSELECTOR
STB DVD/DVR
TUNER
EDIT
SLEEP STATUS DIMMER
STANDBY/ON MUTE
SURROUND
ENTER
VOLUME
STEREO
TREBLE
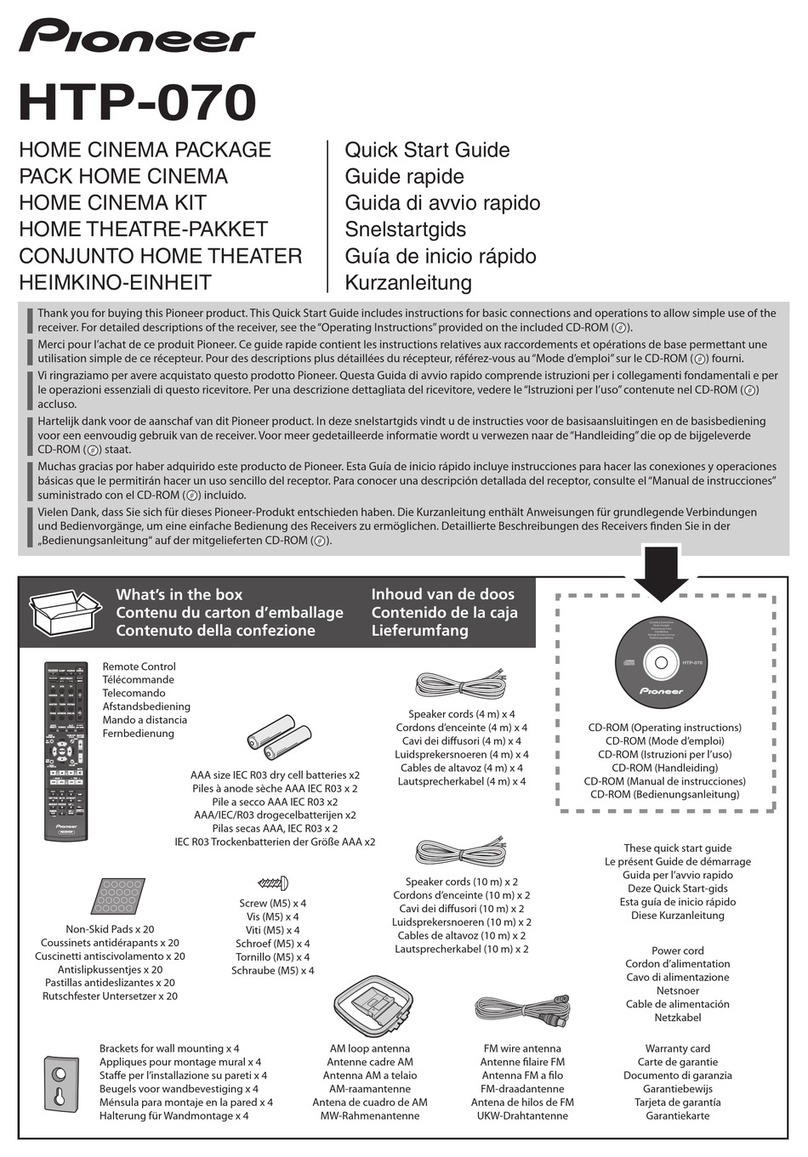
Check that you have all the
accessories.
Remote control
FM wire antenna
AM loop antenna
Batteries (x2)
* Before placing the speakers,
please refer to the speaker
manual for detailed assembly
instructions. Also check the
speaker manual for a complete
list of supplied accessories.
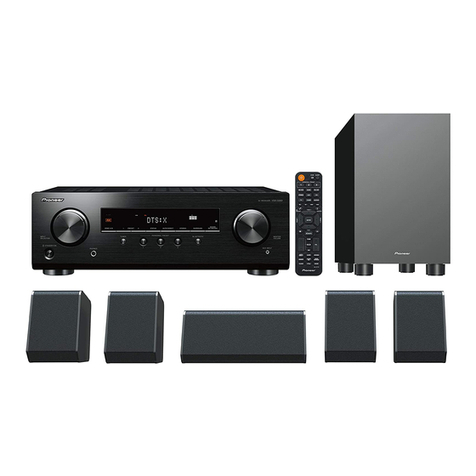
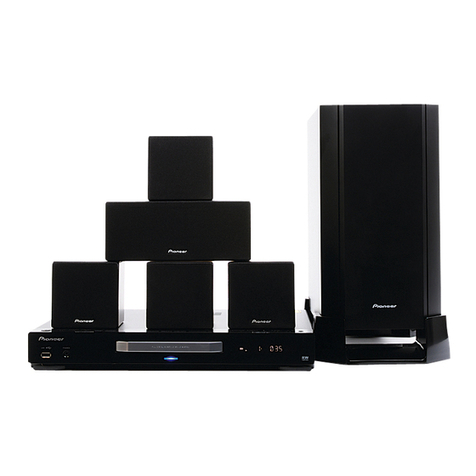
You should also have:
• Speakers*
• Subwoofer
• Non-skid pads (1x12)
• Speaker cord (x6)
• AC adaptor
• Transmitter
• Power cord
• RCA stereo cord
•
Safety precautions (1 sheet)
Insert the supplied
batteries following the
markings inside the
battery compartment
to align them correctly.
•Operating instructions
•Warranty card
5
DIGITAL
OUT
+
–
+
–
DIGITALINPUT
(COAXIAL)
DVD/DVR
OUT
RL
IN
TVIN
AUDIO
AUDIO
OUT
VIDEO
IN
VIDEO
OUT
RL
Connect the receiver to your DVD
player/ recorder.
1
Use a coaxial digital cord (not supplied) to connect the digital
output of your DVD player/ recorder to the DIGITAL INPUT
(COAXIAL) DVD/DVR jack.
2
Use a red/white stereo audio cord (not supplied) to connect the
AUDIO TV IN jack on the receiver to the audio output on your
TV.* This will allow you to listen to your TV through this
speaker system.
* Note that you must also connect the DVD player/ recorder's
video output to your TV's video input to watch a DVD video
(video cable is not supplied).
DVD player/ recorder
Receiver
TV
AM loop
antenna
FM wire antenna
3/8 in.
(10mm)
4
Connect antennas
1
Connect the FM wire antenna and fully extend along a
window frame or another suitable place that gives good
reception.
2
To connect the AM loop antenna, twist the exposed wire
strands together and insert into the terminal, then snap
the connector shut as shown below.
Receiver
6
POWER
OFF ON
TUNED
VIDEO 1
STANDBY/ON
STANDBY/ON
STANDBY/ON
STANDBY/ON
VIDEO SELECT
POWER
OFF ON
Plug the receiver, wireless speaker,
DVD player/ recorder and TV into a
convenient AC outlet.
1
Press STANDBY/ON to switch on the receiver.
3
2
Switch on your DVD player/ recorder and TV, and set the TV to
the correct video input.
Press to switch the wireless speaker on.
Receiver
Wireless speaker
DVD player/ recorder TV
7
+
–
VOLUME AUTO SURROUND STEREO
FM/AM TAPE/VCR TV
DIGITAL
INPUT SELECTOR
STB DVD/DVR
After switching on, make any
necessary settings required by the
DVD player/ recorder, then you're
ready to start enjoying your home
theater system.
Refer to the receiver's operating instructions for a detailed
explanation of this system's surround sound features.
3
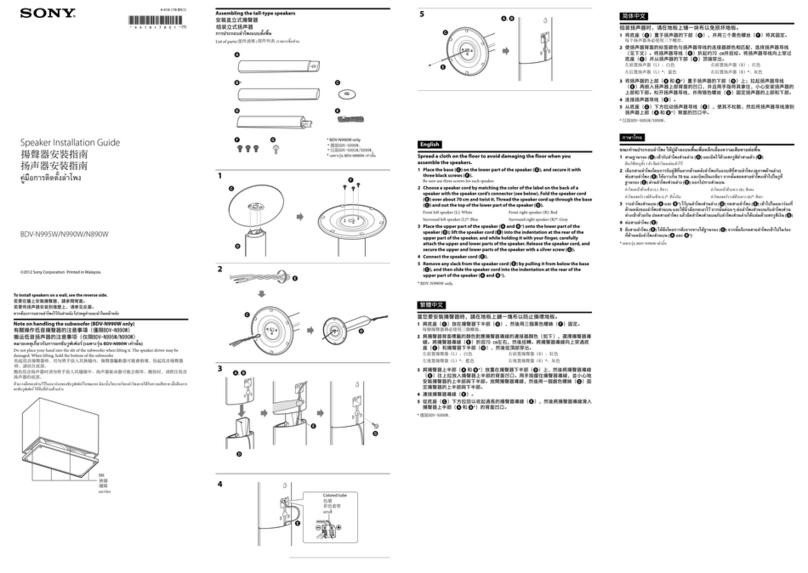
For the est surround sound, set up your
speakers like this. The front left and right
speakers should e a out 6–9 feet apart.
Connect each speaker to the receiver using the
supplied speaker wires.
To connect, insert the colored wire into the matching colored
(+) tab and the other wire into the black (–) tab as shown below.
Note that the color-coded tabs are as follows:
• Red : Front right speaker •Purple : Subwoofer
•White : Front left speaker •Grey : Surround right speaker
•Green : Center speaker •Blue : Surround left speaker
SPEAKERS
WIRELESS
R
L
OUT
+
–
+
–
RL RL
CENTER
SUB
WOOFER
FRONT
SURROUND
Listening position
Front left
Front right
Surround left
Surround right
Center
Subwoofer
Receiver
R
WIRELESS
IN L
Transmitter
Wireless speaker
•Please also read the Operating
Instructions included with the
wireless speaker.
HTP-4600 Quick Start Guide
For detailed instructions, see the Operating Instructions supplied and / or contact one of our knowledgeable Pioneer Customer Service Representatives at 1 - (800) 421-1404.
2
SPEAKERS
WIRELESS
R
L
OUT
+
–
+
–
RL RL
CENTER
SUB
WOOFER
FRONT
SURROUND
WIRELESS
R
L
OUT
R
WIRELESS
IN L
To power outlet
AC
adaptor
Receiver
Transmitter
Connect wireless speaker transmitter.
1
2
Use the supplied 2-pin RCA cord to connect the WIRELESS
(IN) jack on the transmitter to the WIRELESS (OUT) jack on
the rear panel of the receiver.
Connect to a power outlet using the supplied AC adaptor.
HTP4600.p65 05.1.17, 5:32 PM1
