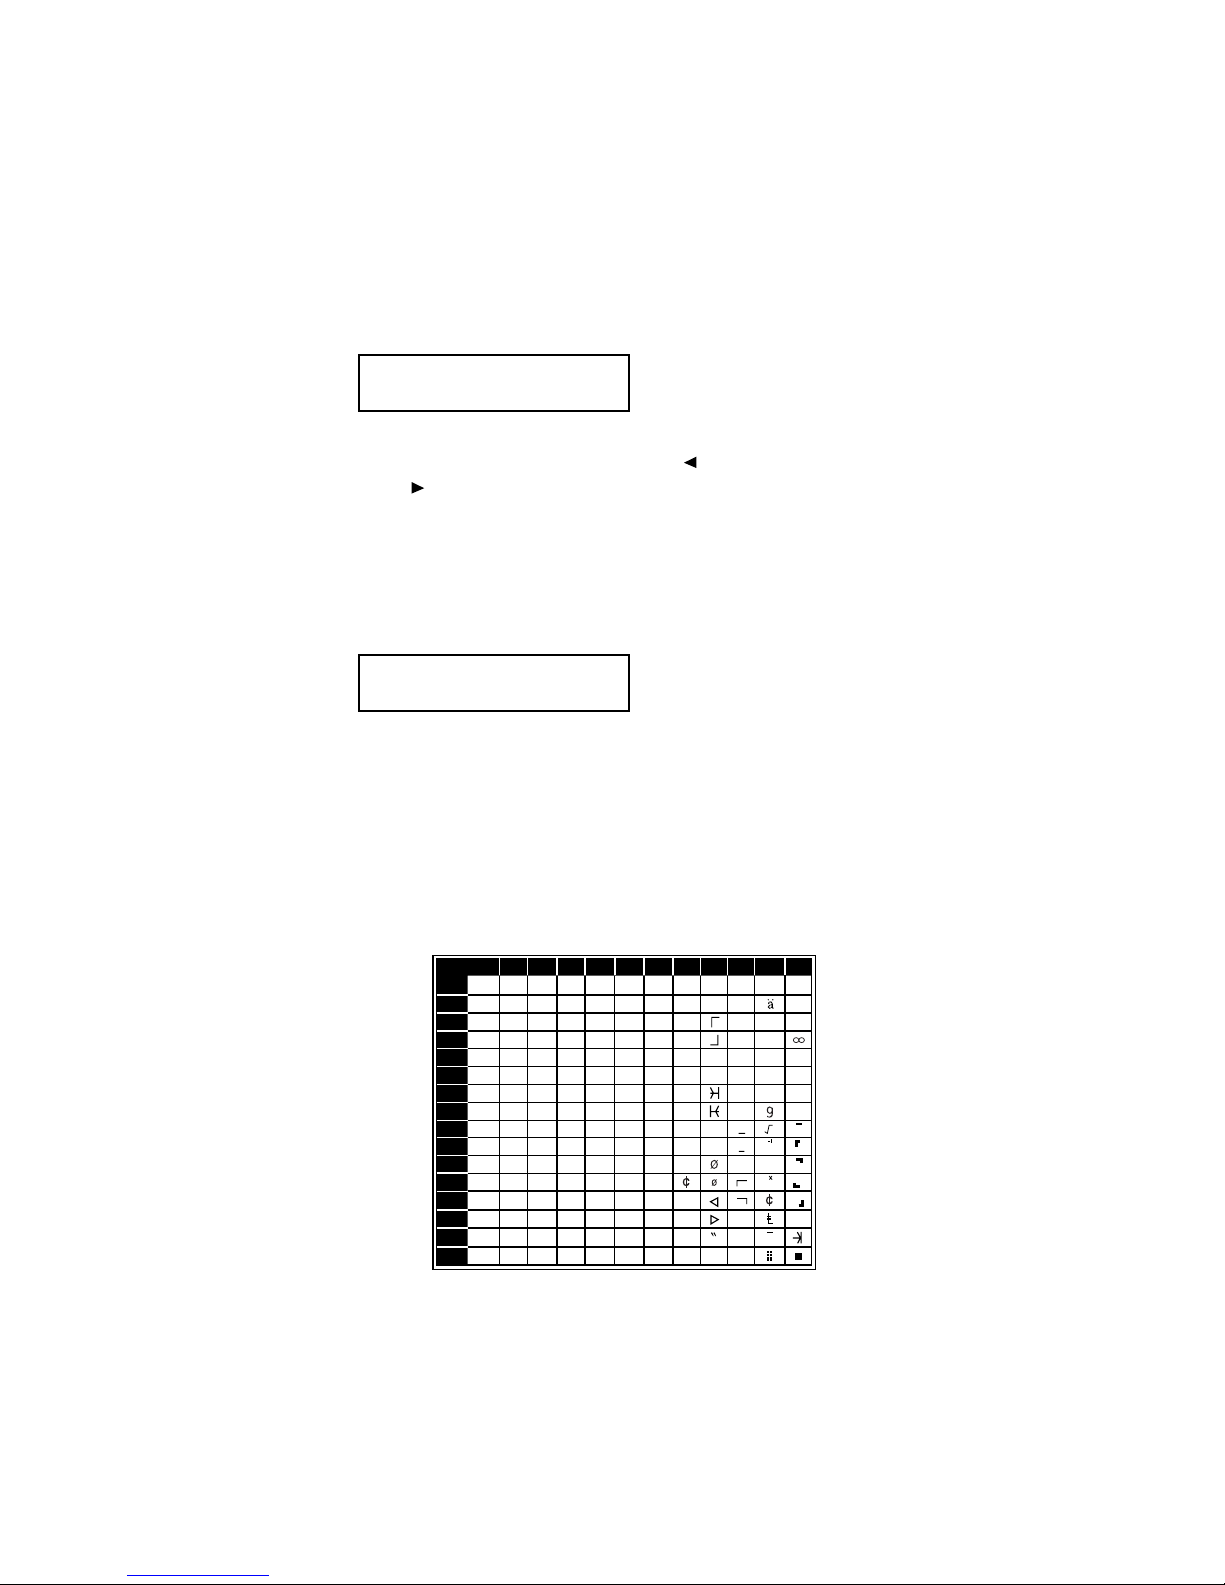
The legends in the black border indicate which key you press, and
in which order, to get a given character. For example, to get the &
character, press 2, then 6. (The blank areas for 2, 0 and C, 0 indi-
cate that spaces will be inserted if you use these key combinations.)
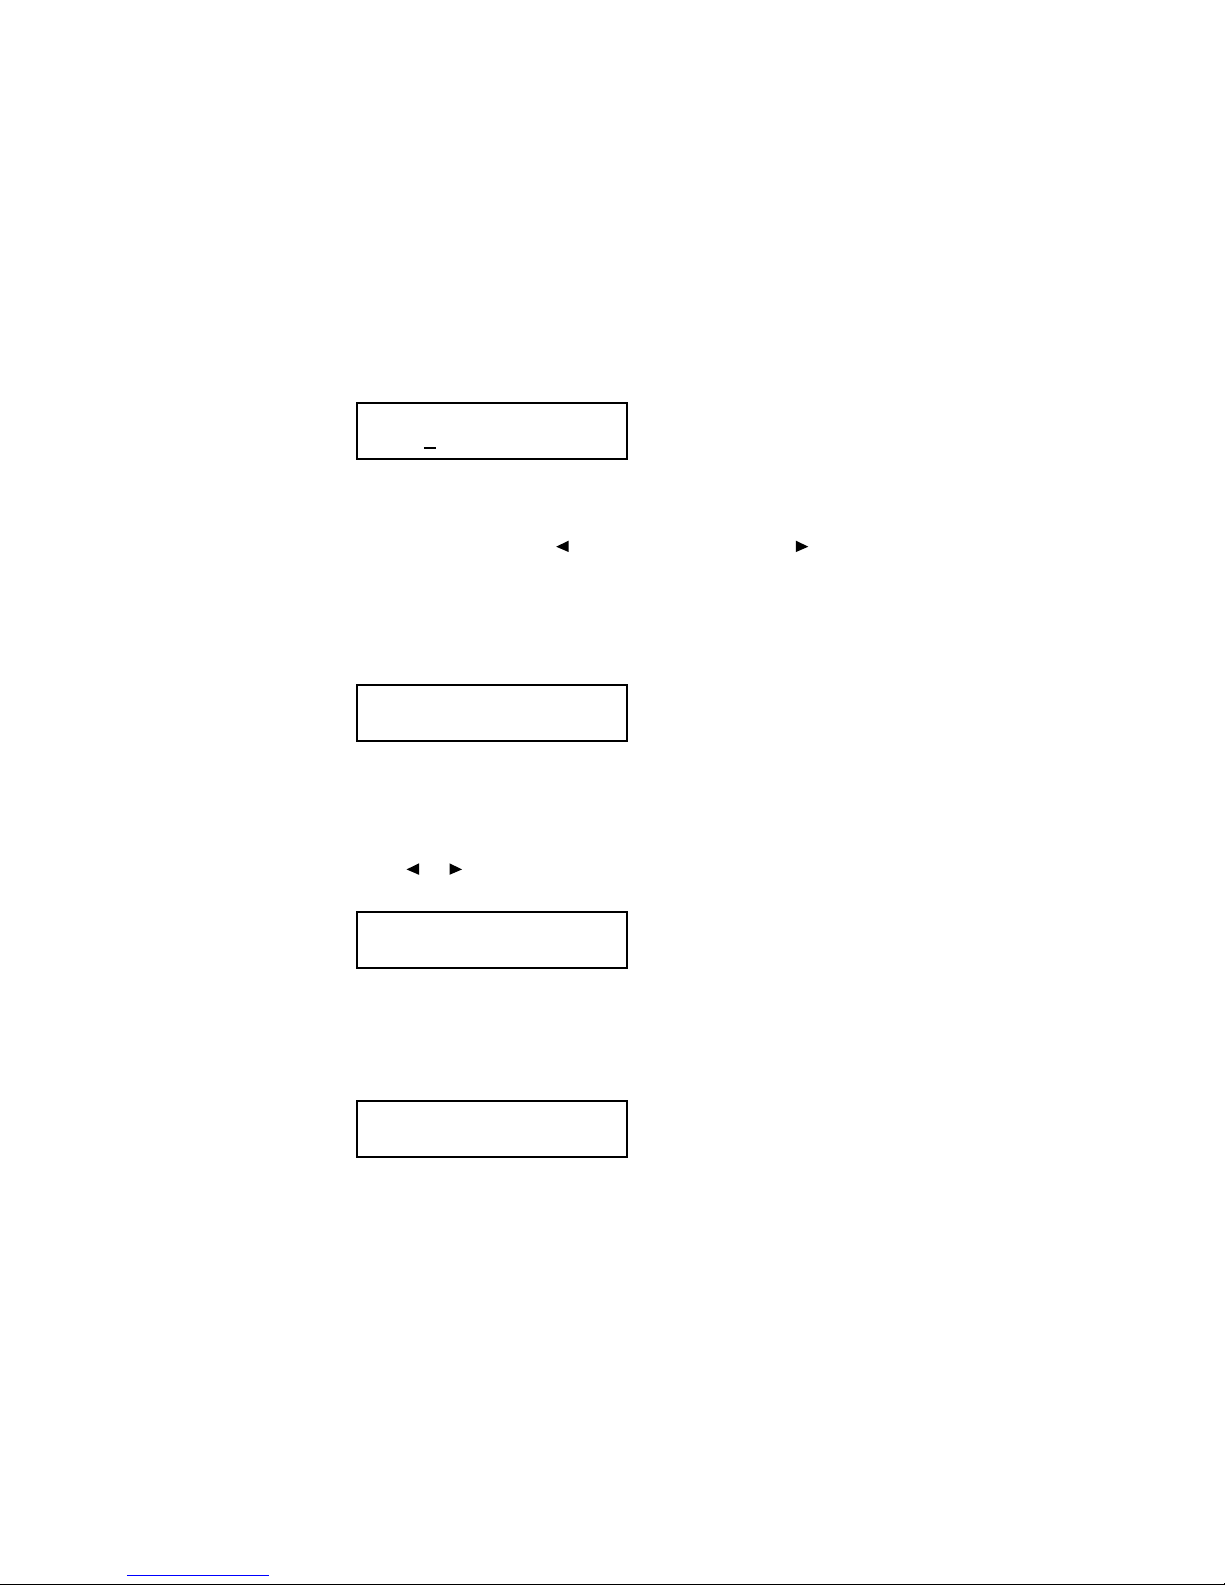
Note: If you make a mistake, press CANCEL to erase to the left. To
change just one character, press to move the cursor left, or
to move it right. Press CANCEL to erase the number. Then
re-enter the fax number correctly.
13. Press ENTER to save the setting and continue.
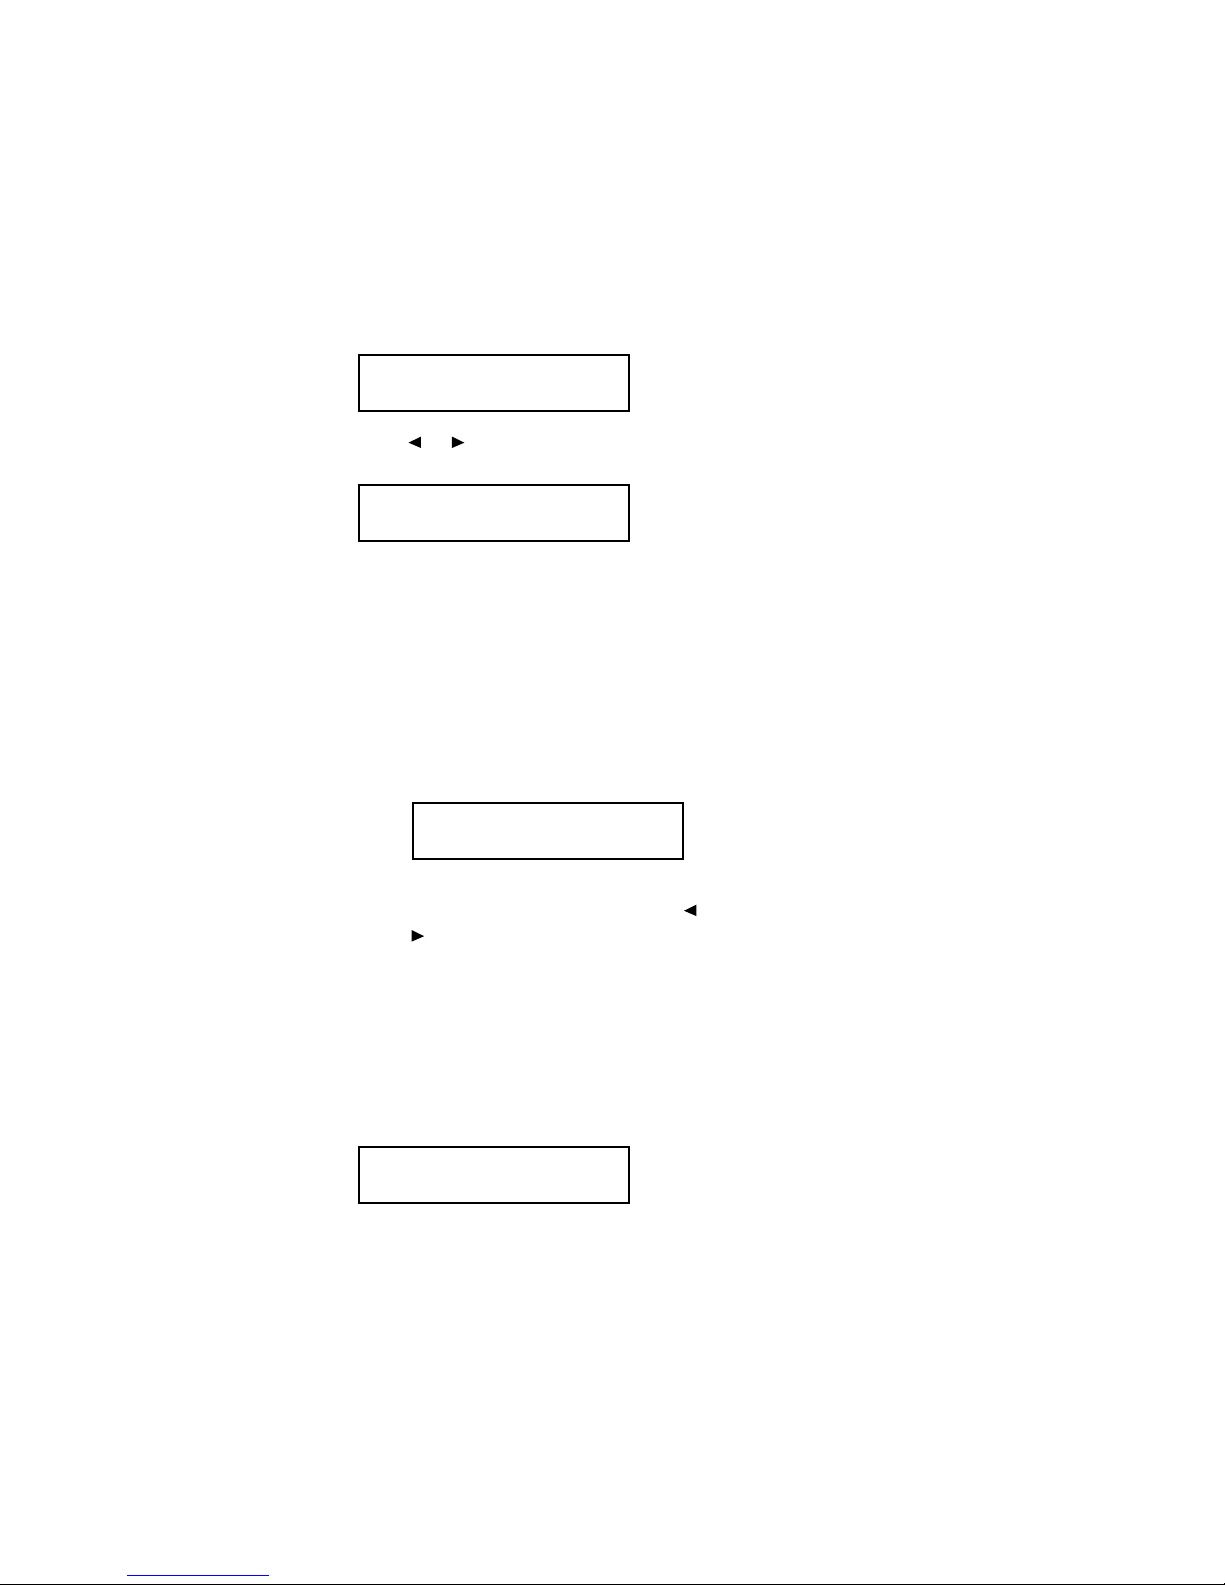
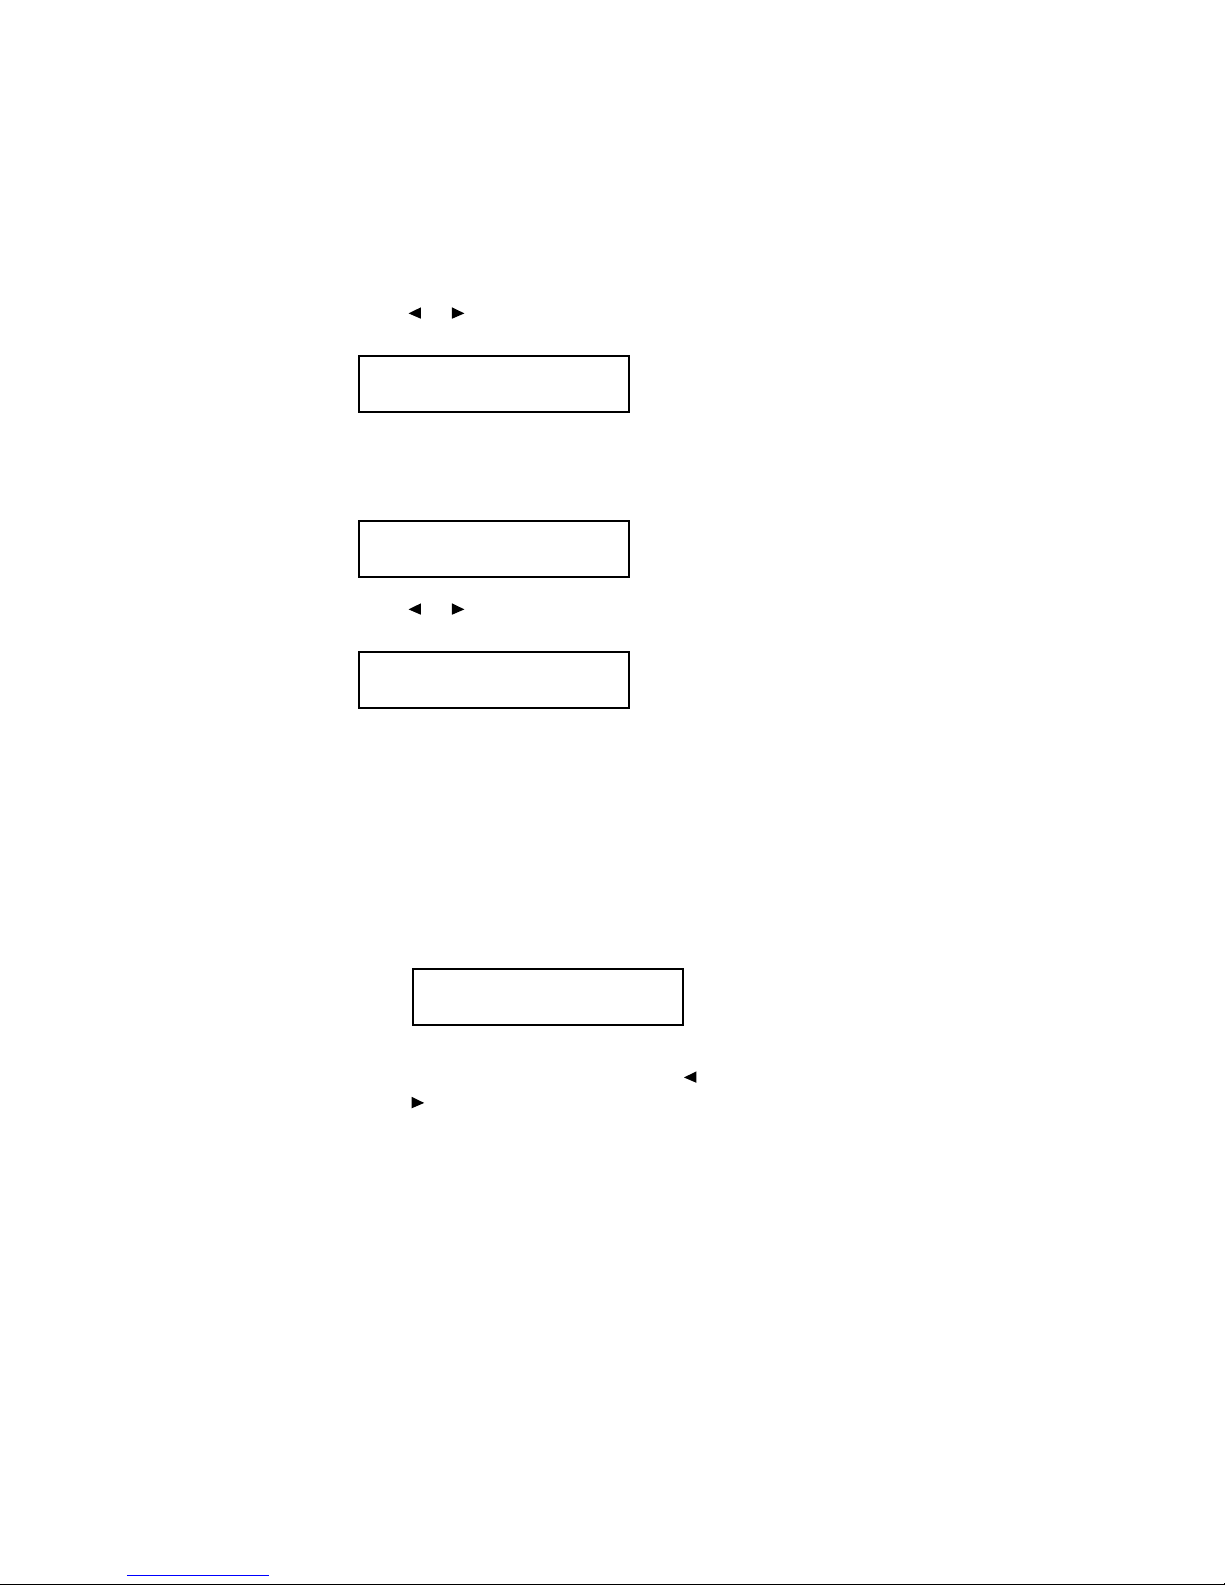
14. The LCD now asks you to enter the type of dialing needed for the
fax machine’s first line, either tone or pulse.
15. Press or until the mode you want appears. Here, we’ve
changed the setting to pulse mode.
16. Press ENTER to save the setting and continue.
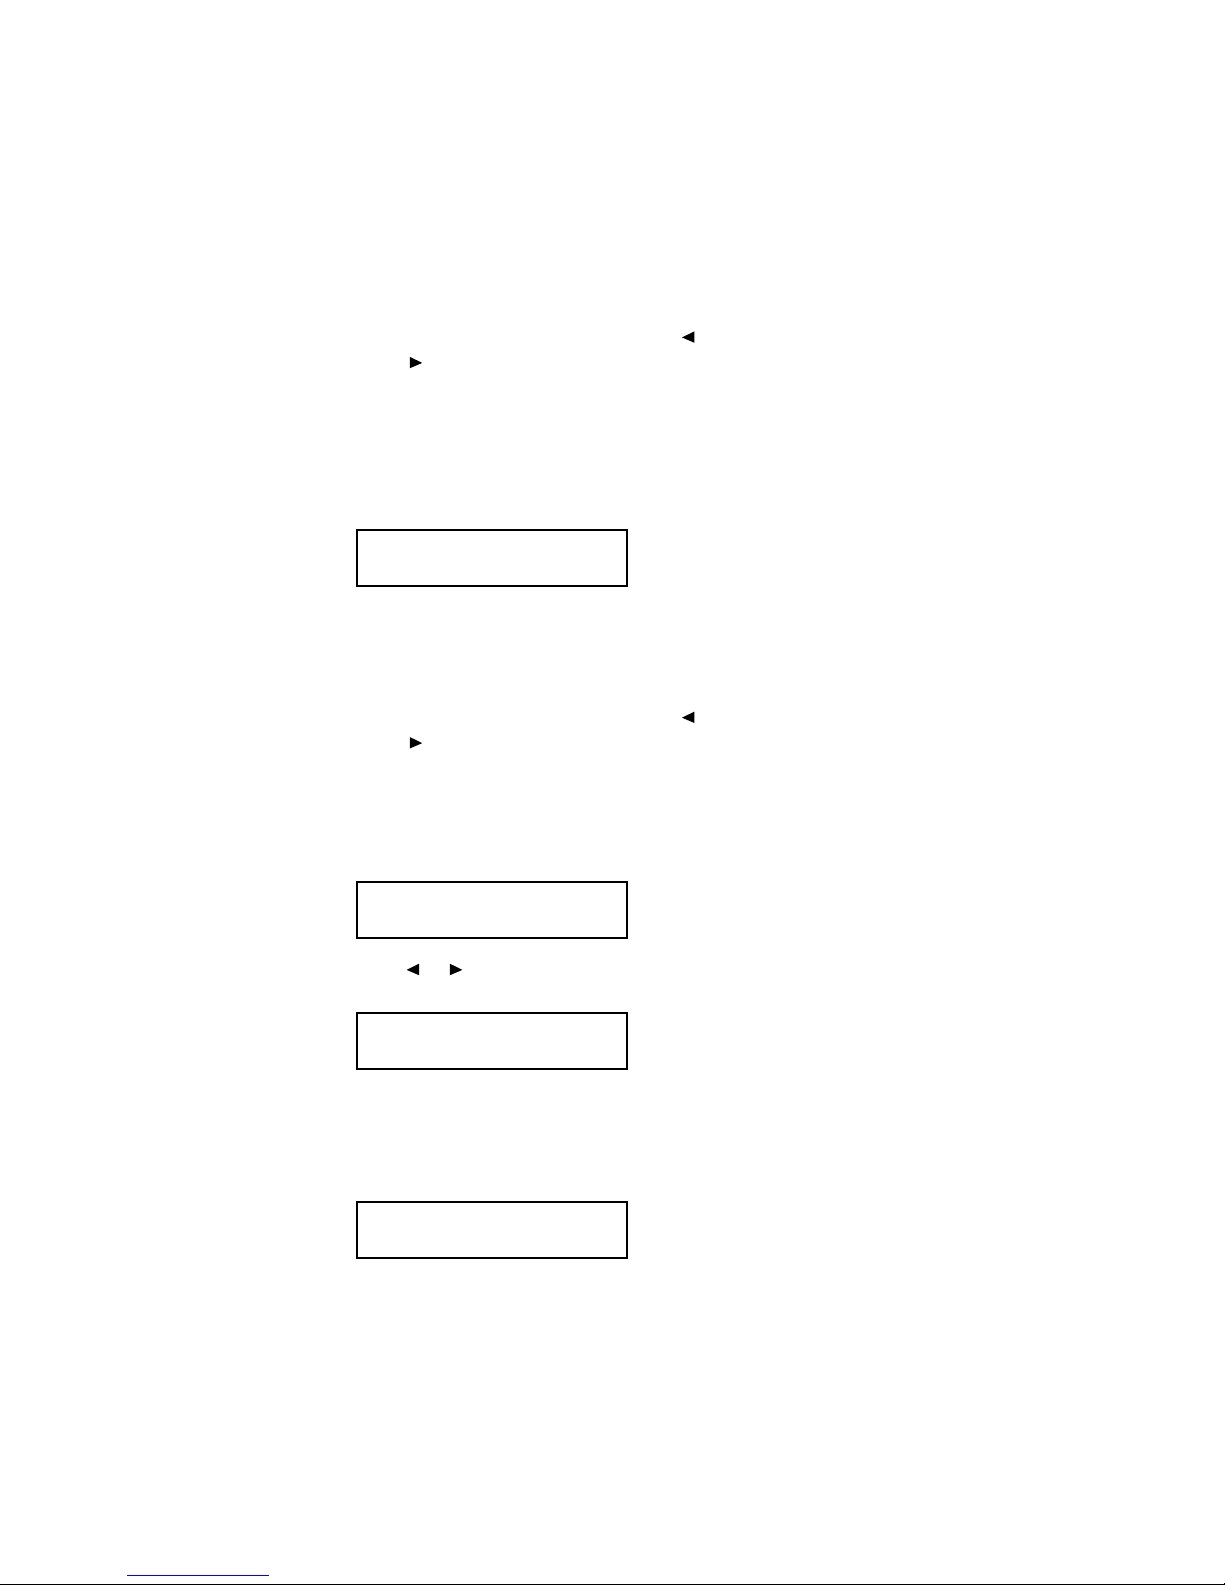
17. The LCD now shows the communication setting for the first phone
line. (See “Reference,” page 12, for more details.)
The setting you choose here will determine how your first line will
be used. Choose between transmit and receive (“Tx/Rx”), transmit-
only (“Tx”) or receive-only (“Rx”) settings.
18. Press or until the setting you want appears. Here, we’ve
changed the setting to “Tx” transmit only.
19. Press ENTER to save the setting and continue.
Tx/Rx (1) :Tx
//Enter
Tx/Rx (1) :Tx/Rx
//Enter
Phone Type(1) :Pulse
//Enter
Phone Type(1) :Tone
//Enter
4