4
Chapter 1 I Introduction Digital Dream Device
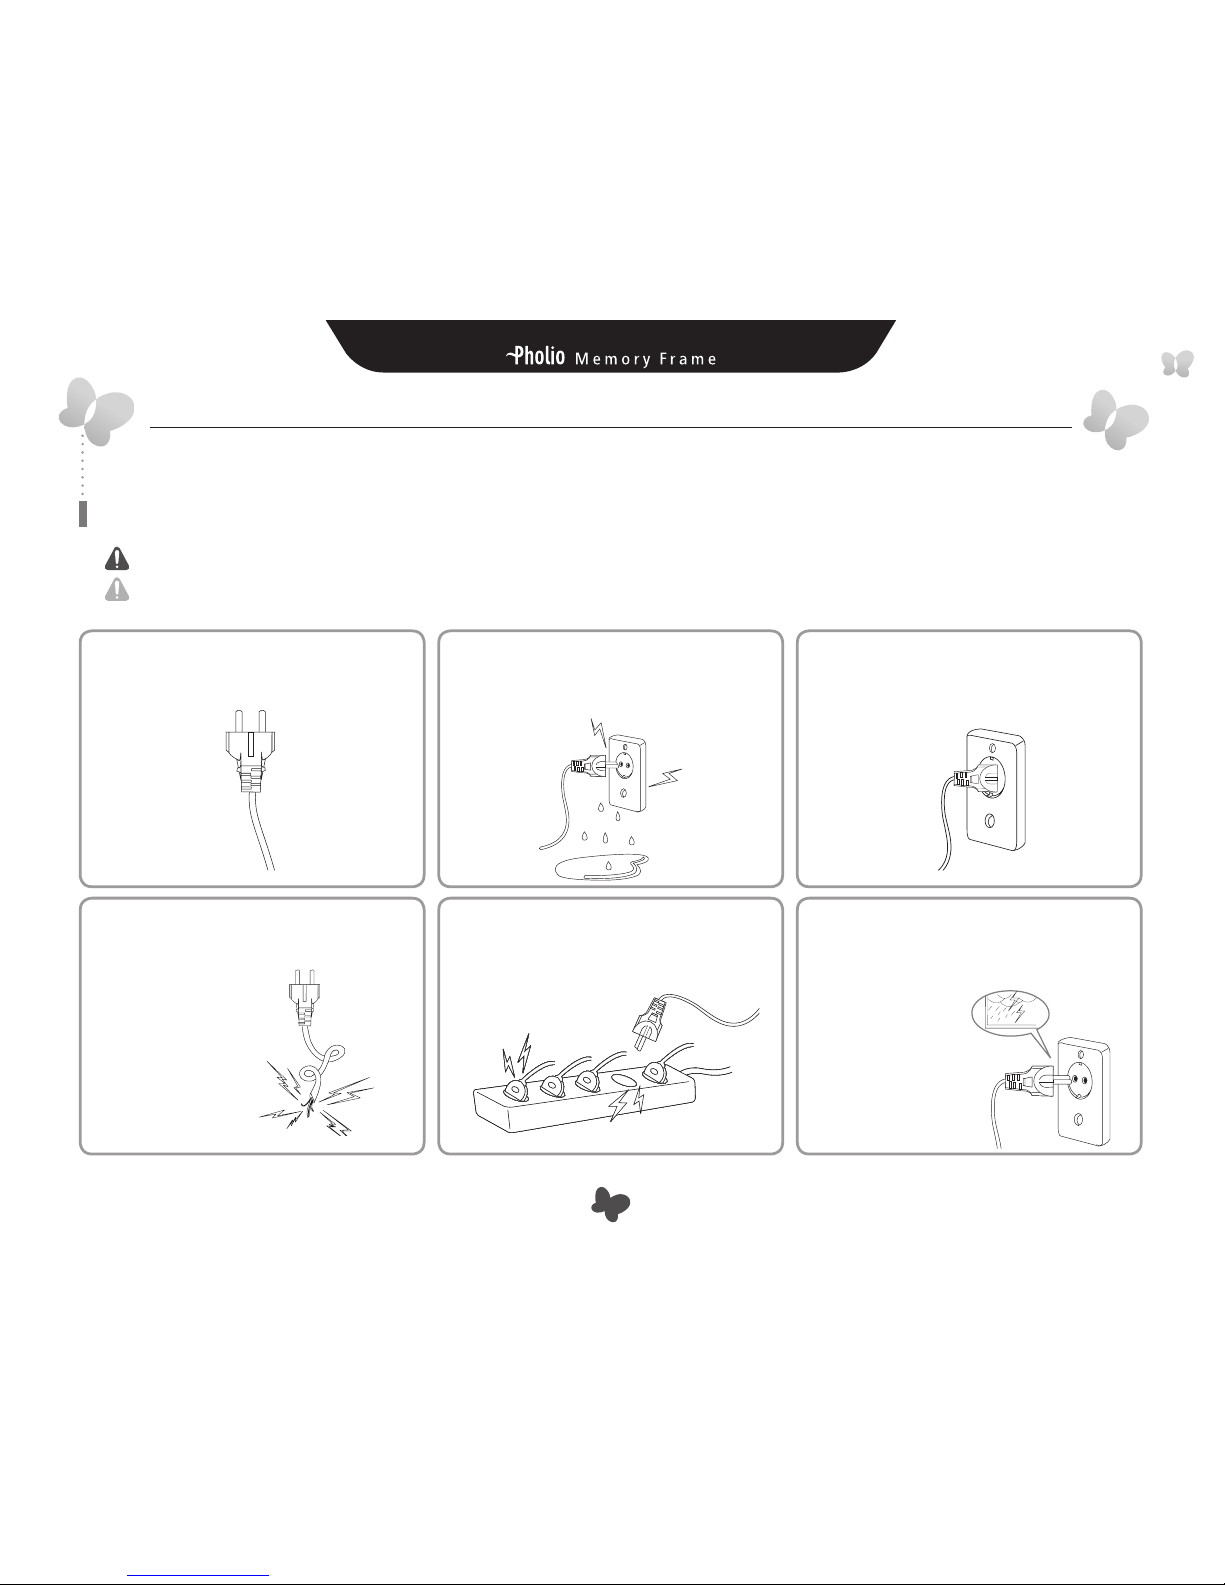
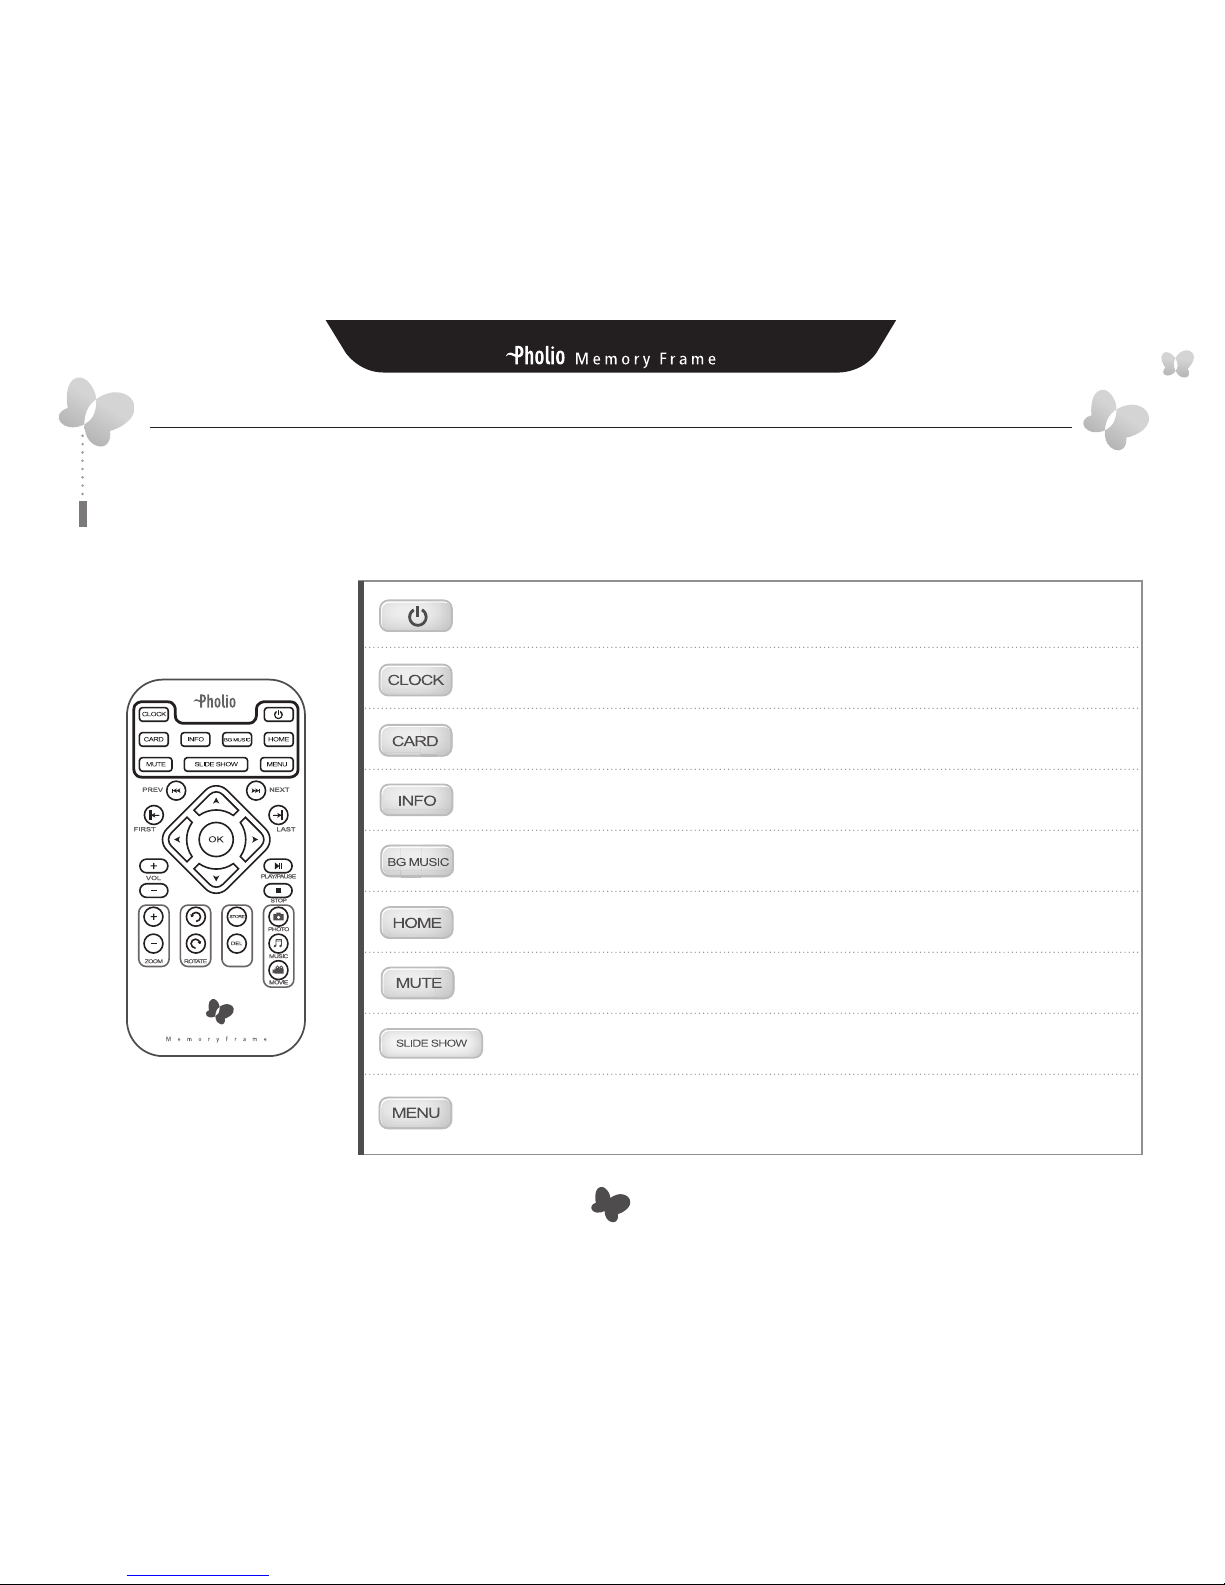
Power Related
Safety Precautions
Make sure to review the precautions to ensure user safety.
WARNING : Indicates information that, if neglected, could result in serious injury and/or death to the user.
CAUTION : Indicates information that, if neglected, could result in injury to the user and/or material damage.
Use only the authorized power supply product.
Failure to do so could result in product
malfunction.
When connecting the power source, make
sure that your hands are free of moisture.
Failure to do so could result in electrical
shock.
Do not let the power cord get overly
entangled and do not place any heavy
objects on the cord.
Failure to do so could
result in electrical shock.
Do not connect the power supply to an
electrical power strip with other various
connections.
Failure to do so could
resultinre.
Disconnect the power supply during
inclement weather conditions
that include thunder and lightning.
Failure to do so
couldresultinre.
Makesurethatthepowersupplyisrmly
plugged in and not loose.
Failure to do so could result in electrical
shock.