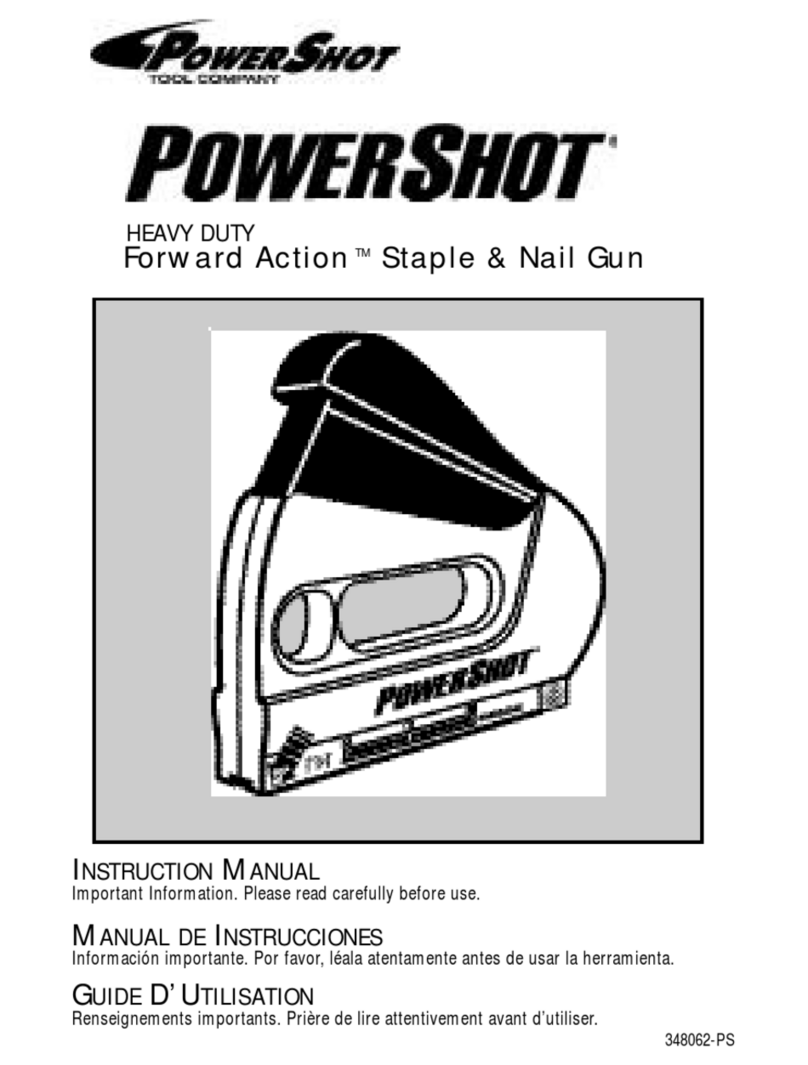
Power Shot Forward Action User manual

Forward Action ®Staple & Nail Gun
HEAVY DUTY
5700M ™
Instruction Manual

POWERSHOT®STAPLE AND NAIL SELECTION GUIDE
For best results the POWERS OT®eavy Duty Staple and Nail Gun has been designed to use
POWERS OT®Brand eavy Duty .050” narrow crown width staples, 9/16” & 5/8” brad nails. It will also
accept other standard .050” narrow crown width heavy duty staples, including Arrow®T-50®*brand staples.
As a general guideline, when stapling or nailing into wood, allow for leg penetration of approximately
3/16”–1/4”.
COMMON APPLICATIONS FOR STAPLE AND NAIL LENGTH:
1/4” Display Signs; Window Shades; Window Screens;
Draperies; Shelf Paper; Light Upholstery; Plastic Film;
Decorations.
5/16” Insulation; Upholstery; Weatherstripping; Wall
Decorations; Crafts; Covering Cornices, Leatherettes.
3/8” Insulation; Carpeting; Wire Mesh; Plastic or Canvas
Coverings; Roofing Paper; Felt Stripping; Low Voltage
Wiring (Telephone, Telecommunications.)
1/2” Insulation; Carpet Underlayment; Low Voltage Wiring
(Telephone/Telecommunications); Porch Screens; Picture
Frames; Wire Mesh; Netting; Roofing Paper.
9/16” eavy Insulation; Insulation Board; Fencing; Trellises;
Roofing; Carpeting; Metal Lath; Cornerite; eavy Wire Mesh.
9/16”
CeilingTile
Ceiling Tile; Carpeting, Picture Frames, Screening Cover
Strips, Small Moldings.
9/16” Trim Molding, Paneling, Picture Frames, Model Work, Any
Finish Nailing Application
1a. Loading Stapl s
1. Remove pusher rod “A” (FIG. #1).
2. Insert strip of staples into magazine “B” (FIG #2).
3. Replace pusher rod.
IMPORTANT: Gun must NOT be loaded with staples and nails at the same time.
1b. Loading Nails
1. Remove pusher rod “A” (FIG. #1).
2. Insert strip of nails into left channel of
magazine (side with graphics ) (FIG
#3a & 3b).
3. Replace pusher rod.
5/8”

Ceiling Tile; Carpeting, Picture Frames, Screening Cover
Strips, Small Moldings.
Wire Attachment (fig. 4)
If your POWERS OT includes a wire attachment follow these directions:
-Installing (fig. 4A) Spread sides of wire attachment and push.
-Application (fig. 4B) Place PowerShot over wire: line up center attachment over wire. Avoid over stapling.
-Removal (fig. 4C) Spread sides of wire attachment and pull.
2. Using Your POWERSHOT ®Stapl and Nail Gun
The POWERS OT staple gun has a unique forward action® design to give maximum ease of use and control.
To use, grasp the handle of the gun, making sure that the staple exit is pointing away from you (fig. 5). Place
it firmly on the workpiece and push the handle steadily down towards the staple exit to activate. Maximum
leverage is gained by pushing down at the front of the handle using the force of your arm rather than just
squeezing with the hand. In vertical applications the front finger hole provides added support.
POWERS OT has many other useful features - each designed to help make stapling easier and more com-
fortable (fig. 8).
A.
B.
Staples Remaining Win ow– This feature is located on the left side of the gun. Reload when end
of strip is seen through window “A” (FIG #8).
Staple Exit In icator– Use the Staple Exit Indicator when you need greater precision in placing your
staples. The notch in the front of the gun shows you where the staple legs will be fired. Staples will exit
the gun directly behind the noseplate “B” (FIG #8).
C. Soft Grip Han le
D. Finger Hole
E. Track Release
3. To Cl an Magazin
In the unlikely event of a staple jam,make sure that the bottom of the gun is pointing away from
yourself and others before carrying out the following instructions.
1. Remove pusher rod “A” (FIG. #1).
2. Remove screw & nut “B” from hole “C” (FIG. #6).
3. Remove entire magazine from housing.
NOTE: THE TRACK MOVEMENT MAY BE STIFFER THAN USUAL IF THERE IS A STAPLE JAM.
Storing Your POWERSHOT®
When you have finished using your POWERS OT staple gun, unload remaining staples before storage.
Always store in a dry place out of the reach of children.
Part #
26
57M41
57M43
Postage & Handl ng Extra
FIG. 7

WARNING: TO MINIMIZE THE RISK OF EYE INJURY,
ALWAYS USE EYE PROTECTION. When using mechanical tools basic
safety precautions should always be followed to reduce the risk of personal
injury, including the following:
READ ALL INSTRUCTIONS
1. BE AWARE OF THE STAPLE EXIT POINT.The unique forward action design of
the PowerShot puts the “high” part of the handle in the front. Be sure this product is
in the proper position in your hand before using. Do not position “non gripping”
hand under contact surface of stapler.
2. POINT THE GUN AWAY FROM YOURSELF AND OTHERS at all times and
especially when opening the track to clear a jammed staple. As the track is opened,
the jammed staple may be shot out unexpectedly.
3.
4.
PLACE STAPLE EXIT POINT FIRMLY AGAINST WORK SURFACE BEFORE
FIRING. Staples fired “into the air” can cause serious injury.
ALWAYS USE THE PROPER STAPLE SIZE.This product accepts .050” wire
gauge heavy duty staples only. Do not try to use light duty (.030”), desk, or wire
staples in this product.
5. KEEP WORK AREA CLEAN. Cluttered areas and benches invite injuries.
6. CONSIDER WORK AREA EN IRONMENT.Don’t expose tool to rain. Keep
work area well lit.
7. KEEP CHILDREN AWAY. All visitors should be kept away from work area. Do
not let visitors contact tool.
8. STORE IDLE TOOLS. When not in use, tools should be stored in dry, high or
locked-up place — out of reach of children.
9. DON’T O ERREACH. Keep proper footing and balance at all times.
10. STAY ALERT. Watch what you are doing. Use common sense. Do not operate
tool when you are tired.
11. BE CAUTIOUS NOT TO STAPLE INTO ELECTRICAL IRES
especially those
which may be hidden from view.
SA E THESE INSTRUCTIONS FOR FUTURE USE
IMPORTANT
To assure product safety and reliability, repairs and maintenance and other adjustments should be performed by
qualified PowerShot staff. This tool contains no customer serviceable components.
WARNING
We do not recommend unscrewing the housing to disassemble the tool because reassembly requires specific tools.
IMPORTANT SAFETY INSTRUCTIONS
Other manuals for Forward Action
1
Table of contents
Other Power Shot Nail Gun manuals