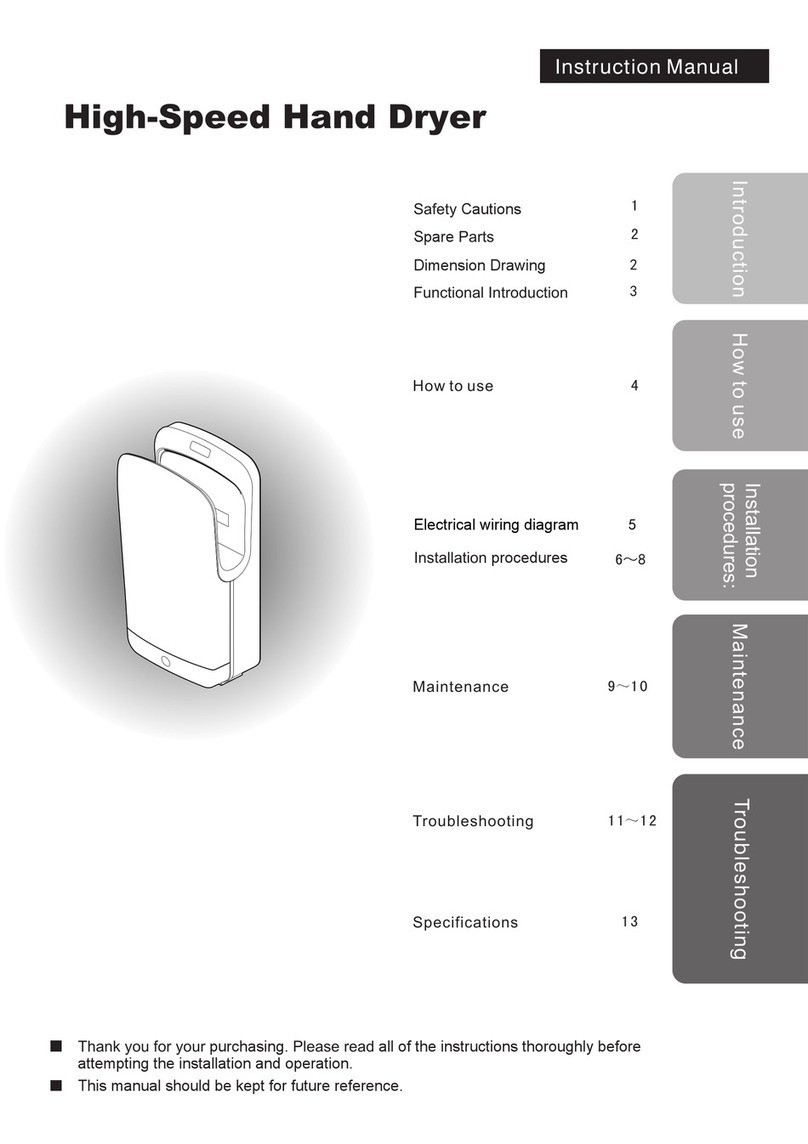
Power PW-A User manual

PW-A
HAND DRYER
USER MANUAL
Technical Parameters
Voltage
Input
Wind Speed
Heating Power
220V
1150W
70M/S
800W
Motor Type
Sensing Distance
Appearance Size
N.W
BLDC motor
9-15cm
278x245x163mm
3.8KG
WARNING
If you d on 't use this u ni t properl y or f ollow the s af ety guide lines car ef ully,
It wou ld l ead to seri ou s persona l in jury or pro perty dam ag e
Prohibition
Do not allow the
unit get wet
Do not use at
bathtub or
shower room
Prohibition
Please do
complying with
instruction
Prohibit
Disassembling
Please do
complying
with instruction
•
•
•
•
•
•
•
Do not open the front panel.
Otherwise, this may get an electric shock.
Do not allow the unit get wet,
Otherwise, it will cause electric shock.
Do not use in a wet environment, for example, near the
bathroom where it may get the direct water and the
places where the condensation may fogging. Otherwise,
this may cause electric shock and unit malfunction.
Do not modify and disassemble the unit unnecessarily.
Otherwise, this may cause a fire, electric shock, or personal injury.
220-230v,50Hz or 110-120V 60Hz is required.
If power tolerance is over +/-10%, there will be breakdown. If using
incorrect power supply, it may cause fire, electric shock and machine malfunction.
Pls using dedicated socket. If using together with other appliances,
the socket may cause abnormal heat leading to fire.
Power must be cut of when maintenance to prevent the risk of electric shock.
Must be Installed by similarly qualified persons. It may cause electric shock or fire.
Must install residual current circuit-breaker. Otherwise, it may cause electric shock.
•
•
•
•
•
Do not put th in gs o n th e machine .
If the machine doesn't work or have abnormal conditions,
please cut off power to prevent accidents; and close leakage
circuit breaker and ask supplier to check and repair. Or it may
lead to fire because of electricity leakage and short circuit.
Attention when installation:
Do not install when the machine is power connected.
Must be Installed by similarly qualified persons, and on the wall which is
hard enough. Otherwise, it may cause damage by dropping.
Must install residual current circuit-breaker. Otherwise, it may cause electric shock.
•
•
•

25
本机具有自动加热功能:当气温低于25℃时,工作时本机进入热风干手模式
Precautions before installation and installation location
Feature
• No tou ch h and dryin g en sures com pl ete hygie ne.
• No nee d pa per towel , no w aste.
• Antib ac terial en vi ronment al m aterial , No Pollut io n.
• Self -p rotecti on f unction : Wh en workin g la st over 50s , it will sto p
unti l in duct agai n.
• It is wi th a utomati c he ating fun ct ion: When t em peratur e be low
25±2, it wil l bl ow hot wind .
Name of each part
■Do not install in the following places (otherwise may cause malfunction)
• Place directly sprinkled by water
• Place with direct sunlight, strong light
• Place easy for condensation
• Place filled with corrosive, oxidizing and reducing gas
• Place with altitude over the range of 0 - 2000m
• The following picture shows the recommended location
(If there is floor or obstacles below the hand dryer, the distance between machine
and floor or obstacles should be at least 150mm.)
• Keep the right side of dryer away from mirror or wall for the water droplets may
splashout when you dry hands. ( the distance should be 100mm above )
• Please avoid the place easy to meet people and easy to encounter doors
• Please select flat wall to install this product
60mm 60mm
215mm
Appliance cover
227mm
1200mm
258mm
50mm
60mm
23mm
Machine's outlet hole of power cord
uncovered terminal box hole, size according to
the specification of the terminal box.
The screw hold should not be beyond the cover
size for good looking.
Φ 6 four expansion
screw holes
Ground
Power cord should be 1.0mm²~1.5mm²
Install Method
Connect the line
• When installing dryer without
junction box, you should install
above the right side of dryer
two-hole standard outlet
corresponds to hand dryer.
• Please embed Junction box without cover
in the installation location when directly
connecting power cord is needed. Other
wise power cord will be forced out of body
and can not be properly installed.
Ground
Electrical Schematic Diagram
Power
AC220/110V
Control circuit board
Fuse Wire
Control Relay
Induction probe
Negative-ion Generator
Motor
Temperature Controlled Switch
Heater
Thermal Fuse
Power Wire
(with Grounding
Wire)
≈300mm
Install steel plate
• Install the steel plate as showed in picture
• The down most expansion screw install to
a plastic cable
• As right picture showed, pull out
the power cord and connect with
dryer's power cord.
When connecting, live line with
brown color cord, zero line with
blue, grounding wire with yellow &
green; Then bind with insulating
tape, no leakage.

Install Method
Inst al l dryer
Eyes o n th e steel pla te , and
hang t he d ryer on it.
As pic tu re showed , th ere is a
reta in ing screw i n th e middle.
Tig hten the sc re w clockwi se
by Φ 5 scr ew driver, ti ll t he
drye r fix ed withou t sh aking.
Test Run
1
Steps Confirm Information Check & Notice
It will occur shaking and noisy
when the machine doesn't install
firmly
Shack the machine gently The machine is stalled firmly
without shaking
2
3
It will burn out machines or cause
human accidents if the power
use incorrect
Power socket must be match
the machine plug
Confirm the power and voltage
Switch on the power
Please use the rated power
supply
Close external power supply
switch or insert the power
plugs
3
Please check whether your hands
are beyond the sensing distance
if no wind blowing out
Slid in your hand to drying
High speed wind blow out
(try after 10s when connect
the power)
Daily use and maintenance
External maintenance
• Scrub with a soft dry cloth or towel.
If the machine is too dirty, please use neutral detergent, and wipe it with
dry cloth.
When cleaning the sensor parts, turn off the power in advance.
Please use neutral detergent
Please don't use organic solvents, acid or alkali toilet cleaner, cleaning brush etc.
Otherwise, the machine will destroy machine surface finish or produce
discoloration.
Do not clean surface with alcohol
If using a chemical cloth, make sure that the use of attention .
Main machine-------------------- 1
5x30mm self tapping screw--- 5
5mm expansion pipe----------- 5
User manu al ------- -- ------- 1
Usag e di agram-- -- ------- -- 1
Packing list
Other Power Dryer manuals
Popular Dryer manuals by other brands

Bosch
Bosch WPG23100CL User manual and installation instructions

GE
GE Spacemaker DSKP333EC Dimensions and installation information

Fisher & Paykel
Fisher & Paykel AeroSmart DE62T27CW1 Servlce manual

Haier
Haier HD80-256A user manual

Sears
Sears Galaxy Dryer User instructions

My Pet Command
My Pet Command MPC2800 Instructions for use