第 5 页 共 16 页
No Appearance Description
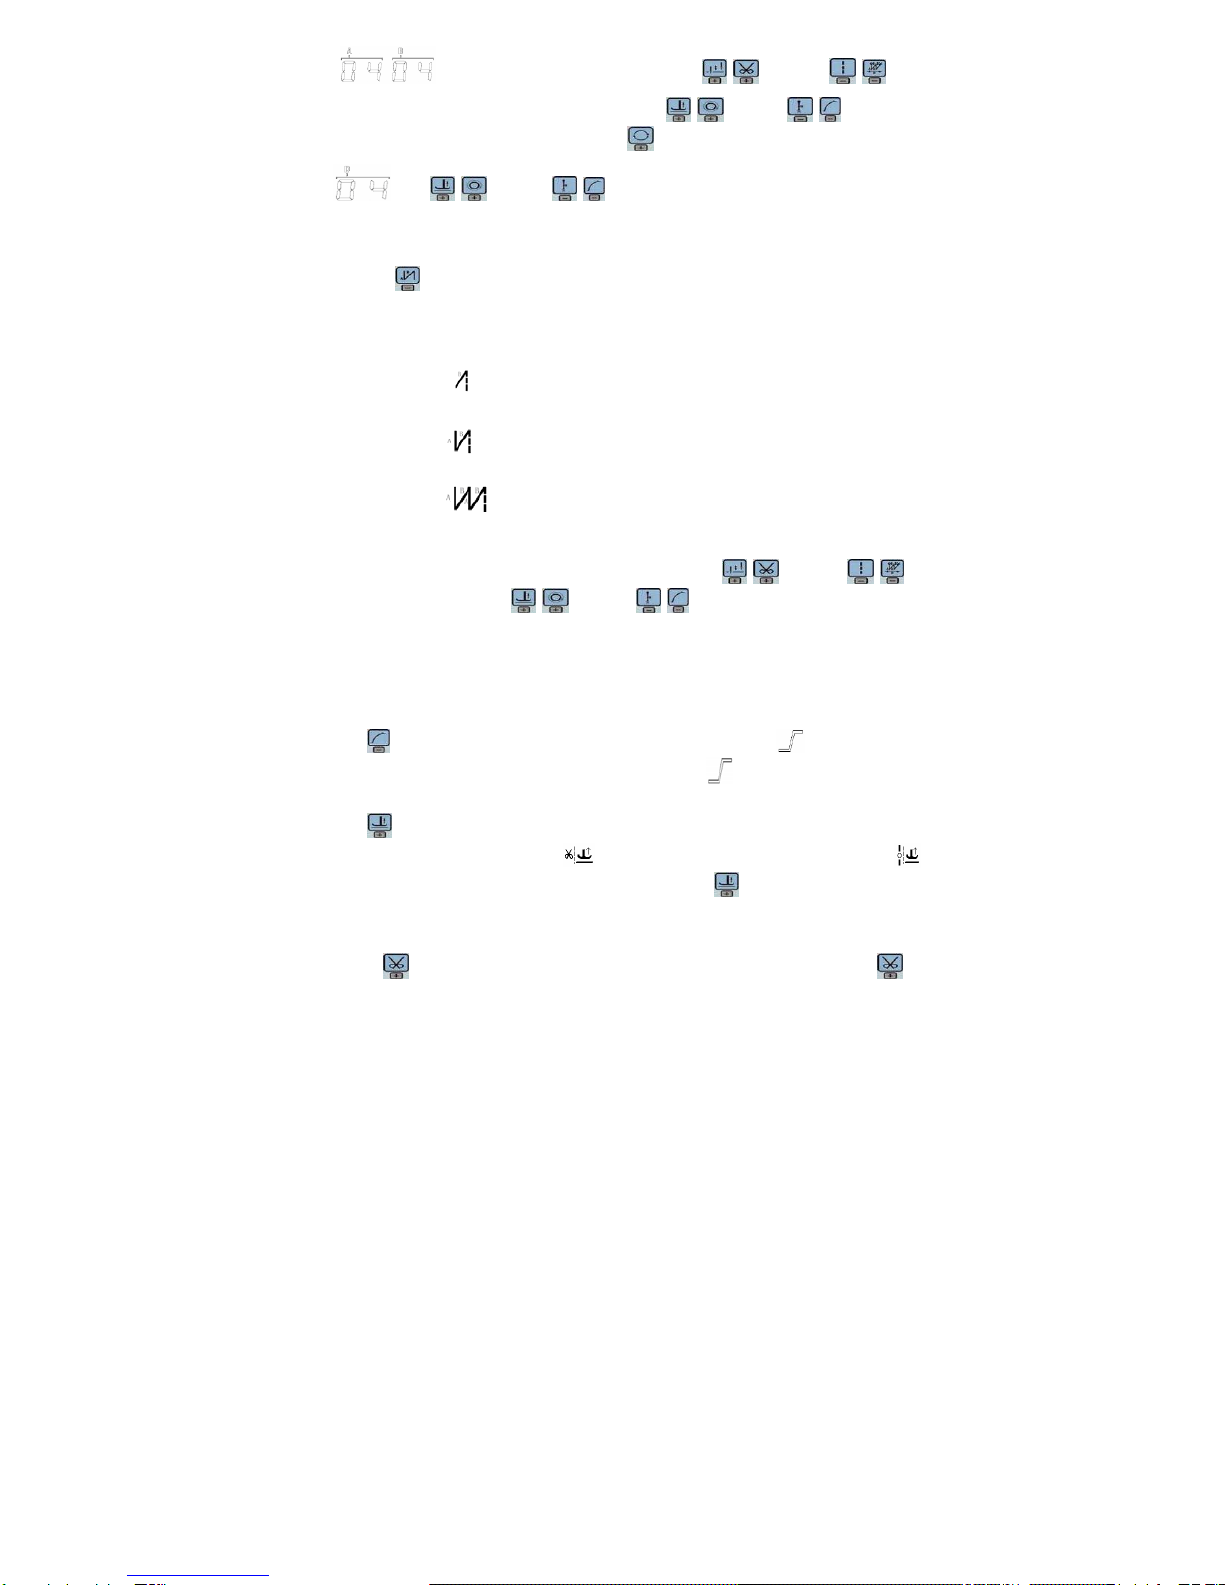
10
Stitch compensation key:Start stitch compensation if press, stop stitch compensation if loose.
11
Trimming key:Select/Cancel automatic trimming. The trimming status is displayed on top of LCD
screen. Detailed see "3.1.5 trimming set.
12
Press foot lifting key: Every effective pushed the key once; round with trimming after press foot
lifting, sewing end press foot lifting and manual press foot lifting. The current status is displayed
on top of LCD screen. Detailed see "3.1.4 press foot lifting set.
13
One-Shot-Sewing key:Select/Cancel one-Shot-Sewing, it is effective only into multi-segment
sewing mode, when chose one-shot sewing, one-shot foot pedal can complete one needle of
multi-segment sewing;The one-shot-sewing status is displayed on top of LCD screen. Detailed
see "3.1.6 trigger set.
3 System Parameter Setting Description
3.1 Operator Mode
In this mode, various sewing modes are available after technical parameters settings. As the
default setting, the system enters this mode when it starts. Under this mode, such basic
functions as normal sewing work and modes change can be realized but no change inside
parameters and setting.
:During working, if long time without press button, HMI will change to idle status
automatically, and will cancel the operation before.
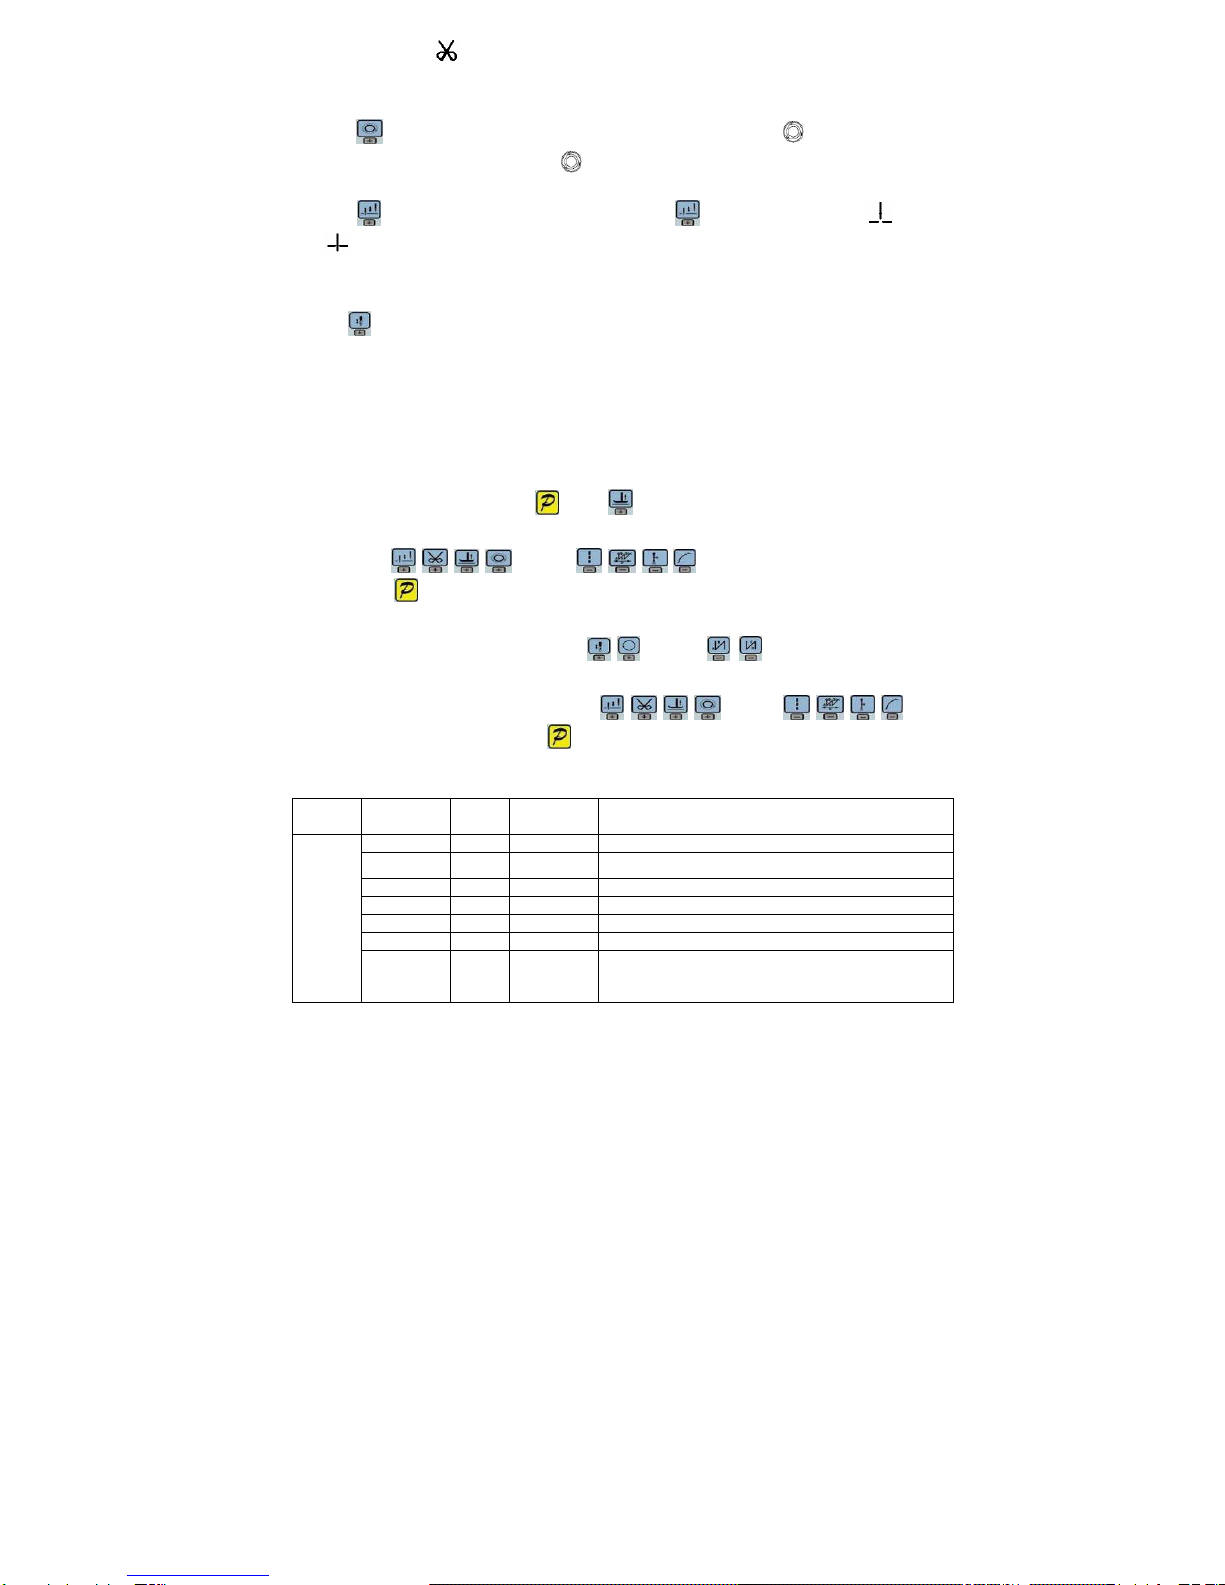
3.1.1 Sewing Mode Setup
· Free sewing mode:Press key, free sewing mode icon is lightened in LCD area. LCD
indicates free sewing mode has been selected; it is ready just step the pedal for
operation.
· Multi-segment sewing mode:Press key, constant-stitch sewing icon is lightened
in LCD area. LCD is multi-segment sewing status。Use
keys and keys to choice the N segment, and press key to entry multi-segment
sewing stitch number of each segment setup status . You may use
keys and keys to choice the need to modify number of segment, use keys
and keys to modify number of needle in multi-segment sewing stitch setup status.
· W sewing mode: Press key, constant-stitch sewing icon is lightened in LCD area.