PREDIA Cart UV-C User manual
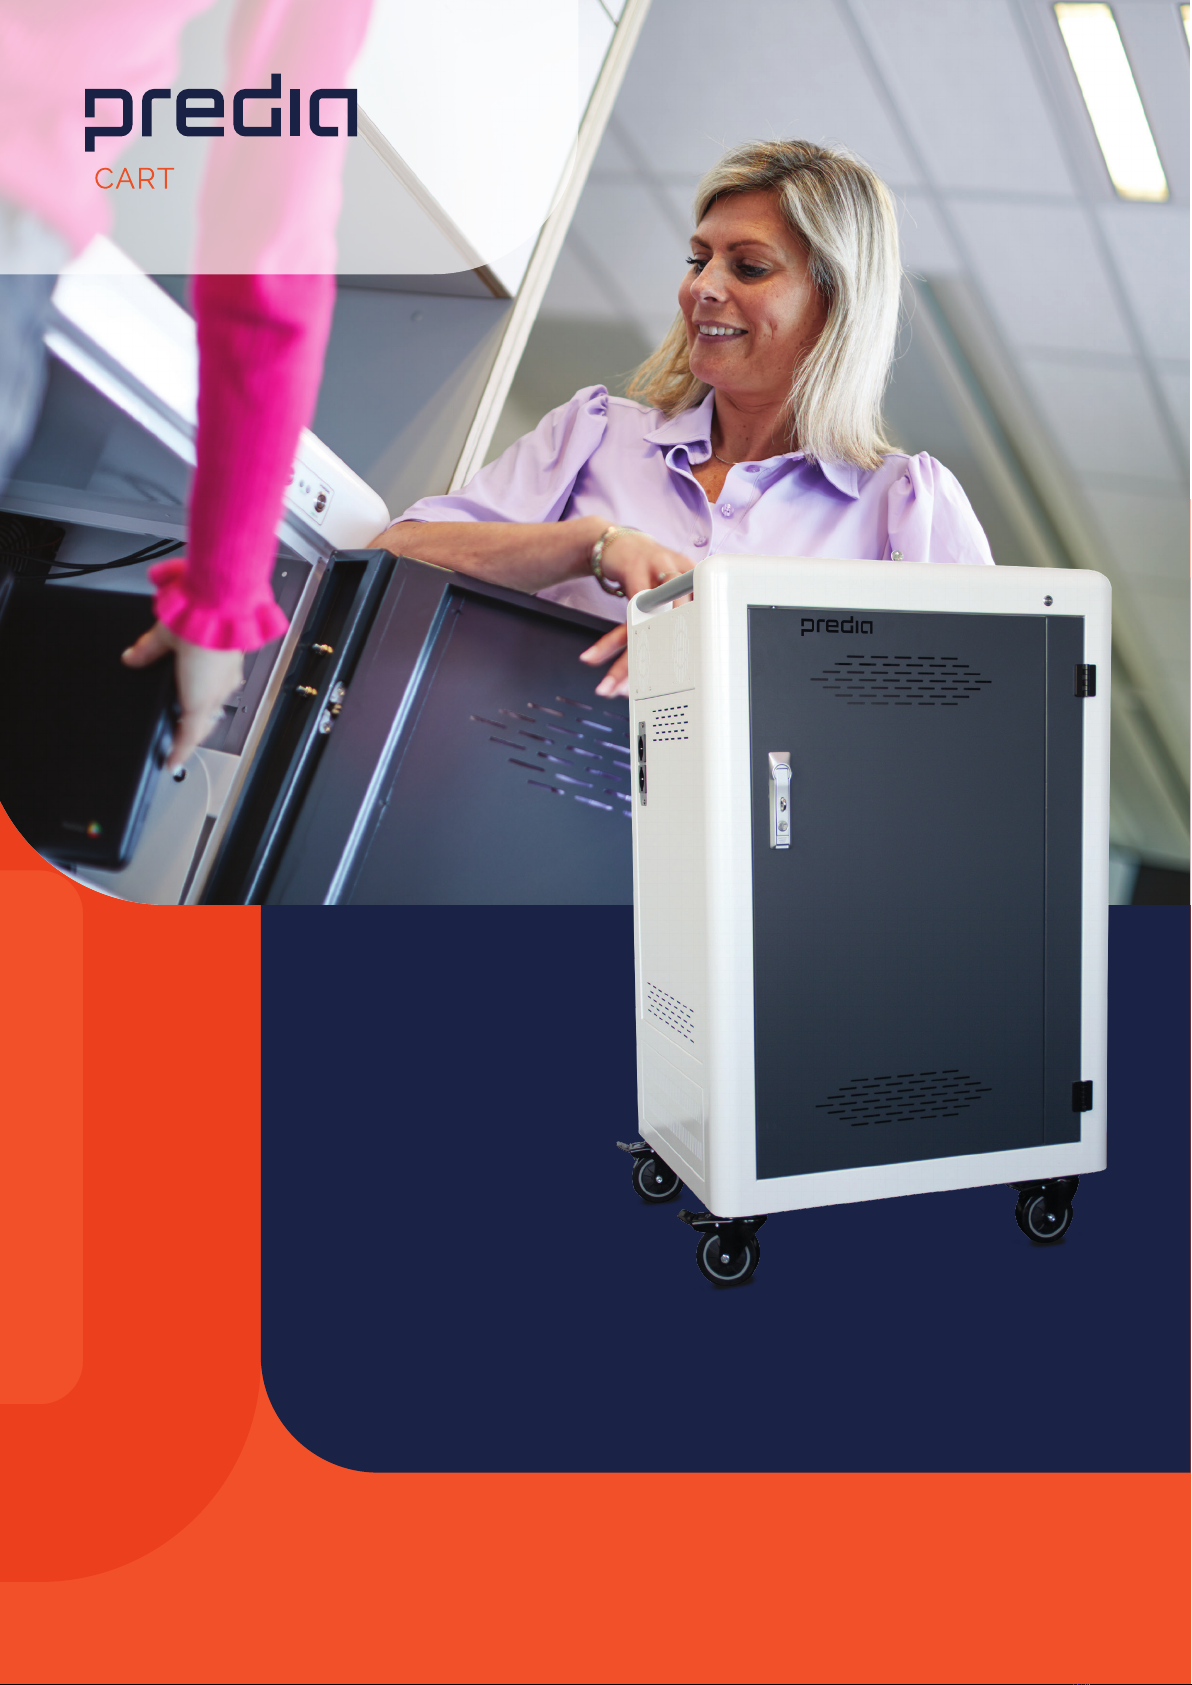
Predia Cart UV-C
User Manual

2
User Manual
All illustrations in this manual are for information purposes only and may dier from the product supplied by us.
Table of contents
Predia Cart UV-C Control Panel 3
Description of the three switching modes 4
Setting the UV switch and disinfection time 8
Safety instructions UV-C 9
3
User Manual
All illustrations in this manual are for information purposes only and may dier from the product supplied by us.
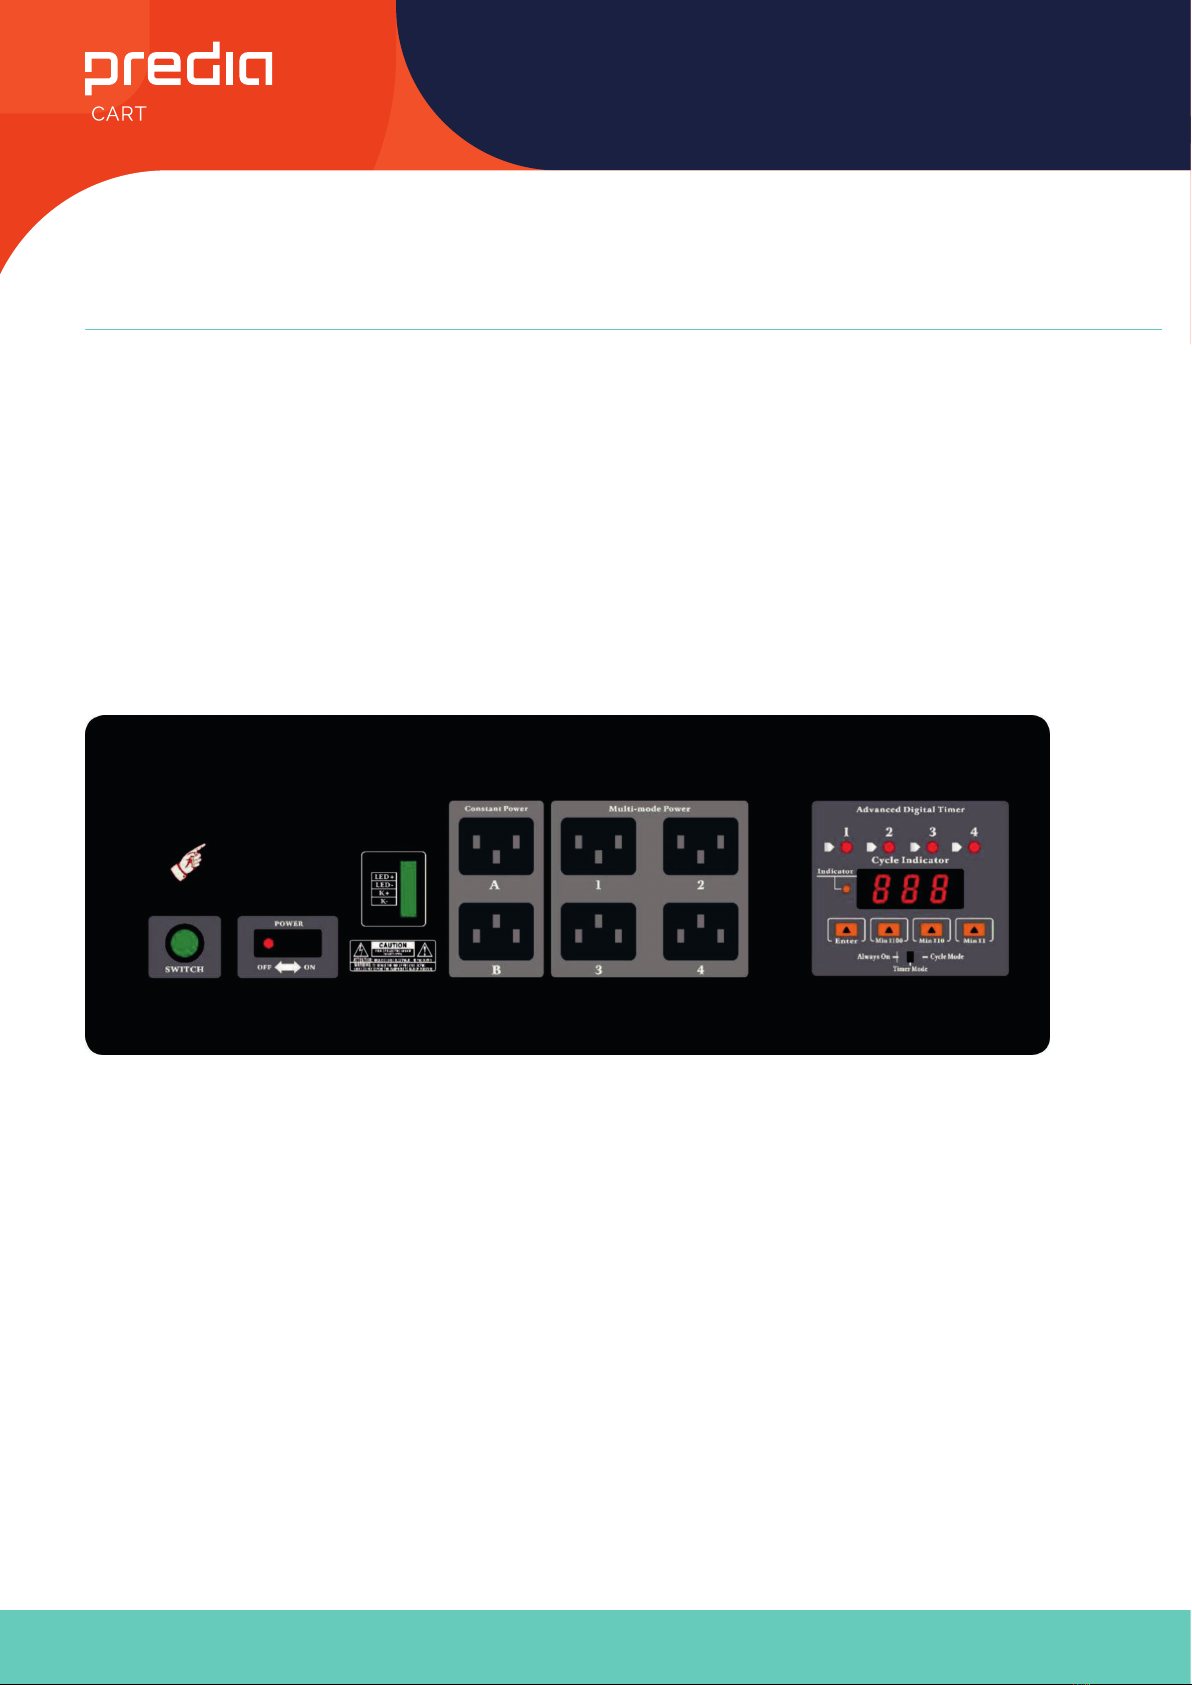
Predia Cart UV-C Control Panel
The Predia Cart UV-C control panel is designed for charging mobile devices.
This Predia Cart UV-C uses a current phase sequence that allows mobile devices to be switched on in three phases. It includes
a digital timer and overload protection for peak voltages.
The control panel is located on the back of the Predia Cart UV-C and can be accessed by removing the large grey back cover.
After setting up the Predia Cart UV-C, you can switch on the charging cart by means of the on/o button on the front of the
charging cart.
The Predia Cart UV-C Control Panel has the following functions:
• Three switching modes; always on, timer mode, cycle mode
• Overload and leakage protection
• Four-point power supply with constant power/multi-mode power (with cycle indicator)
• Two point power supply with always on/continuous voltage
• Reserved contact point and indication port on the outside
4
User Manual
All illustrations in this manual are for information purposes only and may dier from the product supplied by us.
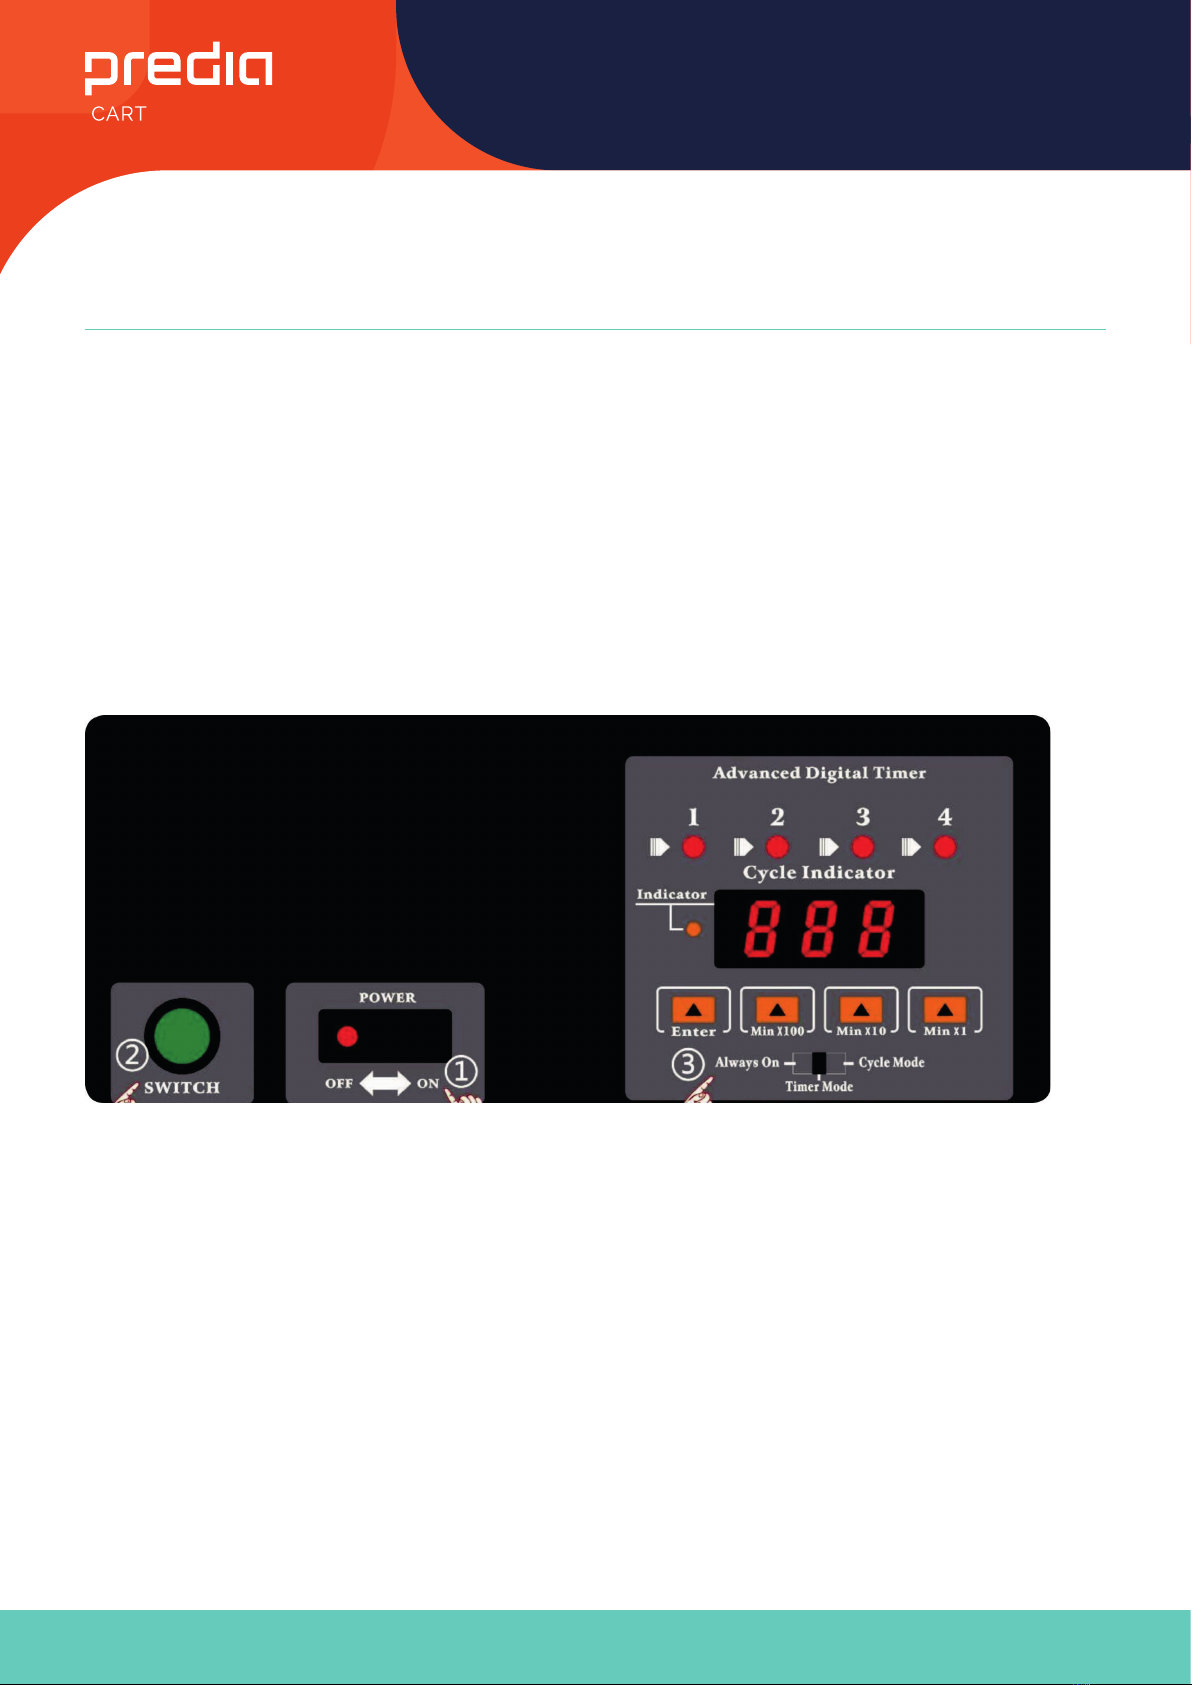
Description of the three switching modes
Always on:
When you select this mode, you switch on all the power sockets. They will only turn o when you press the on/o button
on the front of the Predia Cart UV-C.
• Plug the power cable supplied into the power socket and connect the C13 plug (device plug) to the side of the cart.
• Slide the on/o switch to the right to turn on. (1)
• Slide the switch to ‘Always on’ (3) and press ‘SWITCH’ (2)
• Press ‘SWITCH’ to turn on ‘Always on’.

5
User Manual
All illustrations in this manual are for information purposes only and may dier from the product supplied by us.
Description of the three switching modes
Timer mode:
If you select this mode, you switch on all power sockets and they turn o again automatically after the set time has elapsed.
The time switch must be switched on every day by means of the on/o button on the front of the Predia Cart UV-C.
• Plug the power cable supplied into the power socket and connect the C13 plug (device plug) to the side of the cart.
• Slide the on/o switch to the right to turn on. (1)
• Slide the switch to ‘Timer Mode’ (3) and press ‘SWITCH’ (2)
• Enter the desired number of minutes for the charging time. (4)
• Then press ‘Enter’ (5)
• Press ‘SWITCH’ (2) to turn on ‘Timer Mode’. The cart charges the connected devices depending on the set number of
minutes.

6
User Manual
All illustrations in this manual are for information purposes only and may dier from the product supplied by us.
Cycle mode:
If you select this mode, you switch on 12 power sockets for the set time and after the set time has elapsed the next 12
power sockets are automatically switched on. The time switch must be switched on every day by means of the on/o
button on the front of the Predia Cart UV-C.
• Plug the power cable supplied into the power socket and connect the C13 plug (device plug) to the side of the cart.
• Slide the on/o switch to the right to turn on. (1)
• Slide the switch to ‘Cycle Mode’ (3) and press ‘SWITCH’ (2)
• Enter the desired number of minutes for the charging time. (4)
• Then press ‘Enter’. (5)
• Press ‘SWITCH’ (2) to turn on ‘Cycle Mode’. The cart charges the connected devices depending on the set number of
minutes per socket block. This cycle then repeats itself.
Description of the three switching modes

7
User Manual
All illustrations in this manual are for information purposes only and may dier from the product supplied by us.
Remarks:
1. The default control mode is ‘Always on’. You can adjust this by turning on the device and setting it to your preferred
mode. See the section above.
2. The equipment can be set to standby mode because the standard control function is connected to the power supply.
The device is in standby mode when the Switch is pressed at the moment the device is switched on. After that, you can
set the time or adjust the mode.
3. You can select the control function by setting the switch on ‘Mode options’ (3). The time can be set by adjusting ‘100’,
‘10’ and ‘1’. Then press ‘Enter’ to conrm the setting.
4. After that, press ‘Switch’ to continue working with these settings.
5. The time cannot be adjusted in ‘always on’ mode. The default digital number will be displayed as ---
6. In ‘Timer Mode’ and ‘Cycle Mode’, the time is set and displayed in minutes.
7. Thus, when the display shows ‘567’, this means 567 minutes.
Description of the three switching modes

8
User Manual
All illustrations in this manual are for information purposes only and may dier from the product supplied by us.
Remark:
Disinfection and charging can go hand in hand. Put away your devices and close the doors and follow the steps below.
UV Operation:
Briey press the UV (on/or) button to switch on the disinfection programme. This will only start once the door is closed. The
disinfection will take 30 minutes as standard, after which the UV-C lamps will automatically turn o again. In the unlikely
event that the cabinet door is opened during disinfection, the UV-C lamps are automatically turned o.
Set disinfection time:
The disinfection time is set to 30 minutes as standard and, in practice, this is more than sucient.
However, if you would prefer this programme to be shorter or longer, you can set this yourself.
Press and hold in the UV button for more than 3 seconds to open the timer menu. The button lamp will ash. The number
of times the LED ashes represents the disinfection time. A short press of the UV button changes the ashing light.
• 1x ashing is 15 minutes
• 2x ashing is 30 minutes
• 3x ashing is 45 minutes
When the desired disinfection time has been selected, press and hold in the UV button again for at least 3 seconds. The
button will stop ashing.
Setting the UV Switch and disinfection time
9
User Manual
All illustrations in this manual are for information purposes only and may dier from the product supplied by us.
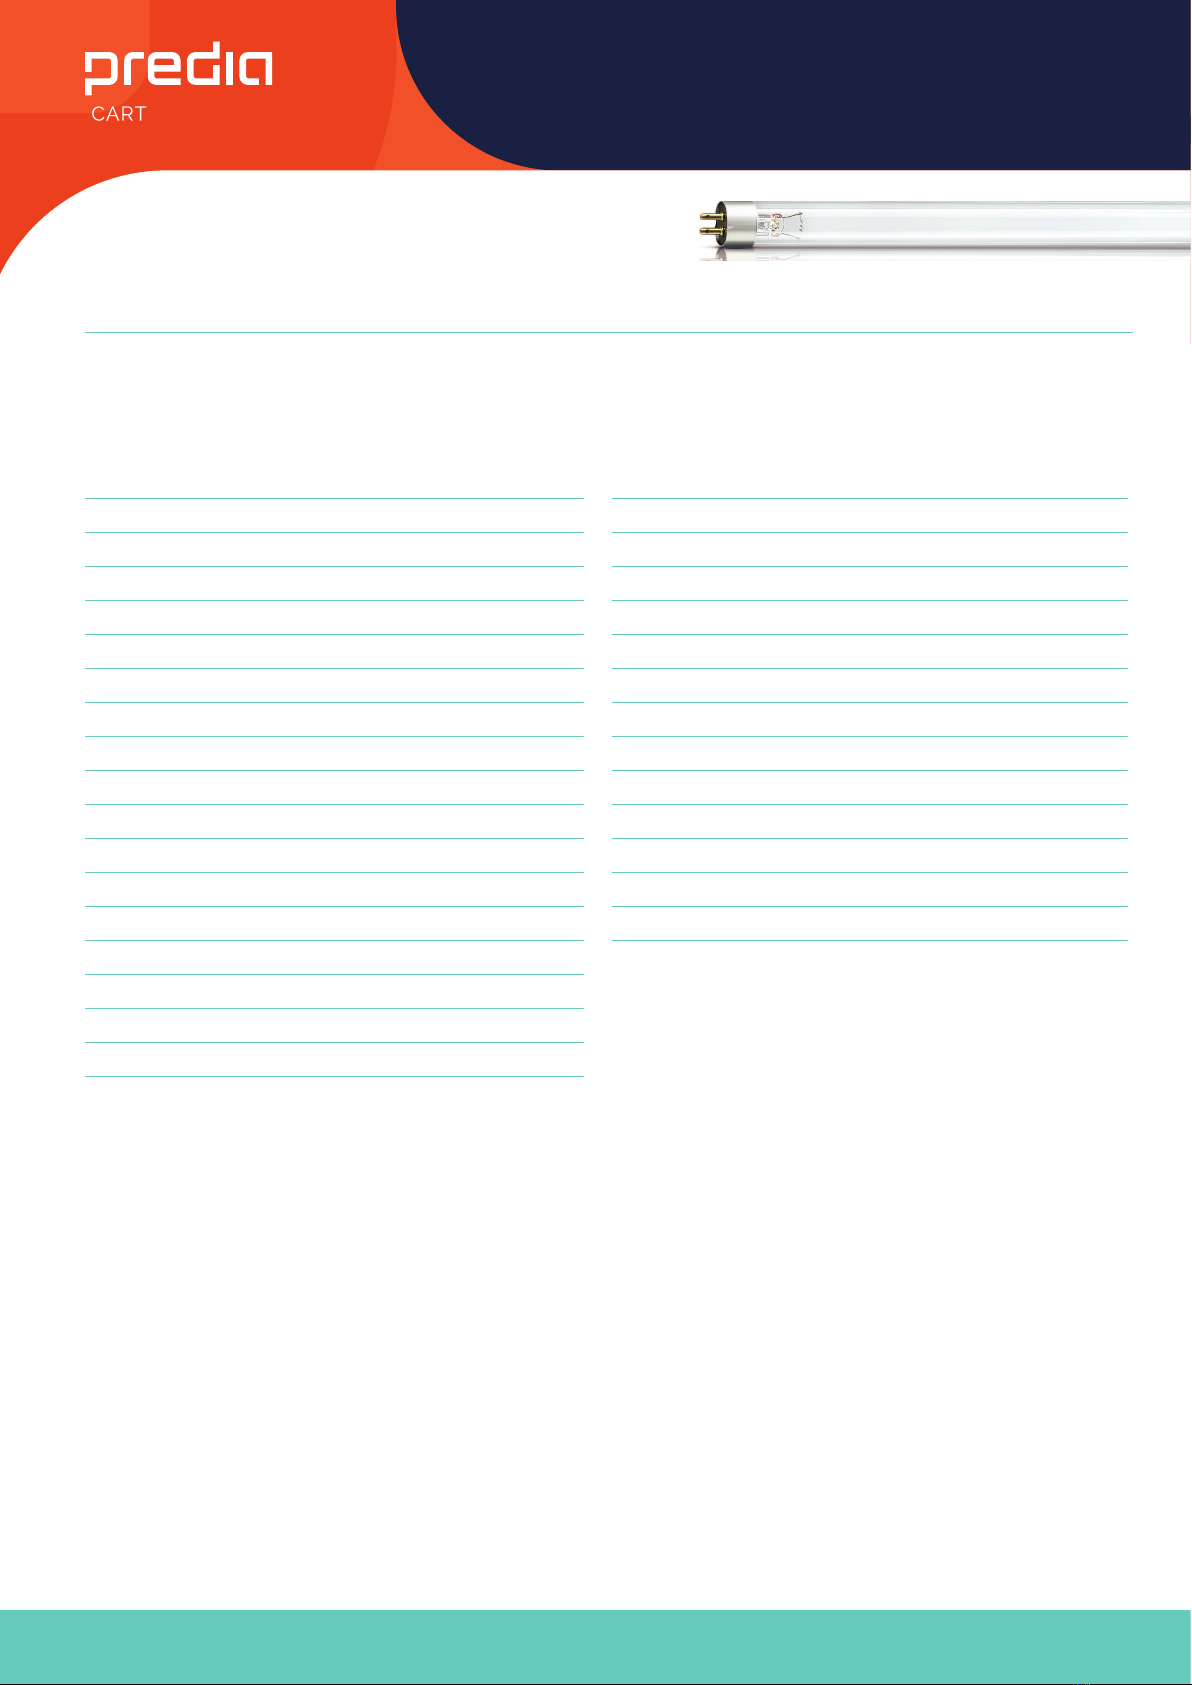
Philips TUV TL Mini
General information Approval and application
Cap-Base G5 [G5] Mercury (Hg) Content (Nom) 4.4 mg
Main Application Disinfection
Useful Life (Nom) 6000 h UV
System Description - UV-C Radiation 0.9 W
Light technical Product data
Color Code TUV Full product code 871150063872427
Color Designation - [Not Specied] Order product name TUV 4W FAM/10X25BOX
Depreciation at Useful Lifetime 0,25% EAN/UPC - Product 8711500638724
Order code 928000104013
Operating and electrical Numerator - Quantity Per Pack 1
Power (Nom) 4,5 W Numerator - Packs per outer box 250
Lamp Current (Nom) 0.17 A Material Nr. (12NC) 928000104013
Voltage (Nom) 29 V Net Weight (Piece) 18.600 g
Mechanical and housing
Cap-Base Information 2 Pins
Bulb Shape T16
Product specications
Warnings and safety
It is very unlikely that the breaking of a lamp will have any impact on your health. If a lamp breaks, ventilate the room for 30
minutes and remove the parts, preferably using gloves. Place them in a sealed plastic bag and take the bag to your local
waste disposal company for recycling. Do not use a vacuum cleaner.
HAZARD:
Product of risk group 3 Ultra Violet. These lamps emit powerful UV radiation that can cause serious injury to the skin and
eyes. Avoid exposure of eyes and skin to unshielded products. Use only in an enclosed environment that protects users
from the radiation.

10
User Manual
All illustrations in this manual are for information purposes only and may dier from the product supplied by us.
A
B
C
D
Philips TUV TL Mini
TUV 4W Dimensial drawing
5
Product ID D B B C A
TUV 4W FAM/10X25BOX 16 mm 143 mm 140,6 mm 150,1 mm 135,9 mm
Photometric data


