Primacoustic ECOSCAPES User manual
www.primacoustic.com
18"Acoustic Clouds
Installation Manual
Congratulations on purchasing your new EcoScapes
Cloud kit from Primacoustic. EcoScapes Acoustic
Clouds are high performance absorption panels that
are designed to hang from the ceiling and capture
ambient noise and reverberation. This is achieved by
absorbing sound as it hits the face of the panel,
while trapping powerful reections behind as they
echo o the ceiling. Please take a few minutes to
read this installation manual. It will give you a list of
included parts, as well as easy to follow assembly
instructions and installation options.
Please refer to www.primacoustic.com for general
room acoustics information and further details.
Should you have any questions or comments, we
invite you to send an email to info@primacoustic.com
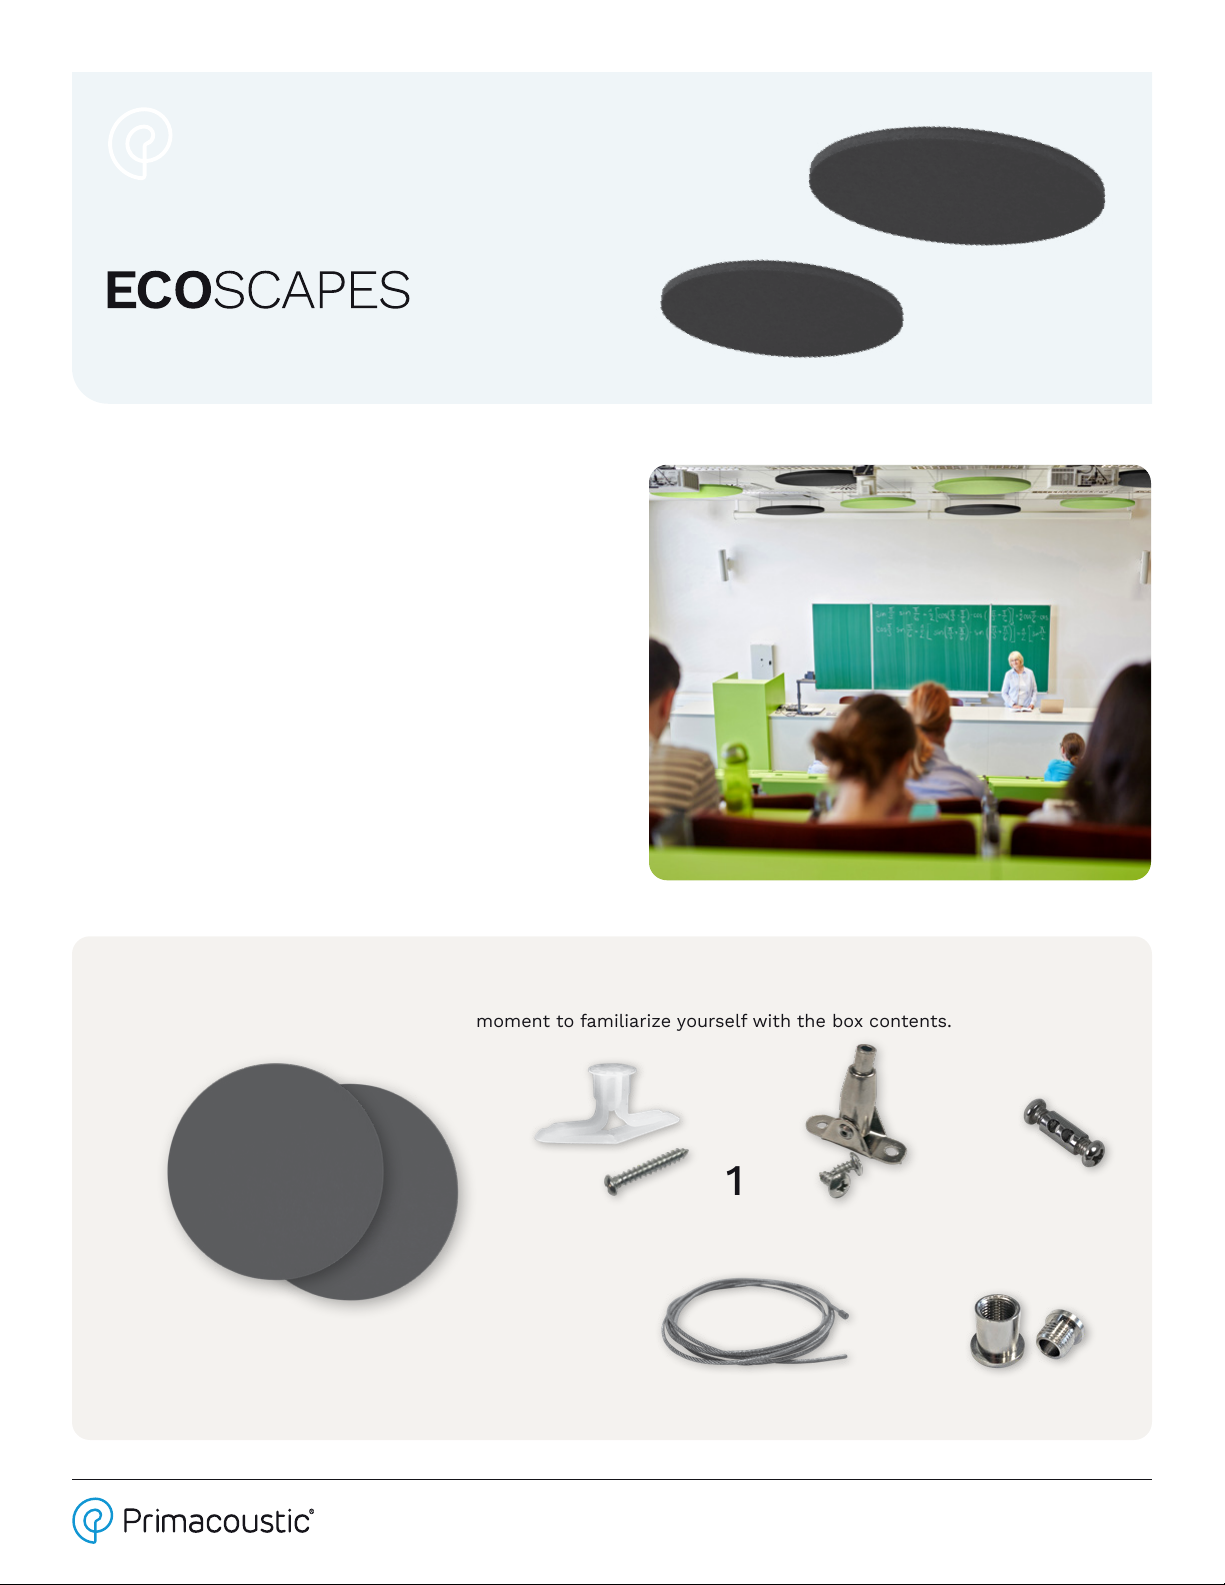
Box Contents:
Before beginning assembly, please take a moment to familiarize yourself with the box contents.
High Density PET Acoustic Clouds
18” x 18” x 1” (457mm x 457mm x 24mm)
Actual appearance may vary, depending on model purchased
4x
76" Sheathed Aircraft Cable
12x
12x
Ceiling Toggle w/Screws
12x
Cable Caps (two parts)
Cable Anchor Set
12x 12x
Optional Loop
Attachment
EcoScapes Acoustic Clouds
Installation Guidelines
www.primacoustic.com
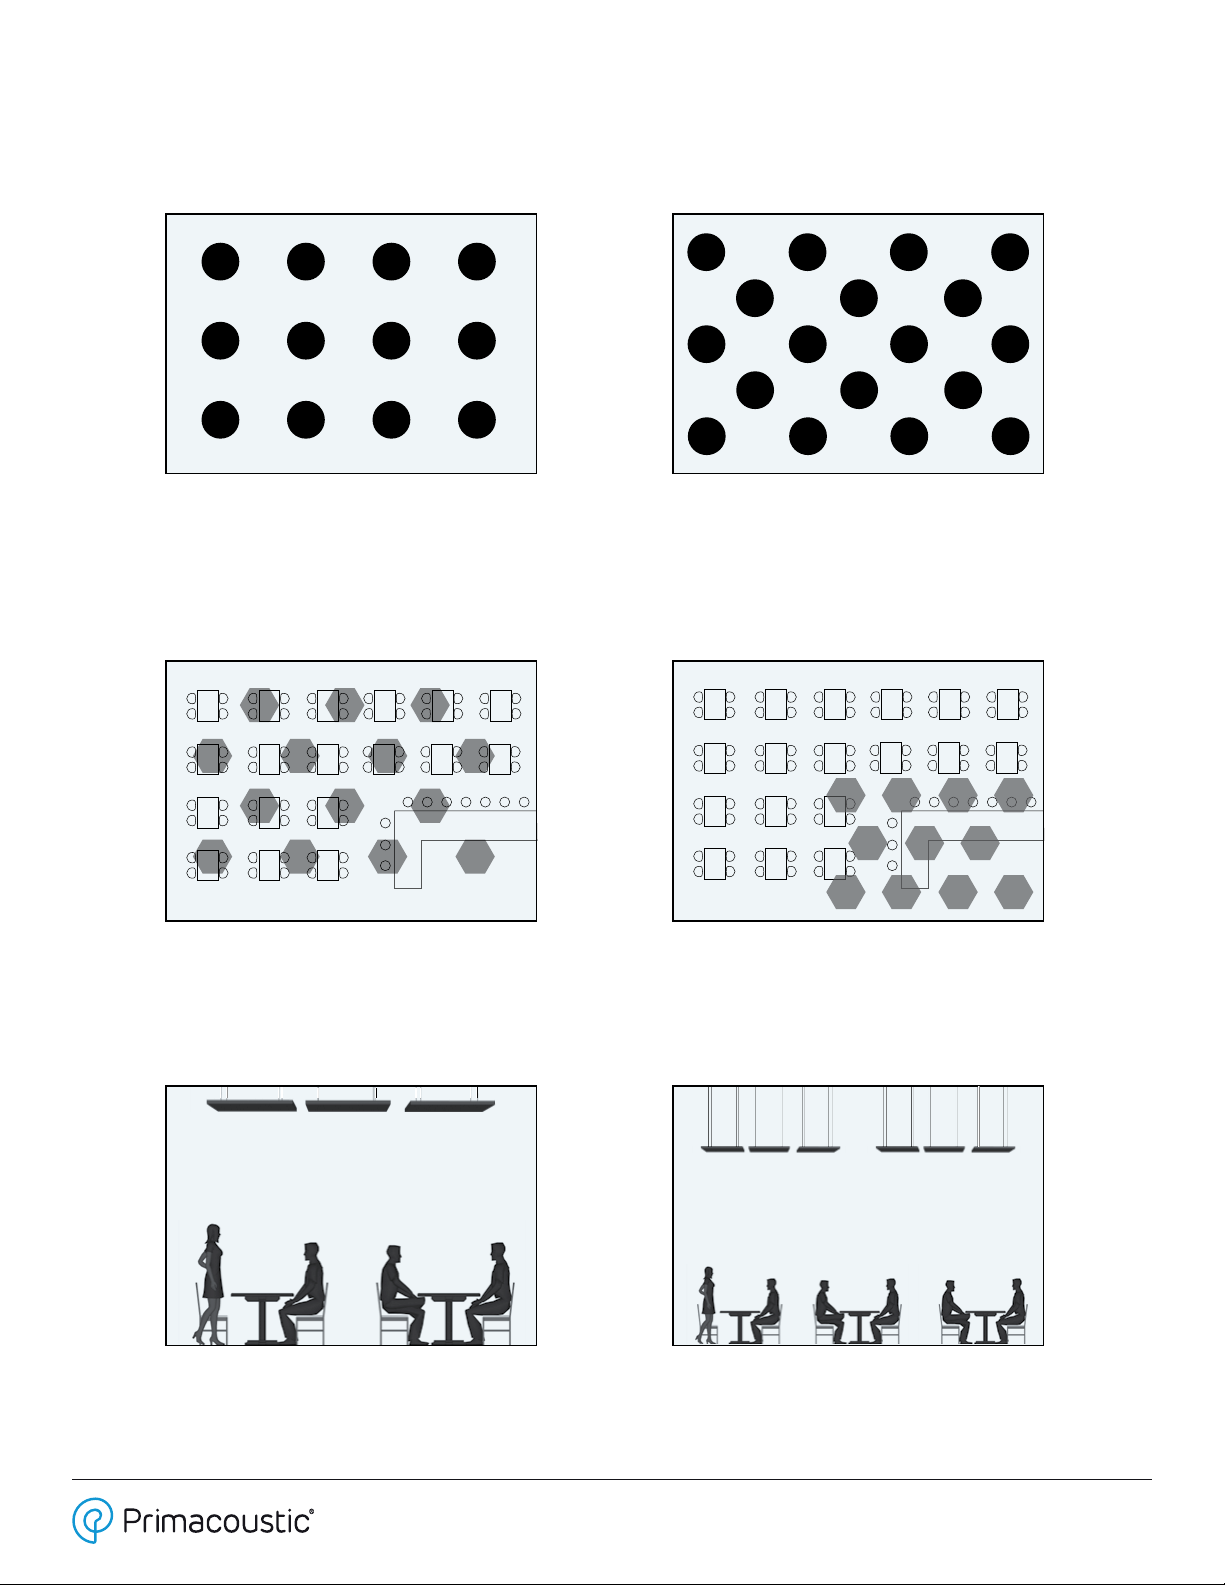
DENSITY
The number of clouds in a given area will determine the rate of sound absorption. This can vary depending on room size
and noise levels.
LOCATION
Spread evenly for general sound control, or concentrate over noisy areas to absorb sound before it can reect.
SUSPENSION HEIGHT
Leave a minimum 3" (76mm) of air space between the panel and ceiling, up to a maximum of 75" (150cm).
BAR BAR
INSTALLATION MANUAL
www.primacoustic.com
EcoScapes Acoustic Clouds
INSTALLATION MANUAL
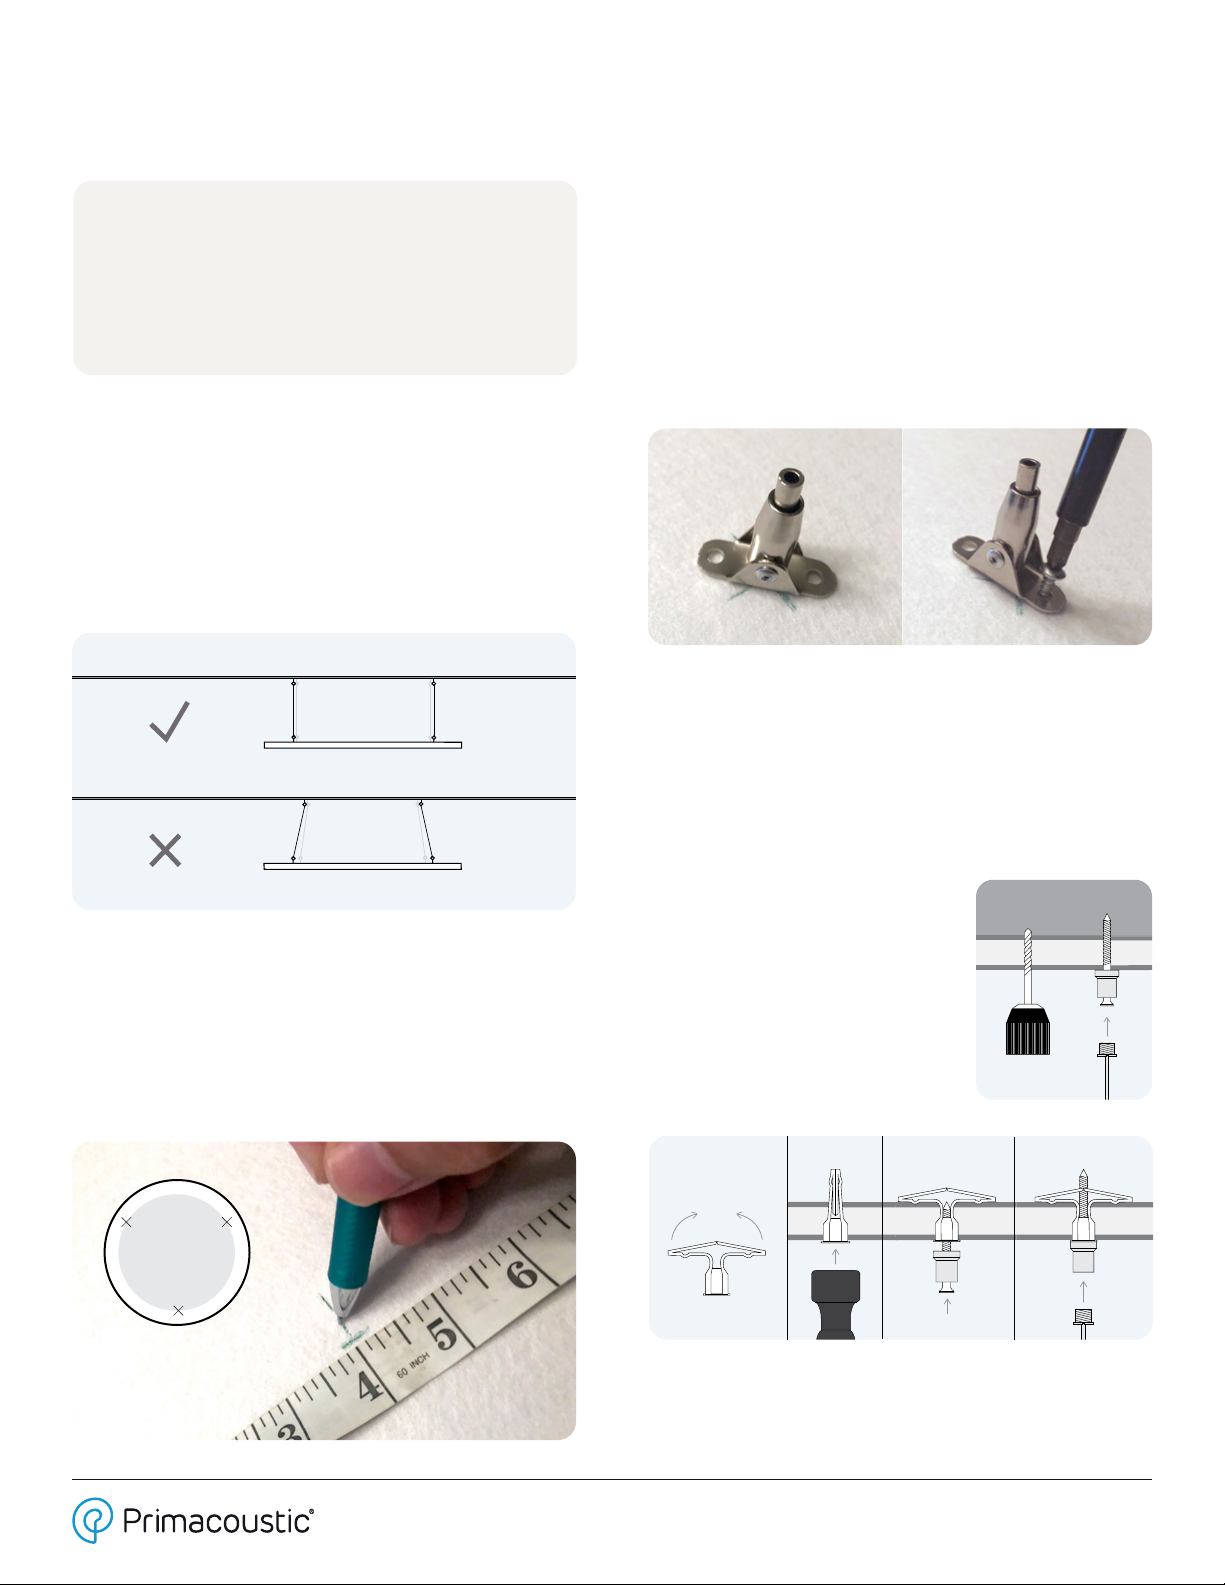
1. Ceiling Anchor Locations
Measure and mark your ceiling for suspension point
locations. Pay close attention to where you want the panel
to be located. This way the panel anchors will be directly
below each ceiling mounting point. All cables should hang
straight to create a dead hang.
3. Attach PET Cable Anchor
Place anchor with the at section on marks previously
created. Screw the smaller screws through the plate’s
holes directly into the cloud panel until the head of the
screw is ush and tight with the anchor plate.
NOTE: the screws will not fully tighten, however the
connection will be very secure.
Repeat for the other two anchors.
4. Installing Ceiling Anchors
Probe your ceiling to nd out if there is a solid or hollow
backing. Using a hammer tap a nail into each ceiling
anchor location to determine the backing. Depending on
the backing, choose one of the following two options:
Fold.
Solid Backed Ceiling
If one or more of your ceiling
anchor locations is on a solid
backing, such as a joist, you do not
need to use the included ceiling
anchors. In such a case, use a
3/32" drill bit to make a pilot hole
and screw the screw and Endcap
in directly. Continue to step 5.
Hollow Backed Ceiling
If the your ceiling backing is hollow, use a 1/4" drill bit to
make a hole for the buttery anchor. Continue to step 5.
Fold.
Fold.
Fold.
Fold.
Fold Anchor Tap in Screw in Endcap Screw in Cable
Tools & materials required:
• Measuring Tape
• Ladder/Scaolding
• Drill 3/32" or 1/4” bit
• Screwdriver
• Hammer
• Wire Clippers
2. Panel Anchor Locations
Measure and mark the backside of the panel. Anchors
should be a minimum of 3" (76mm) in from the panel’s
edge. Each anchor location should be spaced to match
the location marked on the ceiling in the previous step.
www.primacoustic.com
INSTALLATION MANUAL EcoScapes Acoustic Clouds
(c)2022All Rights Reserved. Specifications and appearances subject to change without notice. Primacoustic is a division of Radial Engineering Ltd. 1845 Kingsway Ave., Port Coqutilam BC, V3C 0H3, Canada. v1.2 05-2023
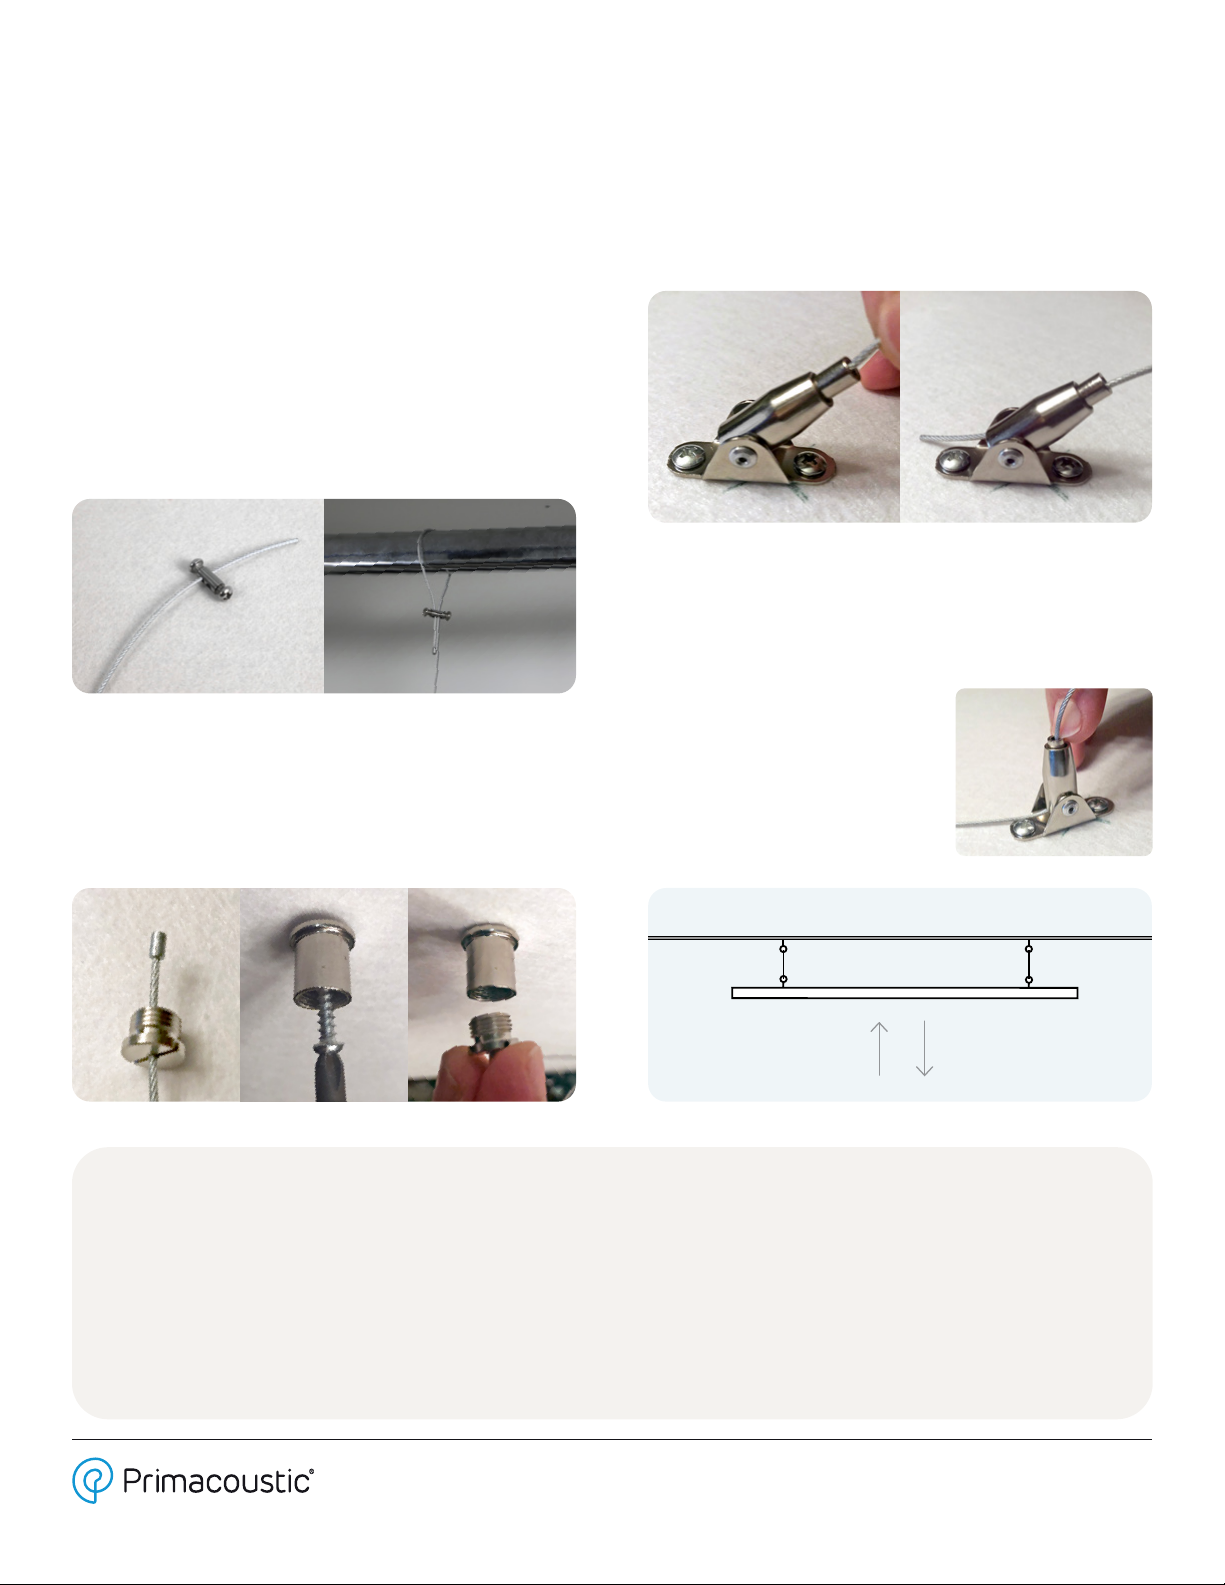
5. Install The Cable Endcap
Pass the unterminated end of the cable though the cable
cap. Screw the ceiling cap into the ceiling anchor using the
longer screws. Screw the cable cap into the ceiling cap.
7. Suspend and Level
With the panel suspended, pull the cable though to adjust
the panel’s distance from the ceiling.
Min 3” (76mm)
Fine-tune the lengths of the
cable by pressing on the center
sleeve of the anchor to release
the cable. For the best acoustic
performance, maintain a
minimum of 3" (76mm)
between cloud and ceiling.
6. Attach The Cloud Panel
Angle the cable anchor at 45 degrees. Insert the loose end
of the cable into the top of the anchor, pushing rmly to
engage the cable into the anchoring mechanism. You should
be able to see the cable protruding thought the bottom.
Suspending the clouds from a beam
The kit contains an optional attachment used to create a
secure hold when looping the suspension cables around
a beam. Please check the maximum weight the beam can
hold before suspending panels.
Thread the unterminated end of the cable through the rst
hole in the attachment and pull the full length of cable
through. Loop the cable loosely over the beam, then thread
the cable back though the second hole in the attachment.
Finally pull the cable tight around the beam, and tighten
the screws at either end of the attachment. Repeat for the
other two cables. Attach the panels, then suspend and level
as shown in steps 6 & 7.
Please inspect products immediately after receiving your purchase. Primacoustic acoustic products are guaranteed to be free of manufacturing defects for a period of 3 years after purchase. In the unlikely event that
a defect is uncovered, please call 604-942-1001 to obtain a RA number (Return Authorization number) from Primacoustic before the 3 year warranty period expires. Once you have obtained a RA number you must
return the product, freight prepaid, within fteen (15) days after the date the RA number is issued. Please return the product in the original packaging (or another, affording an equal degree of protection) with all of
the following: (1) RA number clearly marked on the returned package; (2) a receipt or bill of sale showing proof of purchase from an authorized seller; plus (3) a letter describing the defect. Please include your name,
address, telephone number and the applicable RA number. You are solely responsible for all shipping and insurance costs for returning the product to Primacoustic, and you will not be reimbursed or compensated for
any loss or damage incurred during return shipping. Primacoustic will at its sole discretion repair or replace the product. Should the product no longer be available, Primacoustic reserves the right to exchange this with
a product of similar performance and value. Due to different dye lots, Primacoustic cannot guarantee exact color match. This Warranty shall solely extend to the original owner and is limited to manufacturing defects
and excludes damage due to improper installation, freight handling, wear and tear, abuse, misuse, misapplication, color fading or deterioration due to prolonged exposure to ultra violet light, smoke, humidity or other
environmental factors. It is understood that the use and suitability of the product is entirely the responsibility of the buyer or specifying engineer and as such, these parties agree to hold Primacoustic, or its associated
company, and/or ofcers, harmless from any responsibility whatsoever other than what is clearly outlined in this warranty.
Limited Warranty
Other Primacoustic Indoor Furnishing manuals


Popular Indoor Furnishing manuals by other brands

Regency
Regency LWMS3015 Assembly instructions

Furniture of America
Furniture of America CM7751C Assembly instructions

Safavieh Furniture
Safavieh Furniture Estella CNS5731 manual

PLACES OF STYLE
PLACES OF STYLE Ovalfuss Assembly instruction

Trasman
Trasman 1138 Bo1 Assembly manual

Costway
Costway JV10856 manual


