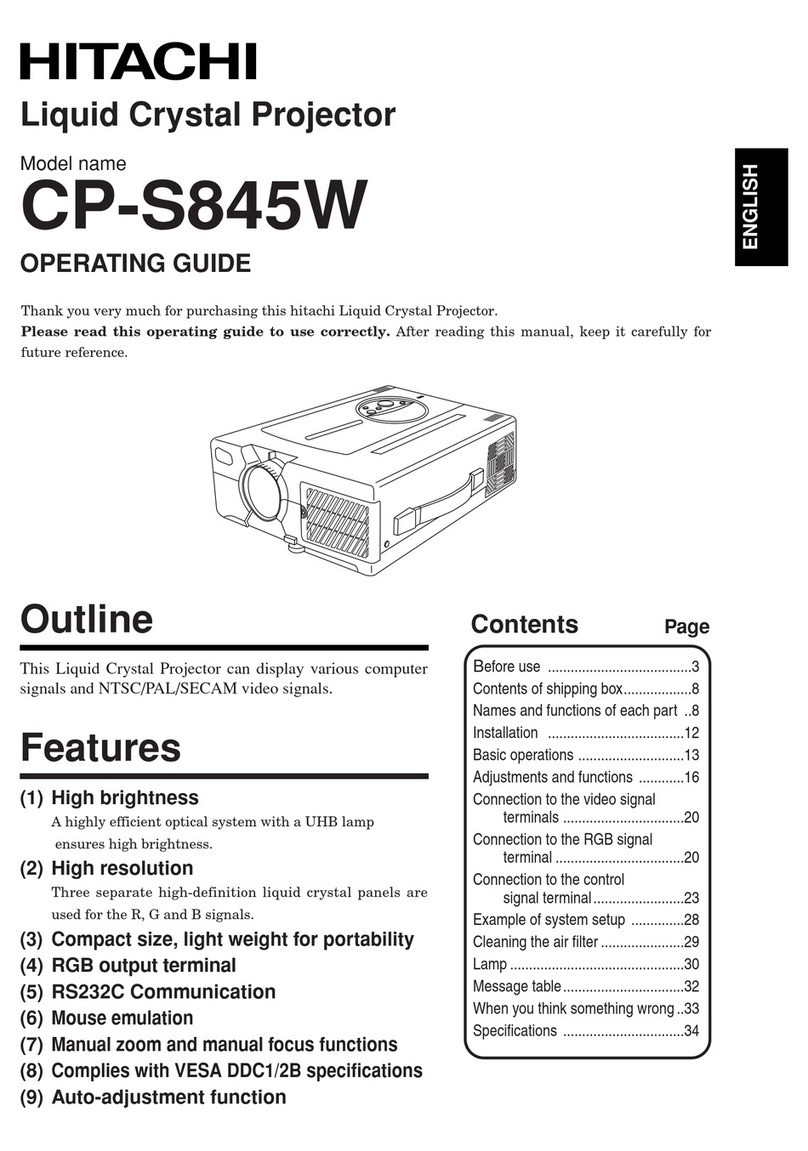
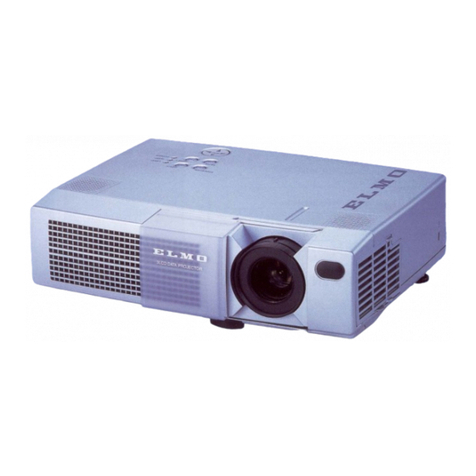
PRIXTON LUMIERE User manual

PROYECTOR PROJECTOR
LUMIÈRE

ES
2

3

4

5

6

7

Conexión AV:
Siga las indicaciones de la imagen inferior para conectar el cable y el
dispositivo AV. Apague la unidad antes de conectar el cable AV.
Conecte el cable AV al dispositivo.
Después de conectarlo, pulse el botón para encender la unidad y la
luz indicadora se encenderá de color VERDE. Pulse el botón /SOURCE
para seleccionar el modo AV y el video del dispositivo AV aparecerá en la
pantalla del proyector.
Pulse el botón para apagar la unidad.
En raras ocasiones, si el altavoz del proyector no emite sonido al reproducir una
película en DVD en un reproductor conectado a la entrada HDMI, compruebe
los ajustes de audio del reproduc tor y asegúrese de que está configurado en
modo "Auto" o "PCM".
8

Conectar VGA:
Siga las indicaciones de la imagen inferior para conectar el cable y el
dispositivo VGA.
Apague la unidad antes de conectar el cable VGA.
Pulse el botón para apagar el proyector antes de realizar la conexión.
Después de conectarlo, pulse el botón para encender la unidad y el
indicador se encenderá con una luz VERDE.
Pulse el botón ; SOURCE para seleccionar el modo VGAy el vídeo del
dispositivo VGA se mostrará en la pantalla del proyector. Pulse el botón
para apagar la unidad.
Consulte la siguiente table para adaptar la señal de salida del ordenador
9

Conexión de la salida de audio:
Siga las indicaciones de la siguiente imagen para conectar el cable de audio y el
dispositivo. Pulse el botón para apagar su proyector antes de efectuar la
conexión.
Conecte el cable de audio según la imagen.
A continuación, conecte y encienda las dos unidades. Su proyector sonará ahora
en un dispositivo externo. Después de utilizarlas, apague ambas unidades.
Amplificador:
Instalación del dispositivo USB y de la tarjeta Micro SD "TF":
Siga las indicaciones de la imagen para instalar el USB y la tarjeta TF. Apague la
unidad antes de instalar el USB o la tarjeta TF.
Uso de la tarjeta TF y del reproductor USB (Reproductor multimedia):
Instalación del dispositivo USB/tarjeta TF:
l. Apague la unidad antes de instalar el dispositivo USB/la tarjeta TF.
2. Instale el dispositivo USB en el puerto USB.
3. Después de conectarlo, pulse el botón para encender la unidad y el indicador se encenderá con una luz VERDE.
4. Pulse el botón / SOURCE y utilice los botones para buscar el modo REPRODUCTOR MULTIMEDIA.
5. Tras seleccionarlo, utilice los botones para buscar el icono de MÚSICA/FOTOS/PELÍCULAS y pulse el botón para
entrar en esa opción. Si es necesario, utilice el botón para seleccionar la tarjeta TF o el USB y pulse el botón
6. Utilice los botones para buscar el archivo correcto y pulse para previsualizar la reproducción del archivo. Pulse
el botón de la unidad o el botón
del mando a distancia para iniciar la reproducción.
7. Pulse para avanzar más rápido o rebobinar.
8. Pulse para buscar el archivo próximo o el anterior.
9. Durante la reproducción, pulse para pausarla,y púlselo de nuevo para reanudar la reproducción.
NOTA: Antes de retirar el dispositivo USB/la tarjeta TF, pulse PRIMERO para apagar la unidad.
10

Uso del Menú Proyector 1.0
pulse el botón para entrar en el menú Proyector. Pulse de nuevo para volver
atrás. Utilice los botones para seleccionar las opciones de forma manual.
Este menú se mostrará en la parte superior derecha de la pantalla.
Modo imagen
Seleccione Brillante, Usuario (personalizado), Suave o Estándar.
Contraste, brillo, etc.
Establecer Modo imagen en "Usuario" para modificar estos ajustes.
Temperatura de color Seleccione Cálido, Frío o Medio. Relación de aspecto
Seleccione 16:9, 4:3, o Auto Reducción de ruido
Seleccione Apagado, Bajo, Medio, Alto o Por defecto
Pantalla
11

Utilizar el Menú Proyector 2.0
Pulse el botón para entrar en el menú Proyector. Pulse de nuevo para
volver atrás. Utilice los botones para seleccionar las opciones de forma
manual.
Este menú se mostrará en la parte superior derecha de la pantalla.
Modo Sonido
Seleccione Música, Película, Usuario (personalizado), Deportes o Estándar.
Agudos, Graves
Establezca el Modo Sonido en "Usuario" para modificar estos ajustes.
Equilibrio
Ajuste el equilibrio del audio.
Sonido envolvente
Encienda o apague el sonido envolvente.
Utilizar el Menú Proyector 3.0
Pulse en el botón para entrar en el menú proyector. Pulse de nuevopara
volver atrás.
Utilice los botones para seleccionar las opciones de forma manual. Este
menú se mostrará en la parte superior derecha de la pantalla.
Idioma OSD (visualizado en pantalla)
Seleccione un idioma diferente, según la tabla que se muestra en la parte
inferior.
Restaurar la configuración de fábrica
Seleccione YES o NO.
Rotación de panel
Seleccione rotar O, rotar 7, rotar 2, rotar 3.
INFO
Muestra la información del producto como se indica a continuación.
Utilizar el Menú Proyector 4.0
Pulse en el botón para entrar en el menú proyector. Pulse de nuevo para
volver atrás.
Utilice los botones para seleccionar las opciones de forma manual. Este menú
se mostrará en la parte superior derecha de la pantalla.
12

Reloj -- --
Seleccione el reloj para establecer día, mes, año, hora y minutos.
Temporizador de apagado
Seleccione temporizador de apagado para establecer día, hora y minutos de
apagado.
Temporizador de encendido
Seleccione temporizador de encendido para establecer día, hora y minutos de
encendido.
Temporizador de reposo
Seleccione temporizador para entrar en modo reposo en l0min, 20min, 30 min,
60min, 90min, 720min, 780min, 240min, o para apagarlo (Off).
Reposo automático
Seleccione la función de reposo automático en 4h, 6h, 8h o Nunca.
Resolución de problemas
Antes de recurrir al servicio de mantenimiento, por favor, haga sus propias
comprobaciones en base a la siguiente tabla:
13

Política de garantía
En cumplimiento de lo establecido en el art. 16.7 del Real Decreto-ley 7/2021, de 27 de abril.
Ref. BOE-A-2021-6872, se pone a disposición de los interesados, accediendo a www.prix-
ton.com, cuanta información sea necesaria para ejercer los derechos de desistimiento
atendiendo a los supuestos que recoge dicha ley, dando por cumplidas las exigencias que
esta demanda de la parte vendedora en el contrato de venta.
Las características técnicas y eléctricas que aquí se brindan corresponden a unidades
típicas y podrían cambiarse sin previo aviso con el fin de proveer un mejor equipo.
Declaración ue de conformidad simplificada
Por la presente, La Trastienda Digital SL como propietaria de la marca comercial Prixton,
ubicada en Avenida Cervantes 49, módulo 25, Basauri 48970, Bizkaia, declara que el tipo de
equipo radioeléctrico que a continuación se expone:
Es conforme con la Directiva 2014/53/UE del Parlamento Europeo y del consejo de 16 de
abril de 2014.
El texto completo de la declaración UE de conformidad está disponible en la dirección de
Internet siguiente:
www.prixton.com LA TRASTIENDA DIGITAL
MARCA MODELO DESCRIPCIÓN CATEGORÍA
PRIXTON LUMIÈRE PROJECTOR IMAGE
14

EN
Caution
Usage of controls or adjustments or performance of procedures other than those specified
herein may result in hazardous radiation exposure.
This unit should not be adjusted or repaired by anyone except qualified service personnel.
Precautions befare use:
KEEP THESE INSTRUCTIONS IN MINO:
l.Do not use this device near water. 2.Clean only with a slightly damp cloth.
3. Do not cover or block any ventilation openings. When placing the device on a shelf,
leave 5 cm (2") free space around the whole device.
4. lnstall in accordance with the supplied user manual.
S.* Don't step on or pinch the power adaptor. Be very careful, particularly near the plugs
and the cable's exit point. Do not place heavy items on the power adaptor, which may
damage it. Keep the entire device out of children's reach1 When playing with the power
cable, they can seriously injure themselves.
6. * Unplug this device during lightning storms or when unused for a long period.
7. Keep the device away from heat sources such as radiators, heaters, stoves, candles and
other heat-generating products or naked flame.
8. Avoid using the device near strong magnetic fields.
9. Electrostatic discharge can disturb normal usage of this device. lf so, simply reset and
restart the device following the instruction manual. During file transmission, please
handle with care and operate in a static-free environment.
10. Warning! Never insertan object into the product through the vents or openings. High
voltage flows through the product and inserting an object can cause electric shock and/or
short circuit interna! parts. For the same reason, do not spill water or liquid on the product.
ll.Do not use in wet or moist areas such as bathrooms, steamy kitchens ornear swimming
pools.
12.Do not use this device when condensation may occur.
13. Although this device is manufactured with the utmost care and checked several times
before leaving the factory, it is still possible that problems may occur, as with all electrical
appliances. lf you notice smoke, an excessive build-up of heat or any other unexpected
phenomena, you should disconnect the plug from the main power socket immediately.
14. This device must operate on a power source as specified on the specification label. lf
you are not sure ofthe type of power supply used in your home, consult your dealer or
local power company. 15.* The socket outlet must be installed near the equipment and
must be easily accessible.
16. * Do not overload ac outlets or extension cords. Overloading can cause fire or electric
shock.
17. * Devices with class l construction should be connected to a main socket outlet with a
protective earthed connection.
18. * Devices with class 2 construction do not require a earthed connection. 19.Keep away
from rodents. Rodents enjoy biting on power cords.
20. * Always hold the plug when pulling it out of the main supply socket. Do not pull the
power cord. This can cause a short circuit.
21. Avoid placing the device on any surfaces that may be subject to vibrations or shocks.
22. To clean the device, use a soft dry cloth. Do not use solvents or petrol based fluids. To
remove severe stains, you may use a damp cloth with dilute detergent.
23. The supplier is not responsible for damage or lost data caused by malfunction, misuse,
modifica tion of the device or battery replacement.
24. Do not interrupt the connection when the device is formatting or transferring files.
Otherwise, data may be corrupted or lost.
25. lf the unit has USB playback function, the usb memory stick should be plugged into
the unit directly. Don't use an usb extension cable because it can cause interference
15

resulting in failing of data.
26. The apparatus shall not be exposed to dripping or splashing and make sure that no
objects filled with liquids, such as vases, are placed on ornear the apparatus.
27. * To completely disconnect the power input, the mains plug of the apparatus shall be
discon nected from the mains, as the disconnect device is the mains plug of apparatus.
28. lf the unit works with battery, Battery shall not be exposed to excessive heat such as
sunshine, fire or the like.
29. Attention should be drawn to the environmental aspects of battery disposal.
30. The apparatus can only be used in moderate extremely cold or climates warm environ-
ments should be avoided.
31. The rating label has been marked on the bottom or back panel of the apparatus.
32. This device is not intended for use by people (including children) with physical,
sensory or mental disabilities, ora lack of experience and knowledge, unless they're under
supervision or have received instructions about the correct use of the device by the person
who is responsible for their safety.
33. This product is intended for non professional use only and not for commercial or
industrial use. 34.Make sure the unit is adjusted to a stable position. Damage caused by
using this product in an unstable position or by failure to follow any other warning or
precaution contained within this user manual will not be covered by warranty.
35. Never remove the casing of this apparatus.
36. Never place this apparatus on other electrical equipment.
37. Do not use or store this product in a place where it is subject to direct sunlight, heat,
excessive dust or vibration.
38. Do not allow children access to plastic bags.
39. Only use attachments/accessories specified by the manufacturer.
40. Refer all servicing to qualified service personnel. Servicing is required when the
apparatus has been damaged in any way, such as the power supply cord or the plug,
when liquid has been spilled or objects have fallen into the apparatus, when the appara-
tus has been exposed to rain or moisture, does not operate normally, or has been
dropped.
41. *Do not use a damaged power cord or plug ora loose outlet. Doing so may result in fire
or electric shock.
42. Prolonged exposure to loud sounds from personal music players may lead to tempo-
rary or permanent hearing loss.
lnstallation:
Unpack all parts and remove protective material.
*Do not connect the unit to the mains before checking the mains voltage
and before all other connections have been made.
*These instructions are related only to products using power cable or AC
power adaptor.
16

Packing lncluded:
Usage of controls or adjustments or performance of procedures other than those speci-
fied here in
may result in hazardous radiation exposure.
This unit should not be adjusted or repaired by anyone except qualified service personnel.
Remove & close the lens cover:
Your projector can be installed in four different configurations:
-Remove the lens cover before using
-Close the lens cover when unit not using
Placing your projector:
Your projector can be installed in four different configurations:
Front Table:
Select this location with the projector placed near the floor in front of the screen. This is
the most common way to position the projector for quick setup and portability.
Front Ceiling:
Select this location with the projector suspended upside-down from the ceiling in front
of the screen.
NOTE: A projector mount is required to install the projector in a ceiling.
Rear Table:
Select this location with the projector placed near the floor behind the screen.
NOTE: That a special rear projection screen is required.
17

Rear Ceiling:
Select this location with the projector suspended upside-down from the ceiling behind
the screen.
NOTE: A projector mount is required to install the projector in a ceiling. A special rear
projection screen is required
To reduce image distortion:
lt is recommended to move the projector as close to center of screen.
Distance between the projector and screen:
Measure the distance between the projector and where you want to position
the screen. This is the projection distance.
Placing your projector on ceiling:
When installing the projector in the ceiling, please purchase a projector mount
recommended by an installation professional and follow the instructions that come with
the mount.
Before installing the projector in the ceiling, please check to make sure the ceiling
structure can support the weight of the projector and the mount. lf in doubt, please ask
the advice from an installation professorial.
NOTE: Projector mount and screw(s) not included
18

Adjust the vertical location:
Follow below picture to adjust the vertical location.
Adjust the focus and keystone
Follow below picture to adjust the focus and trapezoidal screen.
CEILING HANGER
FIXE D HANGER HOLE
Adjust the focus by turning the knob while observing the image pixels near the center of
the screen. Optimal focus is obtained when the pixels are clearly visible. Depending on the
projected screen size, the focus near the screen edges may be less sharp than the screen
center.
Keystone image is created when the projector beam is projected to the screen in an angle.
Keystone correction will restare the distorted image to a rectangular or square shape.
19

Adjust the vertical location:
Follow below picture to adjust the vertical location.
Install / Remove battery of remote
Controls of remote:
Go To/Number Keypad
Press to enter specific chapter or track
numbers Use Play button to begin playing
Mute
Press to mute volume
Back/Fwd
Press to search through an individual chapter
or track
VOL+/VOL-
Press to adjust audio level
Source
Press to select media source (AV, PC, HDMI,
MEDIA)
Exit
Press to exit menus
Zoom
Press to zoom display image in or out
Power
Press to power ON. Press and hold to power
OFF
Previous / Next
Press to skip between chapters or tracks
Stop
Press to stop playback
Flip
Press to flip display image180°
Play/Pause
Press to play or pause an individual
chapterortrack
Arrows/OK
Press to navigate and confirm selections in
Settings and other menus
Menu
Press to access projector Settings
20
Other manuals for LUMIERE
1
This manual suits for next models
1
Table of contents
Languages:
Other PRIXTON Projector manuals
