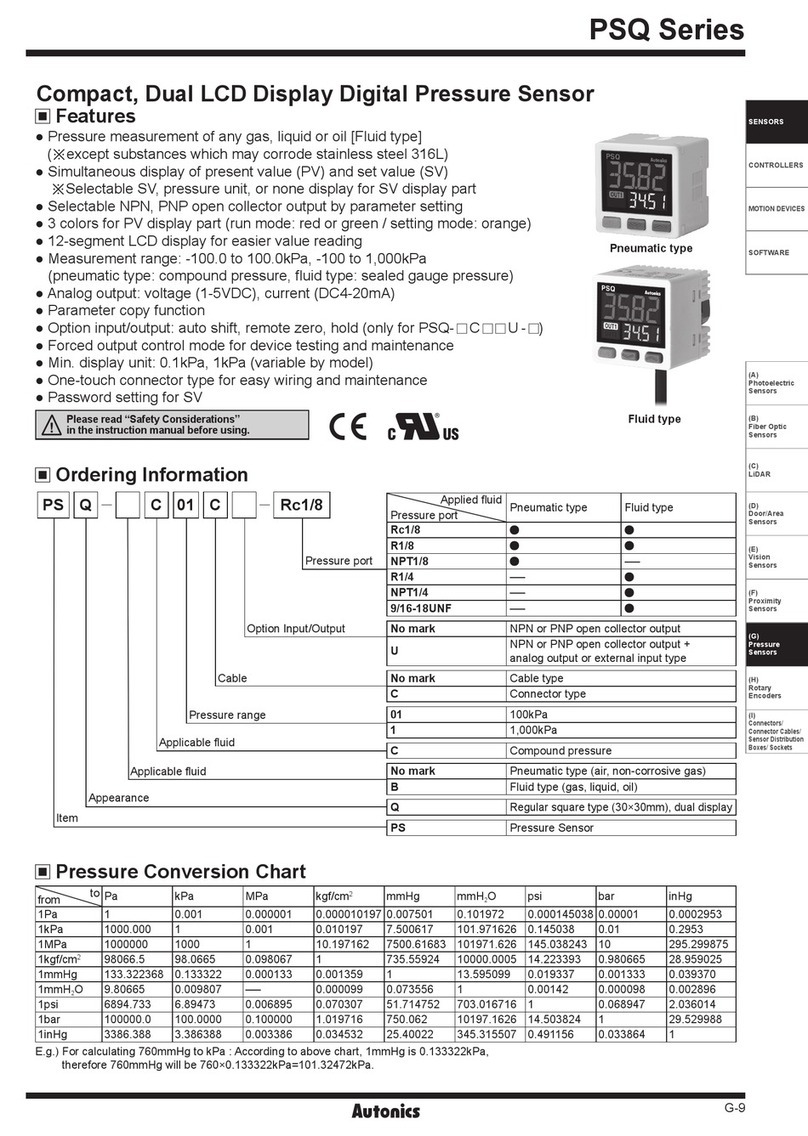
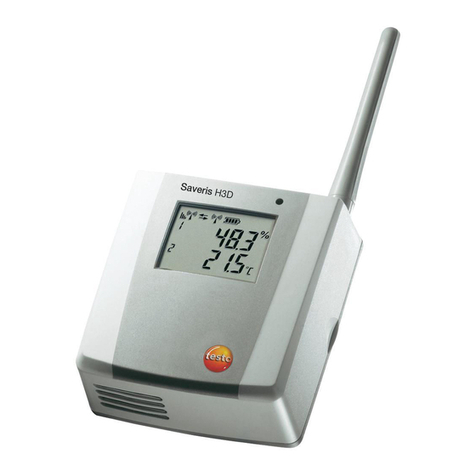
Pro-tec PROTEK II PROTEK II SF User manual

Coating Thickness Instruments
ProTek II
S SERIES
User’s Guide
ProTek II SF _____
ProTek II SN _____
ProTek II ST _____

2
1.0 INTRODUCTION
The ProTek II series Coating Thickness Instruments
represent the latest technology for the non-destructi e measurement
of surface coatings on all metals. While they are ery easy and
con enient to use, the first time user should read this entire manual
before operating the instrument to fully utilize its capabilities.
1.1 Applications
MOD L Application
ProTek II SF Measures the thickness of all non -
magnetic coatings and finishes on iron,
steel and other magnetic metal surfaces.
ProTek II SN Measures the thickness of all non -
conducti e ( non - metallic ) coatings
and finishes on all non - magnetic
metals. Example: Anodizing, paint,
powder coatings, plastic, paper on
aluminum, brass, bronze, titanium,
non - magnetic stainless steel, zinc, etc.
ProTek II ST Combination of ProTek II SF and
ProTek II SN

3
2.0. QUIPM NT SUPPLI D
2.1 Standard Accessories
The ProTek II Series Gauges are supplied with the following
standard accessories:
a. Bare test plate for setting ZERO calibration.
ProTek II SF supplied with steel plate
ProTek II SN supplied with aluminum plate
ProTek II ST supplied with steel and aluminum plates
b. Two precision plastic shims.
c. One 9-Volt DC alkaline battery.
d. ProTek II Series Operating Instruction Manual.
e. Hard plastic carrying case.

4
3.0. K YPAD FUNCTIONS
1. Turns the power on
ON 2. Turns the power off
3. Selects displayed alue or displayed sub-menu option
1. Enters calibration mode
2. Increases displayed alue in calibration mode
3. Increases number of measurements in CAM mode
1. Enter CAM ( a erage ) mode.
2. Decreases displayed alue in calibration mode
3. Decreases number of measurements in CAM mode
mils-to-micron-to-mils
3.1. Special Key Combinations
ON + Press both keys simultaneously to
changes units of measure from
mils-to-micron-to-mils
ON + Press both keys simultaneously to reset
all settings back to factory defaults

5
4.0 OP RATING PROC DUR
4.1 HANDL PROB CAR FULLY
4.2 Taking Measurements
1. Press the ON key to turn on the power. The LCD will
momentarily flash SAB RN and all of the indicators
will be illuminated. The display will then show
“-- -- --” along with the selected units of measure
indicator:
a. mils/thou : English
b. um (microns) : Metric
To change units of measure press the key. Refer
to section 6.0 for additional details.
2. Hold the probe by the outer plastic shell and gently
press the tip against the surface to be measured. Use
enough pressure to cause the outer shell to contact the
measurement surface.
A thickness reading in mils or microns will be
displayed.
4.3 Notes on Measurements
1. The gauge will automatically turn the power off after
90 seconds on non-use. To manually turn off the
power press the ON key.
2. The CTI series are continuous reading type gauges
which will pro ide readings as long as the probe is in
contact with the surface. When the probe is remo ed,
the minimum reading that was measured will be
recalled to the display and will be retained until a new
measurement is taken.

6
5.0 CALIBRATION
5.1 Introduction
The ProTek II series normally do not require calibration
before use. Howe er, whene er the product or part to be
checked aries greatly from the supplied test plate, in
either shape or thickness, it is best to check or erify the
calibration using an uncoated sample of the actual product
or part and using one of the plastic calibration shims
pro ided.
Check the calibration as noted in section 5.2, and change
the calibration, if necessary, following the procedure in
section 5.3. If a calibration change is necessary, continue
to use the bare part instead of the supplied test plate.
5.2 Checking Calibration
1. Turn the power on by pressing the ON key.
2. Holding the probe by its outer plastic shell, place the tip
on the uncoated metal part. Gently push the probe shell
until it contact the bare surface.
a. If the display shows near 0.00, proceed to no. 3
b. If the display shows a reading more than 0.03
mils (0.8 um) on non-magnetic metals or more
than 0.01 mils(0.2 um) on magnetic metals,
proceed no further since the calibration must
be changed.
3. Place one of the plastic calibration shims on top of the
bare metal part, place the probe tip on top of the shim
and metal part and measure the thickness of the shim.
If the displayed thickness matches the thickness alue
noted on the shim(within the accuracy limit) the
calibration is erified.
THE GAUGE IS NOW READY FOR USE.
5.3 Changing Calibration
1. Turn the power on by pressing the ON key.
2. Press the key to start the calibration.

7
Setting The “Z RO” Point
3. After pressing the key, the display will flash
“2 PT CAL” followed by “00 PLAT ”. An audible
“beep” will also be heard. Place the probe on the bare
metal part and press until the shell contacts the surface.
4. The display will show “CAL” on the left and a
thickness reading (near zero) on the right. Remo e the
probe from the bare metal surface.
5. The display will then show “MORE/SEL” and will
“beep”.
a. At this point you can continue to take additional
“ZERO” measurements to use an a eraged ZERO
calibration. This is recommended when the surface
of the bare metal part is rough or uneven.
b. Otherwise press the ON key to continue.
Setting the “Calibration” (2nd) Point
6. The display will flash “W/SHIM” and continue to
“beep”. Place the plastic shim on the same bare metal
and measure the shim’s thickness.
7. The display will show “ADJC” along with a thickness
reading. Note the reading and determine if it matches
the thickness alue marked on the shim.
If the displayed reading does not match the shim’s
thickness, use the or keys to increase or
decrease the displayed alue until it matches the alue
marked on the plastic shim.
8. When the displayed alue was adjusted to the alue
marked on the shim, press the ON key. The display
will flash “COMPL T ” and then “-- -- --”.
The calibration is now complete and you are ready to
take measurements.

8
6.0 CHANGING UNITS OF M ASUR
To change the units of measure from mils to microns, and
ice ersa, press the 0N + key.
Each time this combination of keys are pressed the units
will change from one to the other. The unit of measure
indicator, located in the upper right corner of the display,
will also change.
7.0 CAM MOD
(COUNT D AV RAG M ASUR M NT)
The Counted Aerage Measurement mode is a special
feature which permits the user to take a series of
consecuti e measurements ( from 2 to 99 ) which are
then a eraged.
nter CAM Mode
1- Press the key .
The display will show “CAM MOD ”
2- Press the key. The display will show “CAM 2”
3. Press or key to increase or decrease the
number of measurements. Once the desired number of
measurements is shown on the display (for example:
“CAM 7”), press the ON key. The display will show
“-- -- --” and the CAM indicator will be displayed.
NOW, THE GAUGE IS READY TO MEASURE 7
CONSECUTIVE MEASUREMENTS AND DISPLAY
THE AVERAGE OF THE 7 READINGS.

9
After the first measurement is taken, a number will appear
on the left side of the display along with the thickness
reading on the right. The number on the left indicates the
number of measurements that must be taken to complete
the current series for the CAM a erage. Thus, each time a
measurement is taken, the number on the left decreases by
one.
The CAM indicator on the top of the display will flash on
and off indicating that a CAM series is in progress.
When the final measurement of the series is taken, the
gauge will “beep” then the CAM a erage is display on the
right and the a erage symbol “<X> “ on the left and the
CAM indicator stops flashing.
To begin another series with the same number of
readings, just begin measuring. This process can be
repeated as many times as desired.
To begin another series using different number of
readings, repeat the step 1 to step 3.
Turning off CAM Mode
1- Enter into CAM mode. “CAM MOD ” appears on
the display.
2- Press the key. “CAM OFF” appears on the
display.
3- Press the ON key. “-- -- --” will appear on the display
and the CAM indicator disappears.
xit CAM Mode
1- Enter into CAM mode. “CAM MOD ” appears on
the display.
2- Press the key. “CAM OFF” appears on the
display.
3- Press the key again. “CAM XIT” appears on
the display.

10
4- Press the ON key. The gauge enters to its pre ious
setup without any changes
8.0 CHANGING TH BATT RY.
When a battery indicator appears on top of the display,
replace the battery.
Battery life is approximately 6 months when the ProTek II
series gauges are used for about 80 readings per day.
BATT RY TYP :
Any high quality 9 volt ALKALIN battery.
FOR T CHNICAL ASSISTANC
Contact:
AMTRA, INC.
T L: 877 - 531 - 1313
FAX: 315 - 265 - 1536
This manual suits for next models
5
Other Pro-tec Measuring Instrument manuals
