Warranty Information
Warranty Registration
Your new thermostat has a 5 year limited warranty. You must register
your thermostat within 60 days of installation. Without this
registration the warranty period will begin on date of manufacture.
For warranty issues please contact the HVAC professional that
installed this product. You can register your new thermostat in 2 ways:
Go to the company website, select warranty registration and
ll out a short registration form.
Complete the form below and mail it to the address shown.
Warranty Registration
Name:
Address:
City:
State:
Zip:
Thermostat Model:
Date Installed:
Complete form and mail to:
Thermostat Warranty Registration
1111 S. Glenstone
Suite 2-100
Springeld, MO 65804
Online
Mail
Repeat steps 4 thru 7 for Saturday WAKE time period, for
Saturday LEAVE time period, for Saturday RETURN time period,
and for Saturday SLEEP time period.
Saturday:
Repeat steps 4 thru 7 for Sunday WAKE time period, for Sunday
LEAVE time period, for Sunday RETURN time period, and for
Sunday SLEEP time period.
Sunday:
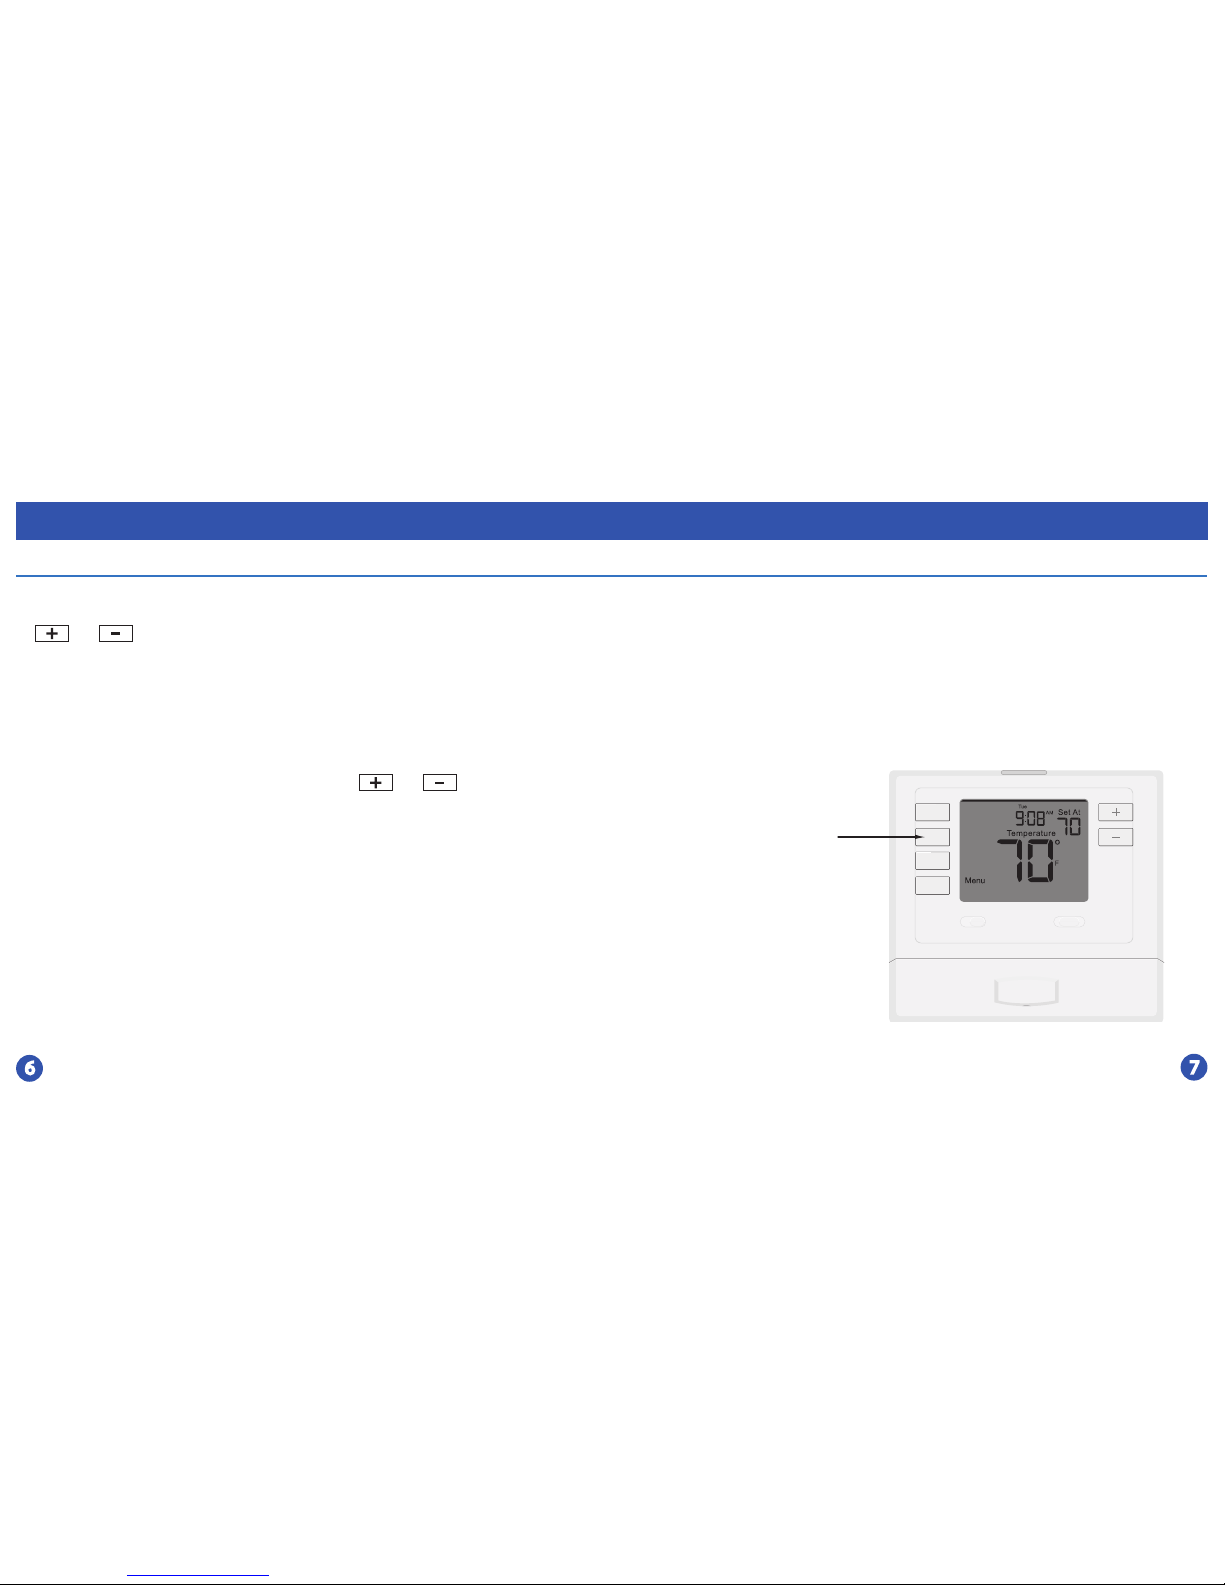
To customize your program schedule, follow these steps
Set Program Schedule
You will see a TECH SET option after the MENU key is pressed.
This TECH SET key is for installer conguration and should
NOT be changed unless you consult your professional heating
and air conditioning technician.
Important:
Programming The Thermostat