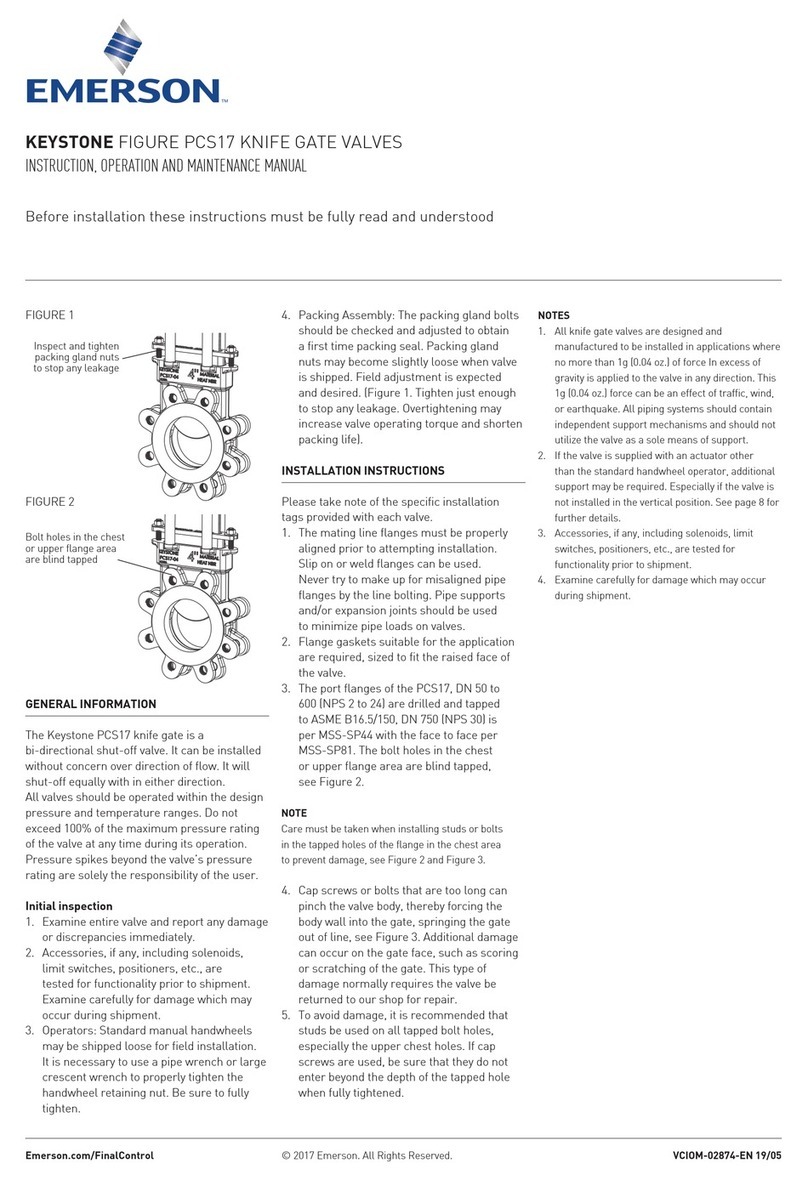
Zone 1
Zone 2
Zone 3
Zone 4
Zone 5
ESTABLISHING COMMUNICATION
4
Establishing Communication between Master Thermostat and Damper Module
Once the Damper Module(s) are hardwired/ powered, follow the steps below to link their communica-
tion with the Master Thermostat. Keeping in mind…
If you only need one Damper Module to control the Master Zone1, it is already factory linked to the Master
Thermostat, out of the box.
If you need multiple Damper Modules to control a single zone, they all need to be linked to that particular
zone with the same procedure.
Each Damper Module will open and close the damper(s) for the zone that it is congured to control.
Each Damper Module will indicate the Zone Number it is congured for by using the Zone 1-5 LED
indicators.
1.
2.
3.
4.
To put the Damper Module(s) in learn mode;
Hold the Learn Button until it’s communication LED begins
ashing steady. Note all parts must have power to perform
linking procedure.
With the Master Thermostat enter Tech Setup Mode, then
proceed to the Link Damper Module Step (See page 16 of
the Master Thermostat Installation Manual). This step
connects the Master Module to the Damper
Module(s). Use the to select the Zone
Number, Zone 1-5.
With the desired Zone Number selected on the Master
Thermostat and the Damper Module(s) in Learn Mode (LED
ashing), press and hold the FAN key on the Master
Thermostat to Link and Congure the Damper Module for
the Zone Number shown the Master Thermostat.
Linking Procedure Step 1.
Step 2.
Back of Damper Module
This Wireless Zoning System contains selectable wireless
communication. Each component has a jumper switch
labeled FSK and ASK. Default setting: FSK. All components
must be set to the same position for wireless
communication. This selectable communication option is
available to you in case you have a device you are pairing
with that only has the ASK option.
FSK/ ASK Switch
Remember
and
Step 1
Step 2
Step 3
Step 3.
