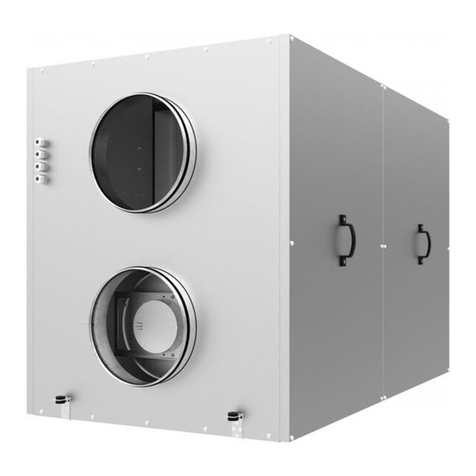
ProFusion PH-945 User manual

OWNER’S MANUAL
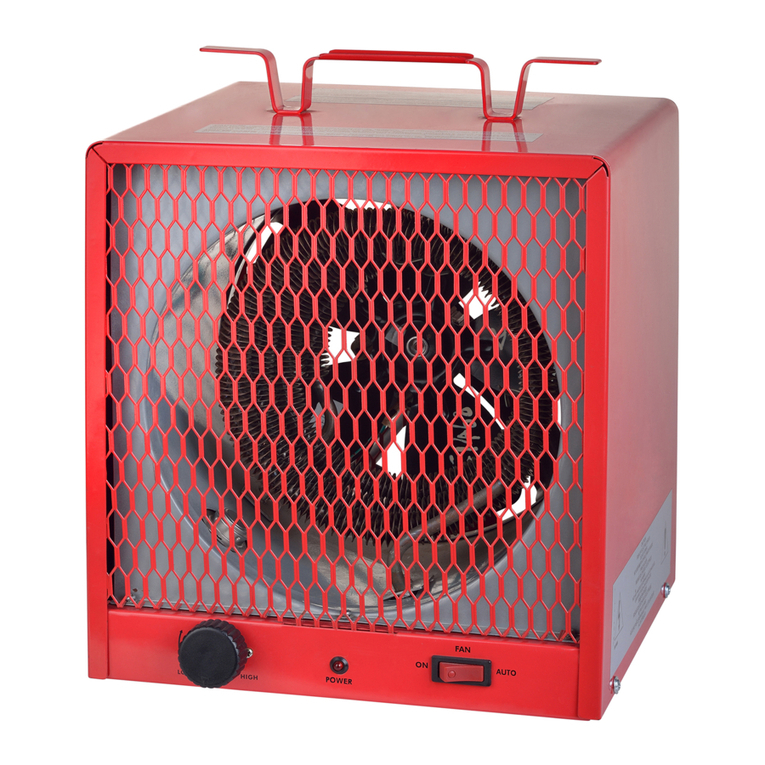
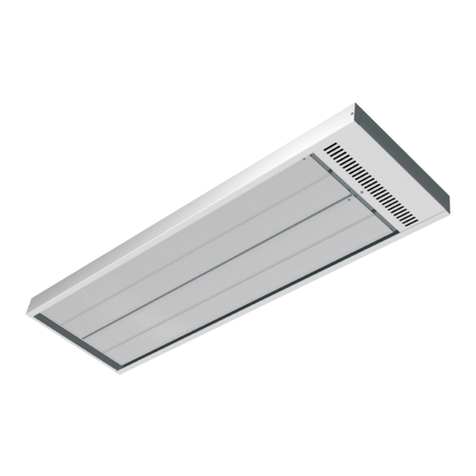
GARAGE CEILING HEATER
MODEL:PH-945
Technical Support: 1-866-206-0888

2
MODEL:PH-945
TABLE OF CONTENTS
SAFETY GUIDELINES
3 - 4
SPECIFICATIONS
5
PARTS OF THE HEATER
6
BEFORE INSTALLATION
7
OPERATING 10
MAINTENANCE 11
TROUBLESHOOTING 12
INSTALLING INSTRUCTIONS 8 - 9

3
SAFETY GUIDELINES
WARNING!
PLEASE READ ALL INSTRUCTIONS BEFORE USING THIS HEATER
NOTE: There may be a trace of smoke or odour when the unit is first
liofopordatahtsetacidnisihT.demralaeb’.detarepo fell on
the heating coil during the manufacturing process. It will quickly
evaporate and should not re-occur. Make sure that the room in which
the appliance is located is well ventilated during this operation.
It is normal for the appliance to emit small cracking sounds when
you turn it on for the first time. Do not be alarmed.
WHEN USING ELECTRICAL APPLIANCES, BASIC PRECAUTIONS SHOULD
ALWAYS BE FOLLOWED TO REDUCE RISK OF FIRE, ELECTRICAL
SHOCK AND INJURY TO PERSONS OR PROPERTY, INCLUDING
THE FOLLOWING:
1. Read all instructions before using this heater.
2. This heater is hot when in use. To avoid burns, do not let bare
skin touch hot surfaces. Keep combustible materials, such as
furniture, pillows, bedding, papers, clothes and curtains at least
3’ (0.9 m) from the front of the heater, and keep them away from
the sides and rear too.
3. Extreme caution is necessary when any heater is used by or near
children or invalids, and whenever the heater is left operating and
unattended.
4. Do not operate any heater after the heater malfunctions, has been
dropped or damaged in any manner. Disconnect power at the
service panel and have the heater inspected by a reputable
electrician before reusing.
5. Do not use outdoors.
7. Do not install less than 8’‘’(2.4 m) high from the floor and closer
than 3’’‘’(0.9 m) from any vertical surfaces or walls.
6. To disconnect heater, turn off power to heater circuit at the main
disconnect panel.
Don’’t
052-2532-8
MODEL:PH-945

4
SAFETY GUIDELINES
.8 Do not insert or allow foreign objects to enter any ventilation or exhaust
opening, as this may cause an electric shock or fire, or damage the heater.
CAUTION!
High temperature. Risk of fire. Keep electrical cords, drapery, furnishings,
and other combustibles at least 3
’
(0.9 m) from the front of the
heater and away from the sides and rear.�
9 To prevent a possible fire, do not block air intakes or exhaust in any manner.
10. A heater has hot and arcing or sparking parts inside. To reduce the risk of
fire, Do not use it in areas where gasoline, paint, or flammable vapors and
liquids are used or stored.
11. Use this heater only as described in this manual. Any other use not
recommended by the manufacturer may cause fire, electric shock, or injury
to persons.
12. WARNING This heater requires hardwire installation (no plug). The
installation of this product must be carried out by a Certified Electrician
and in accordance with all local and national electrical codes.”
13. WARNING – Risk of fire. Do not use as a residential or household heater.
14. For supply cables, use min. 10 AWG (5.3 mm2) copper wires.
MODEL:PH-945

5
SPECIFICATIONS
Model: PH-945
Volt: 240 V
Watts: 5000 W
Frequency: 60 Hz
BTU/h: 17,060
Recommended Heating Capacity:
1.25 Watts / cubic foot (0.03m3)
Temperature control. Thermostat is an option item.
It is not included with the heater.
atlusnoc,tatsomrehtlortnocerutarepmetallatsnioT
certified electrician.
240 V AC
052-2532-8
MODEL:PH-945

6
PARTS OF THE HEATER
1
2
3
NAME PART#
Housing
Safety grille
Select switch:
“Fan only”or “Fan and heater”
1
2
3
MODEL:PH-945

7
BEFORE INSTALLATION
WARNING!
The ceiling heater must be grounded in accordance with all national
and local building codes.
All wiring must be completed by a certified electrician.
Before installation
Disconnect the main supply connection.
Supply cables shall be 10 AWG (5.3 mm2) copper wires.
Supply cables must be equipped with a dual pole circuit breaker rating of
at least 240 V 30 A/pole as main cutoff switch of power connection to
the heater.
CAUTION!
High temperature. Risk of fire. Keep electrical cords, drapery, furnishings
and other combustibles at least 3’(0.9 m) from the front of the
heater and away from the sides and rear.
The heater must be connected to individual branch circuit protected
by 30 Amp circuit breaker only.
WARNING!
To reduce the risk of fire, do not store or use gasoline or other
flammable vapors and liquids in the vicinity of the heater.
All Wiring procedures and connections shall be in accordance
with the national and local codes having jurisdiction.
052-2532-8
MODEL:PH-945

STEP 1
Loosen the four screws to remove the unit’’’’’’’’’’’’’’’’’’’’’’s
housing.
’’’’’’’8tsaeltatinuehtpeeK ’(2.4 m) away from the
floor. This minimum distance must be
maintained.
STEP 2
Mark the drill-hole positions in the ceiling for
the mounting bracket.
Drill the required holes with diameter fit for
the anchor provided for positioning the
mounting bracket.
Insert the anchors.
Attach the mounting bracket to the ceiling
and secure with mounting screws.
Do not install closer than 3’(0.9 m)
from a vertical surface.
3 feet(0.9m)
3 feet(0.9m)
INSTALLING INSTRUCTIONS
8
MODEL:PH-945

STEP 3
STEP 4
Hook the unit to the mounting bracket and let the
unit hang from the mounting bracket.
Run the electrical power supply cable in t
he flexible
conduit and connect to the wiring compartment
via the knock-out at back side of the unit.
Make the connections properly, with connectors
, includingezisrotcudnocehtrofelbatiusera
grounding wirings. After making the connections,
arrange the pigtail leads of the unit and power
supply wires in the wiring compartment. Secure the
unit to the bracketwith screws.
Replace the housing and secure with
screws.
that
INSTALLING INSTRUCTIONS
9
MODEL:PH-945

10
OPERATING
WARNING!
The heater must be properly installed before it is used.
:HSALFCRARO,NOISOLPXE,KCOHSCIRTCELEFODRAZAH
Switch on the circuit breaker to turn on the heater.
.nosinafehtylno,noitisopYLNONAFehttasiretaehehtnohctiwstcelesehtnehW
dnaW0005taninurlliwretaehehT.noitisopRETAEHDNANAFothctiwseht
lamp is light.
ehtsasevresrekaerbtiucricehT.rekaerbtiucricehtffohctiws,retaehehtffonrutoT
power disconnection means.
Apply appropriate personal protective equi pment (PPE) and follow safe electrical work
practices. See NFPA 70E.
A circuit breaker must be installed and serviced only by qualified electrical personnel.
Always use a properly rated voltage sensing device to confirm power is off.
The Select switch on the heater is only for function selection. Use circuit breaker
as power ON/OFF device. The circuit breaker is to be installed by certified electrican
and shall be located in line of sight from the heater location or shall be capable of
being locked in open position. Follow the operating instruction to reduce the risk of
.snosrepothtaedroyrujni,kcohscirtcele,erif
Move
MODEL:PH-945

11
MAINTENANCE
CAUTION!
:tahterusekam,gninaelcynaerofeB
1. The power supply is disconnected at the source and the circuit breaker is switched off.
Regular Cleaning:
1. Do not use cleaning liquid or other chemicals to spray on the unit.
DO NOT ALLOW WATER TO RUN INTO THE INTERIOR OF THE HEATER AS THIS COULD
.TINUEHTGNIGAMAD,DRAZAHKCOHSCIRTCELEROERIFAETAERC
2. Interior dust can often be removed by using a vacuum cleaner with a crevice tool
attachment.
tridehtffoepiwyltnegothtolcpmaddnatfos,naelcaesu,erusolcnenaelcoT.3
from the surface of the unit. Be sure not to wet the heating element and the switches.
Allow the unit to dry completely before using it.
2. Wait for 60 minutes to ensure the heater to cool down, and your heater is now ready
for cleaning.
There is no user maintenance part except regular cleaning as following descri ption.
All other servicing or maintenance should be performed by qualified service personnel.
052-2532-8
MODEL:PH-945

12
TROUBLESHOOTING
WARNING!
:serudecorpesehtwollofesaelp,etarepootsliafretaehruoyfI
This heater is intended to be a ceiling-mounted heater. It has a
,spirtnoitcetorpffo-tuclamrehtehtfI.noitcetorpffo-tuclamreht
switch off the power. Switch off the circuit breaker. The unit should
reset automatically after 10 minutes. If the thermal cut-off protection
rofnosaerehtenimretedotnaicirtceledeifitrecatlusnoc,niagaspirt
overheating.
Problem Probable Cause Solution
Overheat protection has temporarily
deactivated the heater.
Turn the heater OFF. Switch off the
circuit breaker. Wait 10 minutes
before turning on the heater.
Room temperature has been warmed
up to thermostat setting.
,erutarepmetmoorehtesaercnioT
adjust thermostat control knob to a
higher setting.
Breaker/fuse has been tri pped. Check your electrical box to confirm
the breaker has not been blown.
This may occur if the receptacle is
shared between other high-consumption
appliances.
Unit is
not heating.
The heater
is producing
a burning
smell.
Ensure there are no
combustible materials within
3’ (0.9 m) of the heater.
Remove any combustible items from
near the heater.
A drop of oil fell on the heating
coil during the manufacturing
process. It will quickly evaporate
and should not occur again.
Ensure room in which heater is
situated is well ventilated.
Ensure a minimum clearance of
3’(0.9 m) from both sides
and rear of heater to adjacent walls.
Reposition the heater so there is
enough space around the heater to
the adjacent walls.
PLEASE DO NOT ATTEMPT TO OPEN OR REPAIR THE HEATER YOURSELF.
DOING SO COULD CAUSE DAMAGE OR PERSONAL INJURY.
MODEL:PH-945
Table of contents
Other ProFusion Heating System manuals
Popular Heating System manuals by other brands
EasyHeat
EasyHeat FREEZE FREE instruction sheet

Heatline
Heatline Retro-DWS installation instructions

Ambirad
Ambirad ARC Series Technical manual

United CoolAir
United CoolAir SCPAC5G AS Series Installation, operation and maintenance manual

System air
System air Living HR Operation and maintenance instructions

Armcor
Armcor XCM125 Installation and operation manual

STIEBEL ELTRON
STIEBEL ELTRON VRL-C 300 G Premium Operation

Roth
Roth RADIANT PANEL SYSTEM installation manual

Jaga
Jaga heatwave small Mounting instructions

ENERVEX
ENERVEX VHX-DR Installation & operating manual

Nibe
Nibe UKV 20 Series User's and installer's manual

Ferroli
Ferroli UT REC C+ Instructions for installation, use and maintenance manual