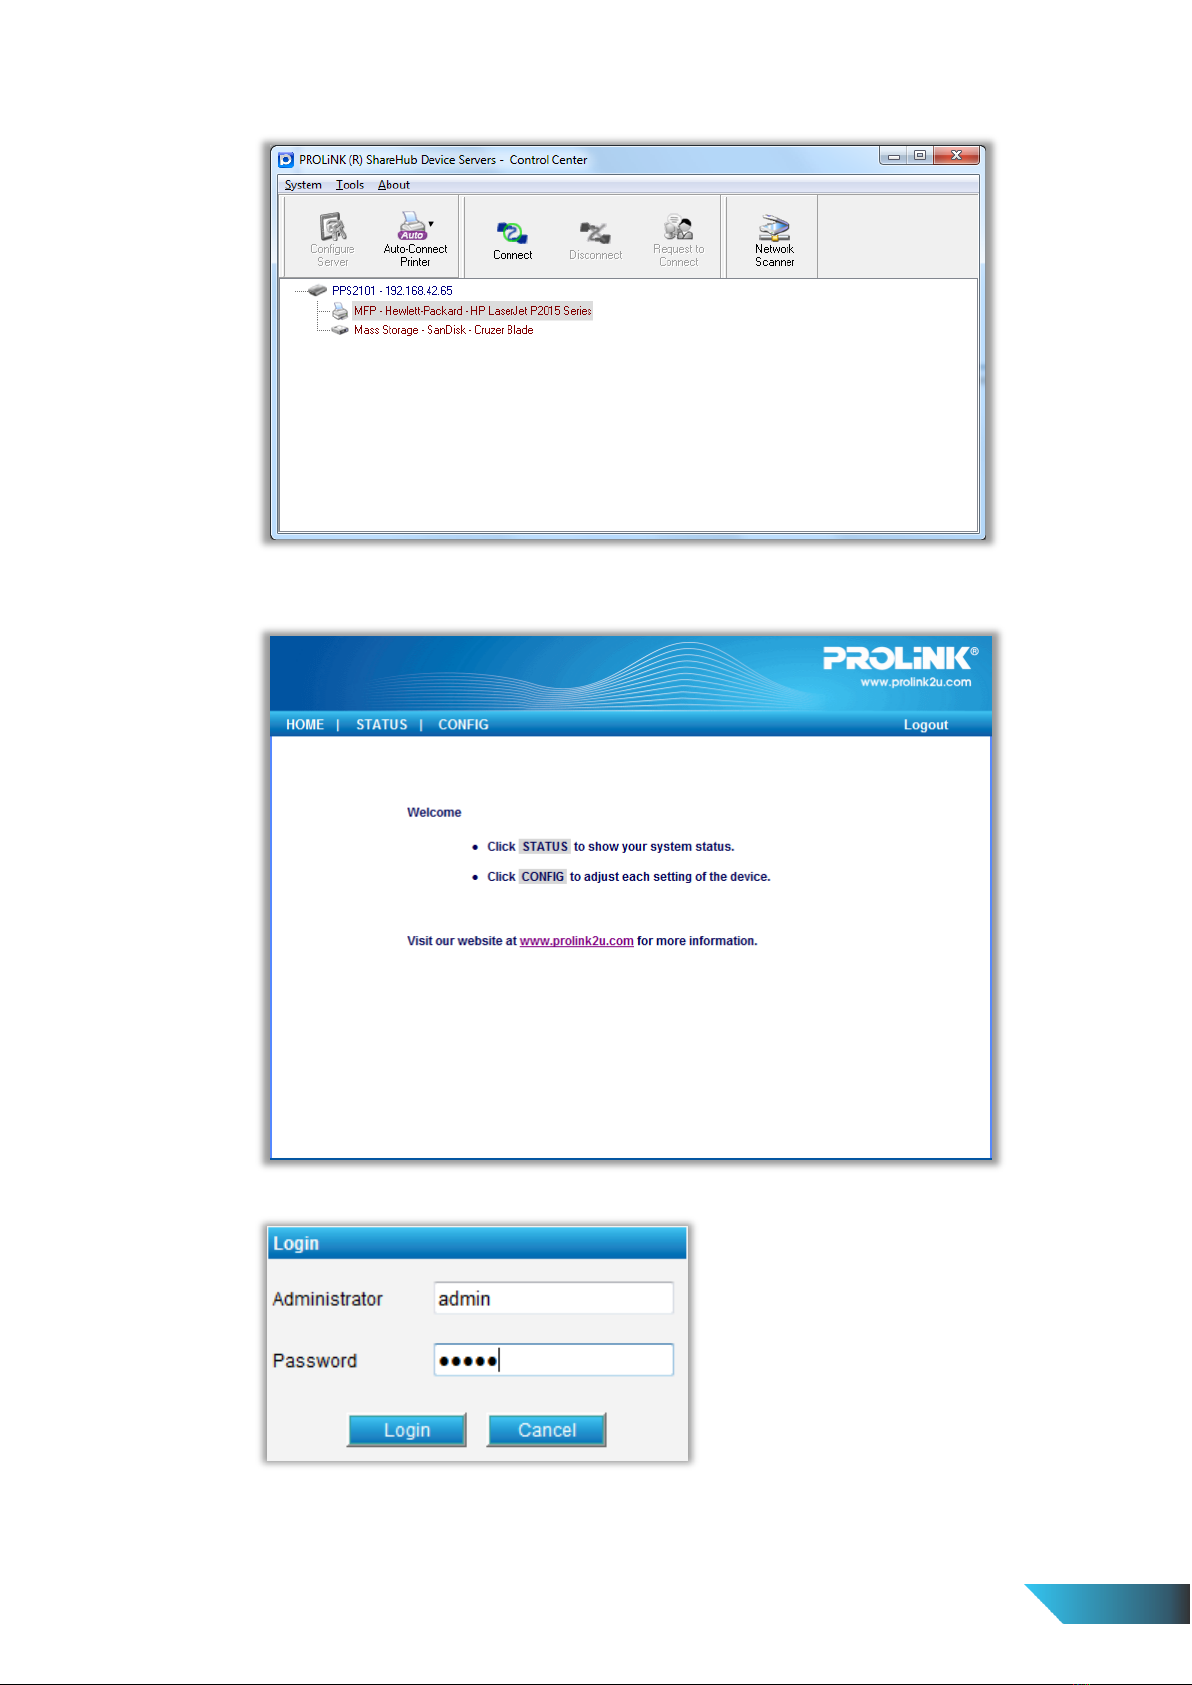
PROLiNK PPS2101 User manual

ShareHub Device Server
Version 1.00
(English)
BEFORE GETTING STARTED
This QIG is designed to aid you to get started with the device. If you experience problems following these guides or
need further information pertaining to the device, please visit our website at www.prolink2u.com. All specifications
are subject to the manufacturer’s configuration at the time of shipping and may change without prior notice, written
or otherwise.

Table of Contents
Table of Contents..............................................................................................................................................................1
1. Introduction ..................................................................................................................................................................1
1.1. About 3 Models Described in this Manual........................................................................................................1
2. Product Overview.......................................................................................................................................................... 2
2.1. Package Contents..............................................................................................................................................2
2.2. Setup CD............................................................................................................................................................2
2.2.1. Start-up Procedures ..................................................................................................................................2
2.2.2. Physical Description ..................................................................................................................................2
2.2.3. Supported USB Devices.............................................................................................................................3
3. Basic Installation ........................................................................................................................................................... 4
3.1. Connecting the Hardware .................................................................................................................................4
3.2. Wireless connection ..........................................................................................................................................4
3.2.1. Preliminary................................................................................................................................................4
3.2.2. Set Wireless Configuration Using ShareHub Device Servers Control Center............................................ 4
3.3. Assigning an IP Address to the Server ...............................................................................................................7
3.3.1. Preliminary................................................................................................................................................7
3.3.2. IP Address..................................................................................................................................................7
3.3.3. Methods for Setting the IP Address ..........................................................................................................8
3.3.4. Server Names and Server Name Rules......................................................................................................8
3.3.5. Setting the IP Address Using DHCP ........................................................................................................... 8
3.3.6. Setting the IP Address Using the ShareHub Device Servers Control Center............................................. 8
4. Using the ShareHub Device Servers............................................................................................................................11
4.1. Introduction ....................................................................................................................................................11
4.2. Connect & Disconnect.....................................................................................................................................11
4.3. Subnet Issue ....................................................................................................................................................11
4.4. Installation of USB Device Driver ....................................................................................................................12
4.5. Using the ShareHub Device Servers................................................................................................................13
4.6. Auto-Connect Printer ......................................................................................................................................14
4.7. Network Scanner.............................................................................................................................................16
4.8. USB Storage..................................................................................................................................................... 18
4.9. Request to Connect.........................................................................................................................................19
4.10. Quitting the ShareHub Device Servers Control Center...............................................................................19
4.11. Limitations...................................................................................................................................................19

5. File Server....................................................................................................................................................................20
5.1. Preliminary......................................................................................................................................................20
5.2. Connecting USB Mass Storage to the Server ..................................................................................................20
5.3. Supported Codepages.....................................................................................................................................20
5.3.1. What is codepage?..................................................................................................................................20
5.3.2. Filename Encoding of FAT File System.................................................................................................... 20
5.3.3. When do you need to configure codepage?...........................................................................................20
5.3.4. Configuring the Server’s Codepages .......................................................................................................21
5.4. Using Shared Storages by SMB/CIFS Method for Windows ...........................................................................21
5.5. Using Shared Storage by FTP Methods for Windows .....................................................................................22
5.5.1. Use Microsoft IE to the shared USB Mass Storages................................................................................22
5.5.2. Use Microsoft Dos’s FTP client................................................................................................................22
6. The Servers’ Web Pages..............................................................................................................................................23
6.1. Introduction ....................................................................................................................................................23
6.2. Using the Server’s Web Pages.........................................................................................................................23
6.2.1. Displaying Server Status..........................................................................................................................23
6.2.2. Setting up Server Configuration..............................................................................................................24
7. Troubleshooting..........................................................................................................................................................26
7.1. LED Indicators .................................................................................................................................................26
7.2. Firewall............................................................................................................................................................26
8. Restore Factory Defaults.............................................................................................................................................27
8.1. Using the Server’s Web Pages.........................................................................................................................27
8.2. Using Init Button .............................................................................................................................................27
8.3. Default Parameters List...................................................................................................................................27
9.3.1. General Information................................................................................................................................27
9.3.2. TCP/IP......................................................................................................................................................27
9.3.3. User Accounts .........................................................................................................................................27
9. Upgrade Firmware ......................................................................................................................................................28
Procedure A: Using the ShareHub Device Servers Control Center .............................................................................28
Procedure B: Using the Init Button and the TFTP Client.............................................................................................28
10. The Init Button ..........................................................................................................................................................29
Appendix G. Technical Support.......................................................................................................................................30

EN 1
1. Introduction
Thank you for purchasing PROLiNK® ShareHub Device Servers (PPS2101/PPS2101N/PPS2104N). This Server is
designed to connect your Multifunction Printer, Scanner, Fax, Hard Drive, iPhone, iPod, USB Digital TV Tuner, Digital
Camera, USB Webcam, USB Speaker, USB CD, USB DVD to your network, allowing all network users’ access to these
shared USB devices.
1.1. About 3 Models Described in this Manual
This manual provides introductory information as well as detailed instructions on how to set up and manage
PROLiNK® ShareHub Device Servers (PPS2101/PPS2101N/PPS2104N) in various network environments. The
following table shows the differences among the 4 models. All 3 models have a 10/100 Mbit/sec LAN port.
However, PPS2101/PPS2101N has only one USB port, while PPS2104N have four USB ports. Compared with
PPS2101, both PPS2101N and PPS2104N have an additional wireless module (802.11b/g/n). Except for the
wireless configuration, most configuration and operations are the same for PPS2101 and PPS2101N/PPS2104N.
Similarly, almost all of the configuration and operations are the same for these models except that only one
USB device can be connected to PPS2101/PPS2101N while at most four USB devices can be connected to
PPS2104N. Unless explicitly specified, all instructions in the manual apply to PPS2101, PPS2101N, and
PPS2104N.
Model
LAN
Wireless
USB Port(s)
PROLiNK® PPS2101
Yes
No
1
PROLiNK® PPS2101N
Yes
Yes
1
PROLiNK® PPS2104N
Yes
Yes
4
To fully benefit from this document, you should be familiar with basic networking principles. The instructions
described in this manual are based on the settings in a new Server. To reload the Factory Parameters, you can
reset this Server back to Factory Default, which will restore most of the settings. For details, please refer to the
chapter “Restore Factory Defaults”.

EN 2
2. Product Overview
2.1. Package Contents
Verify that nothing is missing from the package by using the checking list below. Please contact your dealer if
anything is missing or damaged. All packing materials are recyclable. Please confirm the items in the package
below:
1. ShareHub Device Servers (either PPS2101, PPS2101N or PPS2104N)
2. Quick Installation Guide
3. Power Adaptor (either 12V/1A for PPS2101/PPS2101N, or 12V/1.5A for PPS2104N)
4. Setup CD (ShareHub Device Servers Control Center and User’s Manual and Quick Installation Guide)
2.2. Setup CD
This CD provides easy-to-use ShareHub Device Servers Control Center software, and the User’s Manual and
Quick Installation Guide.
2.2.1. Start-up Procedures
If your computer is configured to auto start CDs, this CD will start automatically when inserted. You
can also navigate to the CD and start the autorun.exe file from within the Windows file manager.
2.2.2. Physical Description
Power Adaptor Connector
For DC IN 12V/1A or DC IN 12V/1.5A power adaptor
Init Button
For restoring the parameters to the default values
Ethernet Connector
Connected to a twisted pair category 5 cable
Wireless Station 2,3
IEEE 802.11 b/g/n wireless station with antenna
USB Host Ports
USB 1.1/2.0 low, full, and Hi-Speed compliant
Indicators
Power Indicator
Lit while power is applied. If it is not lit, or if it
blinks, there is a problem with this Server or
power adapter.
Link Status 1
Lit while network is applied. If it is not lit, it
indicates that this server does not connect to
the network.
Status Indicator 1
Blinks to indicate network activity.
LAN Indicator 2,3
Blinks to indicate wired network activity. If it is
lit, it indicates the wired network is applied. If it
is not lit, it indicates that the server does not
connect to the wired network.
WLAN Indicator 2,3
Blinks to indicate wireless network activity. If it
is lit, it indicates the wireless network is applied.
If it is not lit, it indicates that the server does
not connect to the wireless network.
USB Indicator
Lit while a USB device connects to a USB Port
of this Server. If it is not lit, or if it blinks, there
is a problem with the USB device or this Server.
Notice
1 –PPS2101 only, 2 –PPS2101N only, 3 –PPS2104N only

EN 3
2.2.3. Supported USB Devices
The PROLiNK® ShareHub Device Servers supports the following types of USB devices.
USB Printer
USB multifunction printer (MFP/AIO)
USB scanner
USB storage (like USB external HD, flash disk, and digital camera)
USB speaker
USB camera
USB digital TV tuner
USB webcam
USB CD
USB DVD
iPod
iPhone

EN 4
3. Basic Installation
3.1. Connecting the Hardware
a) Make sure that your USB devices are switched off and that the Server’s Power Adapter is disconnected.
b) Connect the USB devices to the USB ports with the USB cables.
c) Connect the Server to the network with a twisted-pair category 5 cable, 10baseT or 100baseTX.
d) Turn on the USB devices and make sure it is ready for use.
e) Connect the Power Adapter to the Server. The power indicator will light up and USB1 and USB2 indicators
will flash in turn. (For PPS2101/PPS2101N, only USB1 indicator will flash.) When the Link indicator lights up,
the Server is correctly connected to the network. When USB1 and USB2 indicators stop flashing, the Server
starts to work normally.
3.2. Wireless connection
3.2.1. Preliminary
a) Before you can access wireless network, wireless parameters should be set correctly. You have to
setup the first wireless parameter set through LAN (wired) connection.
b) Wireless access can be set as infrastructure (station) mode, which need an access point to route
network messages with the same SSID.
c) Wireless access can be secured by WEP (64/128), WPA-PSA (TKIP/AES), and WPA2-PSK (AES).
d) In infrastructure mode, if network administrator wants to change any security related parameters,
PPS2101N/PPS2104N should be changed first, and then access point. If parameters mismatch
causes wireless access is not allowed, you have to modify those parameters through LAN
connection.
e) In infrastructure mode, the maximal transfer rate is 150 MBits depending on access point’s
capability.
3.2.2. Set Wireless Configuration Using ShareHub Device Servers Control Center
a) Install ShareHub Device Servers Control Center. It is available in the Setup CD.
b) Start ShareHub Device Servers Control Center and Auto-searching ShareHub Device Servers
window will appear.
Note:
If the wireless parameters are not correct or not set yet, you have to use LAN to access ShareHub
Device Servers Control Center.

EN 5
c) If the tool finds ShareHub Device Servers in your local area network, then you have to select a
server from the server list.
d) Double click the highlighted server (or click the “Configure Server” button) to get the server’s web
pages. Click CONFIG icon.
e) Login with administrator ID (default: admin) and its password (default: admin).

EN 6
f) Click Wireless icon.
g) In order to join an existing wireless network, you have to set the correct SSID, and the correct
security method with the correct key information.
h) If the wireless network is secured by WEP64 or WEP128, key index and WEP key must be set
correctly.

EN 7
i) If the wireless network is secured by WPA-PSK or WPA2-PSK, the key formats, shared key and
encryption must be set correctly.
j) Click Submit to save your settings. And the server will reboot.
k) You have now finished the procedure of setting the wireless parameters.
After properly configuring the wireless parameters, you can remove the network cable and reboot the
PPS2101N/PPS2104N. The PROLiNK® PPS2101N/PPS2104N will then connect to your wireless
network. PPS2101N/PPS2104N will detect if a network cable is plugged-in or not. If a network cable is
plugged-in, PPS2101N/PPS2104N will always connect to the network through the network cable.
Otherwise it will always connect to the network through wireless module. Once PPS2101N/PPS2104N
connects to the network, either by network cable or by wireless module, all operations to use
ShareHub Device Servers are exactly the same.
3.3. Assigning an IP Address to the Server
3.3.1. Preliminary
If you have a DHCP server on your network, your Server will receive an IP address automatically.
The IP address will then appear on the ShareHub Device Servers Control Center or on the page of
configuration report that you printed earlier. If your DHCP server does not give an IP address to
the Server, the Server will use the automatic private IP addressing IP: 169.254.0.0. ~
169.254.255.255
If you are not working in a DHCP network, you need to manually set the Server’s IP address.
3.3.2. IP Address
Unless you are assigning an IP address using DHCP, you must obtain an unused IP address from your
network administrator.

EN 8
3.3.3. Methods for Setting the IP Address
You can set the IP address of your Server using one of the following methods, depending on your
network operating environment:
Automatic IP Address Assignment
Manual IP Address Assignment
3.3.4. Server Names and Server Name Rules
The default server name of the Server is “PPS2101” (for PROLiNK® PPS2101) or “PPS2101N” (for
PROLiNK® PPS2101N) or “PPS2104N” (for PROLiNK® PPS2104N). If you put two or more Servers in
your local area network, to avoid using the same server names you have to change the server names
by using the ShareHub Device Servers Control Center or the Server’s web pages. If your server name is
longer than 15 characters, the Server uses only the first 15 characters.
3.3.5. Setting the IP Address Using DHCP
Follow the instructions below to get an IP address using DHCP:
a) Edit or create a scope in the DHCP manager of the DHCP daemon. The entries included in this
scope should contain the following parameters:
range of IP addresses
subnet mask
default router IP address
DNS server IP address
lease duration
b) Activate the scope. The Server automatically gets the DHCP parameters. If you are using DNS, you
may include at least one DNS server IP address in the DHCP scope or manually set the DNS server
IP address using Server’s web pages or the ShareHub Device Servers Control Center.
3.3.6. Setting the IP Address Using the ShareHub Device Servers Control Center
a) Install the ShareHub Device Servers Control Center. The ShareHub Device Servers Control Center
is available on the Product CD.
b) Start the ShareHub Device Servers Control Center and Auto-searching Server window will appear.

EN 9
c) If the tool finds multiple Servers in your local area network, then you have to select one Server
from the Server List.
d) Double click the highlighted server (or click the “Configure Server” button) to get the server’s web
pages. Click CONFIG icon.

EN 10
e) Login with administrator ID (default: admin) and its password (default: admin).
f) Click the button corresponding to your choice of IP setting methods (static or dynamic using
DHCP). When assigning a static IP address you also have to define Subnet Mask.
g) Click Submit to save your settings. And the Server will reboot. You have now finished the
procedure of setting the IP address.

EN 11
4. Using the ShareHub Device Servers
4.1. Introduction
The goal of this produce is to provide the ShareHub Device Servers in a single product. We developed a new
technology called “NetUSB” to achieve this goal. Basically, the “NetUSB” is a “USB over IP” technology that
transparently redirects all USB packets to TCP/IP network channel. “NetUSB” allows you to use USB devices as
if they were connected directly to your PC although they are actually remotely connected to the PROLiNK®
ShareHub Device Servers (PPS2101/PPS2101N/PPS2104N).
4.2. Connect & Disconnect
“NetUSB”allows you to use USB devices as if they were connected directly to your PC although they are
actually remotely connected to the PROLiNK® ShareHub Device Servers. The “connect” operation is a
software operation that simulates an actual USB device plug-in. That is to say, when you do a “connect”
operation in the ShareHub Device Servers Control Center, PC can then detect a USB device’s plug-in, although
actually you do not plug in any USB device. Similarly, the “disconnect” operation is a software operation that
simulates the disconnection of the USB device. Once the connect operation is successful, the operations to use
that USB device are just the same as if the USB device is directly connected to the PC.
If a USB device is “connected” by a PC, we say that PC has the ownership of the USB device. Only one PC can
get the ownership of a USB device at the same time. Therefore, if a USB device is connected by one PC, no
other PC can connect this USB device until this USB device is disconnected.
4.3. Subnet Issue
Before using the NetUSB technology, you must first make sure that your PC can access the PROLiNK®
ShareHub Device Servers via TCP/IP. The simplest way to do this is using “ShareHub Device Servers Control
Center” to search for the PROLiNK® ShareHub Device Servers on the network and change its IP address to
be the same subnet as your PC. If the server and your PC are not in the same TCP/IP subnet, ShareHub Device
Servers Control Center will show the server in red, as the following figure. You must change the IP address (or
using DHCP) of the server so that the server and your PC are in the same subnet. ShareHub Device Servers
Control Center will show these servers in blue, meaning you can access these servers by the NetUSB
technology.

EN 12
4.4. Installation of USB Device Driver
Some USB devices, like printers or MFPs (multifunction printers), require to install vendor-supplied driver
(usually on CDROM). For those USB devices that do not need to install driver, please skip this section.
a) Insert the CDROM into the CD drive and run the “autorun” program.
b) Follow the instructions of the installation program to install driver.
c) When the installation program asks you to plug-in the USB device, run the “ShareHub Device Servers
Control Center”.
d) In the ShareHub Device Servers Control Center, click the ShareHub Device Servers that has the desired
USB device attached.
e) Click the desired USB device as the following figure.
f) Click the “Connect” button. Then the message “Manually Connect by your_computer_name” will be shown,
as the following figure.
g) Now, the installation program will detect the USB device and continue to install driver.
h) After the installation is completed, click the USB device in the ShareHub Device Servers Control Center and
then click the “Disconnect” button to disconnect the USB device.
Now the driver of your USB device is installed.

EN 13
4.5. Using the ShareHub Device Servers
a) In the ShareHub Device Servers Control Center, click the ShareHub Device Servers that has the desired
USB device attached.
b) Click the desired USB device.
c) Click the “Connect” button. Then the message “Manually Connect by your_computer_name” will be shown.
d) Now, PC will detect the plug-in of the USB device. The “connect” operation is a software operation that
simulates an actual USB device plug-in. That is to say, when you do a “connect” operation in the ShareHub
Device Servers Control Center, PC can then detect a USB device’s plug-in, although actually you do not
plug in any USB device.
e) Then, just use the USB device as if it is connected directly to your PC’s USB port.

EN 14
f) After you finish using the USB device, click the USB device in the ShareHub Device Servers Control Center
and then click the “Disconnect” button to disconnect the USB device. Other PCs cannot “Connect” the USB
device until you “Disconnect” that USB device. That is to say, only one PC is allowed to connect the USB
device at the same time.
4.6. Auto-Connect Printer
The method described in section 4.5 is so-called manual-connect, which means users must manually connect
the USB device before using that device, and must manually disconnect the USB device after using the device;
otherwise nobody else can connect this device. However, for printers and scanners (and MFPs), the ShareHub
Device Servers supports auto-connect so users don’t need to manually connect/disconnect. This and the next
sections show you how to do this.
After the driver is installed as described in section 4.4, you can see a newly created printer in the Control
Panel’s “Printers and Faxes”. Follow the steps below to do a NetUSB auto-connect printing.
a) In the ShareHub Device Servers Control Center, click the ShareHub Device Servers that has the desired
printer (or MFP) attached.
b) Click the desired printer (or MFP).
c) Click the “Auto Connect Printer” button and choose “Set Auto-Connect Printer”.

EN 15
The following figure will appear.
d) Choose the desired printer. The desired printer must be the Windows printer (this is a logical printer) that
matches the printer attached on the ShareHub Device Servers (this is a physical printer). Then click the
“Apply” button.
e) Then, the printer will be marked as an “Auto-Connected Printer” in red. If you choose “Auto-Connected
Printer List” in the “Tools” menu, you can see a newly created item that describes the association between
the Windows printer and the physical printer on the server.
f) Then try to issue a print job to the desired printer. You will see the ShareHub Device Servers Control
Center will automatically do a connect operation. Then, the print job will be issued to that printer.

EN 16
g) Even you already properly setup an auto-connected printer, the ShareHub Device Servers Control Center
must be running (in the background) while a print job is issued. This means you’d better run the ShareHub
Device Servers Control Center every time after you login Windows. In order to skip this manual operation,
you can make the ShareHub Device Servers Control Center be run automatically after you login Windows.
To do this, choose the “Language” item in the “Tools” menu. The following window will appear. Click on
the check box and then on the “OK” button. This feature is enabled by default.
If you would like to break the association between the Windows printer and the physical printer, just click on
the association and click the “Delete” button in the “Auto-Connected Printer List”.
4.7. Network Scanner
For NetUSB scanning, we recommend you use Network Scanner as the following steps.
a) In the ShareHub Device Servers Control Center, click the ShareHub Device Servers that has the desired
MFP (or scanner) attached.
b) Click the desired MFP (or scanner).

EN 17
c) Click the “Network Scanner” button. Then you can see that the ShareHub Device Servers Control Center
will automatically do a “connect” operation. The following window will appear.
Note:
Only applicable to Windows XP.
d) Choose one of TWAIN or WIA item. Click “OK”. The following window will appear.
Note:
Only applicable to Windows XP.
e) Follow the usual steps to do scanning.
f) After the scanning, close the “Auto-Connect Scanner” window. At this moment, ShareHub Device Servers
Control Center will automatically disconnect.
Other manuals for PPS2101
2
This manual suits for next models
2
Table of contents
Other PROLiNK Server manuals
Popular Server manuals by other brands

Vizualogic
Vizualogic VMOD owner's manual

GRASS VALLEY
GRASS VALLEY EDIUS 4 LICENSE MANAGER - APPLICATION NOTE... Application note

Supermicro
Supermicro SuperServer 1019C-FHTN8 user manual

Fujitsu
Fujitsu Primergy RX4770 M1 Upgrade and maintenance manual

Lenovo
Lenovo System x3250 M4 Installation and service guide

Kontron Embedded Computers
Kontron Embedded Computers PxV206 user manual