Promatic RTM1 User manual

This document must be read in full before aempng to operate the machine
Please retain this informaon for future reference
This guide contains only informaon relang to the Promac / Claymate radio
product, and not the trap(s) that it will control. If you have not already done
so, we recommend you view the full user manual specic to your trap model.
Detailed manuals are available free of charge on our website:
www.promac.co.uk or www.promac.biz
Remote control of hidden traps:
Whenever seng up, changing or
tesng radio systems, it is likely that a
trap will re at some point, oen in
out of sight locaon.
All traps that are likely to re should
be safely guarded to ensure that no
personnel are working in immediate
proximity to the trap or are standing
within the potenal ight path of the
clay target.
Operang
Instrucons
RTM1
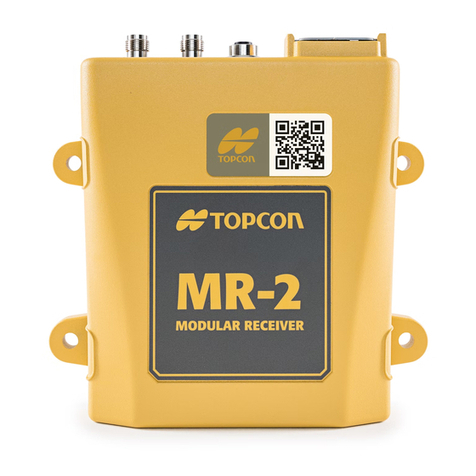
Radio Receiver

Sing the receiver:
The receiver should be placed upright and for best results posioned close to the
trap at around head height and within line of sight of the operator, if mounng on
the back of a structure or wall, i.e. hidden from the operator’s viewpoint then
please be aware that this is likely to reduce the eecve transmission distance.
The metal wall mount bracket has been designed to work with many styles of tube
clamp (U clamp types - not supplied) to also enable pole mounng if required (For
instance to improve recepon in dicult terrain).
The receiver must me mounted vercally, this provides the best recepon paern
and will maintain the integrity of the moisture seals.
Plug into the trap:
The receiver is supplied ready to connect to any of the current Promac profession-
al trap range, for use with older models or certain other brands of trap adaptor
cables are available (at extra cost ) to suit the applicaon, please ask for details.
If it is required to mount the receiver at a greater height to improve recepon, an
extension cable will be required to connect back to the trap, such cables are availa-
ble (at extra cost ) from Promac in various lengths to suit the situaon and receiv-
er type being used.
Compability with Older Promac Traps.
For use with older models ed with Rubber 3-pin connectors an adaptor cable is
available (at extra cost) to suit, please ask for details.
Compability with other makes of traps.
For use with certain other brands of trap adaptor cables are available (at extra cost)
to suit the applicaon, please ask for details.
The receiver part of the system has been developed to be able to control other
brands of trap up to 40V. Where a suitable cable is not available, the connector will
need to be changed to connect to these other brands. Remember - Regardless of
the trap voltage that the receiver will be switching, it sll requires a stable 12-24v
DC power supply to enable it to funcon.
If in doubt, or for mains trap operaon, please call us.

Make sure that no other PROMATIC radio transmiers are operang
within 300 Metres of the receiver being paired. This will avoid acci-
dentally pairing a receiver to another radio operang elsewhere which
could lead to unpredictable and undesirable operaon.
Pairing a transmier (handset) and a receiver .
Each Receiver can be paired to operate with up to 8 handsets, for best results the
handset and receiver should be within 2 Meters of each other whilst pairing.
Plug the receiver into a trap, connect the trap to the baery & turn the isolator to
the on posion to provide power to the receiver (The trap does not need to be
armed - however take note of trap safety warnings) .
A symbol on the receiver’s rear label shows the magnet sensor posion
to be used when pairing with a handset, place a magnet (Cartridge pick
-up sck etc..) on the small magnet symbol, you will hear an inial
beep, hold for a second or so unl you hear a short 2 tone beep, then
remove the magnet. You are now in pairing mode and have approxi-
mately 10 seconds to pair a handset to the Receiver, as outlined below.
SP1 (Single) Handset with 1 receiver:
With the receiver in pairing mode, press and hold the re buon. Aer about 5 sec-
onds, the receiver should give a short tone to conrm that it has accepted the pair-
ing, at this point release the buon.
SP2 (A-Hi / B-Lo / Pair) Handset with 2 receivers:
Pair the rst receiver as above then repeat using the other buon to pair the second
receiver. The Pair (A & B) buon will work automacally.
ABT Handset with 3 channel receiver:
With the receiver in pairing mode, press and hold the re buon. Aer about 5 sec-
onds, the receiver should give a short tone connue to hold unl a second beep is
heard, the receiver has now accepted the pairing, at this point release the buon.
The Rotaon and/or Elevaon buons will have followed and work automacally.
Aer pairing any handset & receiver you should test re the trap a few mes to
conrm that the desired pairing is working correctly.
Clearing the receiver memory:
Place the magnet on the small magnet symbol as before but this me hold for ap-
prox. 10 seconds unl a rapid beeping sound is heard and then remove the magnet.
The receiver is now de-programmed and will give a repeang pulse tone as long as it
powered up to indicate this. It will no longer respond to any handset unl paired.

RTM1 Receiver only 1.0 — October 2018
Promatic International Ltd.
Hooton Road
Hooton
South Wirral
CH66 7PA
United Kingdom
Tel: +44 (0) 151 327 2220 (General)
+44 (0) 1407 860800 (Sales)
Fax: +44 (0) 151 3277075
E-mail in[email protected].uk
Website: www.promatic.co.uk
Promatic Inc.
801, Mid America Drive,
Plattsburg.
MO 64477
USA
Toll Free: 888.767.2529
Fax: 816.539.0257
E-mail: sales@promatic.biz
Website: www.promatic.biz
Table of contents
