Prosensors BIOT V1.2 User manual

1
PROSENSORS BIOT V1.2
USER MANUAL
Welcome to your new BIOT! This user manual describes the steps to get your BIOT working so that you can
receive emails when “events”occur in your home or office, and be able to monitor the temperature, all from
anywhere in the world.
Here’s what you need to get started:
1. The BIOT itself
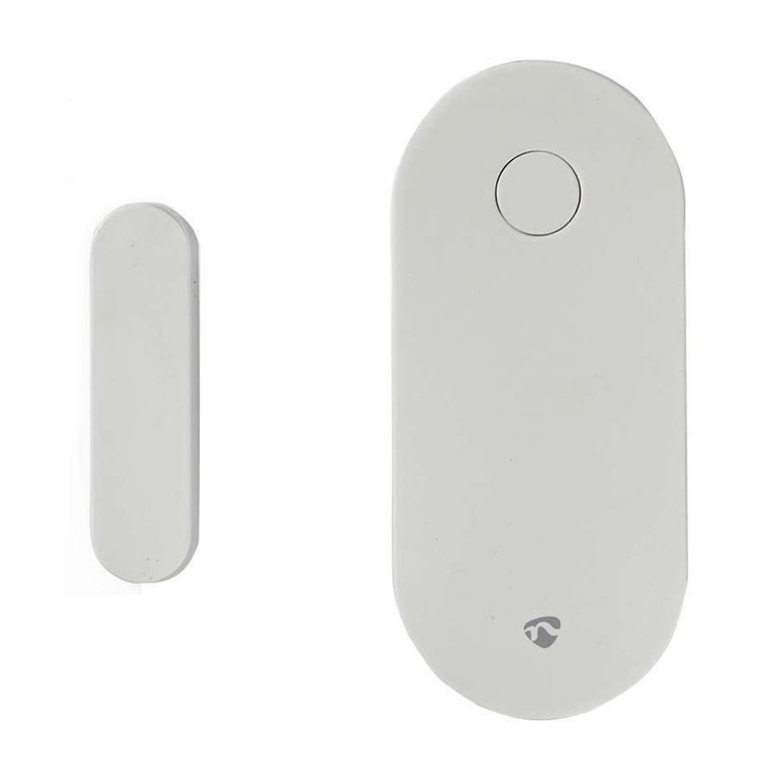
2. The magnet sensor for the BIOT
3. An active internet connection
4. A piece of paper on which to write down the BIOT’s own WiFi password
5. A wifi service such as your home router (Your Access Point or AP)
6. Your own wifi Access Point’s SSID (AP name) and password (the AP password)
7. A device such as a mobile smart phone or laptop that can connect to a wifi AP
Before you insert the batteries, copy down the BIOT’s own WiFi password which is written on the inside below the
battery chamber. This is unique to each BIOT to ensure that nobody can break into your wireless configuration and
steal your important passwords. In the example pictured below, the password is O8YfLzJ700 with crossed zeros.
The BIOT has no physical buttons or switches. It takes 2 AAA batteries. When you insert the second battery, the
BIOT is activated and in “Configuration”mode. If you do nothing (forget to configure it) for about 3 minutes after
inserting the battery it will make low tone double-beeps every 8 seconds for a few minutes until it times out, exits
Configuration mode, and stops draining the battery. In that case just pull out the battery and reinsert it to start over.
As soon as you insert the battery be ready to configure the device since you only have a window of several minutes
to do so. When you first insert the battery the BIOT will respond with four rapid high-tone beeps in under a

2
second, then will be silent for about 4 seconds then give three mid-tone beeps. After another 4 seconds it should
register a final single mid-tone beep. At this point you should be able to find the device with your smart phone or
laptop in your list of available Wifi connections with the identifier “PROSENSORS AP 12:34:56:78:9A:BC”where
the last 12 digits represent its unique MAC address and will be different for each BIOT.
Choose to connect to the PROSENSORS AP in your list of wifi options, and when asked for the password type in
the 10 digit BIOT WiFi password you copied on paper which is now hidden under the batteries in the battery
chamber. Depending on your phone or laptop it can take up to 90 seconds to connect to the BIOT to be able to
enter the password (IPhones are the slowest to gain access for example, whereas Androids are faster).
Once you are connected to the BIOT as an access point, you will want to go to the webpage 192.168.4.2. Just go to
your web browser and in the address bar type in 192.168.4.2 and hit enter. This will bring up a terms-of-use legal
disclaimer screen in your web browser that ends as follows:
Read the terms-of-use and, IF you agree, then accept them. The terms are repeated later in this user manual.
Accepting the terms would lead you to the welcome page as follows:

3
From this entry page you will want to click the button CONFIGURATION WIZARD since you need to set the
parameters of your device. Your web browser will then bring up the following configuration page:
Inter-packet delay timing can be set in 1-minute increments up to 60 hours, which will add to 2 minutes to give
the update rate of your BIOT connecting to the internet. Careful not to set it too rapid or the battery will drain
rapidly. Typical recommended is about 4 hours. This will NOT affect events like door opening and closing, which
will happen regardless of the inter-packet delay timing.
Your email address will be the one to which the BIOT sends its event information. This cannot be more than 64
characters
Your 4 digit alpha-numeric pin is required to match your BIOT to the server end and will only be needed once to
make the match complete
Your nickname can be up to 32 characters long and is particular to this BIOT. It should be something you
recognize such as “Front door, “Ficus plant”, “Inside refrigerator”or “Basement floor”to distinguish the messages
you receive in the emails if you have more than one BIOT.
You MAY select Stealth Mode which completely overrides the speaker in all operation including the rest of the
setup, but this is NOT recommended. Instead, use the option of Silence offered from PacketPeek later in setup.
Additionally, you MAY change the water alarm update rate after initial to preserve the battery in case of a wet
event, where otherwise the device would continue to send non-stop packets while the water detector is wet. The
first packet should be enough to warn you that there is a problem, and the default is set to every 10 minutes
thereafter if the wet event has not been resolved to a condition of dry.
Once you have set the parameters click Submit and Continue. This will bring you to the final configuration page
where you will need your own wifi AP’s SSID and password to complete the configuration:

4
On this page you will first need to choose your regular wifi access point / router’s SSID. There is a drop down list
provided, or you can manually type it in the box below if you know it. The “L”in the example stands for locked,
and the “2”in the example stands for the wifi signal strength when you first turned on the BIOT and it scanned the
possible WiFi connections. 0 is the lowest strength whereas 7 is extremely high signal strength.
Next you will enter the password of your wifi access point to allow the BIOT to connect to your wifi access point
and to the internet. Don’t confuse this with the BIOT’s own WiFi password.
The BIOT will either beep 7 high-tones to indicate that it has successfully connected to the internet, or two low
tones to indicate that something has gone wrong. That’s all you need to do on the BIOT end other than place it
physically. Now go back to regular internet and visit PacketPeek.com to register your device.
Terms of Use - FCC / IC: This device contains FCC ID 2AHMR-ESP12F. This device contains IC: 23236-ESP12F
This device complies with part 15 of the FCC Rules and RSS-Gen of IC Rules. Operation is subject to the
following two conditions: (1) This device may not cause harmful interference, and (2) this device must accept any
interference received, including interference that may cause undesired operation.
Jurisdiction: These Terms are to be governed and construed by the substantive law of the Province of Ontario,
Canada.
Limitation of Liability: TO THE EXTENT NOT PROHIBITED BY APPLICABLE LAW, IN NO EVENT WILL
PROSENSORS INC., ITS SUBSIDIARIES OR AFFILIATES OR THEIR RESPECTIVE LICENSORS (IF ANY),
BE LIABLE FOR ANY DIRECT, INDIRECT, INCIDENTAL, SPECIAL, CONSEQUENTIAL, PUNATIVE, OR
EXEMPLARY DAMAGES, INCLUDING BUT NOT LIMITED TO, DAMAGES FROM LOST PROFITS, LOST
DATA OR BUSINESS INTERRUPTION ARISING OUT OF THE USE, INABILITY TO USE, OR THE
RESULTS OF USE OF THIS DEVICE, ANY WEB SITES LINKED TO THIS DEVICE, OR THE SOFTWARE,
MATERIALS OR SERVICES CONTAINED AT ANY OR ALL SUCH SITES, WHETHER BASED ON
WARRANTY, CONTRACT, TORT OR ANY OTHER LEGAL THEORY AND WHETHER OR NOT ADVISED
OF THE POSSIBILITY OF SUCH DAMAGES.
Table of contents
Popular Security Sensor manuals by other brands
JRT
JRT M88B user manual

Leica
Leica Ultra user manual
Johnson Controls
Johnson Controls PG9200AX user manual

MEDC
MEDC BGE Technical manual
steute
steute HS Si 4 Extreme Series Mounting and wiring instructions

Pfeiffer Vacuum
Pfeiffer Vacuum ASM 390 Additional Installation, Operation and Maintenance Instructions
