WARNING! TO PREVENT ELECTRIC SHOCK AND DEATH FROM INCORRECT
GROUNDING WIRE CONNECTION: ALWAYS USE A GROUNDED 3-PRONG OUTLET.
Check with a qualied electrician if you are in doubt as to whether the outlet is properly grounded.
Do not modify the power cord plug provided with the light. Never remove the grounding
prong from the plug. Do not use the light if the power cord or plug is damaged. If damaged,
have it repaired by a service facility before use. If the plug will not t the outlet, have a
proper outlet installed by a qualied electrician.
WARNING! If the supply cord of this light is damaged, it must be replaced only by
a qualied service technician.
Note: Replacement parts may not be available for this item.
IMPORTANT SAFETY INSTRUCTIONS
WARNING – To reduce the risk of FIRE, ELECTRIC SHOCK, EXPOSURE TO
EXCESSIVE UV RADIATION, OR INJURY TO PERSONS:
1. Do not look directly at lighted lamp.
2. Avoid electric shock. Do not use with an extension cord near water or where water
may accumulate. Keep lamp at least 16 feet (5m) from pools and spas. Keep plugs and
receptacles dry. Use only on GFCI-protected circuits. Do not submerge the Light in water.
3. The Light is not waterproof. Use extreme caution in any wet location.
4. Be careful when using tripod. Make certain that the area is clear of debris and
obstructions that may bump the Light.
5. Do not obstruct walkways or common areas with the cord.
6. Maintain labels and nameplates on the Light. These carry important safety information.
7.
This product is not intended for use in a residence or to be mounted in a cabinet. This product
is not suitable for recessed installation in ceilings or on buildings. This product can cause a re.
8. Do not leave the Light unattended when it is plugged into an electrical outlet. Turn off the
Light, and unplug it from its electrical outlet before leaving.
9. This product is not a toy. Keep it out of reach of children.
10. People with pacemakers should consult their physician(s) before use. Electromagnetic
elds in close proximity to heart pacemaker could cause pacemaker interference or
pacemaker failure. In addition, people with pacemakers should:
· Avoid operating alone. · Properly maintain and inspect to avoid electrical shock.
· Properly ground power cord. Ground Fault Circuit Interrupter (GFCI) should also be
implemented – it prevents sustained electrical shock
11. WARNING: Handling the cord on this product will expose you to lead, a chemical
known to the State of California to cause cancer, and birth defects or other reproductive
harm. Wash hands after handling.
12. The warnings, precautions, and instructions discussed in this instruction manual cannot
cover all possible conditions and situations that may occur. It must be understood by the
operator that common sense and caution are factors which cannot be built into this product,
but must be supplied by the operator.
13. Do not operate a Light in explosive atmospheres, such as in the presence of ammable
liquids, gases, or dust. A Light creates sparks which may ignite the dust or fumes.
14. Do not abuse the cord. Never use the cord for carrying, pulling, or unplugging the Light.
Keep the cord away from heat, oil, sharp edges, and moving parts. Damaged or entangled
cords increase the risk of electric shock.
15.
Stay alert, watch what you are doing, and use common sense when operating a Light.
Do not use a Light while you are tired or under the inuence of drugs, alcohol, or medication.
A moment of inattention while operating a Light may result in serious personal injury.
16. Do not use the Light if the On/Off Button does not turn it on and off. Any Light that
cannot be controlled with the power button is dangerous and must be repaired.
17. Have your Light serviced by a qualied repair person. Use only identical replacement
parts. This will ensure that the safety of the Light is maintained.
18. Wear ANSI-approved goggles during setup and use.
SETUP
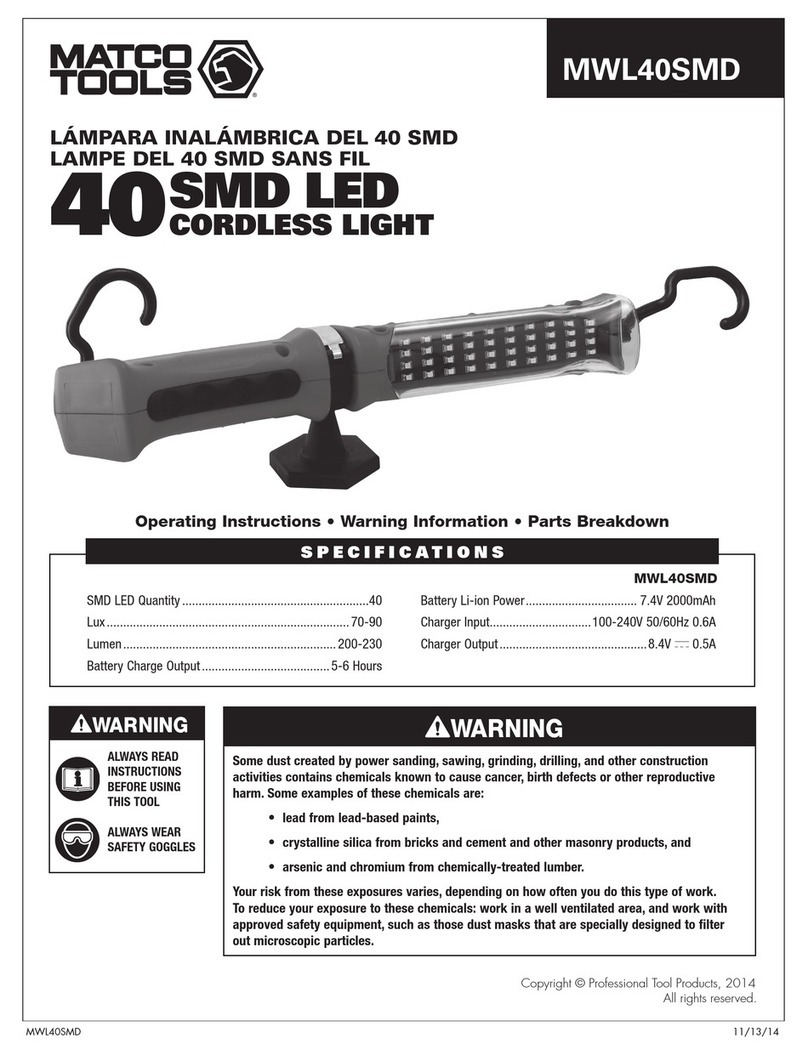
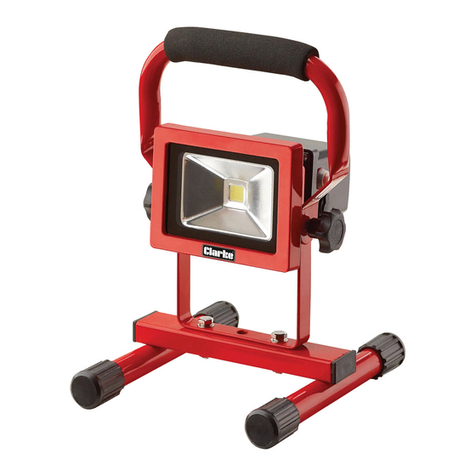
1. Slide the bracket (21) over the top arm of the base (26), aligning the hole in the front of
the bracket with the hole in the front base (26).
2. Insert base screw (24) through nut base (22) and into the hole on the front of coupling
bracket (21). Tighten loosely.
3. Insert Handle (15) into coupling bracket (21) and align the 2 holes in each.
4. Insert the wing nuts (25) through the bottom of the holes in the Base (26) and place light
bracket (20) on top. Tighten with M6 nuts (19)
.
OPERATING INSTRUCTIONS
Read the ENTIRE IMPORTANT SAFETY INSTRUCTIONS section at the beginning of this
manual, including all text under subheadings therein before setup or use of this product.
1. Plug the Light into a standard 120V grounded, electric outlet.
2. To turn on, push the power switch on the back of the light.
3. To turn off, push the power switch again.
4. To prevent accidents; turn off lights and disconnect power supply after use.
Clean, then store the Light indoors out of children’s reach.
TO PREVENT SERIOUS INJURY FROM ACCIDENTAL OPERATION:
Make sure that the On/Off Button is in the OFF position and unplug the tool from its
electrical outlet before performing any procedure in this section.
TO PREVENT SERIOUS INJURY FROM LIGHT FAILURE:
Do not use damaged equipment. If damage is noted, have the problem corrected before further use.
1. BEFORE EACH USE, inspect the general condition of the light. Check for loose
hardware, damaged cord/electrical wiring, cracked or broken parts and any other
condition that may affect its safe operation.
2. AFTER USE, wipe external surfaces of the Light with a clean cloth.
Part Description Qty
1 Head Cover ............................... 1
2 Lens........................................... 1
3 Light Reector ........................... 1
4 Rubber Ring .............................. 1
5 LED Board Assembly ................ 1
6 Heat Sink................................... 1
7 LED Driver................................. 1
8 PCB Board ................................ 1
9 Switch........................................ 1
10 Switch Cover ............................. 1
11 Housing ..................................... 1
12 Plastic Nut ................................. 1
13 Plastic Screw............................. 1
Part Description Qty
14 Power Line ................................ 1
15 Handle....................................... 1
16 End Cap .................................... 3
17 Foam Grip ................................. 1
18 M6 Screw .................................. 2
19 M6 Nut....................................... 4
20 Light Bracket ............................. 1
21 Coupling Bracket....................... 1
22 Nut Base.................................... 1
23 Backup Ring.............................. 1
24 Base Screw ............................... 1
25 Wing Nut.................................... 2
26 Base .......................................... 1
PARTS DIAGRAM
Please read these instructions carefully and retain them for future use.


