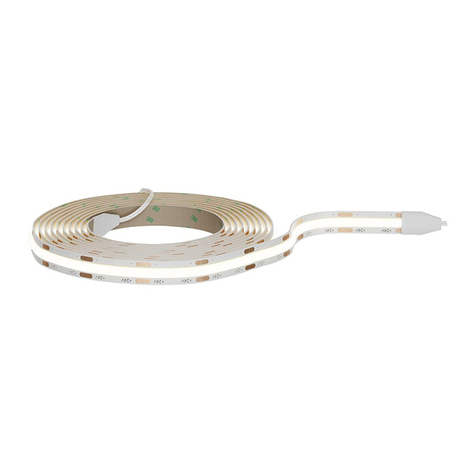
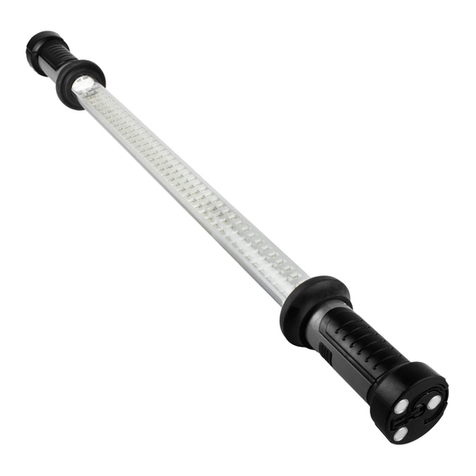
Finally, connect the Connex directly to 240V
mains supply or 13A plug. If you are
creang a run of Connex lights, you only
need to connect the Connex at the start of
the run.
6
Colour Change Funcon
The Connex has three colour funcons, which are cool white, natural white and
warm white. To cycle through the colours simply turn the Connex on and off using
the switch located at the side.
Note: When mulple Connex lights are linked, each light must be set individually.
Memory Funcon
The ConnThe Connex has a memory funcon to remember what colour you have selected.
When the Connex is switched off at the mains, wait at least 5 seconds before
switching it back on and the colour will be remembered. The ON/OFF switch
located at the side of the Connex must remain ON for this feature to work.
1 = On
0 = Off
Clip the Connex into the two fixing brackets
to secure it in posion.
5
If you are installing a run of Connex lights,
connect the lights by inserng the
male-end into the female-end.
Note: This can be achieved with the
connecon cable as well.
4
3
Fix the brackets to the desired posion
using the screws included.
2
Using a pencil, mark where the fixing
brackets will be posioned - one at either
end to take the weight of the light evenly.
1
Using a pencil, mark the desired posion for
the Connex under the cabinet.
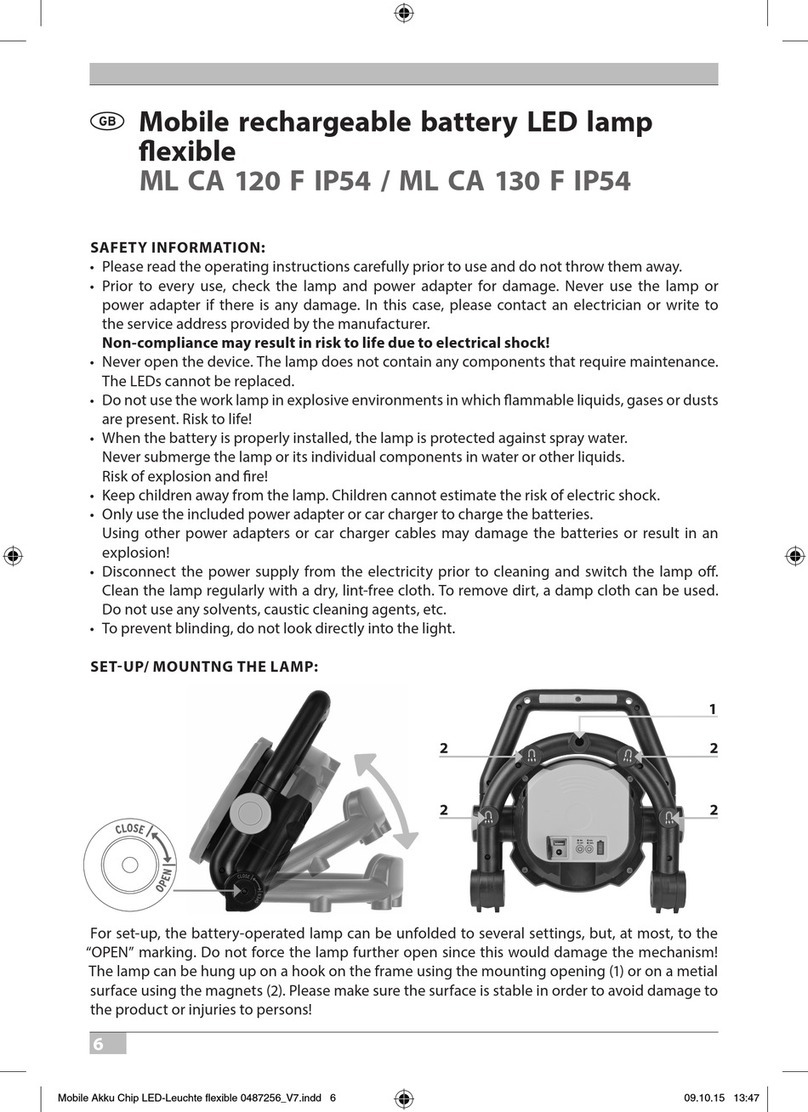
Installaon
Funcon
Technical drawings for illustraon purposes only, Sensio had the right to change any informaon
without prior noce. Make sure you check all hole cut outs before work commences.
www.sensio.co.uk
Sensio House, Unit 7, Speedwell Road, Whitwood, Castleford, West Yorkshire, WF10 5PY
• Ensure that the power is disconnected prior to cleaning.
• To keep the finish of this product, wipe over with so cloth periodically.
• Do not use harsh chemical solvents, this may dis-colour or damage the finish.
Maintenance & Care
TrioTone
Connex -
240V Colour Changeable LED
TM
