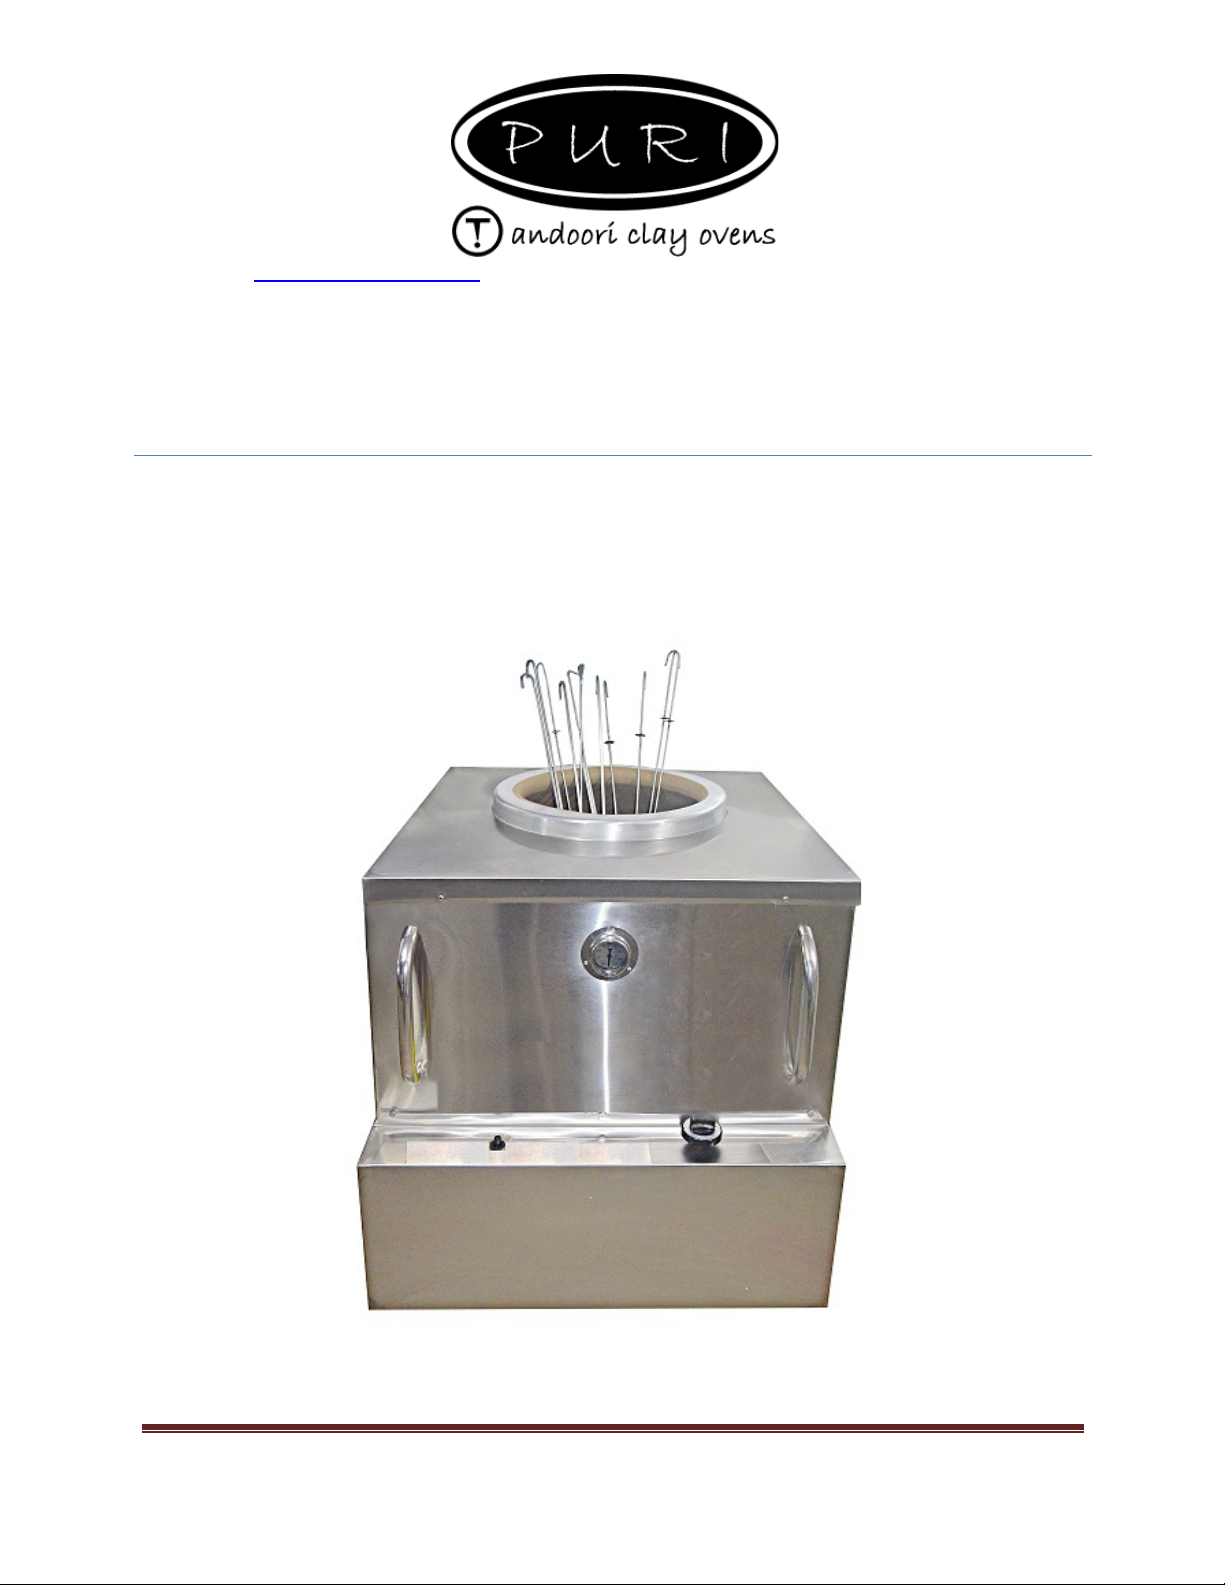
Gas$Fired$Tandoor$Instruction$Manual$ $ Manual$Rev.$October$2019$
Page | 7
• If the appliance is positioned on a combustible floor, sheet material (preferably
stainless steel) equal to the base area of the appliance must be secured to the floor
prior to fixing the appliance in place.
• Ensure that the appliance is level.
• Inspect for damage. If any damage is noted, report damage to the freight company
and contact manufacturer at the address shown on the cover.
• Verify that the unit marking plate indicates that the unit is set up for service on the
type of gas fuels as found at the installation site. Natural gas units have to be
operated on natural gas only and propane units used only on propane gas.
• Plan location of units in such a manner as to be best accessible to operator. Locate
unit so that foot traffic in area will not interfere with unit operation. When choosing
unit location, take into consideration the operation of overhead and side mounted
heating/cooling ducts and fans
4.3. Ventilation'
• The area in which the appliance is to be installed should have sufficient fixed
ventilation to comply with the requirements of Approved Document J in the 1985
Building Regulations in Europe, with a minimum area of 4.5 cm per 1Kwht (3412Btu
per hr) of total heat input.
• Ventilation hood must be installed above the appliance according to all appliance
codes by your local and state health and fire regulations.
• It is required that the Tandoor be interlocked to the hood ventilation system.
• There must be sufficient low- level ventilation to ensure that the appliance has a
good supply of clean fresh air.
4.4. Gas'supply'and'connection'
• Check that the gas supply correspondence to that on data plate. Gas connection
must be the same size of the PURI Tandoors, BSP ½”. Warning: Do not under any
circumstances join NPT to BSP threads when making connections.
• The ½” connection for connection of gas supply is located behind the unit.
• A shut off valve should be installed on the gas service line ahead of the unit in case
of emergency and for serving purposes. The location of the manual shutoff valve
should comply with codes in effect at the installation site.
• Since the appliance is caster mounted, connection of the appliance must be made
using suitable flexible connection devices. Ensure that the hose is suitable for
commercial catering appliances and a restraining wire and wiring label are used.