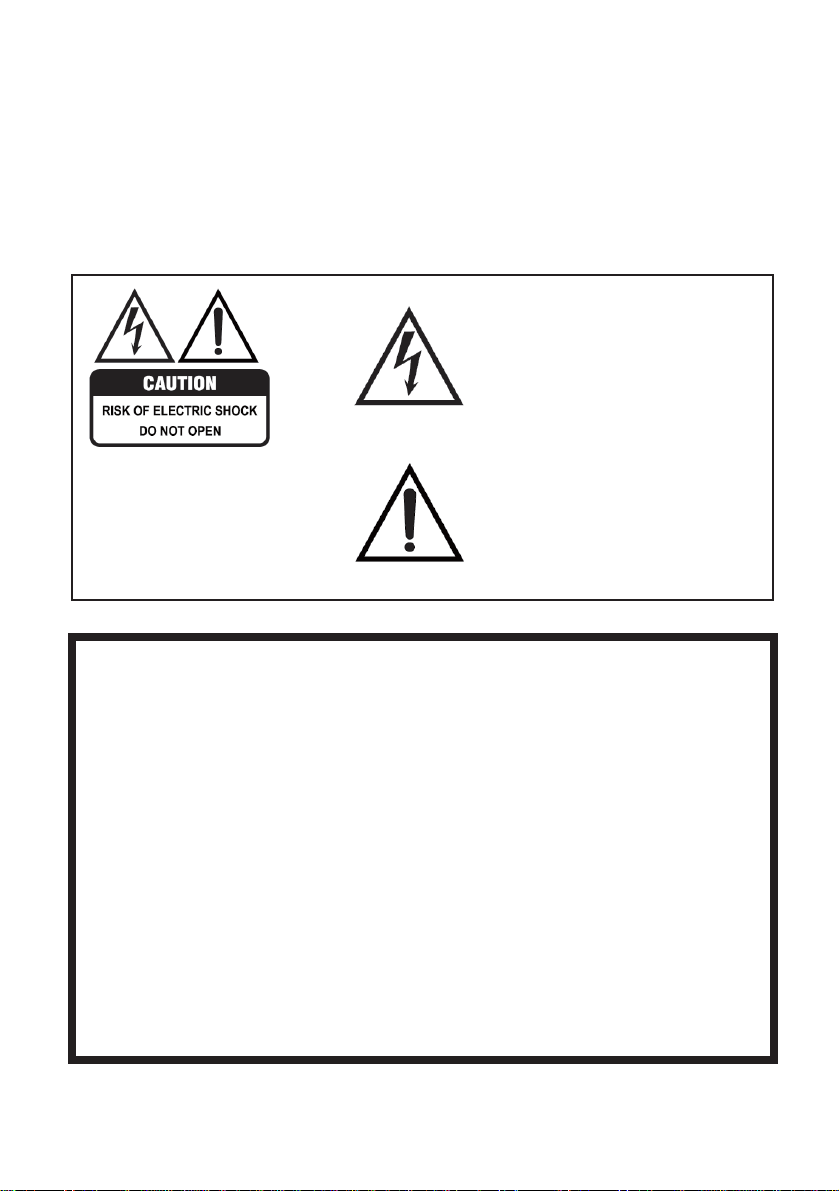
GENERAL SAFETY INSTRUCTIONS
•
Please beware that Dust could accumulate over time on the unit and cause it to generate
heat and or deteriorate insulation, which in turn may result in an electrical fire.
•
The product is not intended for use by persons (including children) with reduced physical,
sensoryormentalcapabilities,oryoungchildrenofanyage,Theymustbesupervised
product by a person responsible for their safety.
•
Batteries from the remote control must be only removed by an adult, the adult must
ensure to keep them out of reach of infants and children. Seek medical attention
immediately if a child has swallowed a battery.
•
Batteries (battery pack or batteries installed) shall not be exposed to excessive heat such
as sunshine, fire or the like.
•
To maintain the product do not use any chemical or cleaning agent or wet cloth, please
only ensure to utilize a dry cloth to wipe it down from marks or dust and only after
unplugging the product from the power socket.
•
Please ensure to contact our call center for any repair or service required for the products.
WARNING!
It is STRONLY RECOI'•II'dENDED that you ANCHOR this product.
Toppling furniture and TV’s can cause serious injury or death.
TO HELP AVOID ANY SERIOUS OR FATAL INJURY, WE STRONGLY RECOMMEND THAT THIS
PRODUCT BE PERMANENTLY FIXED TO THE WALL OR OTHER SUITABLE SURFACE. FIXING
DEVICES ARE NOT INCLUDED SINCE DIFFERENT SURFACE I"4ATERIALS REQUIRE DIFFERENT
ATTACHI'•IENTS. PLEASE SEEK PROFESSIONAL ADVICE IF YOU ARE IN DOUBT WHAT
FIXING DEVICE TO USE.
If a television is not positioned in a sufficiently stable location. it can be potentially
hazardous due to falling. lany injuries, particularly to children, can be avoided by takinp
simple precautions such as:
•
Using cabinets or stands recommended by the manufacturer of the television.
•
Only using furniture that can safely support the television.
•
Ensuring the television is not overhanging the edge of the supporting furniture.
•
Not placing the television on tall furniture (for example, cupboards or bookcases)
without anchoring both the burniture and the television to a suitable support.
•
Not standing the television on cloth or other materials placed between the television
and supporting furniture.
•
Educating children about the dangers of climbing on furniture to reach the television
or its controls.