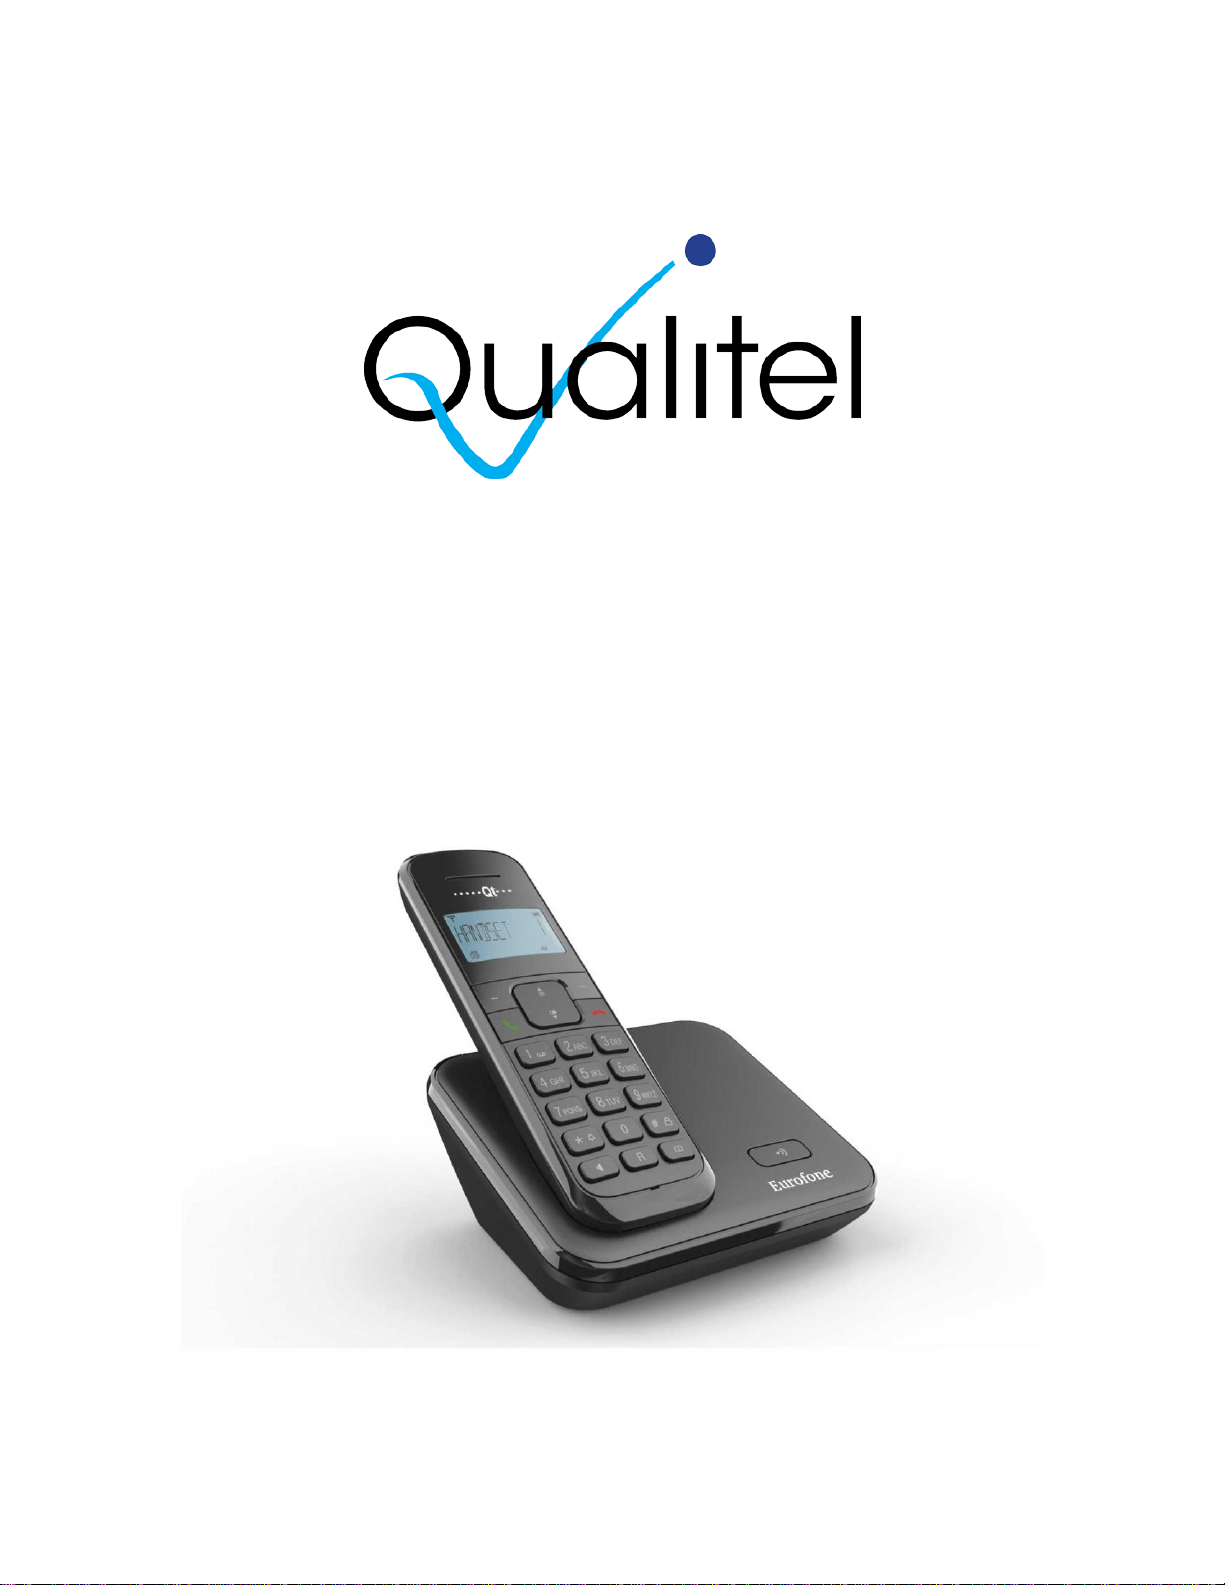
Contents of the package
C33
1 base station
1 connector cable
1 mains adapter 6 VDC / 300mA
1 handset
2 rechargeable batteries NiMH AAA 500 mAh
1 user manual
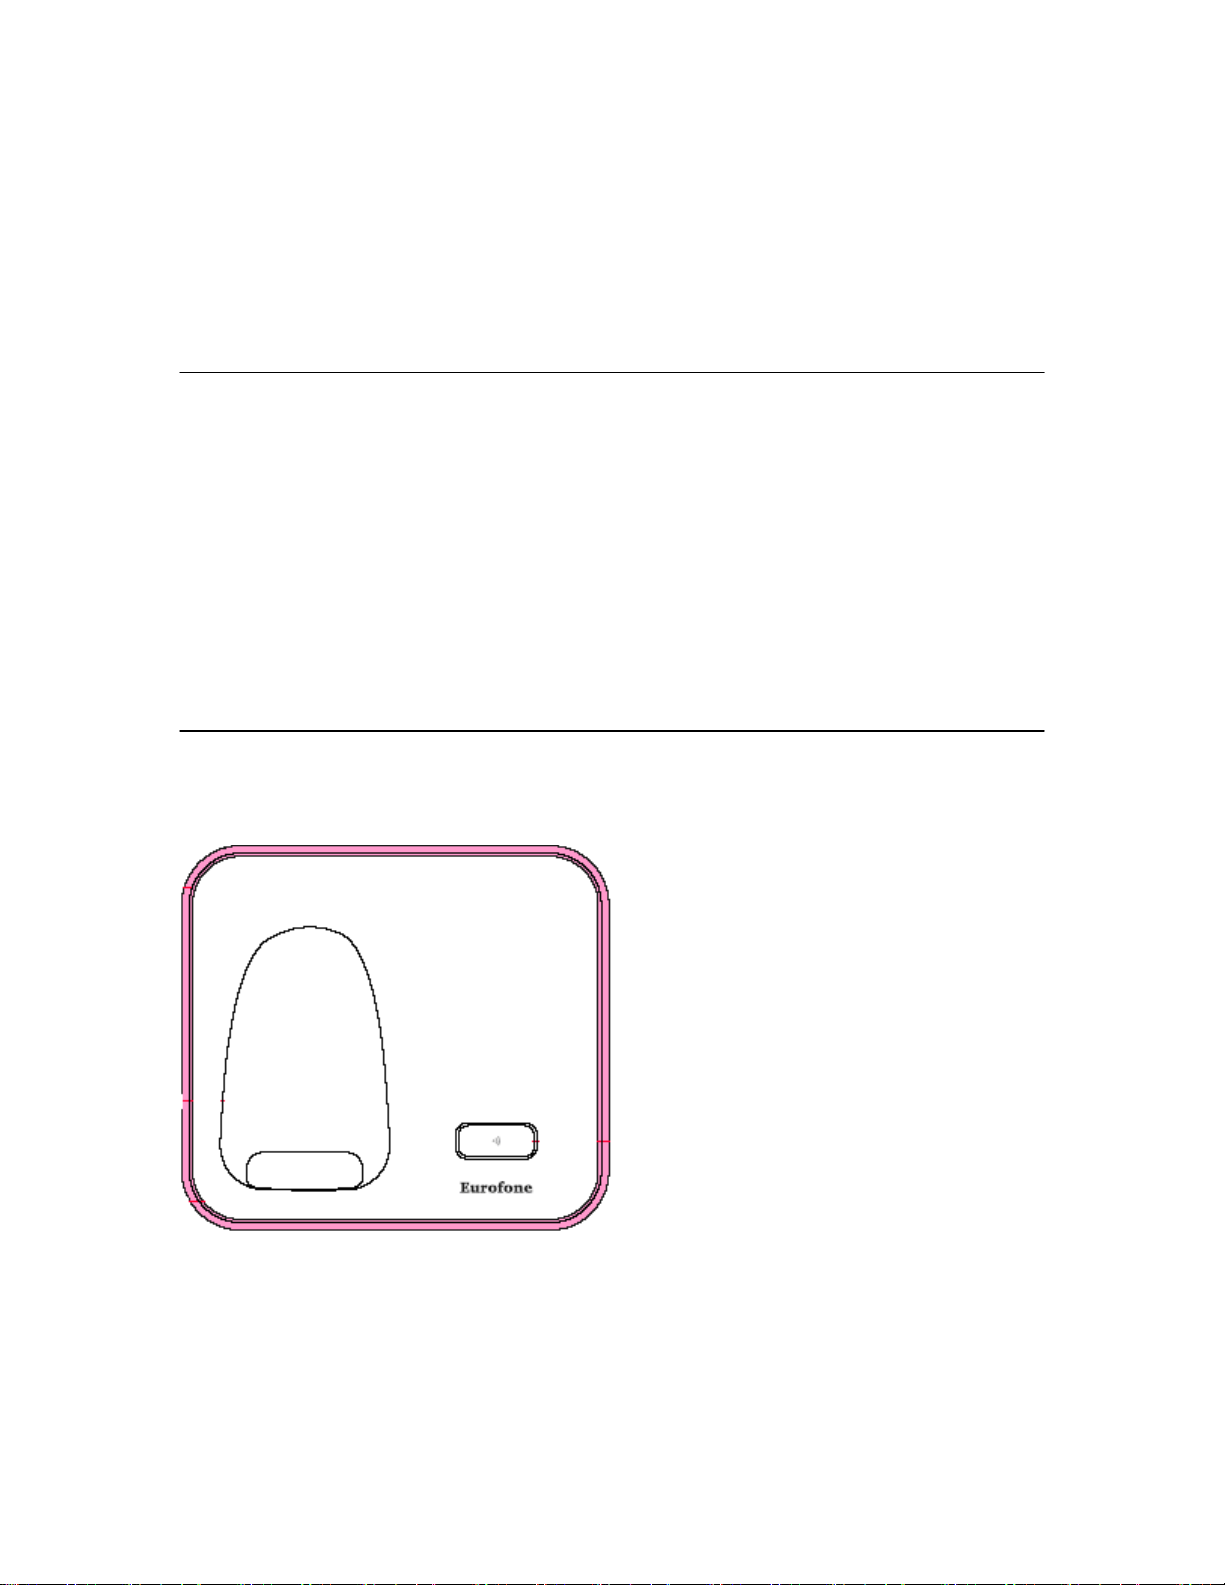
Location
To obtain the best possible range, we recommend positioning the telephone in a
location central to your sphere of activity. Avoid positioning the telephone in
niches, recesses and behind steel doors.
The maximum range between the base station and handset is approximately 50
meters indoors and 300 meters outdoors. Depending on the surrounding
conditions as well as spatial and structural factors, the range may be smaller.
Silent zones can occur due to the digital transmission in the frequency range used
– even within the range, depending on the structural environment. In this case the
transmission quality may be reduced through the incidence of short breaks in
transmission. Normal call quality can be restored if you move slightly out of the
silent zone. If the range is exceeded, the call will be disconnected unless you
move back into range within five seconds.
To avoid radio signal interference from other electronic equipment, we
recommend that the base station and handset are situated at the greatest
possible distance (min. 1 meter) from other equipment.