Queen Empire Hot User manual

Service manual
Rev. 101015
S / EN
Empire Hot
Your retail dealer
...............................................................................
...............................................................................

2.
1. Table (list) of contents.
1. Contents sid. 2
2. General; Warning and safety/ Function descriptions 3-4
3. Overview components, front 5
3. Overview components, mixing system 6
3. Overview components, membrane switch function 7
3. Overview, service card 8
4. SERVICE; Installation and start up 9
Place machine 9
Connecting electrical, water 9
First start up 10
Fill ingredients containers 11
5. Operation
Dispensing drinks 12
6. Cleaning Daily cleaning
Automatic cleaning of mixer system 13
Automatic cleaning of valves 14
7. Cleaning Weekly
Disassemble blender system 15
Wash parts 15
Re-install blender system 16
8. Failure messages 17
9. Storage and transport 17
10. Cleaning and maintenance 18
11. PROGRAMMING Activate with user card 19
Programming Main menu 20-21
Clean Machine 22
Counters 23-24
Beverage Setup 25-29
Jug Setup 30
Calibration 31-32
Machine Settings 33-35
Language Setup 36
Set Time Day 37
Hardware Test 38-42
Factory Reset 43
Expert Settings 44-45
Time Schedule 46
Machine Info 47
12. Dimension sketch 48

2. General. CAFÉ ELITE
Congratulations on choosing a Empire coffee machine .
Read this manual before using the coffee machine for the first time.
Only qualified personnel should install the machine.
Check that all parts are free of defects. If they are not, stop the installation and contact
your dealer.
Keep this manual in a safe place.
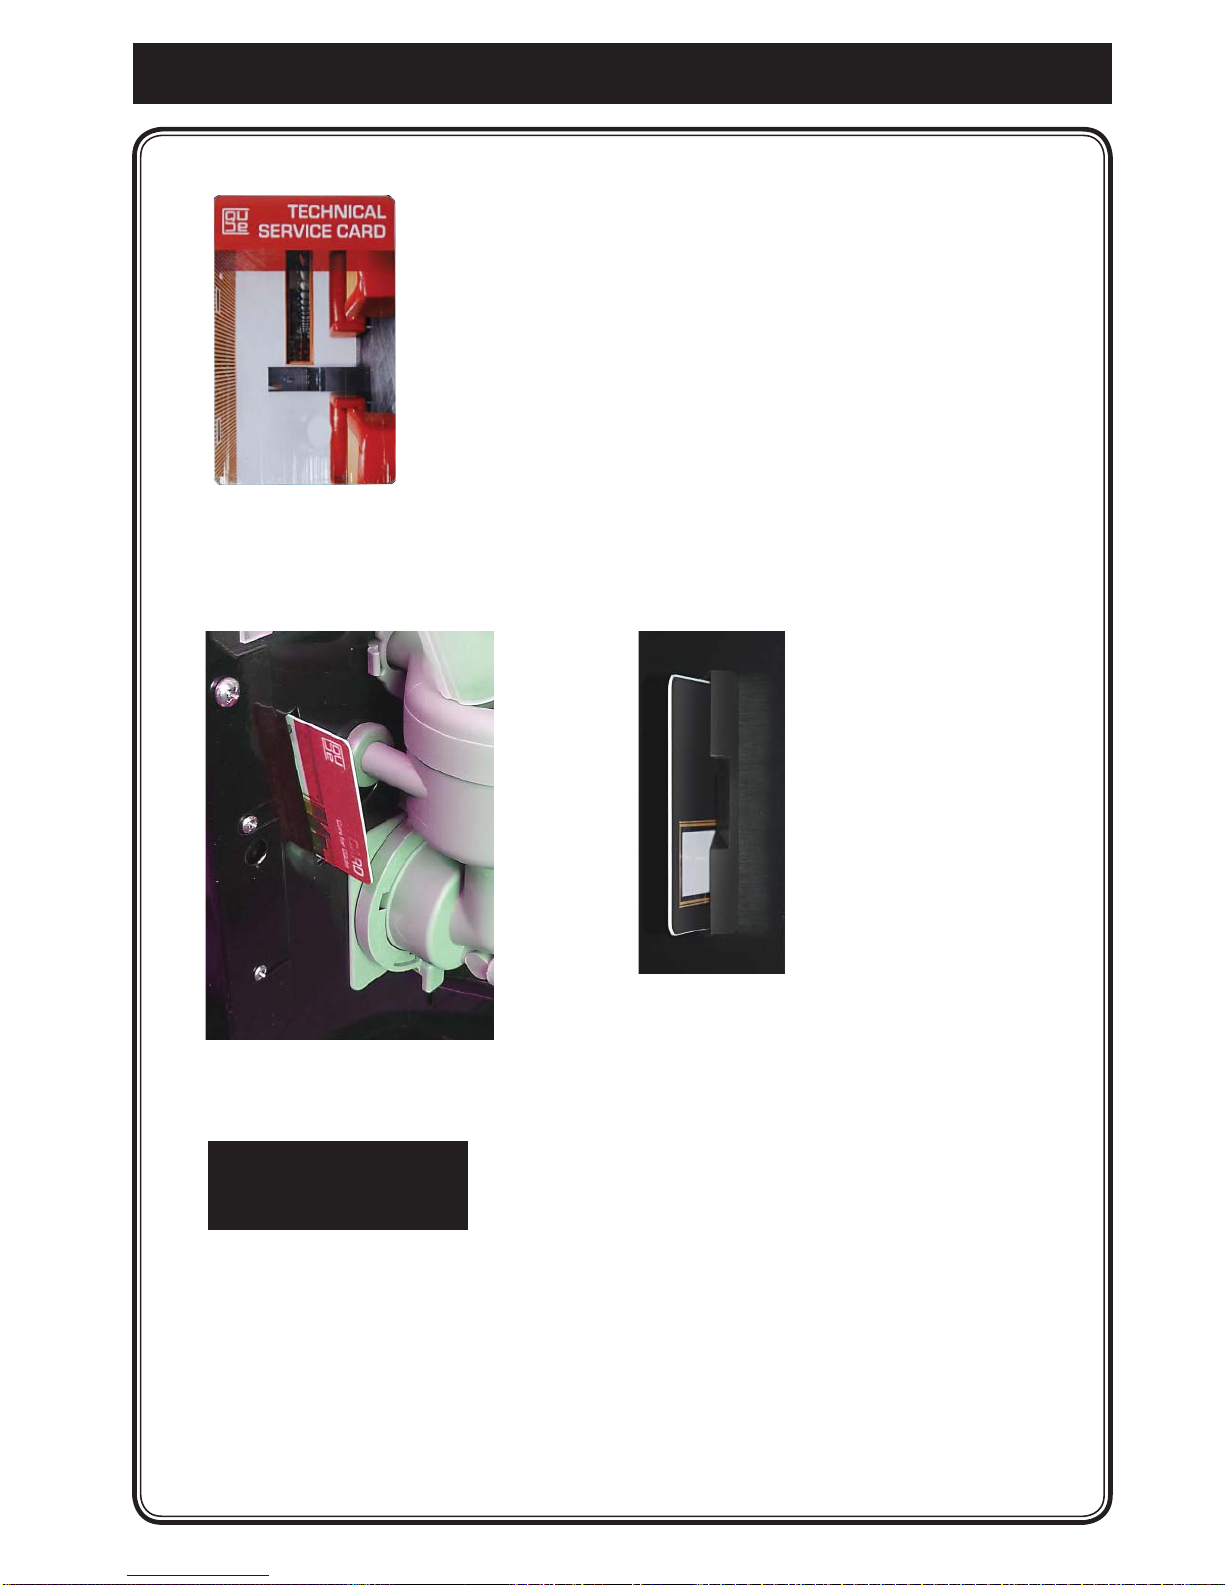
Crem International AB is certified in accordance with ISO 9001 and ISO 14001,
ensuring that its products have the lowest possible environmental impact.
Warnings and safety regulations:
The manufacturer is not liable for personal injuries or damages caused by the machine
when is used in a way other than the manner described in the manual.
Likewise, the manufacturer cannot be held liable if maintenance or safety regulations
are neglected.
The warranty will become void if the machine is used in a way other than the manner
described in the manual. The machine may only be operated by an adult.
- The user must be an adult. The machine may not be used by children or other
unsuitable individuals.
- The user must observe the safety regulations applicable in the user’s country.
- The user must also use common sense.
- The user, installer or service technician must inform the manufacturer of any defects or
wear that may jeopardise the machine’s original safety.
- The installer must check the conditions at the place of use, to ensure hygienic and safe
use for the user and customers.
- The manufacturer is responsible for the machine components, and the buyer for
ensuring that trained personnel use the machine.
3.
2. General. Empire Hot

2. General. Empire Hot
Empire hot
- making coffee cup by cup
- 8 choices of drinks,
- 2 - 4 ingredients canisters,
- electronically temperature controlled
- adjustable coffee strength
- clock functions
Energy Saving Mode:
Hold the stop button for 5 seconds. Display will show standby.
When the machine goes into standby mode, drinks cannot be dispensed and the
water temperature falls to the block ambient temperature.
To return to operation mode, press the stop button for 5 seconds.
Facts:
Height 622 mm
Width 311 mm
Depth 475 mm
Electricity 230V/2200W
Water connection ½”outside thread
Note: All options must be connected and installed by a qualified electrician.
4.
Empire Hot: 4 canisters.
Canister: Width Depth Height Volume/litre;
coffee 67 225 200 1,15
espresso 67 225 200 1,15
chocolate 67 225 200 1,15
topping 67 225 200 1,15

5.
3. Overview of components , front Empire Hot
Outlet
drinks
Strength of drinks
++ or - -
Choices of
drinks
Drip tray
insert
Drip tray
Key switch
cup and jug
choice)
Display
Door
lock

3. Overview of components , mixing system Empire Hot
6.
Chute
Ingredients
canister
ON/OFF-
switch
Steam trap
Mixing bowl
Outlet
drinks
Service
opening
emptying
water tank
Card reader

3. Overview: Membrane switch function, front. Empire Hot
7.
Membrane switch, function buttons
Press the + button if you wish to increase the
strength of the drink or go forwards in menu.
Press the STOP button to go back to the start
position in service menu. Press the STOP
button if you want to return to the start menu.
ENERGY SAVING MODE button. Keep the
STOP button pressed down for c. 5 seconds.
The display shows; Energy Saving Mode. To
return to normal setting, keep the Stop button
pressed down for 5 sec.
Press the - button if you wish to decrease the
strength of the drink or go backwards in menu.
Press the Back button if you want to leave the
submenu and go back to the main menu.
Press the Enter button if you want to enter the
menu, change a value or a setting.
Confirm the new setting by pressing the button.
ENERGY SAVING MODE, the machine switches off the front display and
decreases the temperature in the water tank to c. 65°C.

3. Overview of components, Service Card Empire Hot
8.
TECHNICAL SERVICE CARD.
Insert the user card, according to the illustration.
The display will show the Service Menu, Counters and you can now browse
forwards through the menu.
(TECHNICAL SERVICE CARD) Item number: 1602693.is
used for adjusting drinks and counters.
The user card is supplied by your dealer.
Service Menu
Counters
To use the machine again. Remove the card and keep it in a safe place.

4. Service. Installation and start Empire Hot
1. Place the brewer on a flat Connect the electrical plug to a separate
level and waterproof surface. grounded wall socket
Grounded wall socket
230V 10A
OBSERVE!
Make sure there is a space behind
the machine for free flow of air.
(minimum 10cm).
4.2. Water connection
Connect to a cold water supply inlet 1/2”Radius using the tube supplied.
In areas with high levels of lime, a water filter should be installed.
Make sure that the water tube does not have any kinks anywhere when the machine is
moved into place. Please flush the water tube before connecting to the machine, this
is to flush out any particles which might otherwise damage the inlet valve.
4.3. Open the water inlet.
9.

4. Service. Installation and start Empire Hot
First start up
4.4. Open the door.
4.5. Turn ON the main switch behind the door.
4.6. Close the door.
4.7. The display will show: “water level low”
“Press Enter”
4.8. Press the E-button to start up machine.
4.9. Displayen shows: “filling water”
4.10.
The tank is now filled automatically with 5,0 litres of water.
Heating will not start until the water level reaches the level sensor.
Default temperature is approx. 85º C.
4.11. Machine is ready to use when ”Select product”, ”Temp” shows in display.
10.
ON / OFF
main switch
Select product
Temp 85º C

11.
4. Service. Installation and start Empire Hot
4.12. Fill canisters with ingredients.
Take out ingredient canisters (to avoid any spillage in the machine) and fill
them with ingredients.
4.12.1. Loosen canister.
4.12.2. Remove lid and fill canister with ingredients.
4.12.3. Reassemble canisters.
When placing the ingredient canisters;
Make sure that the outlet pipes on the ingredient canisters are touching
the steam traps (A).
(A).
(A).

12.
5. Operation; Making coffee in a cup Empire Hot
5.1. Place a cup in the centre of the drip tray.
5.2. The strength has a standard setting,
if you wish to increase or decrease it, do as
follows.
For a stronger drink increase by pushing button.
or alternatively
For a weaker drink decrease by pushing button.
5.3. Choose drink.

13.
6. CLEANING: Daily Cleaning Empire Hot
Automatic cleaning of mixing system.
1. Put a container that takes c. 0.5 litres under the dispenser
2. Insert the user card in the card reader.
3. Move through the menu until the display shows
Service Menu, Clean Machine.
4. Press the E button.
5. Move through the menu until the display shows
Select Cleaning, Mixer System.
6. Press the E button.
7. The machine will no clean the blender bowls for c. 5
seconds.
Note: Repeat the cleaning procedures 2-3 times.
8. Remove the user card..
Cleaning means rinsing with water and rotating the
whisk motor.

1. Put a container that takes c. 0.5 litres under the dispenser.
2. Insert the user card in the card reader.
3. Move through the menu until the display shows
Service Menu, Clean Machine.
4. Press the E button.
5. Move through the menu until the display shows
Select Cleaning, Clean Valves.
6. Press the E button.
7. Dispenser valves will not start to open and close with
3 pulses/second for a max of 6 seconds.
Repeat the procedure 2 - 3 times.
8. Remove the user card.
Cleaning entails that the valves “knock” off any lime
scale and other particles that may get stuck in the
cylinders and flushing them with water.
14.
6. CLEANING: Daily Cleaning Empire Hot
Automatic cleaning of valves.

7. CLEANING: Weekly cleaning Empire Hot
15.
Disassemble: the blendersystem
1. Loosen canister and output hose. see fig. 1.
2. Turn the lever anticlockwise. see fig. 2.
3. Loosen the blender bowl by pull straight out. see fig. 3.
(C)
Fig 1. Fig 2. Fig 3.
4. Loosen whisk by pulling it straight out. see fig. 4
5. Loosen the fixing plate. Turn the lever anticlockwise, until it stops.see fig. 5.
Fig 4. Fig 5.
Reassembly
blendersystem.
See next page.

7. CLEANING: Weekly cleaning Empire Hot
16.
Wash these parts.
Blender bowl Condensation trap Fitting plate Whisk
Fig 6. Fig 7. Fig 8.
Clean with a moist
cloth and wipe dry.
Reassembly blendersystem reversed.
6. CHECK all seals before reassembly of parts. see fig. 6.
7. The plane side of the whisk motor shaft must correspond with the marking
on the whisk. see fig. 7.
8. Fit the whisk, push until a slight clicking sound can be heard. Follow the
instructions of the blender, arrow. It is only possible to fit the whisk in one way.
see fig. 8.
All parts must be dry before reassembly.
CHECK all
seals
Fig 9.
9. Fix the blender bowl and
condensation trap.
Push-fit the blender bowl and fix
with lever. Connect the output
hose.
OBS! ensure that all water hoses
have been connected and fitted.
see fig. 9.

17.
8. Failure messages.
9. Storage / Transport.
Transport and no use in long time.
1. Turn off the switch, pull out the plug and close incoming water tube.
2. Empty the water tank.
3. Keep machine free from frost.
Long machine storage at temperatures below 0ºC can cause damage of the machine.
Total emptying of water is recommended.
Failure messages which can mostly be corrected without any help from
service company
1. Display shows: ”water level low” ”Press enter”.
Check if water tap is open.
Then press button.
2. Display shows normal: but no drink is coming.
Possible cause of failure:
Mechanical stop in the ingredients canisters
or whipper unit.
Action: Try to find the cause of failure.
Clean the mixer system and try again.
”water level low”
”press enter”

Outside cleaning; use a soft rag and
liquid cleaning agent
to prevent scratches.
18.
10. Cleaning and maintenance. Empire hot
TO BE WASHED AS NEEDED
Drip tray (A) and drip tray insert (B) should be washed by hand in ordinary
dishwater. Do not wash in a dish washing machine!
NB: All parts must be dry before being re-inserted.
NOTE!
The machine must not be
covered with or immersed in
water.
B
A

19.
11. PROGRAMMING Empire Hot
Activate programming with the user card.
1.Insert the user card in the card reader.
2. Displayen shows: Service Menu, Counters
Press this button if you wish to increase a value
or step forward in the menu.
Press this button if you want to reduce a value
or go back in the menu.
Press this button if you wish to leave the submenu and
return to the main menu.
Press the enter button if you want to enter a menu, alter the value or a setting.
Alter a value by pressing the button or the button.
Confirm the new setting by pressing the E-button.
Function buttons programming
Press the STOP button if you wish to return to the service menu.
Service Menu
Counters

20.
11. PROGRAMMING MAIN MENU Empire Hot
PROGRAMMING AND SETTINGS.
Service Menu
Clean Machine
Service Menu
Counters
Service Menu
Beverage Setup
Service Menu
Calibration
Service Menu
Jug Setup
Service Menu
Machine Settings
Service Menu
Language Setup
Service Menu
Set Time/Day
Display shows
Press button
Display shows
Press button
Display shows
Press button
Display shows
Press button
Display shows
Press button
Display shows
Press button
Display shows
Press button
Display shows
Press button
Table of contents
Other Queen Coffee Maker manuals
Popular Coffee Maker manuals by other brands

Siemens
Siemens TE503 RW Series instruction manual

Nespresso
Nespresso Pixie instruction manual

Bartscher
Bartscher Coffeeline G1/6L manual

Jura
Jura GIGA X9c Professional Operating & cleaning instructions

Krups
Krups Nespresso Futuro FNA 241 manual

Tchibo
Tchibo Cafissimo 370 635 Instructions for use and warranty

MCE
MCE Touch AEP Series instruction manual

Azkoyen
Azkoyen VITALE S user manual

Melitta
Melitta ENJOY THERM operating instructions

Cuisinart
Cuisinart DCC 590 - Grind And Brew Thermal Automatic Programmable Coffee... use and care manual

CASABREWS
CASABREWS 3700 ESSENTIAL instruction manual

La Spaziale
La Spaziale S 3 Manual for use and maintenance