- 09 -
1600W M CLASS Wet/Dry Vacuum Cleaner Owners Manual
12
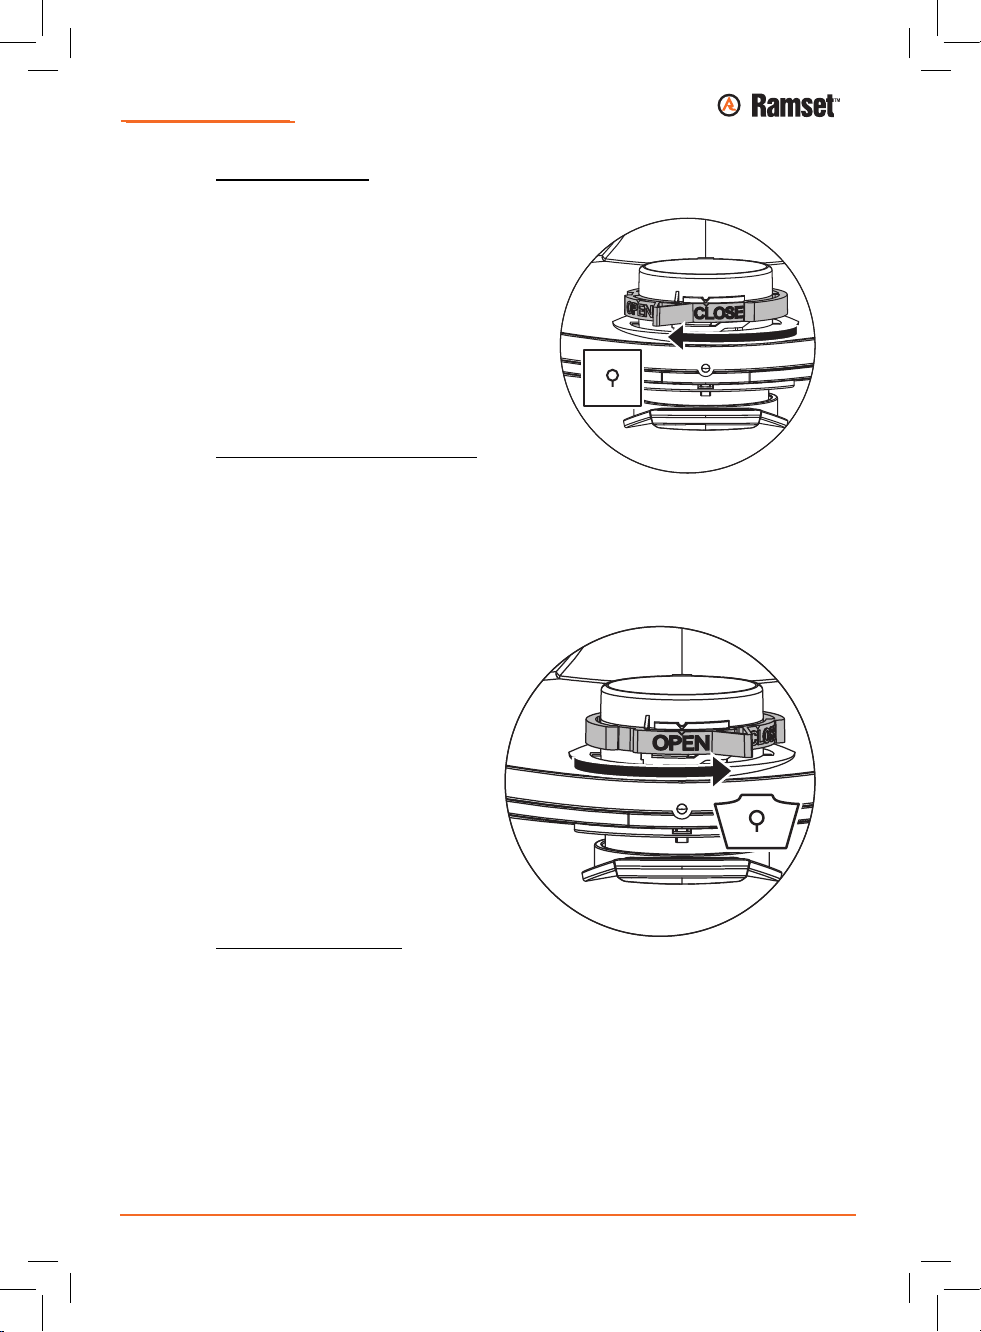
Insert fleece filter bag
NOTE: Only use paper filter bags for dry vacuum cleaning
•Slide the flange completely over the intake
socket.
NOTE: Turn the RED rotary slide inside to
position CLOSE to the stop on the marker▲
Insert PE emptying and disposal bag
NOTE: Only the vacuum cleaners class m with special containers and rotary slider
in the suction aperture are suitable for the use of PE Emptying and disposal bags.
NOTE: Turn the RED rotary slide inside to
the position OPEN to the stop on the
marker▲
•Slide the flange completely over the
intake socket.
•Place the upper section on the container
rim and close the side latches.
CHANgINg THE fILTEr
Changing the folding lter
•Shake the folding filter cassettes before changing them.
•Turn the lock on the latch through 90° in a counter-clockwise direction with a
coin or similar object and push the latch to the rear.
•Fold the hood up.
•Immediately isolate the folding filter cassettes that you have removed in a dust-
tight plastic bag and dispose of properly in accordance with the stipulations.
•Insert new folding filter cassettes.
•Lift the locking bracket up, fold the hood down and click in place with light
pressure.
12
Insert fleece filter bag
NOTE: Only use paper filter bags for dry vacuum cleaning
•Slide the flange completely over the intake
socket.
NOTE: Turn the RED rotary slide inside to
position CLOSE to the stop on the marker▲
Insert PE emptying and disposal bag
NOTE: Only the vacuum cleaners class m with special containers and rotary slider
in the suction aperture are suitable for the use of PE Emptying and disposal bags.
NOTE: Turn the RED rotary slide inside to
the position OPEN to the stop on the
marker▲
•Slide the flange completely over the
intake socket.
•Place the upper section on the container
rim and close the side latches.
CHANgINg THE fILTEr
Changing the folding lter
•Shake the folding filter cassettes before changing them.
•Turn the lock on the latch through 90° in a counter-clockwise direction with a
coin or similar object and push the latch to the rear.
•Fold the hood up.
•Immediately isolate the folding filter cassettes that you have removed in a dust-
tight plastic bag and dispose of properly in accordance with the stipulations.
•Insert new folding filter cassettes.
•Lift the locking bracket up, fold the hood down and click in place with light
pressure.
- 09 -
Changing the motor protection lter
NOTE: If the motor protection lter is contaminated this indicates defective lter cassettes.
Replacing the folding lter cassettes.
Replace the motor protection lter or wash the motor protection lter under owing water, dry
and re-insert.
mAINTENANCE
NOTE: Switch the vacuum cleaner off and pull out the mains plug before any maintenance work.
For maintenance by the user, the vacuum cleaner must be
– dismantled,
– cleaned and
– maintained,
as far as possible without creating any danger to the maintenance personnel or other.
Precautionary measures
Suitable precautionary measures include
– Cleaning before dismantling,
– Provide local ltered positive ventilation where the vacuum cleaner is to be dismantled,
– Clean the maintenance area and
– suitable personal protection equipment.
Precautionary measures with vacuum cleaners class H and M
The outside of the vacuum cleaner should be cleaned and wiped down or should be treated with
a sealing agent before being removed from the dangerous area. All parts of the vacuum cleaner
must be considered to be contaminated when they are removed from the danger area and
suitable handling must be used to prevent dust distribution.
Contaminated items
When carrying out maintenance or repair work, all contaminated items which have not been
adequately cleaned must be disposed of. Such items must be disposed of in impermeable bags
in accordance with the applicable regulations concerning the disposal of such waste.
Technical testing
A technical examination must be carried out at least once a year by a trained person: check
the lter for damage, ensure that the vacuum cleaner is air-tight and check that the monitoring
equipment functions correctly.
Testing the effectiveness of the vacuum cleaner
There must be an adequate air exchange rate L in the room if the exhaust air returns to the
room. Further information can be taken from your national regulations.
If the suction of the vacuum cleaner reduces and the cleaning procedure of the folding filter
cassettes increases, the suction performance is not adequate (provided that the container is
empty and the paper filter bag has been replaced) then it is necessary to replace the folding
filter cassettes.