rba RBA2770 Series Manual

INSTALLATION, OPERATION AND MAINTENANCE INSTRUCTIONS
SYDNEY | MELBOURNE | BRISBANE | PERTH | AUCKLAND
Australia 1300 788 778 www.rba.com.au | New Zealand 0800 722 111 www.rbagroup.co.nz1 of 4
RBA2770-Series Granite Series
RBA2777-Series Stainless Series
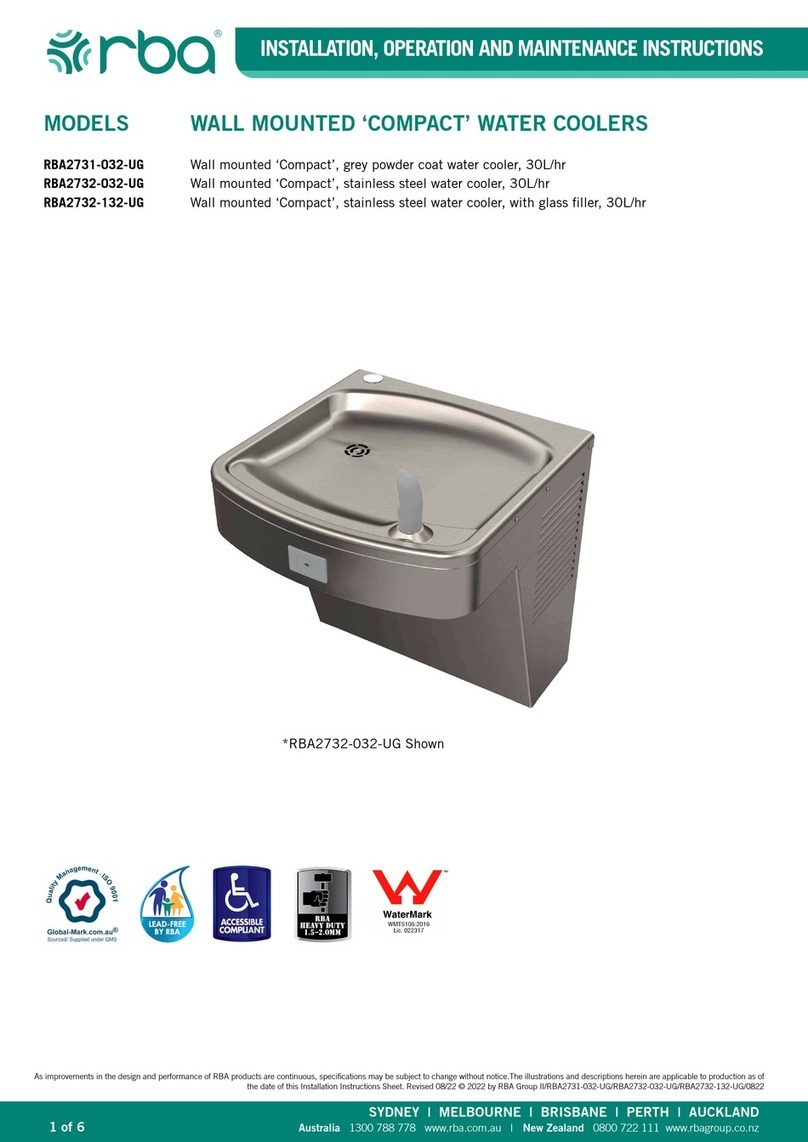
MODEL WALL MOUNTED ‘COMPACT’ WATER COOLERS
As improvements in the design and performance of RBA products are continuous, specications may be subject to change without notice.
The illustrations and descriptions herein are applicable to production as of the date of this Installation Instructions Sheet. Revised 08/22 © 2022 by RBA Group II/rba2770-series/rba2777-series/0822
*RBA2770-032 Shown

INSTALLATION, OPERATION AND MAINTENANCE INSTRUCTIONS
SYDNEY | MELBOURNE | BRISBANE | PERTH | AUCKLAND
Australia 1300 788 778 www.rba.com.au | New Zealand 0800 722 111 www.rbagroup.co.nz2 of 4
Components Supplied by Others
• Wall fasteners for signage mounting
• Pipe sealant or Teon tape for sealing water connections
• 40mm trap [Due to cold waste water, we recommend the trap supplied by installer be insulated to prevent excessive
condensation]
Hydraulic Requirements
Operating pressure: 200-500kPa
Inlet: G1/2B
Outlet: 40mm BSP Waste
Water Temp: 4 - 32
Provide 102mm minimum clear space on xture sides to allow for proper ventilation through cabinet louvers.
Rough-in and Dimensions
Prior to roughing-in consult with local, state, and federal codes for proper mounting height. Installation to be done in
accordance with AS/NZS 3500.1 and AS/NZS 3500.2
Air Flow
464
63
51
851
317
98
153
306
25
730
C
L
1016
Rim
Height
1045
Orifice
Height
C
L
Supply 15mm BSP
Trap (not furnished)
Waste locaon
FRONT VIEW SIDE VIEW
Finished Floor
Electric
Outlet

INSTALLATION, OPERATION AND MAINTENANCE INSTRUCTIONS
SYDNEY | MELBOURNE | BRISBANE | PERTH | AUCKLAND
Australia 1300 788 778 www.rba.com.au | New Zealand 0800 722 111 www.rbagroup.co.nz3 of 4
Installation
1. Check rough-in drawings against supplied product.
2. Anchor water cooler to wall through anchor clips on the bottom of the base [provide 102mm minimum clear space on
xture sides to allow for proper ventilation through cabinet louvers].
3. Remove the front panel from the water cooler by taking out the screws on each side at the bottom front, press the panel
sides together at the bottom so that front panel clips disengage from the housing sides and carefully pull forward and
down. Set panel aside in a safe place where it will not be damaged.
4. Make up trap waste connection.
5. Flush the supply line to remove all foreign debris.
6. Connect water supply to water cooler with 1/2” BSP.
7. Turn on building water supply and check all connections for leaks.
8. Air within the water supply will cause an irregular bubbler outlet stream until purged out by incoming water. Covering the
bubbler with a clean cup [or similar object] is recommended when rst activating water cooler. Depress push button until
steady water stream is achieved.
9. Adjust bubbler to the site requirements;
10. Plug water cooler into electrical outlet and make sure unit begins to function.
11. Re-attach bottom cover to water cooler with screws furnished.
Troubleshooting
Before making any of the repairs listed, make sure the water cooler is disconnected from the electrical supply and the water
supply valve is shut off.
Problem Probable cause
Compressor Does Not Run Check the electrical receptacle for power and correct voltage. The incoming voltage
must be within 10% of the rated voltage on the serial nameplate.
The cold thermostat is accessible by removing the bottom access cover. If the cold
thermostat capillary bulb loses its charge or becomes kinked it will fail in the open
position causing a disruption of power to the compressor. Unplug the water cooler and
using an ohm meter check for continuity across the two electrical terminals on the
thermostat. Install a new thermostat if there is no continuity.
Check for loose wires within the compressor box. The incoming power leads must be
connected to the overload and relay.
Compressor Runs –
Water Is Warm
The most common cause for a water cooler to run without producing cold water is a
loss of refrigerant. The water cooler must be taken to a certied refrigerant technician
for repairs.
Make sure the condenser fan motor is operative. The fan blade must turn freely to
help remove the heat of compression.
An incorrect refrigerant charge, restriction or defective compressor [not pumping]
will also cause the compressor to run without producing cold water. All these signs
indicate a problem within the refrigeration system and the water cooler must be
checked by an authorised service company
9a. If water ow requires adjustment, insert a narrow slotted screwdriver in the center of the button actuator.
Turning clockwise will increase ow and turning counterclockwise will decrease ow.
9b. The water temperature can be adjusted using a slotted screwdriver in the cold water thermostat and turning
clockwise to make colder and counterclockwise to make warmer.
9c. Bubbler can be rotated slightly to direct the stream backwards or forwards.

INSTALLATION, OPERATION AND MAINTENANCE INSTRUCTIONS
SYDNEY | MELBOURNE | BRISBANE | PERTH | AUCKLAND
Australia 1300 788 778 www.rba.com.au | New Zealand 0800 722 111 www.rbagroup.co.nz4 of 4
Noisy Operation Check to make sure the fan blade is rotating freely.
Make sure the water cooler is correctly mounted to the wall. Absence of the two lower
mounting bolts may cause excess noise and vibration.
Check the compressor mounting to make sure the pins and clips are not rattling. If the
compressor appears to be noisy internally, it must be replaced.
Restricted Or No Water Flow Ensure water supply service stop valve is fully open.
Verify minimum 200 kPa supply line ow pressure.
Check for twists or kinks in bubbler tubing.
Check the water inlet strainer. Sediment from the main supply can get trapped in the
screen along with installation materials such as pipe dope and ux. The screen should
be cleaned and checked on a regular basis and replaced if needed.
The cartridge valve located in the water control assembly or bubbler can also become
clogged with foreign material. The cartridge valve can only be replaced and not
repaired.
The water cooler may also develop a freezing condition in which the water will become
frozen inside the evaporator coil. This indicates a refrigeration problem or thermostat
failure in which case the water cooler needs to be checked by a qualied technician
Compressor Cycling on
Overload Protector
A dirty condenser or a blocked fan will cause a high head pressure and frequent
cycling of the overload protector.
Check the incoming voltage to make sure it is within 10% of the serial nameplate
rating.
A restriction or moisture in the system will also cause intermittent cycling. A certied
refrigeration mechanic should be contacted in this situation.
Change the overload or relay if defective.
Cleaning & Maintenance
1. Motors have lifetime lubrication and do not require scheduled maintenance.
2. Excess dirt or poor ventilation will cause the compressor overload protector to turn the compressor off and it will cycle
on and off with no cold water coming out of bubbler. Periodically clean with vacuum cleaner, air hose or brush the
condenser ns and cabinet ventilation louvers. In environments where dirt and dust is more prevalent, clean more
frequently.
3. Periodically remove access panels and clean out in-line strainer.
4. Do NOT use harsh chemicals, abrasive or petroleum based cleaners. Use of these will void RBA warranty.
5. Exterior panels can be cleaned using mild household detergents or warm, soapy water. Extra care must be used cleaning
chrome plated items and mirror nished stainless steel. They can scratch easily and should only be cleaned using a
clean, soft cloth and mild soap with water or a mild glass cleaner
Cartridge Spare Parts
RBA Code No. Description
RBA7000-065-001 Valve Cartridge Assembly
Note: This product should be installed, by suitably qualied persons, in a t for purpose application, to suitable materials,
using suitable xings and comply with any relevant codes. It should be inspected periodically for signs of wear and tear that
may affect performance or safety.
Dimensions are subject to manufacturer’s tolerance of +/-10mm. Rough-in should be completed with each xture.
Important: Installation Instructions are subject to change without notice. Please visit our websites for latest revision.
This manual suits for next models
5
Table of contents
Other rba Water Dispenser manuals
Popular Water Dispenser manuals by other brands

Kemper
Kemper KHS CoolFlow operating instructions

A.O. Smith
A.O. Smith TRIASOFT MINI user manual

Halsey Taylor
Halsey Taylor HAC8FBLRQ 1F Series owner's manual

North Star
North Star NSC25ED Installation, operation, maintenance & repair parts

Crystal Mountain
Crystal Mountain Mogul Removal and installation

3M
3M SGP Series installation manual