RCL RCL-T700 User manual

RCL-T700 Manual
A. EASY INSTALLATION INSTRUCTION
StepX Lock the antenna to the right corner of the 3-On-Call Transmitter.
(Fit over plug and twist left to lock antenna in place)
StepY Plug the 3-On-Call Transmitter A/C adaptor into the 3-On-Call Transmitter
and then into a standard outlet. A surge protector is recommended.
StepZ Fit the pagers on the chargers. A charging indicator will illuminates to indicate
charging. Pager will be fully charged in 2 hours.
B. SYSTEM SETTING
To enter programming mode, press the “SETUP” button and enter the password “0987”
followed by “ENTER” If the password is accepted, the display will show “ Menu Option
F1:Up F2:Down
Use the “F1” or “F2” key to scroll through the several menu options or press “CANCEL” key
to exit the system setting menu.

1. Set Time
With this feature, you can setup current time into the RCL transmitter.
zAt the “Set Time” menu, set the hour using “No.” key and then press “ENTER” key.
zThen set the minutes using “No.” key and press “ENTER” key.
zPress “No.1” key to select “AM”, ”No.2” is to select “PM”. After selection of it, then
press “ENTER” key
zAfter the correct time is set, press the “ENTER”
2. Set Alerts
With this feature, you can have the option of changing the way your pagers alert.
To change the alert mode of your pagers, follow these instructions:
zRemove all the pagers from the charger base or unplug the power supply that is
connected to the charger base.
zAt the “Set Alerts” menu, press the “ENTER” key
zIf the “Change?” menu appears, press “No.1” key to select “Yes”, “No.2” key is to
select “No”, then press “ENTER” key ( press “CANCEL” key, and return to the main
menu )
zSelect one of 1~6 Alert modes, then press “ENTER” key.
1) Vibration 2) Beef 3) Flash 4) Vib/Flash 5) Beep/Flash 6) Beep/Vib/Flash
( Use the “F1” key to scroll through these 6 alert modes )
zThe pagers will now respond with your new selected alert mode.
zReturn all the pagers to the charger base or plug the power supply. The pagers
are ready to receive the page with its new alert mode.
3. Set Alert Time
With this feature, you can set the alert time, how long the pager alerts, when the pager
receive the signal from the transmitter.
To change the Alert time mode of your pagers, follow these instructions :
zRemove all the pagers from the charger base or unplug the power supply that is
connected to the charger base.
zAt the “Set Alerts Time” menu, press “Enter” key.
zIf the “Change?” menu appears, press “No.1” key to select “Yes” or “No.2” key to
select “No”. Then press “ENTER” key. ( Press “CANCEL” key to exit, and return to
the main menu )

zSelect one of 1~8 Alert time modes, then press “ENTER” key
1) 06 SEC 2) 30 SEC 3) 45 SEC 4) 60 SEC 5) 90 SEC 6) 120 SEC 7) 180 SEC 8) Continuance
( Use the “F1” key to scroll through the 8 alert time modes )
zThe pagers will now respond with your new selected alert time mode.
zReturn all the pagers to the charger base or plug the power supply. The pagers
are ready to receive the page with its new alert mode.
4. Out of Range
With this feature, the pagers will play a melody when taken out of range from the
transmitter to inform the guest that they are located “Out of Range” and will miss their
page. The melody will only stop, when they return back within range.
To turn the Out of Range “USE” or “NOT”
zRemove all the pagers from the charging unit or unplug the power supply that is
connected to the charger base
zAt the “Out of Rng” menu, press “Enter” key.
zPress “No.1” key, then “ENTER” key to turn the Out of Range “USE” (“No.2” key is
to select “NOT”)
zReturn all the pagers to the charger base or plug the power supply. The pagers
are ready to receive the page with its new message mode.
5. Auto MSG
With this feature, you can choose if you will send some designated messages.
zRemove all the pagers from the charger base or unplug the power supply that is
connected to the charger base.
zAt the “Auto MSG” menu, press “ENTER” key
zThen press “No.1” key, then “ENTER” key to select “USE”.
(“No.2” key is to select “NOT”)
zReturn all the pagers to the charger base or plug the power supply. The pagers
are ready to receive the page with its new message mode.
THISDEVICECOMPLIESWITHPART15OFTHEFCCRULES.
OPERATIONISSUBJECTTOTHEFOLLOWINGTWOCONDITIONS:
(1)THISDEVICEMAYNOTCAUSEHARMFULINTERFERENCE,AND
(2)THISDEVICEMUSTACCEPTANYINTERFERENCERECEIVED,

INCLUDINGINTERFERENCETHATMAYCAUSEUNDESIREDOPERATION.
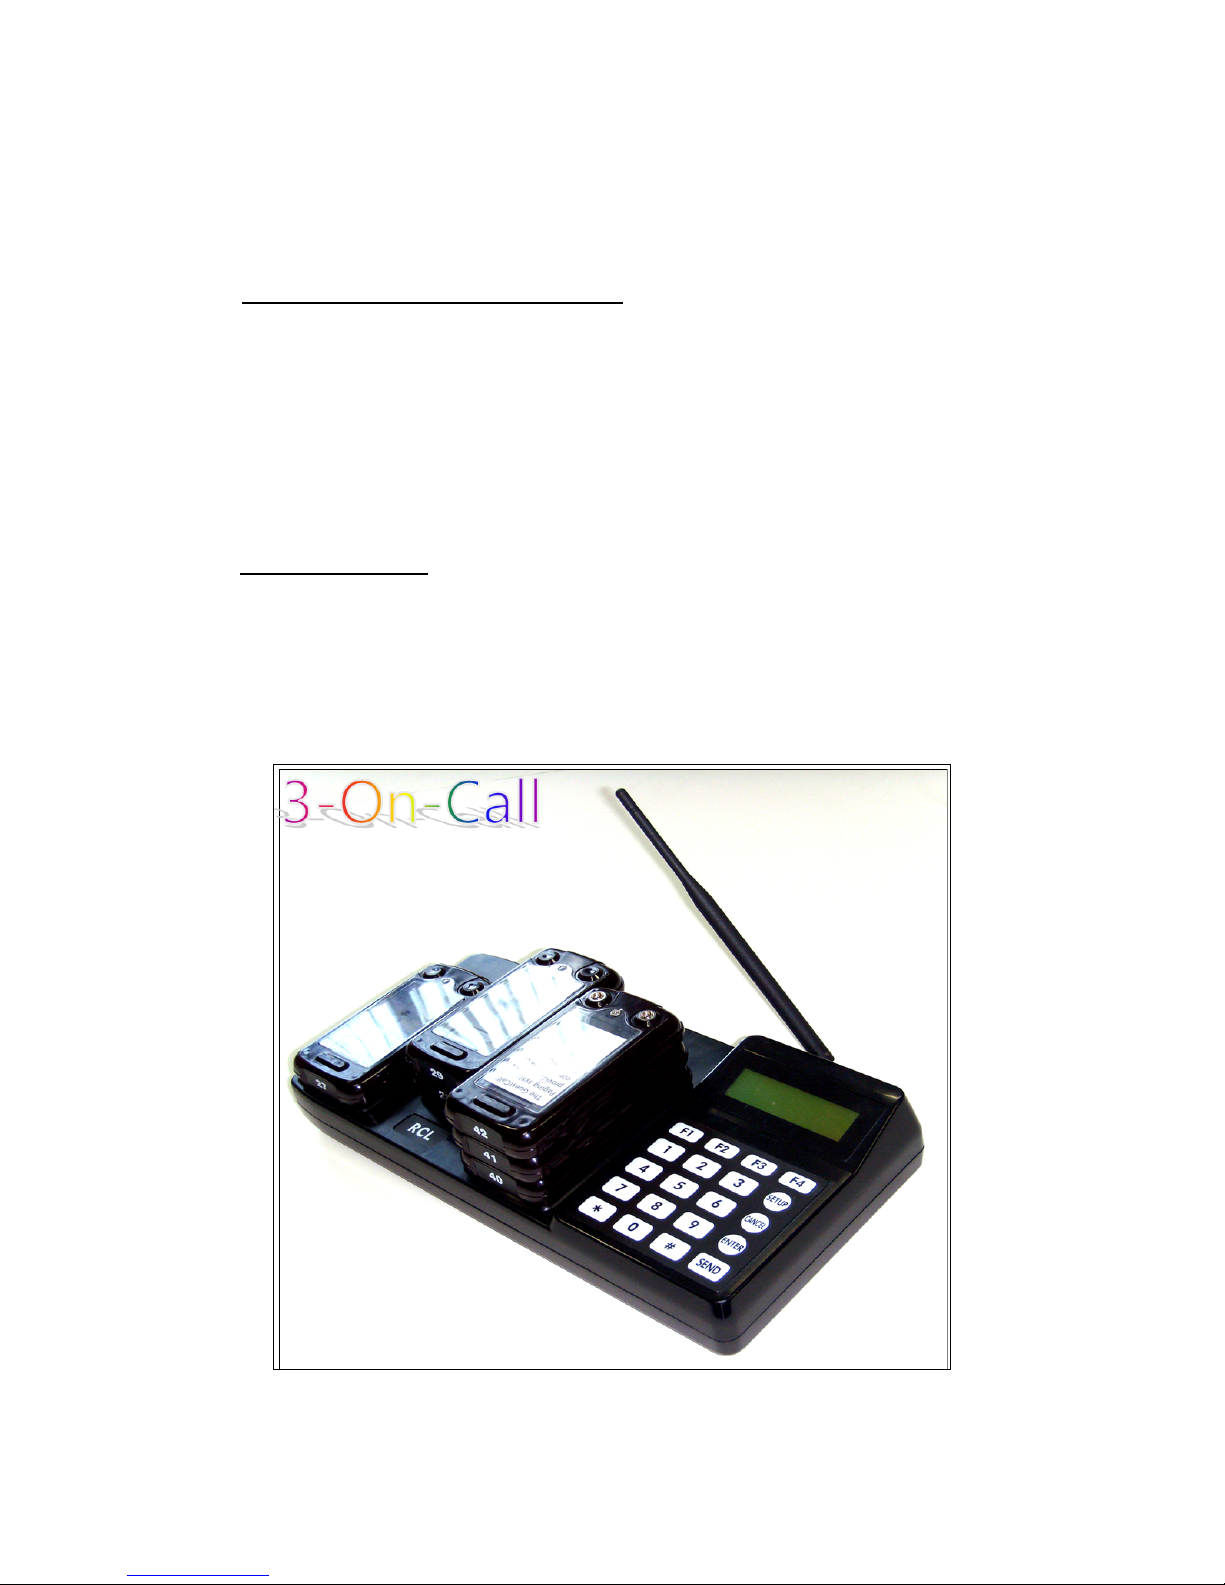
IQTRANSCEIVERINSTRUCTIONMANUAL
NOTE: THE MANUFACTURER IS NOT RESPONSIBLE FOR ANY RADIO OR TV
INTERFERENCE CAUSED BY UNAUTHORIZED MODIFICATIONS TO THIS
EQUIPMENT. SUCH MODIFICATIONS COULD VOID THE USERS AUTHORITY
TO OPERATE THE EQUIPMENT.
NOTICE
This manual, software and electronic circuitry are copyrighted. All rights reserved. Under the
copyright laws, this manual, software and electronic circuitry may not be copied, in whole or in
part without written prior consent of Lee Technology.
All information provided in this document is carefully prepared and offered in good faith as a
guide in the installation, use and servicing of our products. Installers must ensure that the final
installation operates satisfactorily within the relevant regulatory requirements. Lee Technology
accepts no responsibility for incorrect installation. Lee Technology reserves the right to change
products, specifications and installation data at any time without notice.
Lee Technology makes certain limited warranties with respect to defective diskettes,
documentation and electronic circuitry. Please see the associated information contained on this
page.
LIMITED WARRANTY
With respect to the physical documentation and physical electronic circuitry enclosed herein, Lee
Technology warrants the same to be free of defects in materials and workmanship for a period of
one year from the date of purchase. In the event of notification within the warranty period of
defects in material or workmanship, Lee Technology will replace the defective diskettes,
documentation and electronic circuitry. The remedy for breach of this warranty shall be limited to
replacement and shall not encompass any other damages including but not limited to loss of
profit and special incidental, consequential, or other similar claims.
Lee Technology Korea specifically disclaims all other warranties, expressed or implied, including
but not limited to implied warranties of merchantability and fitness for a particular purpose with
respect to defects in the documentation and electronic circuitry and the program license granted
herein, in particular, and without limiting operation of the program license with respect to any
particular application, use or purpose.

Multicall Paging System User Manual
IMPORTANT SAFTEY INFORMATION
RF EXPOSURE STATSURE STATEMENT
Your Pager Transmitter contains a radio frequency transmitter.
When the button is pushed the transmitter sends our RF singnals.
CAUTION : To comply with FCC RF exposure compliance requirements,
A separation distance of at least 8 inches(20Cm) must be maintained
Between the antenna of this transmitter and all persons, during
Normal operation. The antenna used for this transmitter must not be co-
Located or operating in conjunction with any other antenna of transmitter.
Unauthorized antennas, modifications, of attachments could damage the
Transceiver and may violate FCC regulations.
NOTE: This equipment has been tested and found to comply with the limits for a Class A
digital device, pursuant to part 15 of the FCC Rules. These limits are designed to
provide reasonable protection against harmful interference in a residential
installation. This equipment generates, uses and can radiate radio frequency energy and,
if not installed and used in accordance with the instructions, may cause harmful

interference to radio communications. However, there is no guarantee that interference
will not occur in a particular installation. If this equipment does cause harmful
interference to radio or television reception, which can be determined by turning the
equipment off and on, the user is encouraged to try to correct the interference by one or
more of the following measures:
Reorient or relocate the receiving antenna.
Increase the separation between the equipment and receiver.
Connect the equipment into an outlet on a circuit different from that to which
the receiver is connected.
Consult the dealer or an experienced radio/TV technician for help.
Table of contents