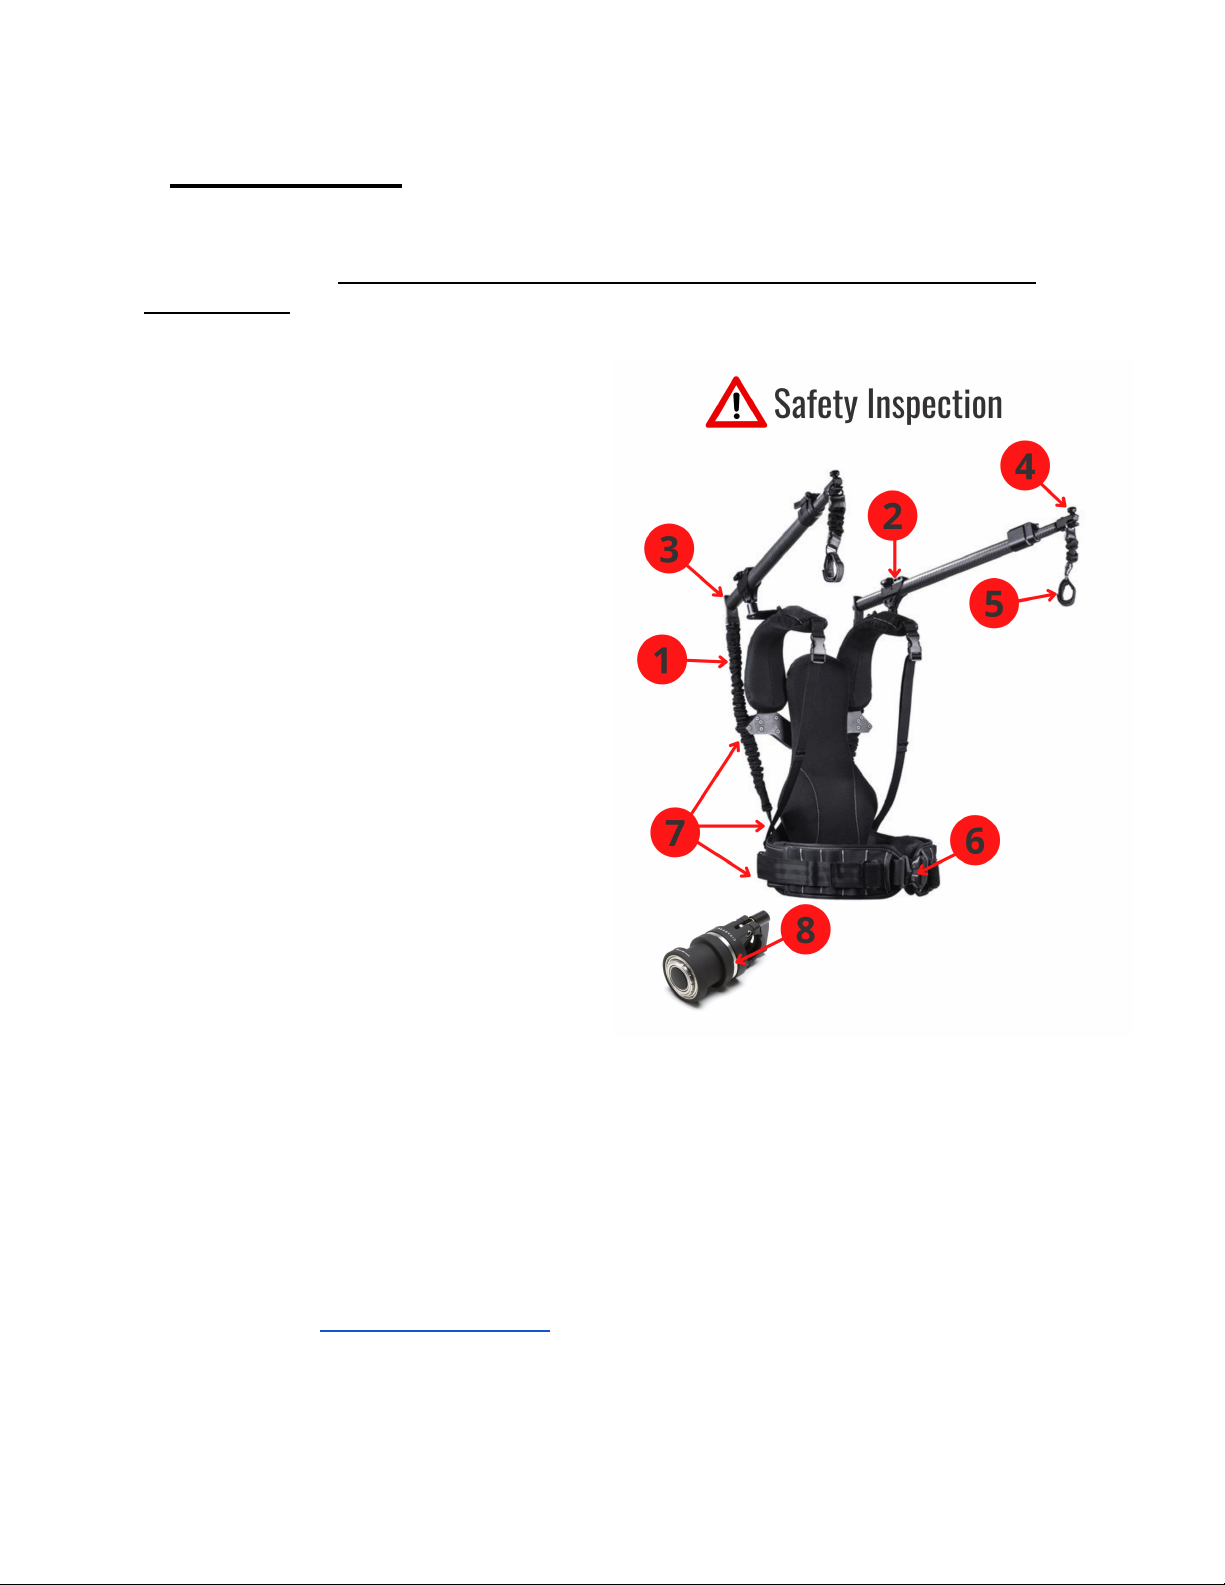
IMPORTANT: Safety Inspection Before Every Use
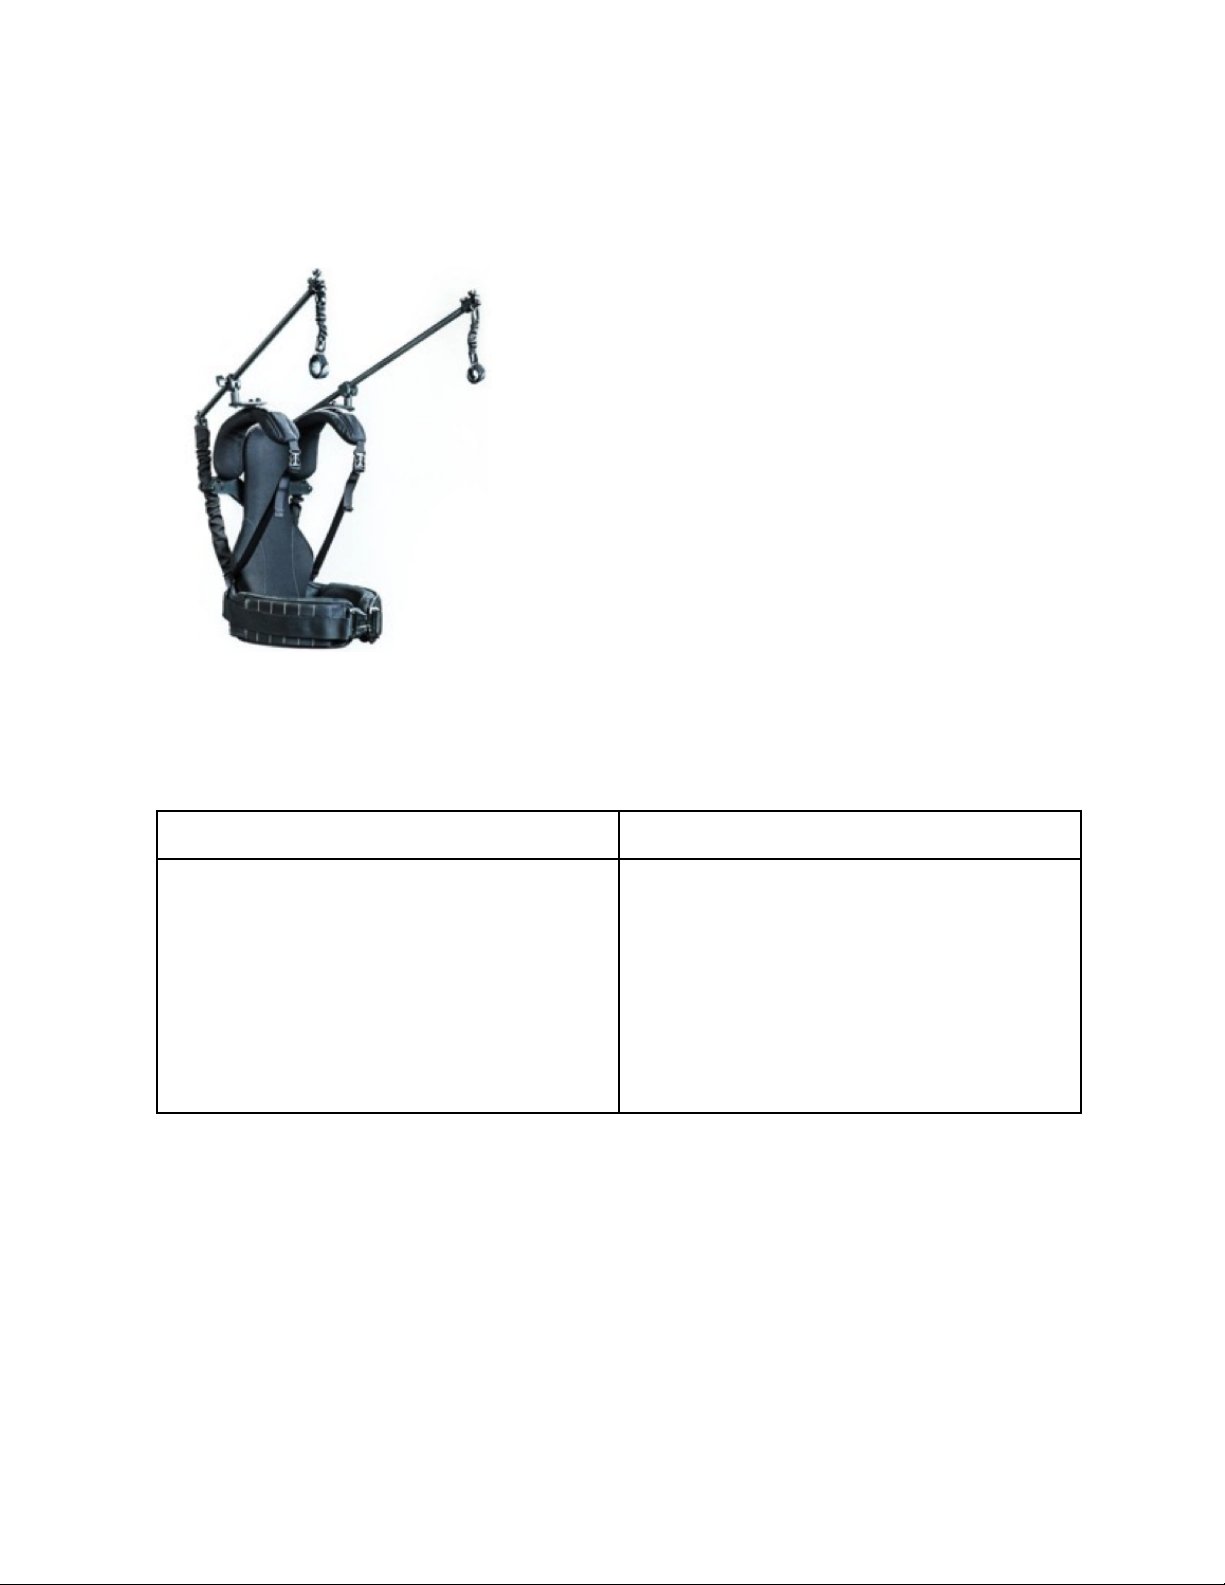
Congratulations on your new Ready Rig! While this system is built to last, for your safety and
the safety of others it is important to perform a safety inspection prior to every use to ensure
safe operation:
1. Check the Shoulder Wing for any
damage such as loose components or
aluminum damage.
2. Check Waist Belt to ensure buckle
functions properly and that the belt
material is not damaged in any way.
3. Check Cobra Quick Release - Make
sure that the Spring Bolts function
properly and that the Coba Quick
Release is securely fastened to the
carbon fiber support arm.
4. Check Universal Gimbal Attachment to
make sure that there is no damage
and that the Velcro straps have been
attached correctly as shown in step 7
in this manual.
5. Inspect the entire product for loose or
damaged components.
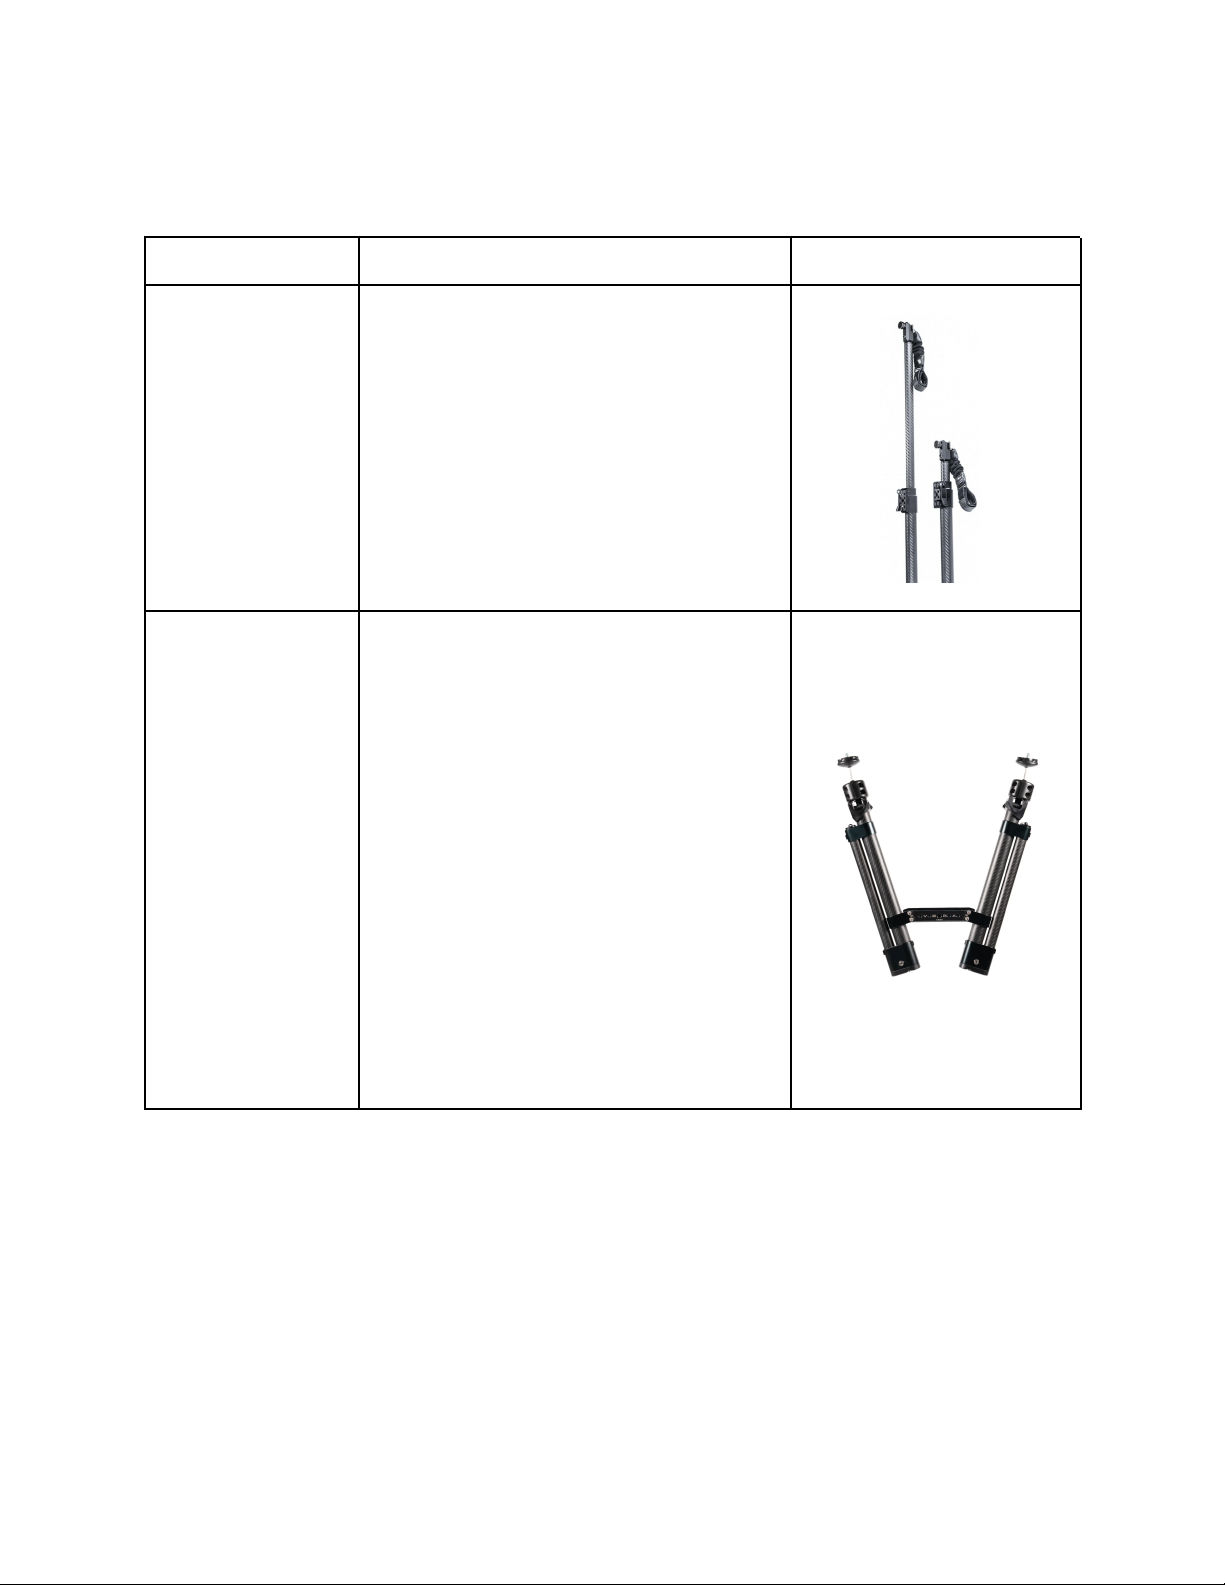
6. Check the Support Arm to make sure
Power Bungee or VEGA bands are
firmly attached to the Support Arms
(ProArm or GS Arm).
7. Check Power Bungees/VEGA bands
for any damage such as cracks, tears,
abrasions, nicks, cuts, dents, or scuffing of the rubber.
8. (Optional Quick Connect Accessory only) If you are using Ready Rig Quick Connects,
inspect the quick disconnect ‘puck’ to ensure that it is securely attached to the Quick
Connect base prior to attaching it to the Ready Rig System. Inspect the Quick Connect
disconnect mechanism for damage, dirt, debris, and proper function before every use.
If you notice any issues during your inspection (for example, you notice visible damage to the
Power Bungee or Vega Band) DO NOT OPERATE or use your Ready Rig. Please contact us as