Red Arrow Trading
Elsworth House, Herries Road South, Sheffield, S6 1QS
T: 0800 195 0006 F: 0870 043 3946
This installation must be carried out by an electrician.
Please read these instructions carefully before installation.
Leave a copy for the user/maintenance engineer for future reference.
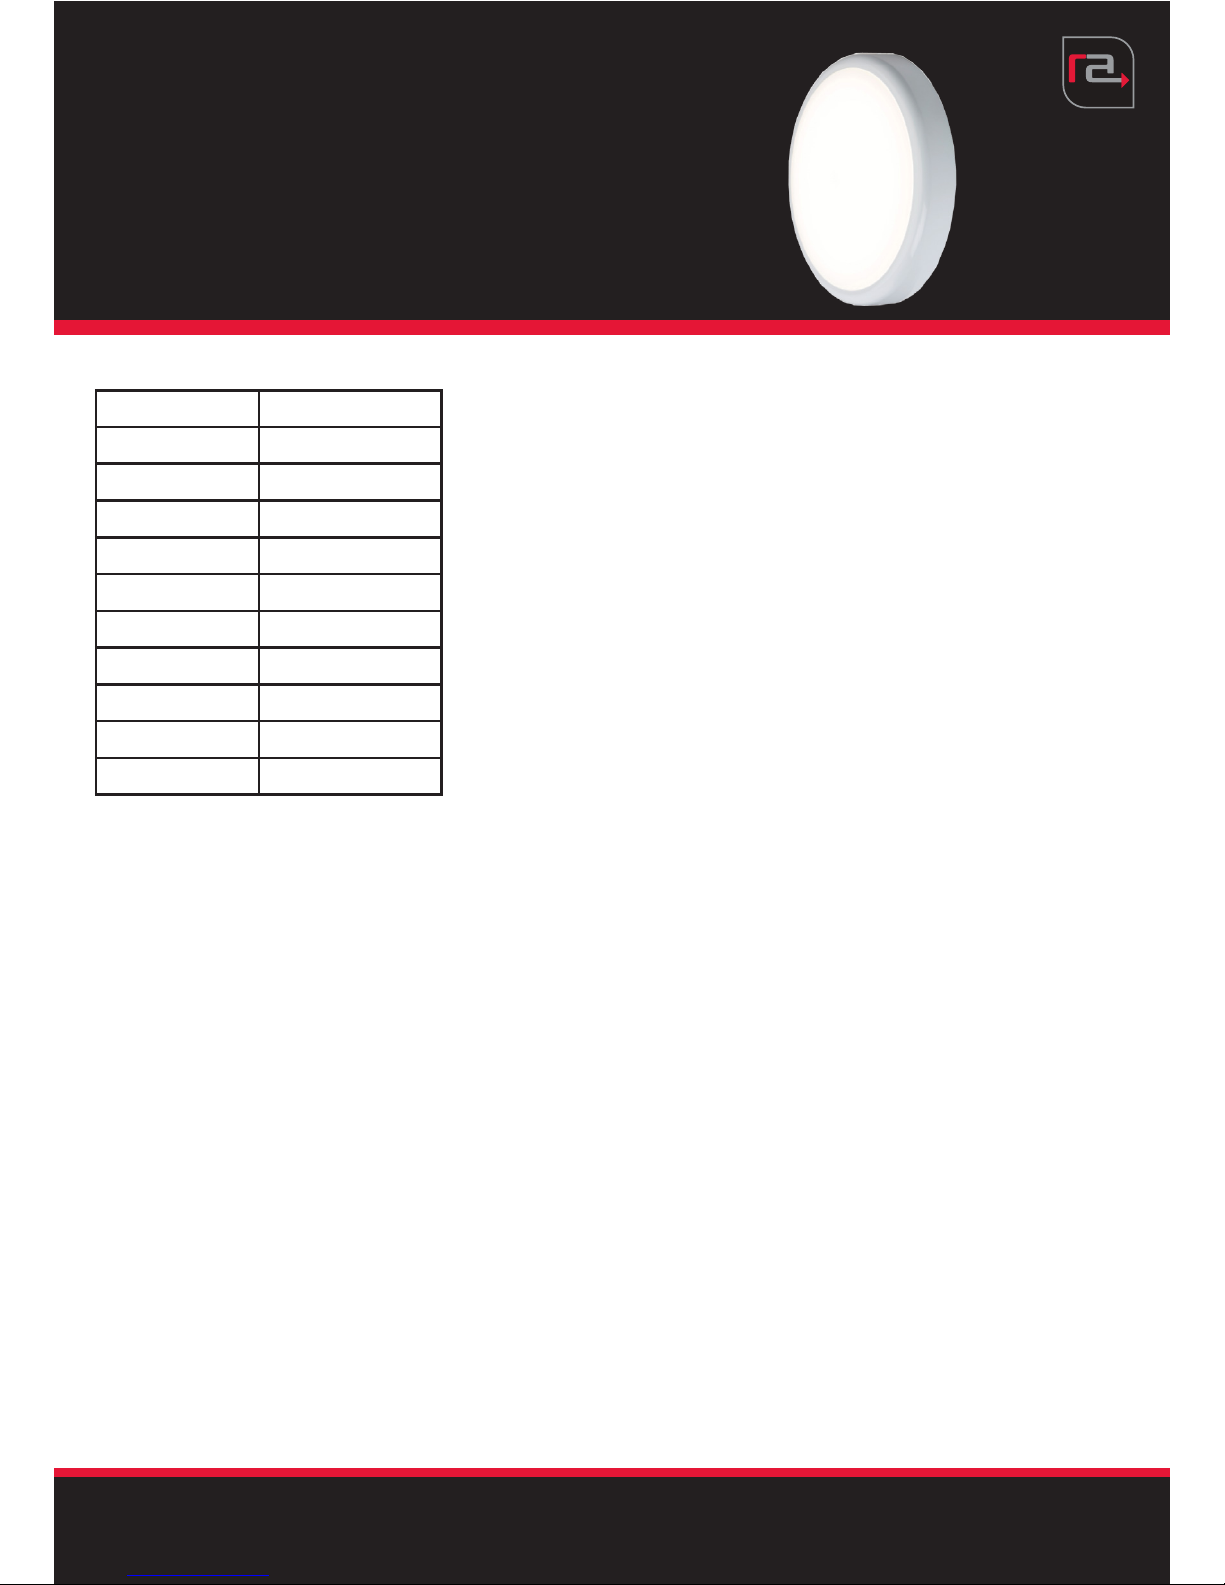
For models: POL14LEDMS
Safety
This is a mains powered product. It is designed to be
installed by a qualified electrician and in accordance
with the applicable building and electrical regulations.
Before installation or maintenance the electrical
supply to the product must be isolated.
Specification
• 220-240V
• 13.5W
• 64pcs of 2835 SMD LED
• 4000K Colour temperature
• 1150 Lumen output
• 120° Beam angle
• >82 Ra
• 3 Year guarantee
Installation Instructions
1. Remove the diffuser & trim from the base by rotating anti-
clockwise to unlatch then pull away.
2. Loosen the three gear tray retaining screws, rotate the gear
tray anti-clockwise to align the screw heads with the large
aperture of the keyhole slots and remove the gear tray from
the base. There is a retaining strap to assist with
installation.
3. Prepare the mains supply cable and fixing points on the
chosen mounting surface ensuring it is able to retain the
weight of the luminaire.
4. Pass the mains supply cable through the hole & grommet
provided in the base, position the base to the mounting
surface and secure using the screws provided.
5. It is the installer’s responsibility to ensure the fixing points
and cable entry point are appropriately sealed to maintain
the IP54 rating. Silicone bathroom sealant or equivalent is
recommended.
6. Route the mains supply cable to the terminal block on the
gear tray and terminate ensuring correct polarity is
observed.
7. Secure the supply cable using the clamp provided in the
base.
8. Refit the the gear tray and secure by retightening the
screws.
9. Refit the diffuser and trim by placing over the base and
rotating clockwise until it locks into position.
10. Reconnect power supply and check for correct operation.
Note: Luminaires fitted with electronic ballasts are exempt
from insulation resistance tests as this may cause damage to
the ballast.
Description of Microwave Sensor
The microwave sensor option offers presence detection
to provide automatic control of lighting loads. It
is installed inside the luminaire so does not affect
external aesthetics or IP Rating. Manual adjustments
on the sensor allow it to be individually tailored to suit
your application.
Positioning
•The luminaire and the detector should be sited so that the
occupants of the room fall inside the detection patterns
shown in the appropriate diagram on page two.
•The diagram is based on a ceiling mounting height of 2.5m.
Note that the lower that the sensor is installed, the smaller the
detection range will be.
•If wall mounted, the detection zone will vary depending on
the surroundings but vertical reach will be at least 10m.
•Both the areas closest to and vertical to the sensor will have
the highest sensitivity.
14W LED Slimline
POLO Bulkhead with
Microwave Sensor Installation
Instructions p.1