Reed Instruments R6030 User manual

T mp r t r
& H midit y
D t gg r
I t r ct i
M
R6030
REED Inst r ument s
1 -8 7 7 -8 4 9 -2 1 2 7 | info@reedinst r ument s.com | www.r eedinst r ument s.com

2
Table of Cont ent s
Introduction ................................................................................................ 2
Product Quality
........................................................................................... 3
Safety ......................................................................................................... 3
Features...................................................................................................... 3
Included...................................................................................................... 3
Speci cations ............................................................................................. 4
Instrument Description ............................................................................... 5
Display Description .................................................................................... 6
Supplemental Display Notes ................................................................. 6
Operating Instructions.............................................................................7-9
Software Installation .............................................................................. 7
Battery Installation or Battery Replacement .......................................... 7
Setting Up or Downloading Data........................................................7-8
Supplemental Operation Notes ............................................................. 8
Setting the Combination Lock............................................................... 9
FAQ's
.......................................................................................................... 9
Product Care ............................................................................................ 10
Product Warranty ..................................................................................... 10
Product Disposal and Recycling .............................................................. 10
Product Support
....................................................................................... 11
Int r oduct ion
Thank you for purchasing your REED R6030 Temperature & Humidity
Datalogger. Please read the following instructions carefully before using
your instrument. By following the steps outlined in this manual your data
logger will provide years of reliable service.
REED Inst r ument s
1 -8 7 7 -8 4 9 -2 1 2 7 | info@reedinst r ument s.com | www.r eedinst r ument s.com

3
Pr oduct Qualit y
This product has been manufactured in an ISO9001 facility and has been
calibrated during the manufacturing process to meet stated product
speci cations. If a certi cate of calibration is required please contact the
nearest authorized REED distributor or authorized Service Center. Please
note an additional fee for this service will apply.
Safet y
Never attempt to repair or modify your instrument. Dismantling your
product, other than for the purpose of replacing batteries, may cause
damage that will not be covered under the manufacturer's warranty.
Servicing should only be provided by an authorized service center.
Feat ur es
• Stores up to 16,000 temperature and 16,000 humidity readings
• User selectable sampling rate from 1 sec to 24 hrs
• Visible alarm (LED) if set max/min values are exceeded
• Wall mount bracket and lock for long-term monitoring
• Real-time clock with date and time stamp
• Dual LCD displays current temperature, humidity, min/max and date/time
• Download and analyze data directly tocomputer via included USB cable
Included
• Mounting Bracket with Screws
• USB Cable
• Software
• Security Lock
• Battery
REED Inst r ument s
1 -8 7 7 -8 4 9 -2 1 2 7 | info@r eedinst r ument s.com | www.r eedinstr ument s.com

4
Specificat ions
Temperature
Measuring Range: -40 to 158°F (-40 to 70°C)
Accuracy: ±1.8°F (1.0°C)
Resolution: 0.1°F/°C
Humidity
Measuring Range: 0 to 100% RH
Accuracy: 0 to 20% & 80 to 100%: ±5%
20 to 40% & 60 to 80%: ±3.5%
40 to 60% : ±3%
Resolution: 0.1% RH
General Speci cations
Display: Dual Display, LCD
Min: Yes
Max: Yes
Settable Alarms: Yes (temp. and RH)
Sampling Rate: Yes (2 secs to 24 hours)
Internal Memory: 32k readings
(16,000 temp. and 16,000 humidity)
Low Battery Indicator: Yes
Power Supply: 3.6V battery
PC Connectivity: Yes (USB)
Software: Included
Product Certi cations: CE
Operating Temperature: 32 to 122°F (0 to 50°C)
Storage Temperature: 14 to 140°F (-10 to 60°C)
Operating Humidity Range: 0 to 100%
Dimensions: 3.7 x 1.9 x 1.3" (94 x 48 x 33mm)
Weight: 4.1 oz (115g)
REED Inst r ument s
1 -8 7 7 -8 4 9 -2 1 2 7 | info@r eedinst r ument s.com | www.reedinstr ument s.com
5
Inst r ument Descr ipt ion
1. Data Logging LED
2. Alarm LED
3. LCD Display
4. T
emperature & Humidity
Toggle Button
5. MAX/MIN Value Button
6. Temperature &
Humidity Sensors
7. USB Port (Bottom)
Temperature & Humidity Datalogger
R6030
Temp.: -40 to 70°C
-40 to 158°F
Humidity: 0 to 100%RH
2
3
4
5
6
7
REED Inst r ument s
1 -8 7 7 -8 4 9 -2 1 2 7 | info@r eedinst r ument s.com | www.reedinstr ument s.com
6
Display Descr ipt ion
1. Low Battery Indicator
2. MAX/MIN Indicators
3. Record Mode Active
4. Date & Time (10 sec rotation)
Supplement al Display Not es
1. Press the MAX/MIN button to view the recorded Max and Min
values with the time they were recorded. The LCD will return to
real-time display if no button is pressed for 40 seconds.
2.
The Time and Date display will automatically toggle every 10 seconds.
3. If –LO- is displayed, the temperature and humidity sensors need
attention.
1 4
2
36
5
7
5. Relative Humidity
6. Memory Full
7. Temperature Unit of Mesure
REED Inst r ument s
1 -8 7 7 -8 4 9 -2 1 2 7 | info@r eedinst r ument s.com | www.reedinstr ument s.com
7
Oper at ing Inst r uct ions
Soft war e Inst allat ion
Install the included software by placing the supplied program disc in the
PC's CD-ROM drive. If the installation program does not automatically start,
open and browse the CD-ROM drive from your computer. Double click on
the setup le and follow the on-screen prompts to install the software.
If your computer does not have a CD drive please visit
www.reedinstruments.com/software to download the latest R6030 software.
If you ar e having t rouble connecting to t he R6 0 3 0 it may be a USB
dr iver issue. Please note USB dr ivers are supplied on the included
CD and may need to be installed separ ately.
Bat t er y Inst allat ion or Bat t er y Replacement
A 3.6V battery is provided with the R6030. Please note that only a 3.6V
battery should be used with the instrument. In order to install the battery
follow the steps below:
1. Slide the protective boot off the R6030
2. Use a small Phillips head screwdriver to remove the battery cover
3. Install (or replace) the battery
4. Reinstall the battery cover and slide protective boot back on
Set t ing Up or Downloading Dat a
1.
Once the software and battery have been installed, connect the R6030
to an available USB port on your PC with the included USB cable.
2. Double click the software icon on your desktop and the program will load.
3. Set up the data logger for a new session, or download saved data
from a previous recording.
4.
When setup is complete or data has been downloaded, the R6030
should be removed from the USB port in order to preserve battery life.
5. Full speci cations and Operating System compatibility can be found
on the product page at www.reedinstruments.com continued...
REED Inst r ument s
1 -8 7 7 -8 4 9 -2 1 2 7 | info@r eedinst r ument s.com | www.reedinstr ument s.com
8
6. If you have speci c questions related to your application and/or
questions related to software setup and functionality please contact
the nearest authorized distributor or Customer Service at
info@reedinstruments.com or 1-877-849-2127.
Supplement al Oper at ion N ot es
1. The R6030 will automatically begin recording once setup is complete
and the datalogger is removed from the PC.
2. The R6030 needs to be reset from the software in order to start a
new data logging session.
3. Please note the time & date on the R6030 must be updated from
the software.
4. All stored data will be permanently erased when a new setup is
completed. To save data before it is erased, ensure you download
the existing data before setting up the datalogger for the next
recording session.
5. The "REC" will áash at the programmed rate when the unit is
datalogging.
6. When the set alarm limit is triggered, the alarm LED will áash once
each minute. When the alarm LED áashes red, this indicates that
the temperature value has exceeded the limit. When the alarm LED
áashes yellow, this indicates that the humidity value has exceeded
the limit.
7. To conserve battery power, LED áashing frequency can be adjusted
in the software. Alarm LEDs for temperature and humidity can be
disabled via software.
8. The datalogger should be placed in an upright position when
recording to avoid any damage to the sensors from possible
condensation.
REED Inst r ument s
1 -8 7 7 -8 4 9 -2 1 2 7 | info@r eedinst r ument s.com | www.reedinstr ument s.com
9
Set t ing t he Combinat ion Lock
The default combination on the included lock is 0-0-0. In order to change
the code follow these steps:
1. Set the lock combination to 0-0-0 and press the release to open
the lock.*
2. Using a pointed object, press and hold the locking pin on the bottom
side of the lock.
3. Set the new combination code and release the locking pin.
*Please ensure the code is being entered on the side with the alignment
bar marks on the combination lock.
FAQ's
Once I've setup my R6030 how do I start recording?
The R6030 will begin recording once the software setup is completed.
There is no button to begin recording.
How do I stop recording?
Unfortunately there is no way to stop recording in the eld. In order to
stop recording the R6030 needs to be connected to your PC.
Is the R6030 compatible with my Apple (MAC) computer or tablet?
At this time the R6030 is only compatible with PC computers.
I cannot install my software on my work computer, do you know why?
Please note that you will require administrative rights to install and run the
R6030 software. In order to install and run the software you will have to
contact your IT department/personnel.
Can I use my R6030 without the software?
In order to setup the instrument and retrieve data the R6030 software
is required.
REED Inst r ument s
1 -8 7 7 -8 4 9 -2 1 2 7 | info@r eedinst r ument s.com | www.reedinstr ument s.com
1 0
Pr oduct Car e
To keep your instrument in good working order we recommend the following:
• Store your product in a clean, dry place.
• Change the battery as needed.
• If your instrument isn't being used for a period of one month or longer
please remove the battery.
• Clean your product and accessories with biodegradable cleaner. Do not
spray the cleaner directly on the instrument. Use on external parts only.
Pr oduct W ar r ant y
REED Instruments guarantees this instrument to be free of defects in
material or workmanship for a period of one (1) year from date of shipment.
During the warranty period, REED Instruments will repair or replace, at no
charge, products or parts of a product that proves to be defective because
of improper material or workmanship, under normal use and maintenance.
REED Instruments total liability is limited to repair or replacement of the
product. REED Instruments shall not be liable for damages to goods,
property, or persons due to improper use or through attempts to utilize the
instrument under conditions which exceed the designed capabilities. In
order to begin the warranty service process, please contact us by phone at
1-877-849-2127 or by email at info@reedinstruments.com to discuss the
claim and determine the appropriate steps to process the warranty
.
Pr oduct Disposal and Recycling
Please follow local laws and regulations when disposing or recycling your
instrument. Your product contains electronic components and must be
disposed of separately from standard waste products.
REED Inst r ument s
1 -8 7 7 -8 4 9 -2 1 2 7 | info@r eedinst r ument s.com | www.reedinstr ument s.com
1 1
Pr oduct Suppor t
If you have any questions on your product, please contact your authorized
REED distributor or REED Instruments Customer Service by phone at
1-877-849-2127 or by email at info@reedinstruments.com.
Please visit www.REEDINSTRUM ENTS.com for the most
up-to-date manuals, datasheets, product guides and software.
Product specifications subject to change without notice.
All r ight s r eser ved. Any unauthor ized copying or repr oduction of
this manual is str ictly pr ohibited without prior wr itten per mission
fr om REED Instruments.
REED Inst r ument s
1 -8 7 7 -8 4 9 -2 1 2 7 | info@r eedinst r ument s.com | www.reedinstr ument s.com
Te s T & M e a s u Re
w ITH Co n f IDe n Ce
CHe Ck o u T o u R l a Te s T PRo Du CTs !
REED Inst r ument s
1 -8 7 7 -8 4 9 -2 1 2 7 | info@r eedinst r ument s.com | www.reedinstr ument s.com
Table of contents
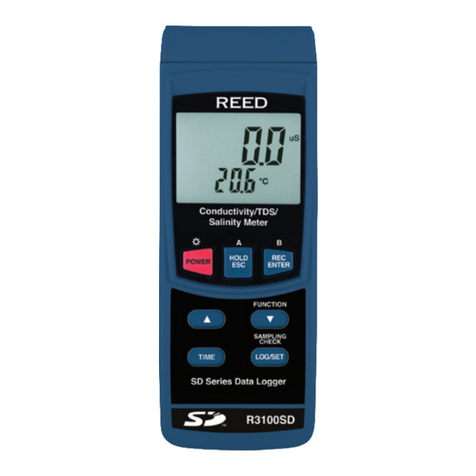
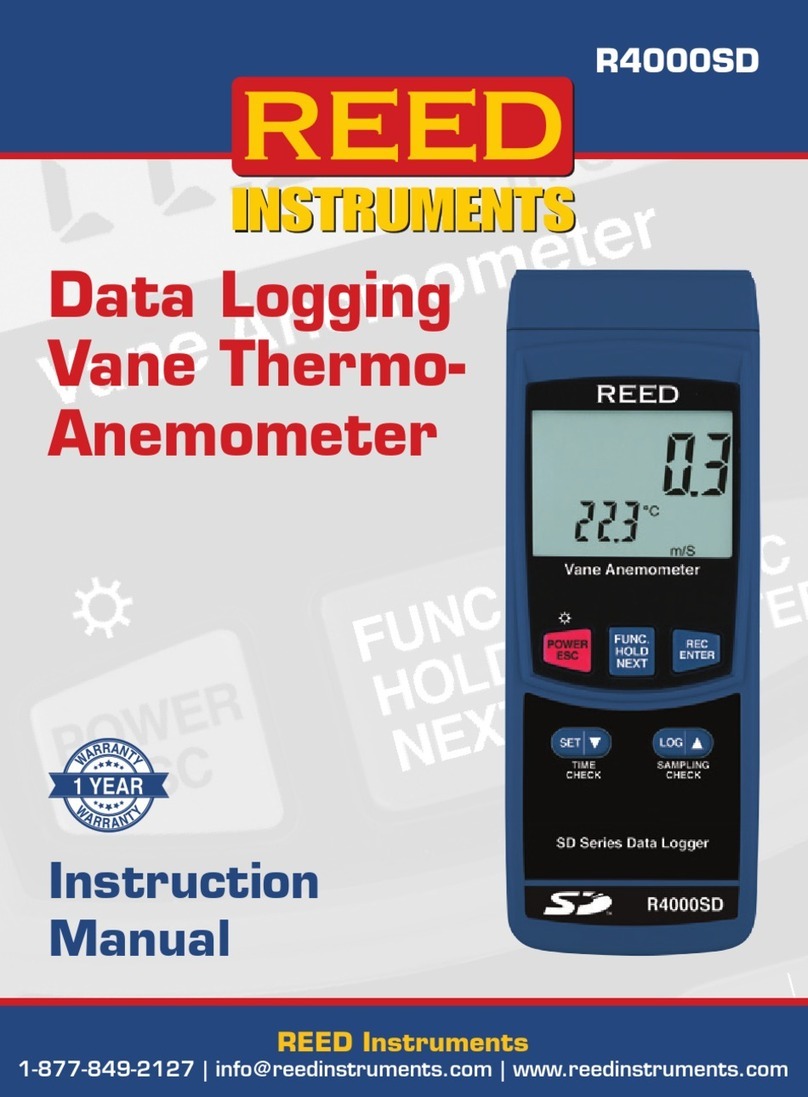
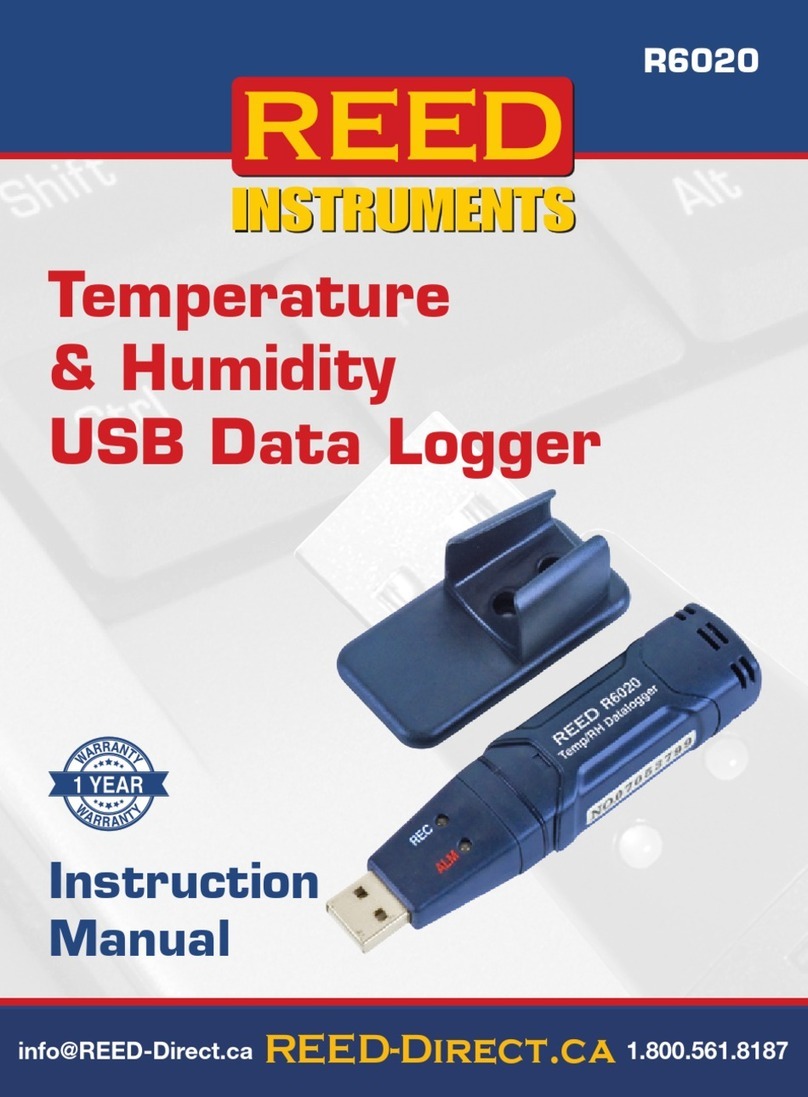
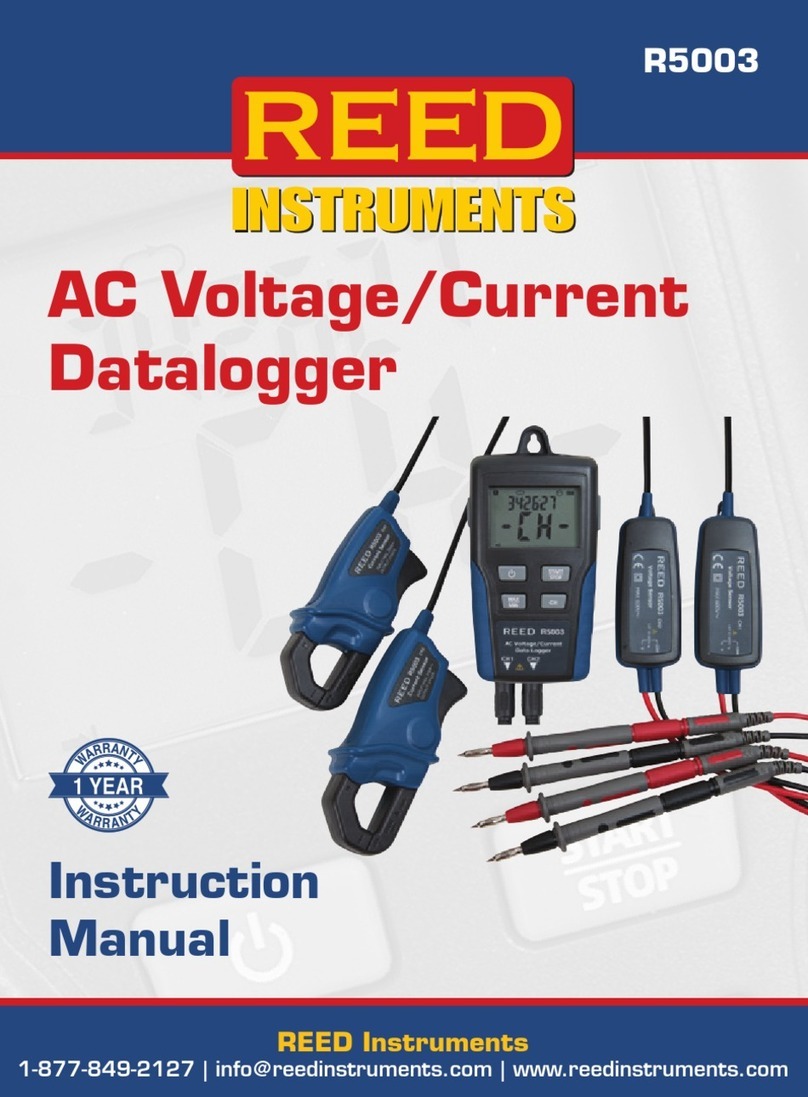
Other Reed Instruments Data Logger manuals

Reed Instruments
Reed Instruments R5003 User manual

Reed Instruments
Reed Instruments R4000SD User manual

Reed Instruments
Reed Instruments R3100SD User manual

Reed Instruments
Reed Instruments R6250SD User manual

Reed Instruments
Reed Instruments R4500SD User manual

Reed Instruments
Reed Instruments R6020 User manual

Reed Instruments
Reed Instruments R8100SD User manual

Reed Instruments
Reed Instruments R6050SD User manual