1
SAVE THESE INSTRUCTIONS.
To reduce the risk of shock, burns, re or injury:
Always unplug the base from the electrical outlet before
servicing any part of the base. To reduce risk of electric shock,
unplug the base before cleaning. To safely disconnect, ensure
the base is in a at position with all motors off, and unplug from
power source.
Keep the power cord away from heated surfaces. Never operate
the base when the air openings are blocked. Keep air openings
free of lint, hair and the like. Do not drop or insert any object
into any opening.
Discontinue use of the bed base and contact a qualied service
center if: it has a damaged cord or plug, is not working properly,
or has been dropped into water.
Only use this bed base for its intended use as described in
this manual. Do not use accessories/attachments that are not
recommended by the manufacturer.
Close supervision is required when the bed base is used by or
near children, convalescents or disabled persons.
Outlet Safety:
For optimal safety and operation, plug bed base into a surge
protector (not included).
The bed base should only be plugged directly into a wall outlet
or surge protector (recommended). Improper connection of the
equipment can result in the risk of electrical shock, electrical re
or faulty operation of this bed base. If the plug does not t your
outlet, contact a qualied electrician to install a suitable outlet.
Unauthorized modication or failure to use a wall outlet or surge
protector could void the electrical portion of your warranty.
Warranty Warning:
Do not open or tamper with motor or remote (with the
exception of battery compartments). The warranty will be void
if the internal workings of these components are tampered
with. For complete warranty information refer to the warranty
information section on pages 14-15.
In-Home Use and Hospital Disclaimer:
The Reexion®Lift 2.0 adjustable bases are designed solely for
in-home use. This base was not designed as a hospital bed and
is not designed to meet hospital standards. Do not use this base
with TENT TYPE oxygen therapy equipment or near explosive
gases.
Pets and Small Children:
Immediately dispose of all packing materials as they may pose
a smothering risk to small children and pets. To avoid injury, it is
not advised to allow children and small pets to play on or under
the bed. Children should not operate the bed base without adult
supervision.
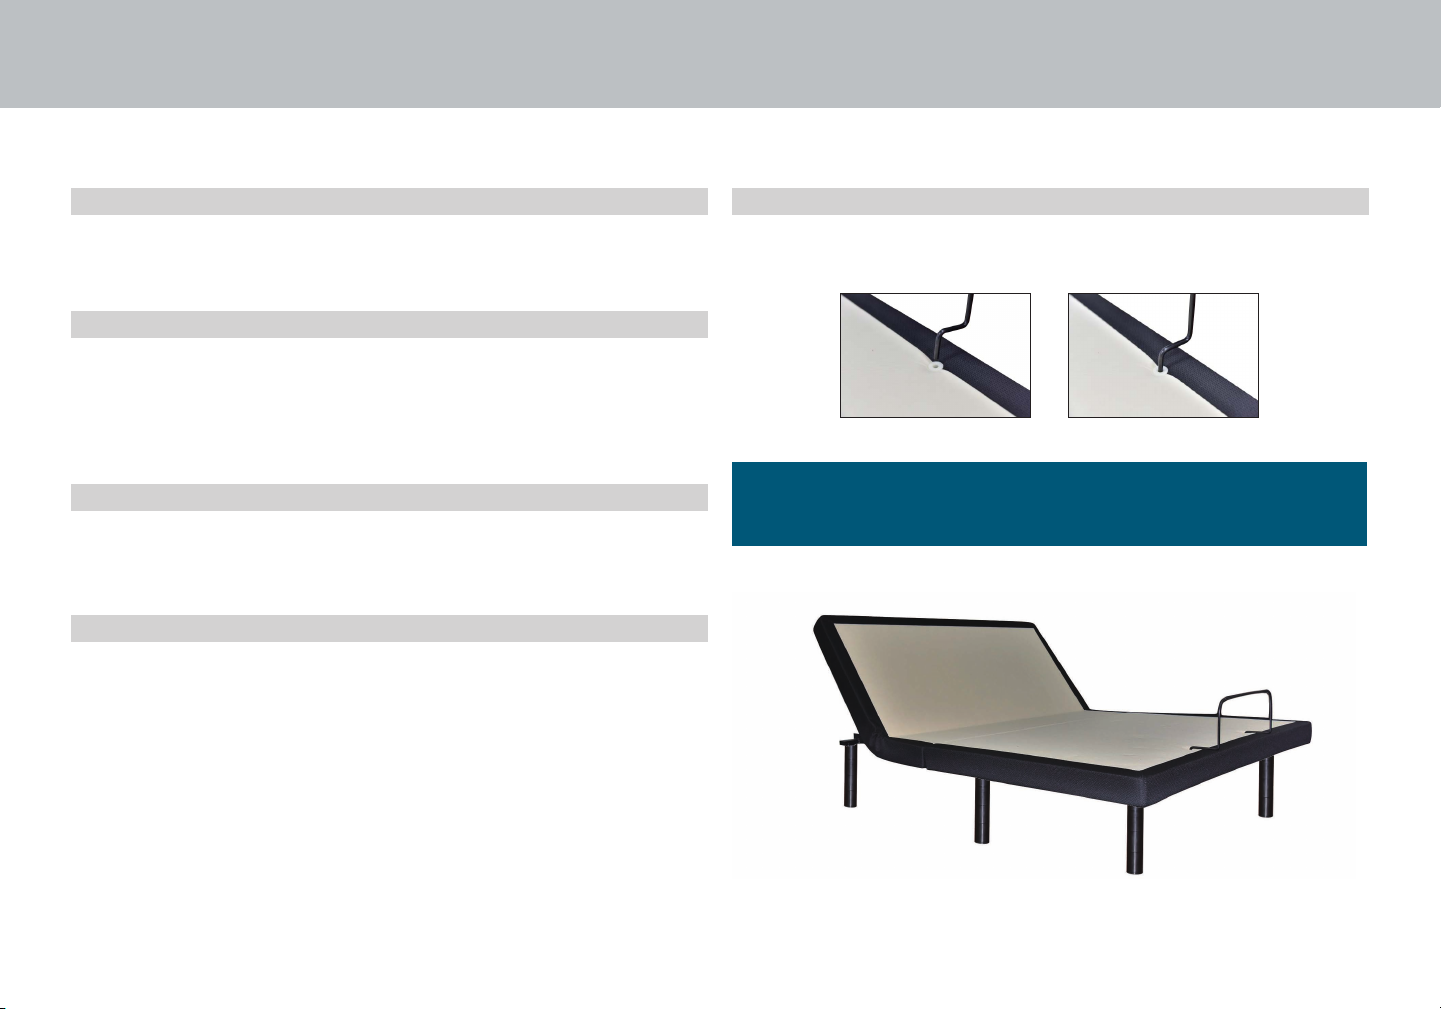
Safety Features:
Free-release head motor is designed to lower the mattress by
retracting only with gravity, never pulling downwards, which
minimizes pinch points.
Power Ratings:
INPUT: AC 100–240V 50/60 HZ 1.5A
OUTPUT: DC 29V 1.8A
WATTS: 52.2W
Product Ratings:
The lift motor is not designed to operate continuously for more
than two [2] minutes in an eighteen [18] minute time period
Attention: Important Safety Disclaimers
Read all instructions before using your Reexion®Lift 2.0
safety precautions and usage statements