2
This document is stored and maintained electronically by Technical Support. All printed copies are deemed uncontrolled.
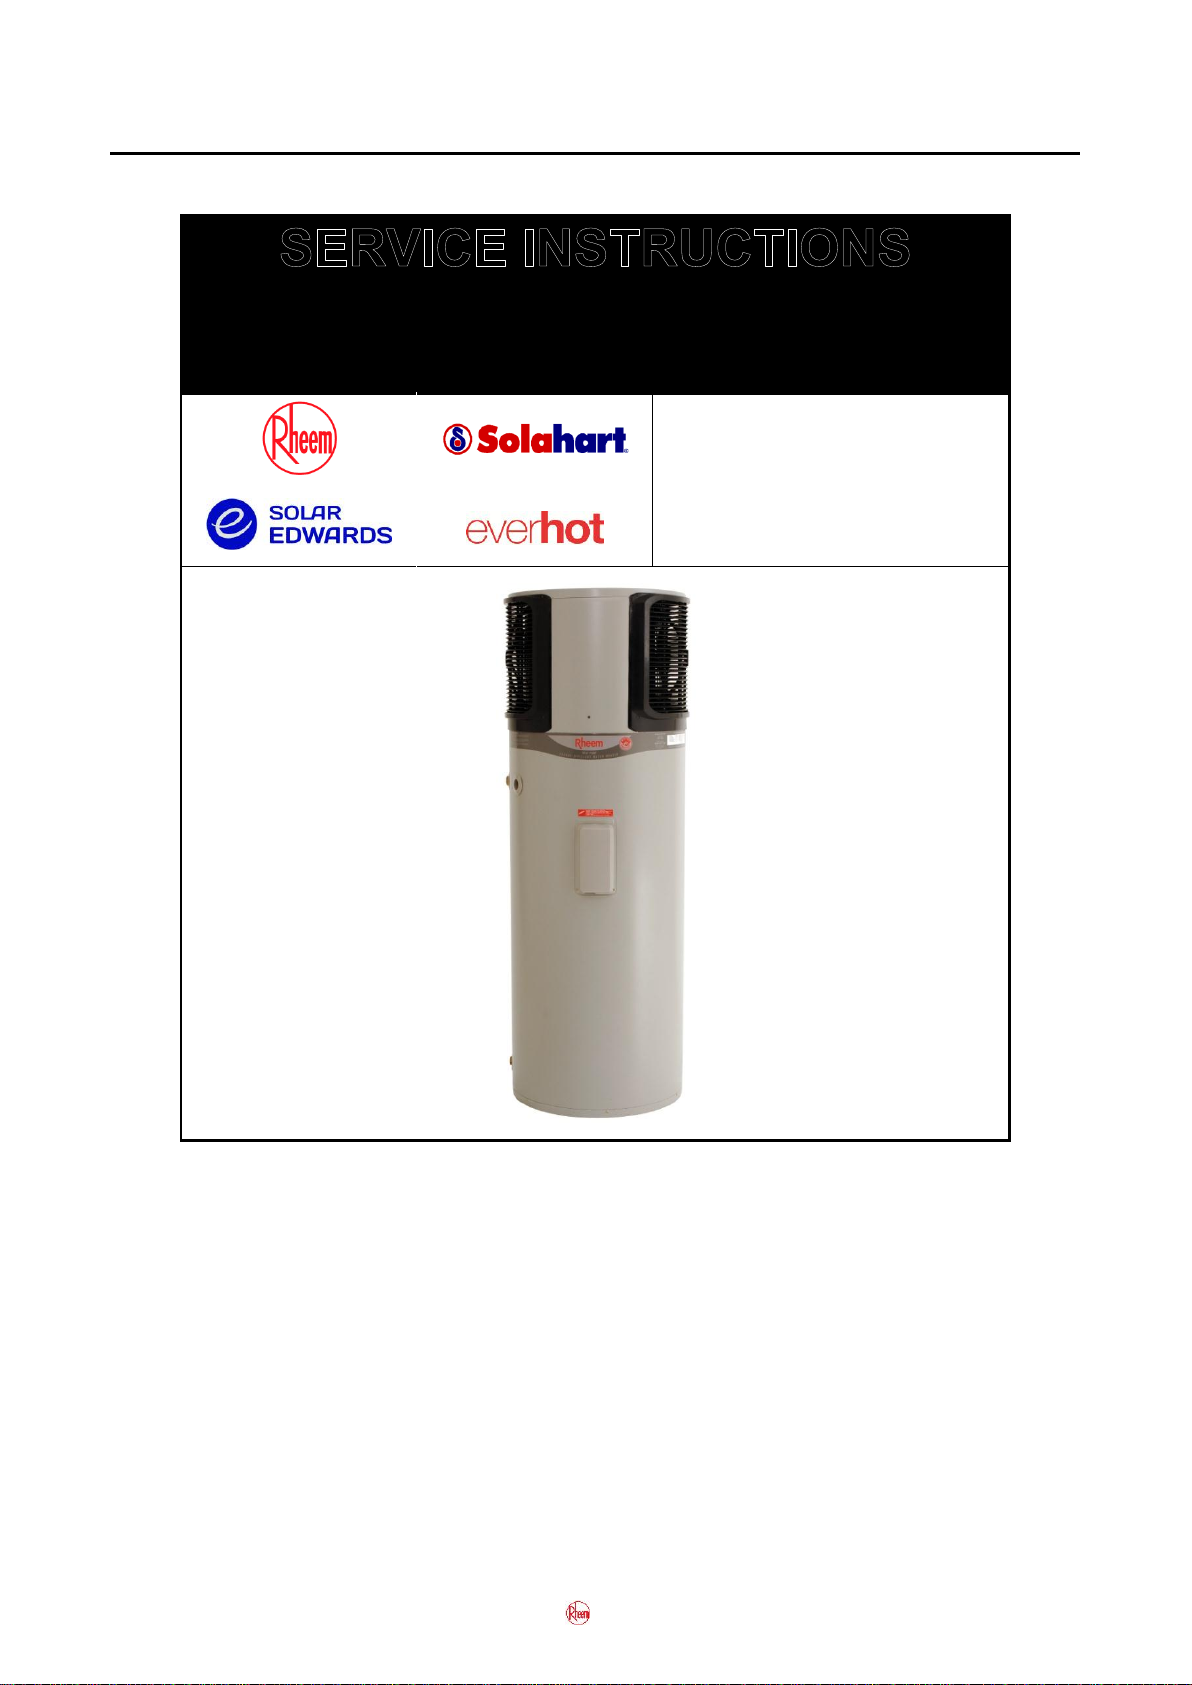
TM025: 310 Series Heat Pump Service Instructions
Rev AF: Issued March 2016
CONTENTS
INTRODUCTION .................................................................................................................3
SAFETY WARNING.............................................................................................................3
POWER SUPPLY................................................................................................................3
ENVIRONMENTAL..............................................................................................................3
HEATER MODEL IDENTIFICATION...................................................................................4
HEAT PUMP WATER HEATER MODELS ..........................................................................5
SPECIFICATIONS...............................................................................................................6
PREVENTATIVE MAINTENANCE ......................................................................................7
PRODUCT CHANGES ........................................................................................................8
REFRIGERATION TERMS AND THEIR MEANING..........................................................10
COMPONENTS AND THEIR FUNCTION .........................................................................11
CONTROLLER..................................................................................................................13
Power and Sensor Strip Connections.............................................................................13
Printed Circuit Board (PCB) ...........................................................................................14
Sensor Strip ...................................................................................................................14
Sensors..........................................................................................................................15
AUTOMATIC AIR ELIMINATOR........................................................................................15
OPERATION......................................................................................................................16
LED STATUS CODES.......................................................................................................24
OPERATIONAL SEQUENCES..........................................................................................25
Standby Mode and Heat Pump Mode ............................................................................25
Faults .............................................................................................................................28
Element Mode................................................................................................................30
WIRING DIAGRAMS .........................................................................................................32
Models manufactured from 31/03/16 (or fitted with a Grundfos Circ Kit from 04/16)......32
Models manufactured from 8/08/13 - 03/16 (or Grundfos Kit fitted during same range).33
Models manufactured from 14/08/2007 –7/08/2013 (Salmson Circulator) ....................34
Models manufactured prior to 14/08/2007 (Salmson Circulator) ....................................35
REFRIGERATION SYSTEM DIAGRAM............................................................................36
COMMON COMPLAINTS..................................................................................................36
SERVICE TECHNICIAN’S HEAT PUMP KIT.....................................................................38
SENSOR STRIP TESTER.................................................................................................39
FAULT FINDING................................................................................................................40
Sensor Strip and Sensor Strip Replacement Kit.............................................................70
Sensors..........................................................................................................................71
Refrigerant Charge.........................................................................................................81
Electrical Insulation Testing............................................................................................81
COMPONENT REPLACEMENT PROCEDURES .............................................................82
Storage Tank..................................................................................................................82
Heat Pump Module.........................................................................................................85
Refrigeration System......................................................................................................90
DOCUMENT REVISION HISTORY...................................................................................98