FICHA TÉCNICA
TECHNICAL DATA SHEET
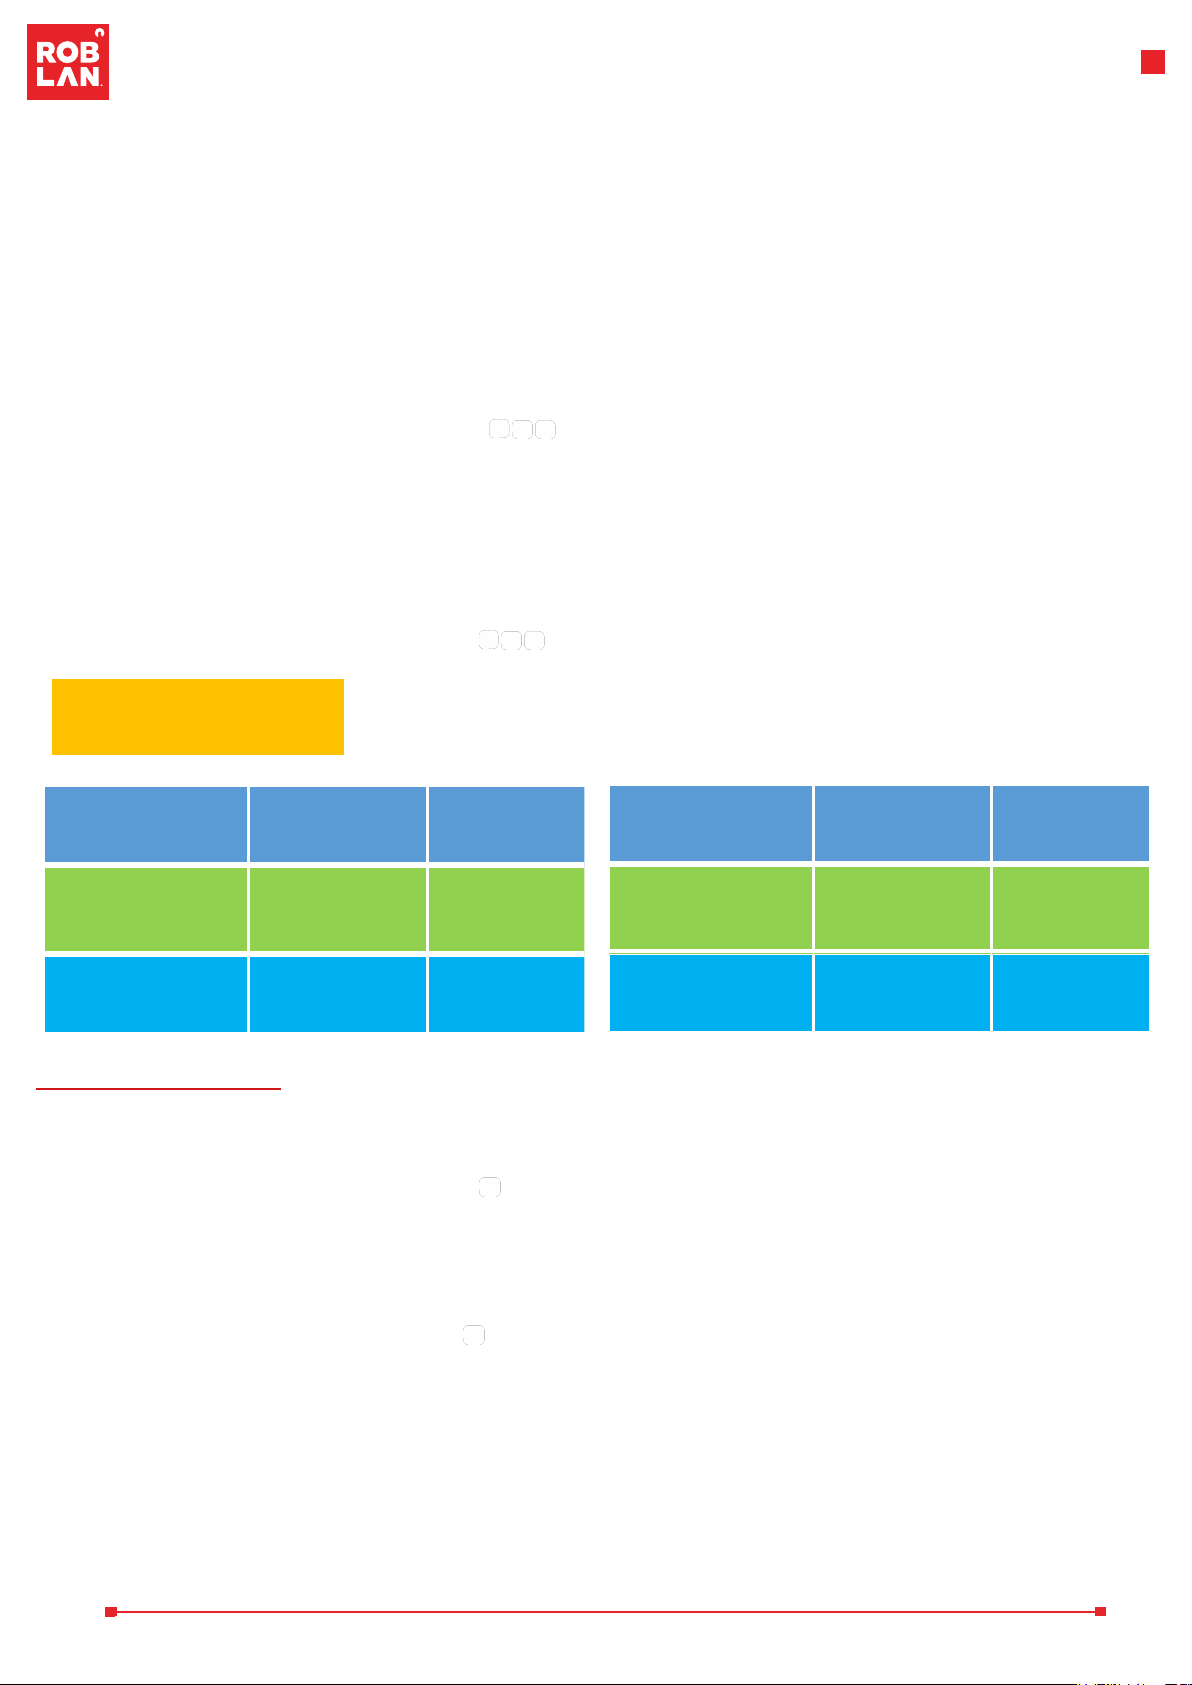
VIASOL80F
SensorSensor Solar Power
IP65
IK09
Protección. Protection (IP)
Grado de Protección IK. IK Protection Level
Información Eléctrica. Electrical Information
Vatios. Wattage
Batería. Battery
Panel Solar – Monocristalino
Solar Panel - Monocrystalline
80W
460.8Wh/12.8V,36AH
58Wp/20V
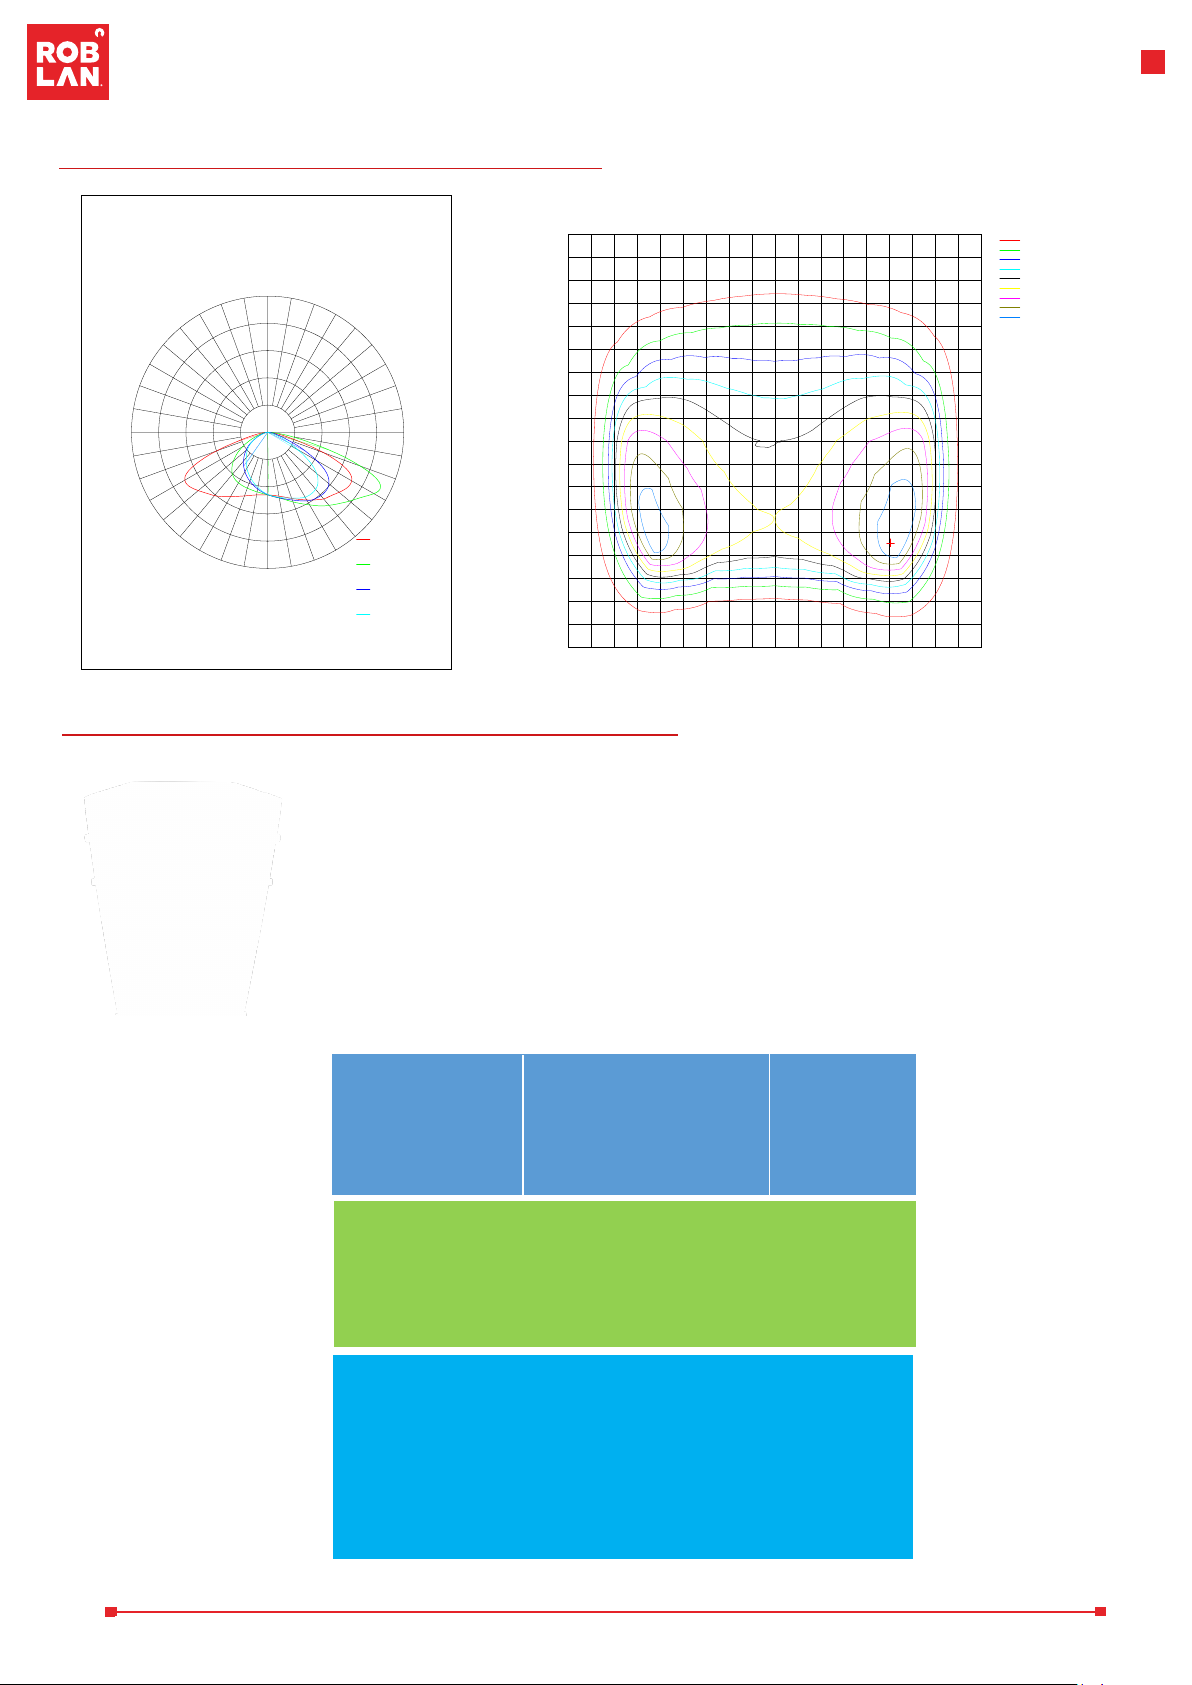
Información Lumínica. Light Technical Information
12000Lm
150
4000K
Blanco Frío. Cool White
140x78
<80
Negro. Black
Aluminio.Aluminium
PC + Fire proof (V2)
Color. Color
Material Carcasa. Housing Material
Material Lente. Lens Material
30000h
2000
Especificaciones Sensor PIR. PIR Sensor Specifications
150º
<15Mtrs
Ángulo de Detección. Detection Angle
Área de detección. Detection Area.
1
NO
10 a 12 Horas
SI
SMD5050
Placa Solar. Solar Panel
Lámpara Reemplazable. Replaceable Lamp
Tiempo de Carga. Loading Time
Batería Reemplazable. Replaceable Battery
Led Chip
Garantías & Calidad. Quality & Warranties
Garantía Luminaria LED
LED Luminaire Warranty
Garantía Batería. Battery Warranty
5 años. 5 years
2 año. 2 year
Datos Admin & Logística. Admin Data & Logistics
VIASOL80F
VIA SOL
LED TOP
Solar
LEDs
8435298038992
EC000062
?
Carton Color Box
1395x475x170
22.31KG
17.33KG
Referencia Producto. Item Code
Modelo. Model
Gama. Range
Serie. Series
Tecnología. Technology
Código de Barras. Barcode
Clase ETIM. ETIM Class
Unidades/Embalaje. Units/Carton
Tipo Embalaje Unidad. Packaging Unit Type
Dimensiones Caja. Meas package
Peso Bruto. Gross Weight
Peso Neto. Net Weight
Temperatura de trabajo
Working Temperature -20C°- 60C°
Avda. de las Retamas 5. 45950 Casarrubios del Monte. Toledo. España
Tel: +34 91 616 50 20 Email: roblan@roblan.com www.roblan.com
Vida Útil. Lifespan
Vida Media. Rated Lifetime
# de Encendidos. Switching Cycles
Flujo Luminoso (Lm). Luminous Flux (Lm)
Eficacia Lm. Lm Efficacy (Lm/W)
Temperatura Luz (K). Color Temperature (K)
Color Luz. Light Color
Ángulo Apertura. Beam Angle
Ra
Información Material. Material Information
Datos Técnicos. Technical Data
Vial 80W c/placa solar, sensor y bateria 460.8Wh/12.8V,36AH NEGRO
IP65 12.000lm 4000K
Solar Street light 80W sensor and battery 460.8Wh/12.8V,36AH Black
IP65 12.000lm 4000K
Características Generales. General Characteristics
Especificaciones Control Remoto. Remote Control Specifications
Tipo de Control Remoto. Remote Control Type
Mando
Remote Control
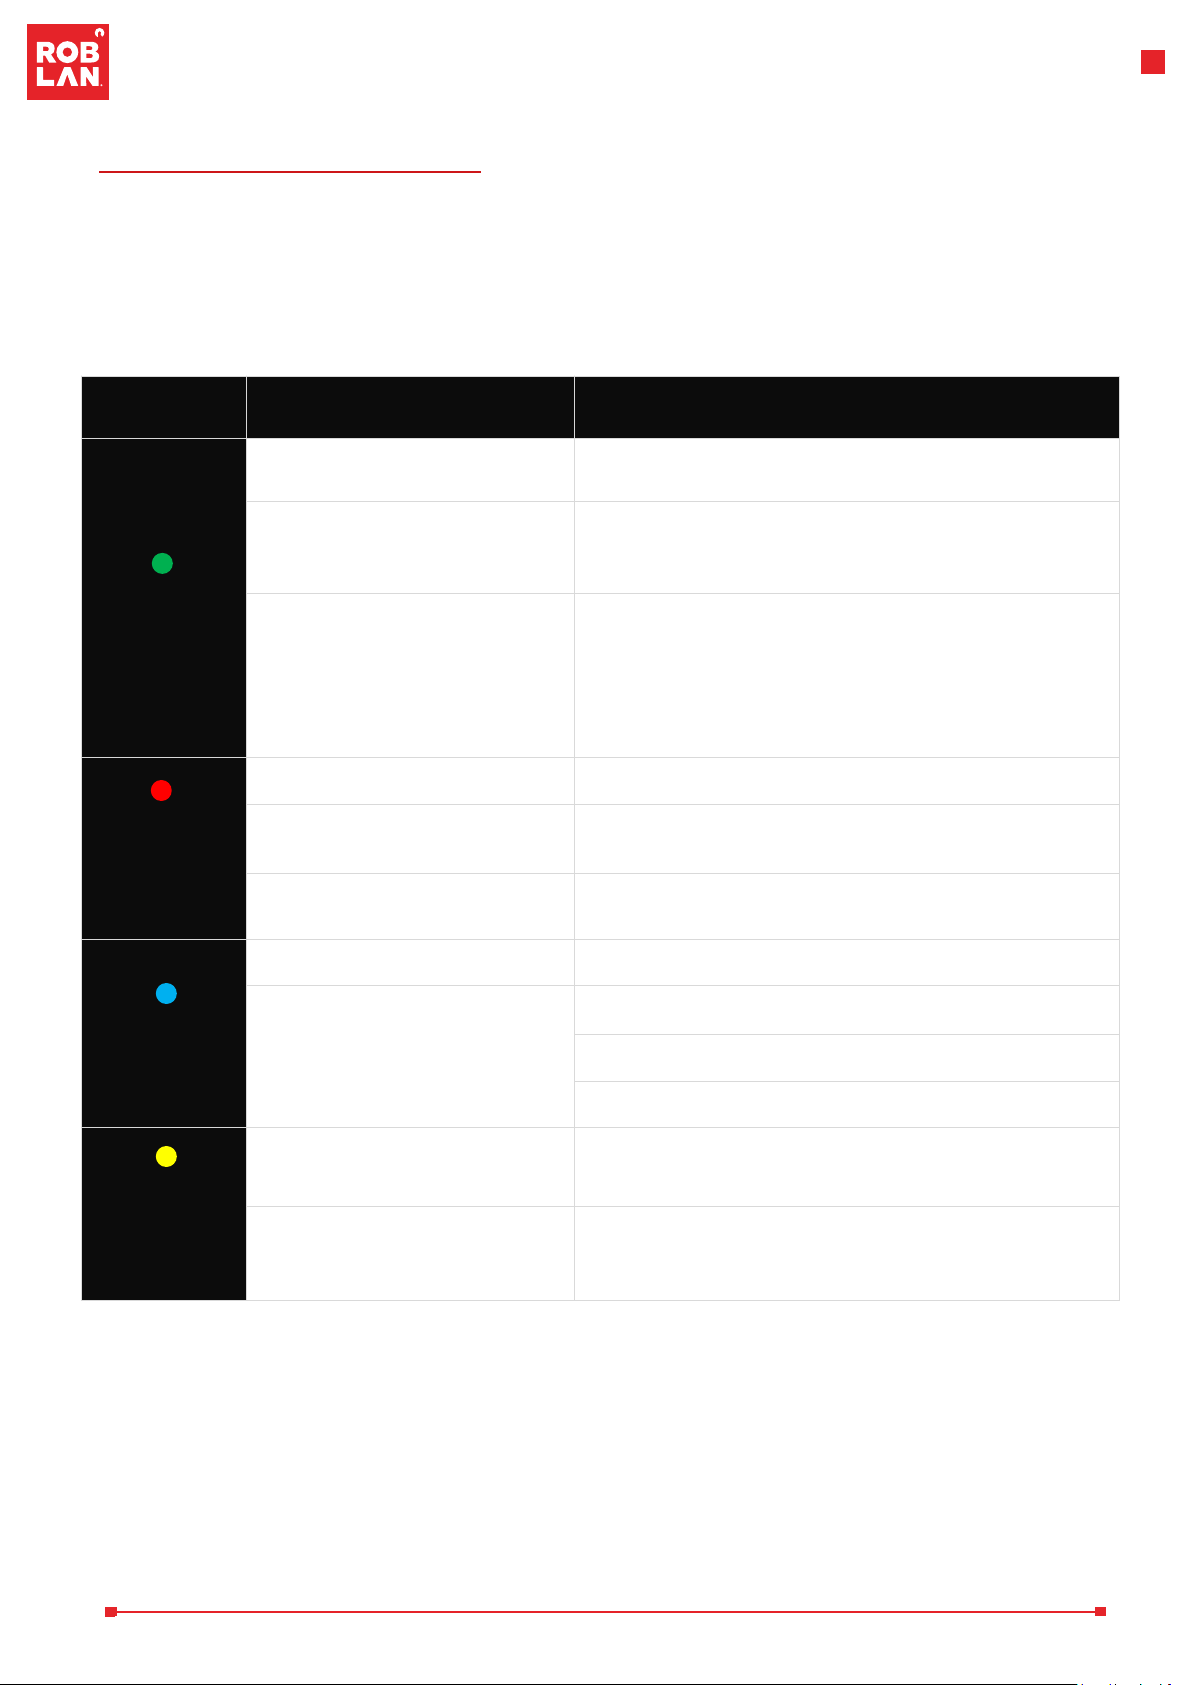
Avisos & Precauciones. Safety & Warnings
Temperatura de almacenamiento
Storage Temperature 0C°- 45C°
Resistencia al viento
Wind Resistance Typhoon 16
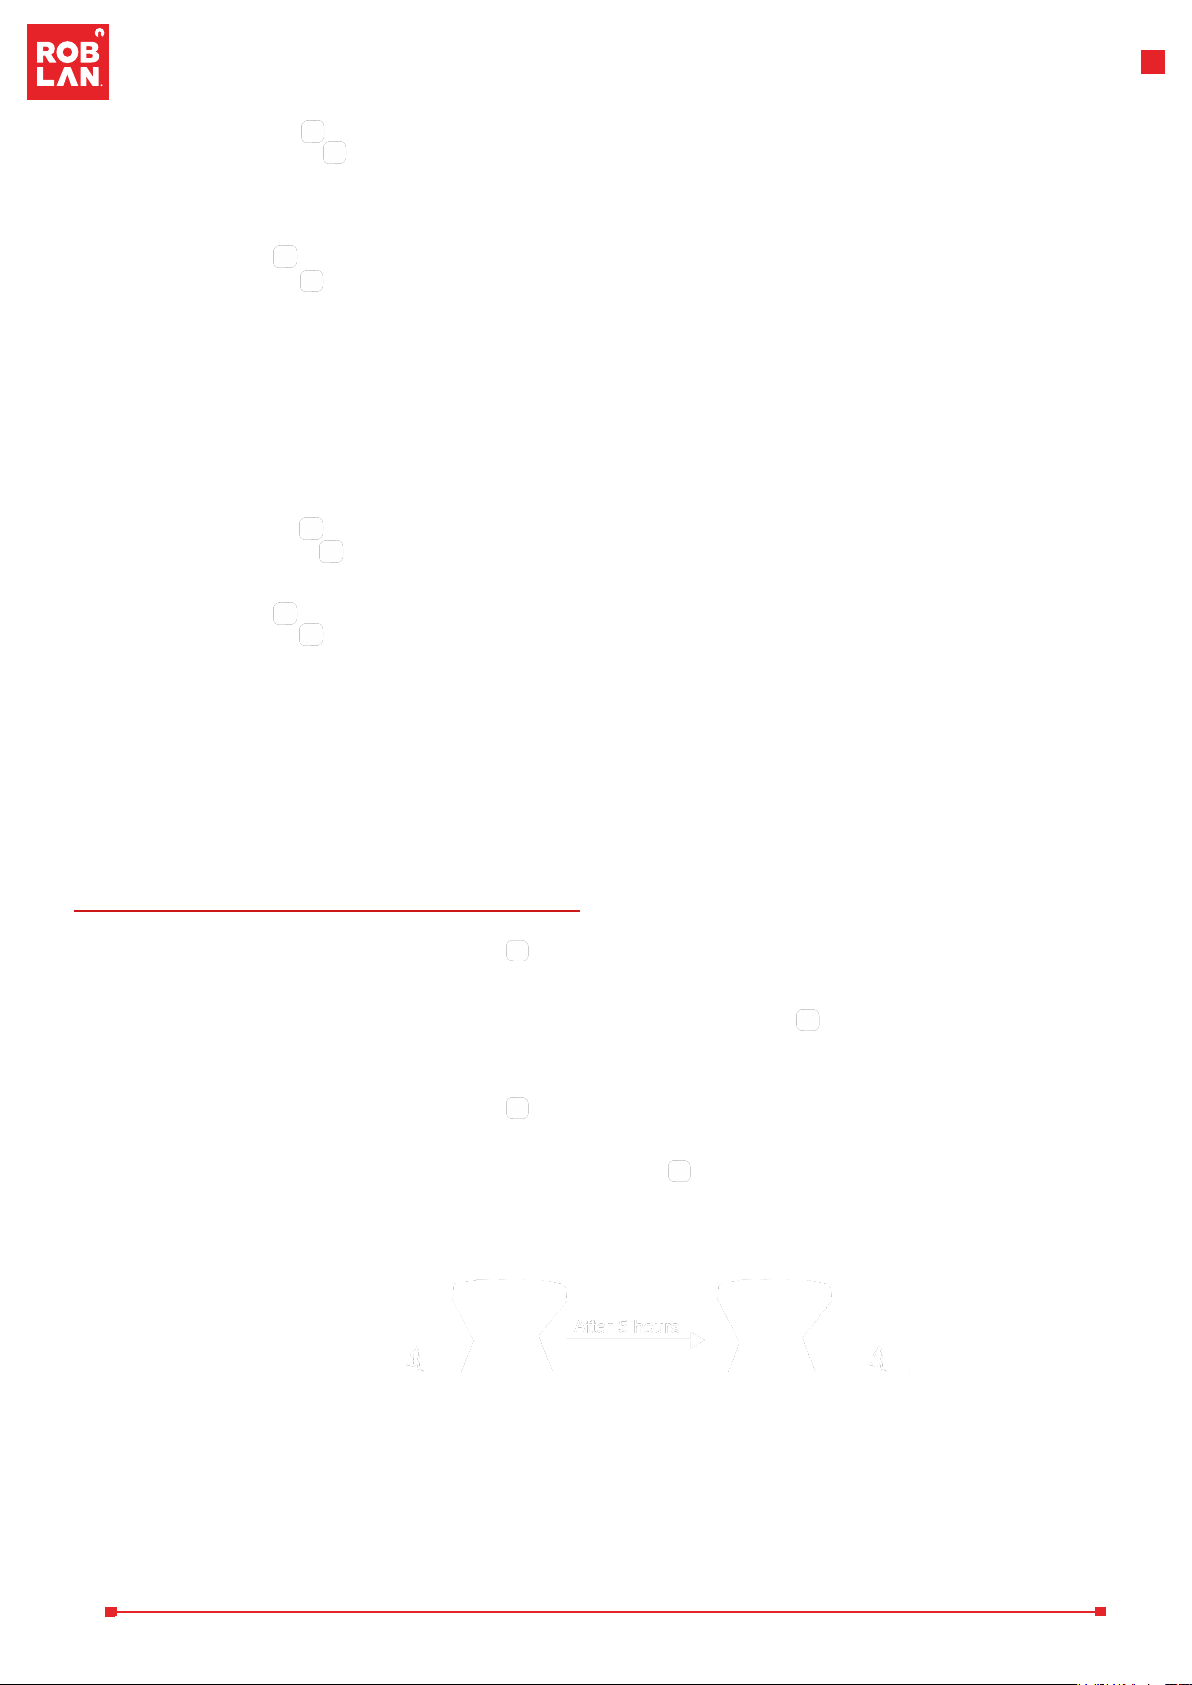
Tiempo de trabajo. Working time
4 a 7 noches en diferentes modos de trabajo.
Modo de iluminación constante: 4 noches;
Modo de sensor: 7 noches (basado en detección de movimiento 100
veces).
4 to 7 nights in different work modes.
Constant lighting mode: 4 nights;
Sensor mode: 7 nights (based on 100 times motion detection).
Otras Especificaciones. Other Specifications