#PRP1745 - Th e Ne x T Ge N e R a T i o N 1s T se a s o N “Du s T b u s T e R ” Ph a s e R PR o P Ki T as s e m b l y ma N u a l
2
BASIC LAYOUT AND INVENTORY
PARTS LIST:
TOOLS AND SUPPLIES: SPRAY PAINTS:
BRUSh PAINTS:
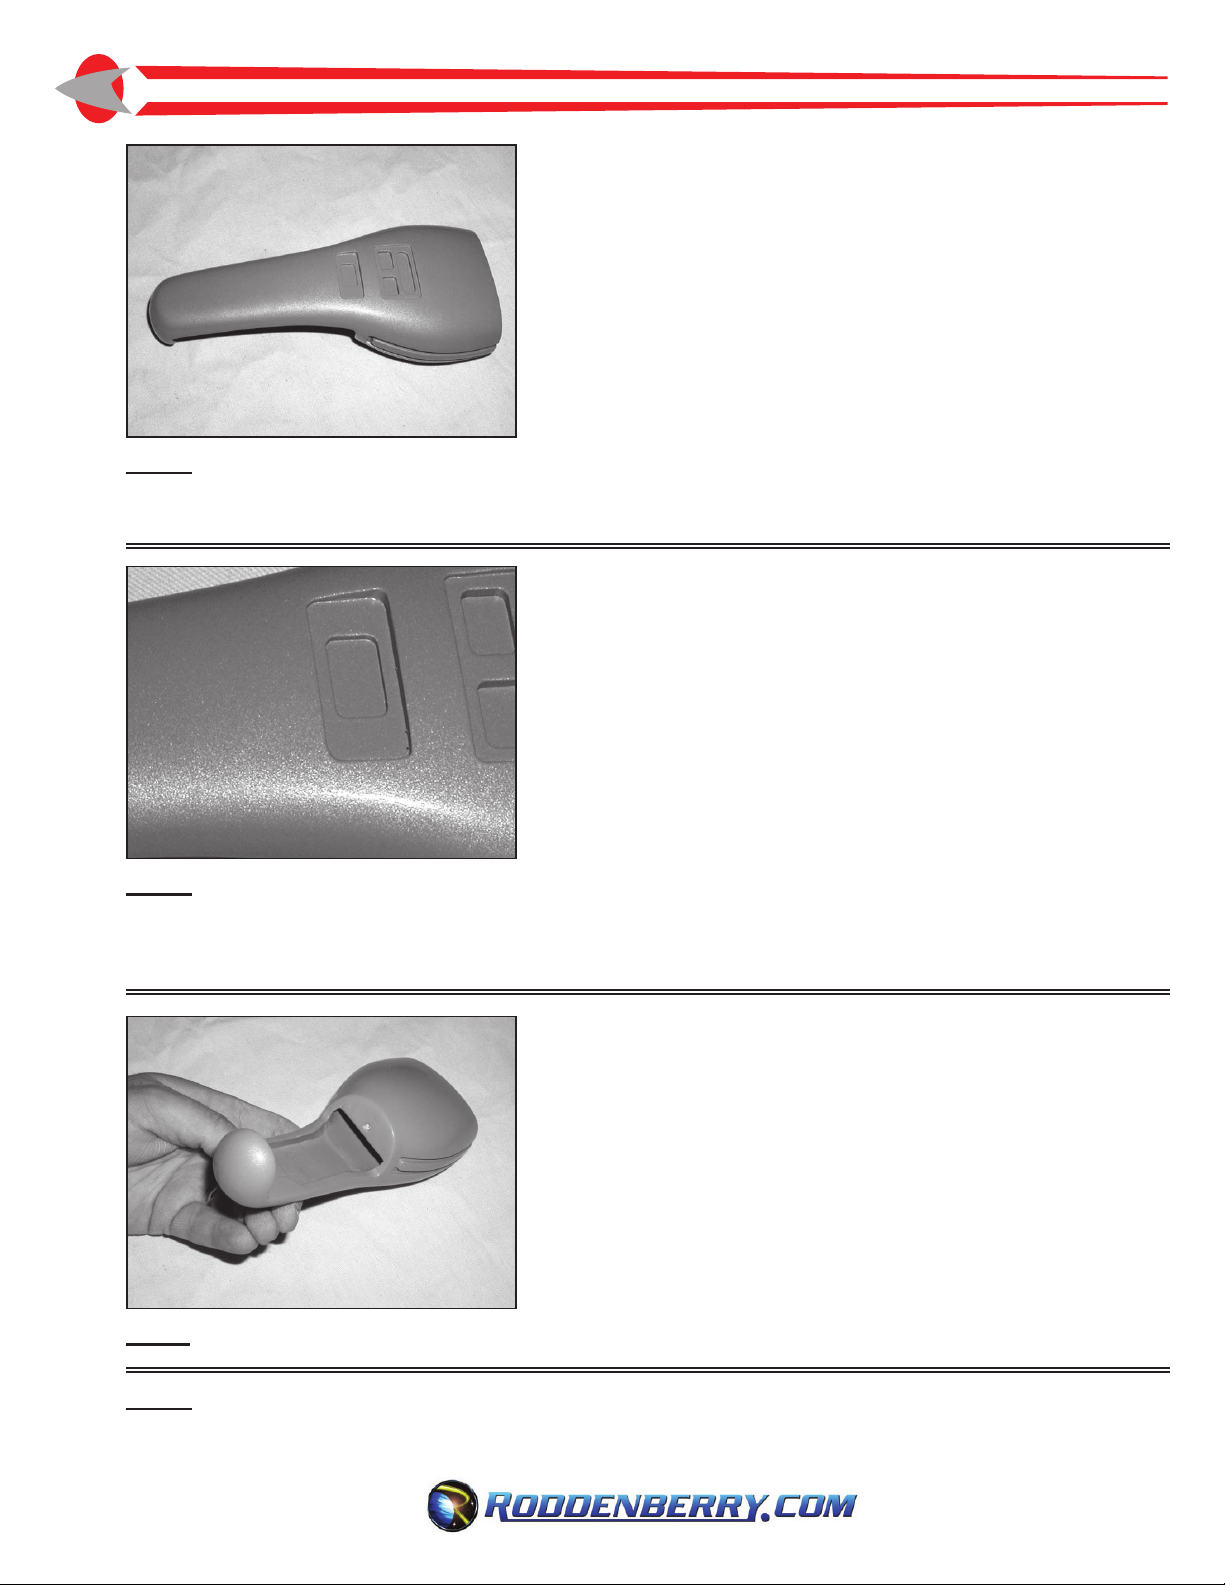
• 1 Main Body
• 1 Emitter
• 1 Grip
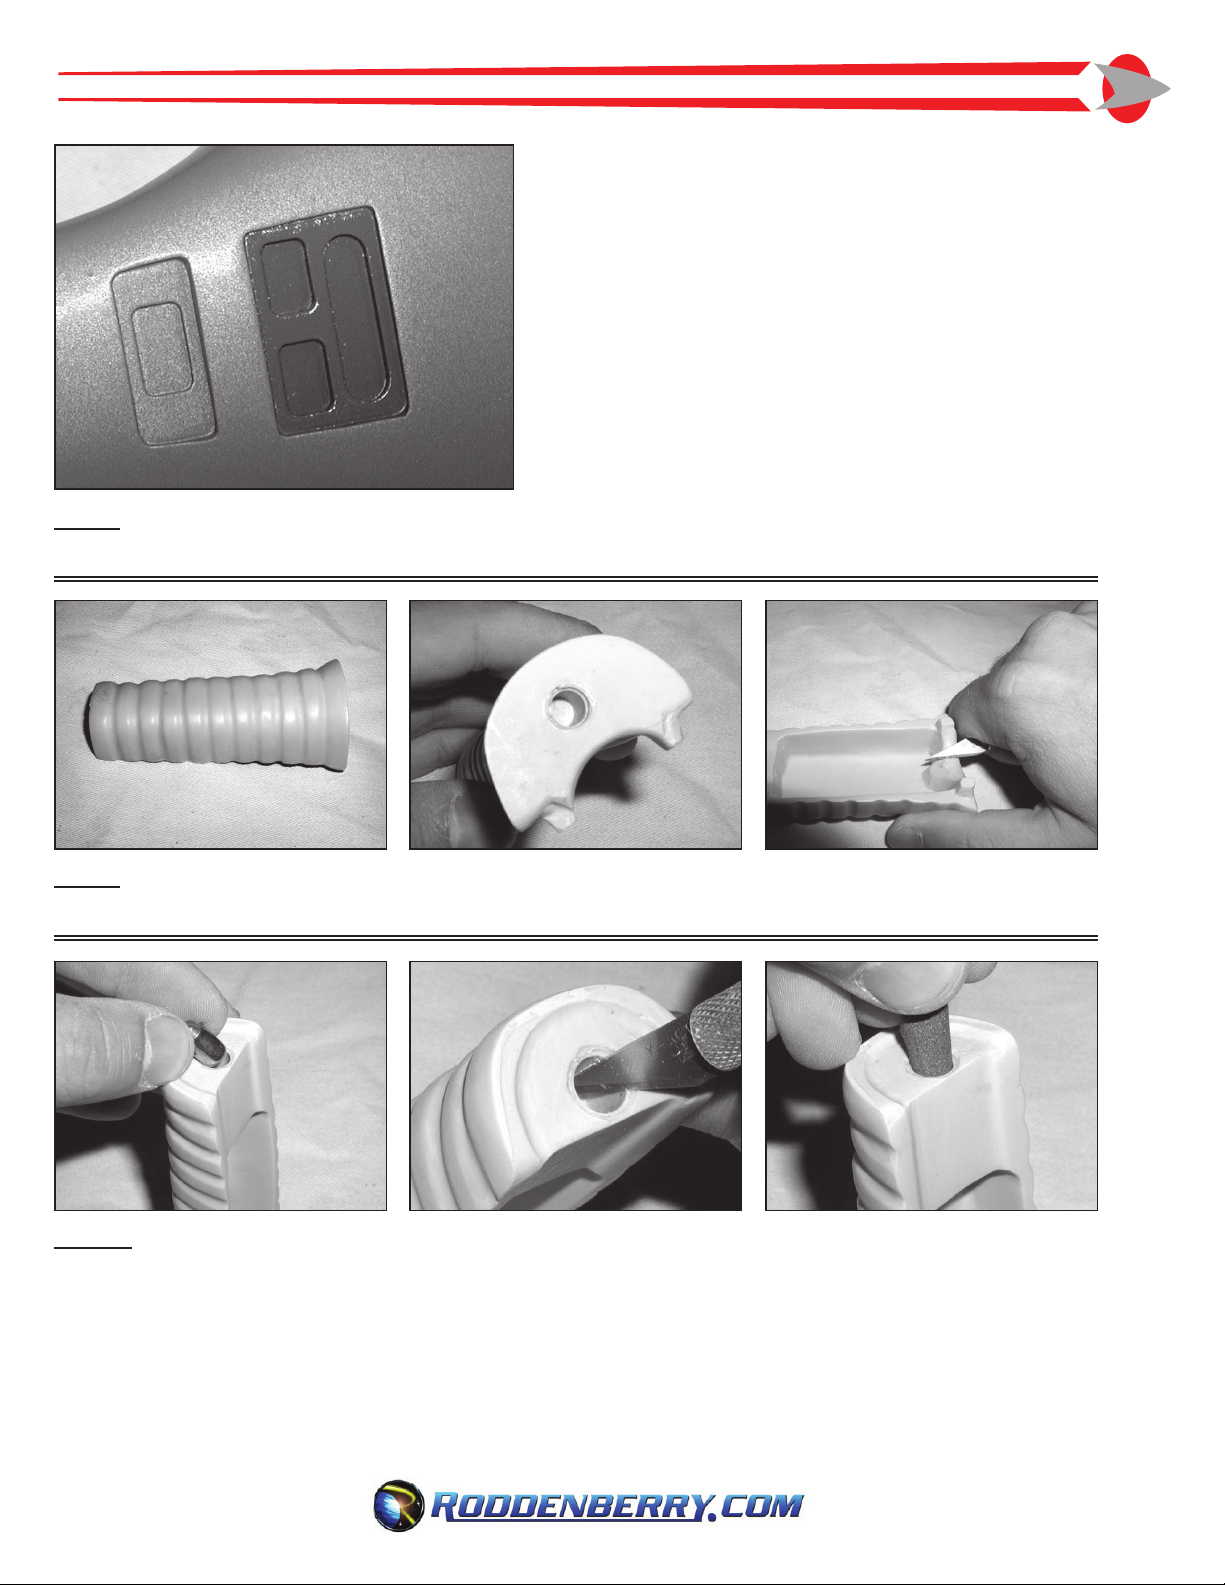
• 2 Bullet Catches
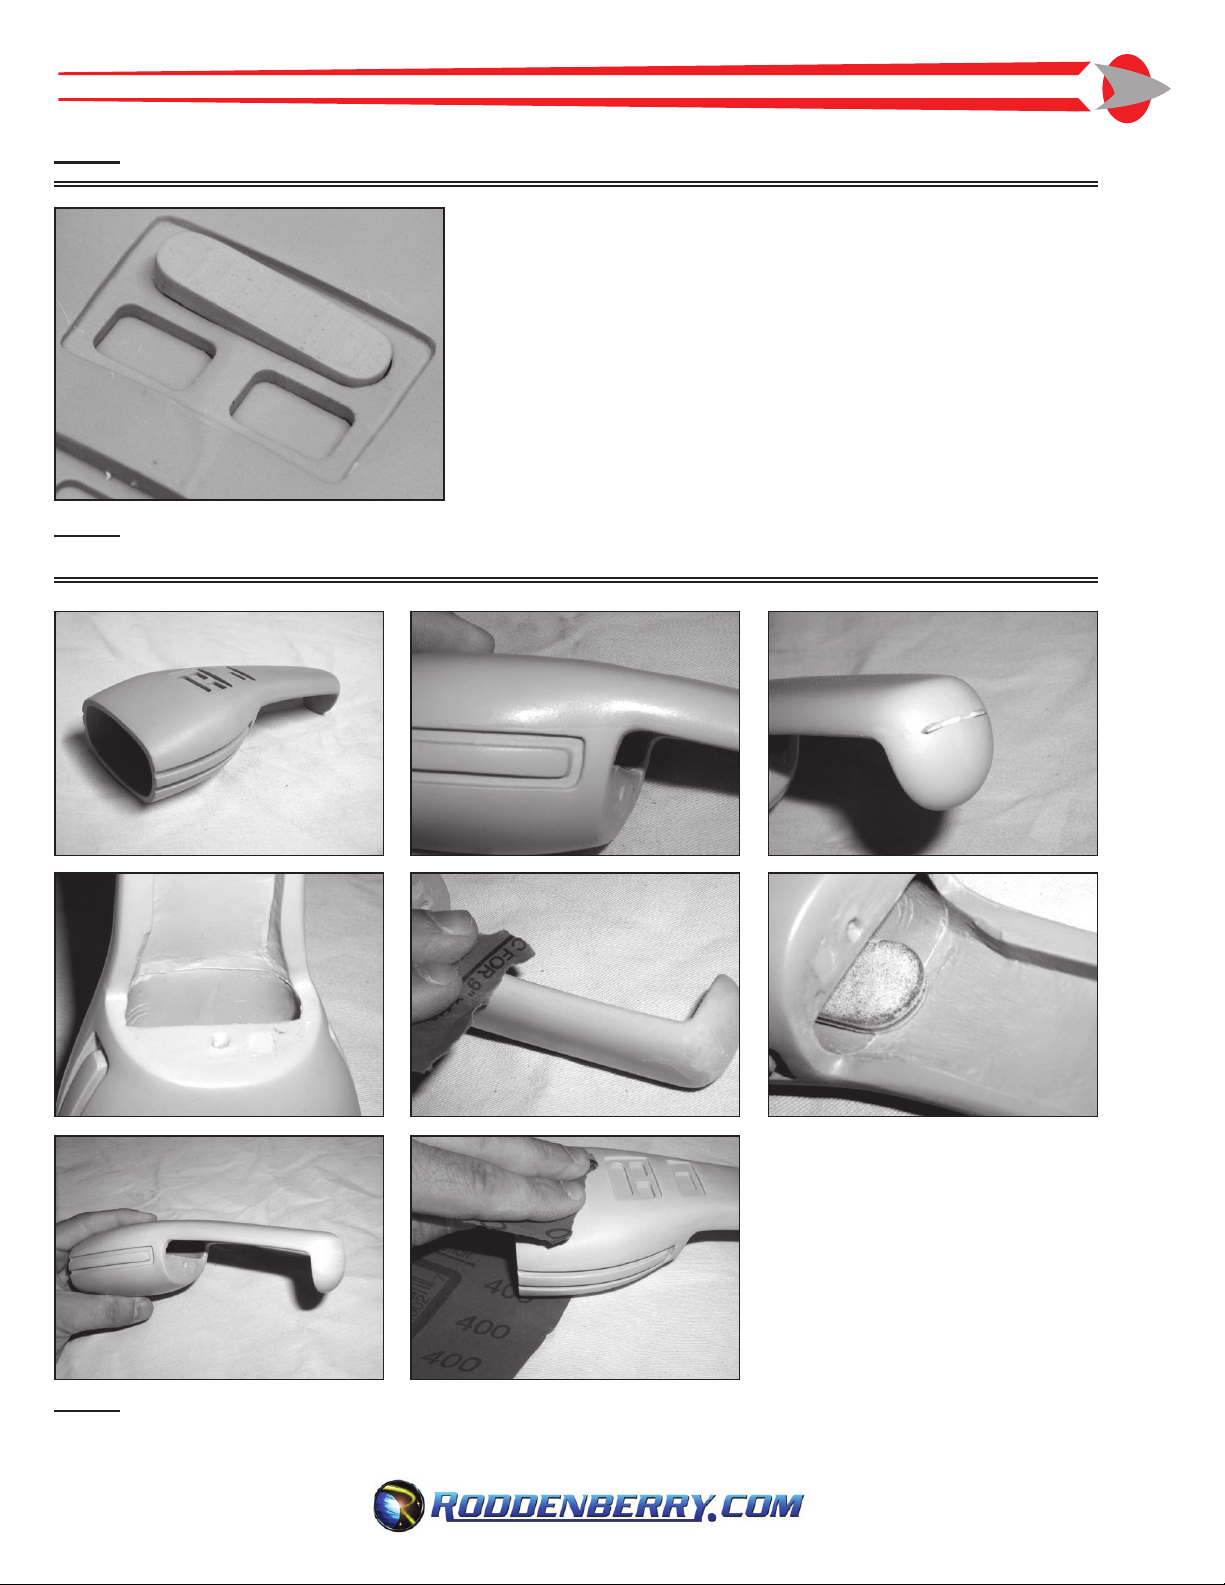
• 1 LED Detail Plate
• 1 Trigger and
Force Setting
Button Template
• 1 .090” Plastic Strip
for buttons
• 1 .040” Plastic Strip
for trigger button
(available at your local hardware or hobby stores)
• Hobby Knife
• Automotive spot putty
• Cyanoacrylate Glue (“gap lling” type
recommended)
• Sandpaper (240, 400, and up to 600 grit)
• Low tack glue (“Glue Stik”) or double-sided tape
• Masking tape (low-tack blue tape recommended)
• Hot glue gun and hot glue
• Paint brushes (small size for painting the LEDs,
a larger brush for the display background)
Optional tool:
• File (at or half-round)
• Spray primer (both gray and black
sandable type)
• Krylon “Dove Gray” or “Stone Gray”
• Krylon or other brand Silver or similar
• Semi-Gloss or Gloss Black
• Transparent Blue or Metallic Light Blue
• Light Green
• Dark gray (this may be a spray paint if desired)
• Beige (also can be a spray paint)
Always follow manufacturer’s instructions and safety tips on your materials.
Always work in a well-ventilated area when using putty, paints, and glues; and when sanding.