The disc tray will not close when a
disc is inserted
Disc not placed properly in tray
Disc is warped
Re-place disc properly
Discard disc
Disc inserts, display does not show
the number of tracks and playing
time
Disc inserted upside down
Disc is dirty or scratched
Condensation on the laser lens
Dirt on the laser lens
Re-insert disc
Clean disc, discard scratched disc
Let CD player warm up and dry out lens
Refer to appointed dealer or service centre
DO NOT use CD lens cleaners
Skipping & mistracking Excessive vibration
Disc is dirty or scratched
Ensure player is stable and vibration-free
Clean disc, discard scratched disc
Programme play inoperative Programming accidentally erased Re-programme memory
Excessive hum Connection loose, cable faulty Re-connect plugs, change interconnect
One channel inoperative Interconnect or amplifier faulty Change lead, try another line input on amp
Remote handset operation erratic
or not working
Batteries weak or wrongly inserted
Handset signal path is obstructed
Handset transmission angle too
wide
Room lighting/sunlight excessive
Replace batteries, observe polarity
Remove obstruction, move handset
Operate handset in front of CD Player
Darken room
The Caspian €AMP/CD• Button
selects Caspian CD and Integrated devices
LCD). This button toggles between Page1 & Page2 of the LCD display for the CD remote
functions.
10 The BACK LIGHT Button (10) turns on the handset buttons and LCD display illumination.
There are three repeat functions available on your CD player:
1. To repeat all tracks on the disc press Repeat Button (11) 1/ALL. The display will show ‘REPEAT
(ALL)’.
2. To repeat one track press Repeat Button (11) 1/ALL twice. The display will show ‘REPEAT (ONE)’.
3. To repeat a section:
Press PLAY to start playing the disc
Go to the track at the start of the section
Designate the beginning track of the section by pressing Repeat Button (12) A-B. The
display will show ‘REPEAT (A)’
Go to the track at the end of the section
Designate the end track of the section by pressing Repeat Button (12) A-B. The display
will show ‘REPEAT (B)’
The section selected will play repeatedly until pressing Repeat Button (12) A-B again to stop
section repeat.
Press the Clear Button (17) in stop mode and hold for 3 seconds to clear all programmed tracks.
SHUFFLE
Pressing the Shuffle Button (15) will automatically select the tracks on the disc at random and play them one
after the other until all the tracks have been played. Random play is performed in STOP mode.
Please note sometimes some tracks selected would be sequential may appear not to be at random.
INTRO
Pressing the Intro Button (14) will only play the first 10 seconds of each track as a taster. This button toggles
between ordinary play mode and intro play mode.
T R O U B L E S H O O T I N G
If you suspect your ROKSAN M2 CD Player is not operating properly, first check all the connections carefully.
Pay particular attention to input and output connections. Phono plugs should be fully inserted-a frequent
cause of problems is that Phono plug surrounds do not make proper contact. Below are some commonly
encountered problems with suggestions for possible cure. The list is not exhaustive: If you have any
unresolved problems, please consult your appointed ROKSAN dealer or distributor.
There are no user-serviceable parts inside your Caspian M2 CD Player. If a fault should develope, refer any
servicing to your appointed ROKSAN dealer, distributor or ROKSAN approved service agent.
Your ROKSAN Caspian M2 CD Player is guaranteed against any defect in materials and workmanship for a
period of five years from the date of purchase.
This guarantee only becomes effective if the warranty card is validated by the ROKSAN retailer from whom the
equipment was purchased and returned to ROKSAN within 28 days of purchase.
This guarantee excludes:
1. Damage caused due to accident, misuse, neglect and incorrect installation, adjustment or repair.
2. Liability for damage or loss during transit from the retailer or purchaser to ROKSAN or its authorised
distributor for the purposes of repair or inspection.
Carriage costs to ROKSAN shall be borne by the consignor.
All claims under this guarantee must be made through an authorised ROKSAN retailer.
If equipment returned for repair to ROKSAN is found on inspection to comply with the
product specification ROKSAN reserves the right to make a charge for examination
and return carriage. Unauthorised servicing will void this guarantee.
S P E C I F I C A T I O N
CD digital audio system (CD, CD
Frequency Response 20Hz ‚20kHz ƒ 0.2dB
Harmonic Distortion < 0.0015% @ 0dB, 1kHz (Typically 0.0005%)
< 0.005% @ -30dB, 1kHz
< 0.01% @ 0dB, 20kHz
Intermodulation Distortion < 0.001% @ 0dB (Typically 0.0005%)
S/N Ratio (IHF-A Wtd.) 105 dB
Wow & Flutter Quartz precision
Channel Separation >100 dB @ 1kHz
>100 dB @ 20kHz
Output Voltage 1.95Vrms
Analogue Outputs L&R, RCA Gold plated
L&R Balanced XLR Gold plated
Digital Outputs 75 Ohm Coaxial, RCA Gold plated
110 Ohm Balanced AES/EBU, XLR Gold plated
Optical, Toslink
D/A Conversion PCM1798 Advace Segment, Audio-Stereo DAC
Resolution/Sampling 24 bits / 192 kHz
Oscillation 3rd Overtone Oscillation
Crystal Super precision, custom made
Mechanical Isolation Main chassis de-coupling feet, custom made
Laser mechanism 2 stage de-coupling
Jitter <130 psec (Typically <70 psec)
Idle Pattern <-105 dB
Stop band Rejection <-95 dB
Power Supply x2 high performance low noise toroidal transformers
12 fully regulated power rails
Power Source 100V ‚120V 50Hz / 60Hz
220V ‚240V 50Hz / 60Hz
Power Consumption < 20 W
Dimension 432 x 330 x 70 (W x D x H) mm
432 x 330 x 80 (including feet)
Weight 10Kg
S A F E T Y C E R T I F I C A T I O N
LASER SAFETY
This unit employs a laser. Only qualified persons should remove the cover or attempt to service this unit due to the risk of eye
injury.
Caspian
Balanced CD Player User Manual
All specifications are liable to change without prior notice. E&OE
Balanced CD Player User Manual
INVISIBLE LASER RADIATION WHEN OPEN AND INTERLOCKS
DEFEATED. AVOID EXPOSURE TO BEAM.
VORSICHT! UNSICHTBARE LASERTRAHLUNG TRITT AUS. WENN DECKEL
GEOFFET UND WENN SICHERHEITSVERRIEGELLUNG
„BERBR„CKT IST.
VARNING OSYNUG LASERSTR…LNING N†R DENNA DEL †R ‡PPNAD
OCH SP†RR †R URKOPPLAD.STR…LEN †R FARLIG.
ADVARSEL USYNLIG LASERSTR…LING VED …BNING, N…R
SIKKERHEDSAFBRYDERE ER UDE AF FUNKTION. UNDGA
UDSˆTELSE FOR STR…LING.
VARO! AVATTAESSA JA SUOJALUKITUS OHITETTAESSA
OLET ALTTINA N†KYM†TT‡M†LLE LASERS†TEIL YLLE.
†L† KATSO S†TEESEEN.
Pressing the Memory Button (13) lets you select specific tracks and play them in any order. Programming
must be performed in STOP mode.
To programme a sequence:
Select the next desired track.
Shows 9the selected track and step 3ready for the
next track to be programmed.
The word MEMORY lights and the display flashes
track 1and step 1ready for programming.
Shows 3the selected track and step 2ready for the
next track to be programmed.
Select a track from the handset,
Track, Back Track Buttons (3, 4), or via the Numeric
Keys (8). (For example track 3)
When you have assembled your programme, press the Play Button to start Programme Play.
You can select a track more than once to be played in the programme.
You can press stop and the programme will still remain.
You can check and change programmed tracks in stop mode by pressing the Check Button (16) to
march through the programme steps and use the Clear Button (17) to delete a track and then
select a new track in its place if you wish
Materials: Ga-Al-As
Wavelength: 755-815 nm (25‰C)
Laser Output: Continuous Wave max.0.7mW
Roksan Audio Limited
Jubilee C l ose T ownsend Lane
London N W 9 8TR E ngland U K
TEL. +44 (0)20 8900 6801 FAX. +44 (0)20 8205 2644
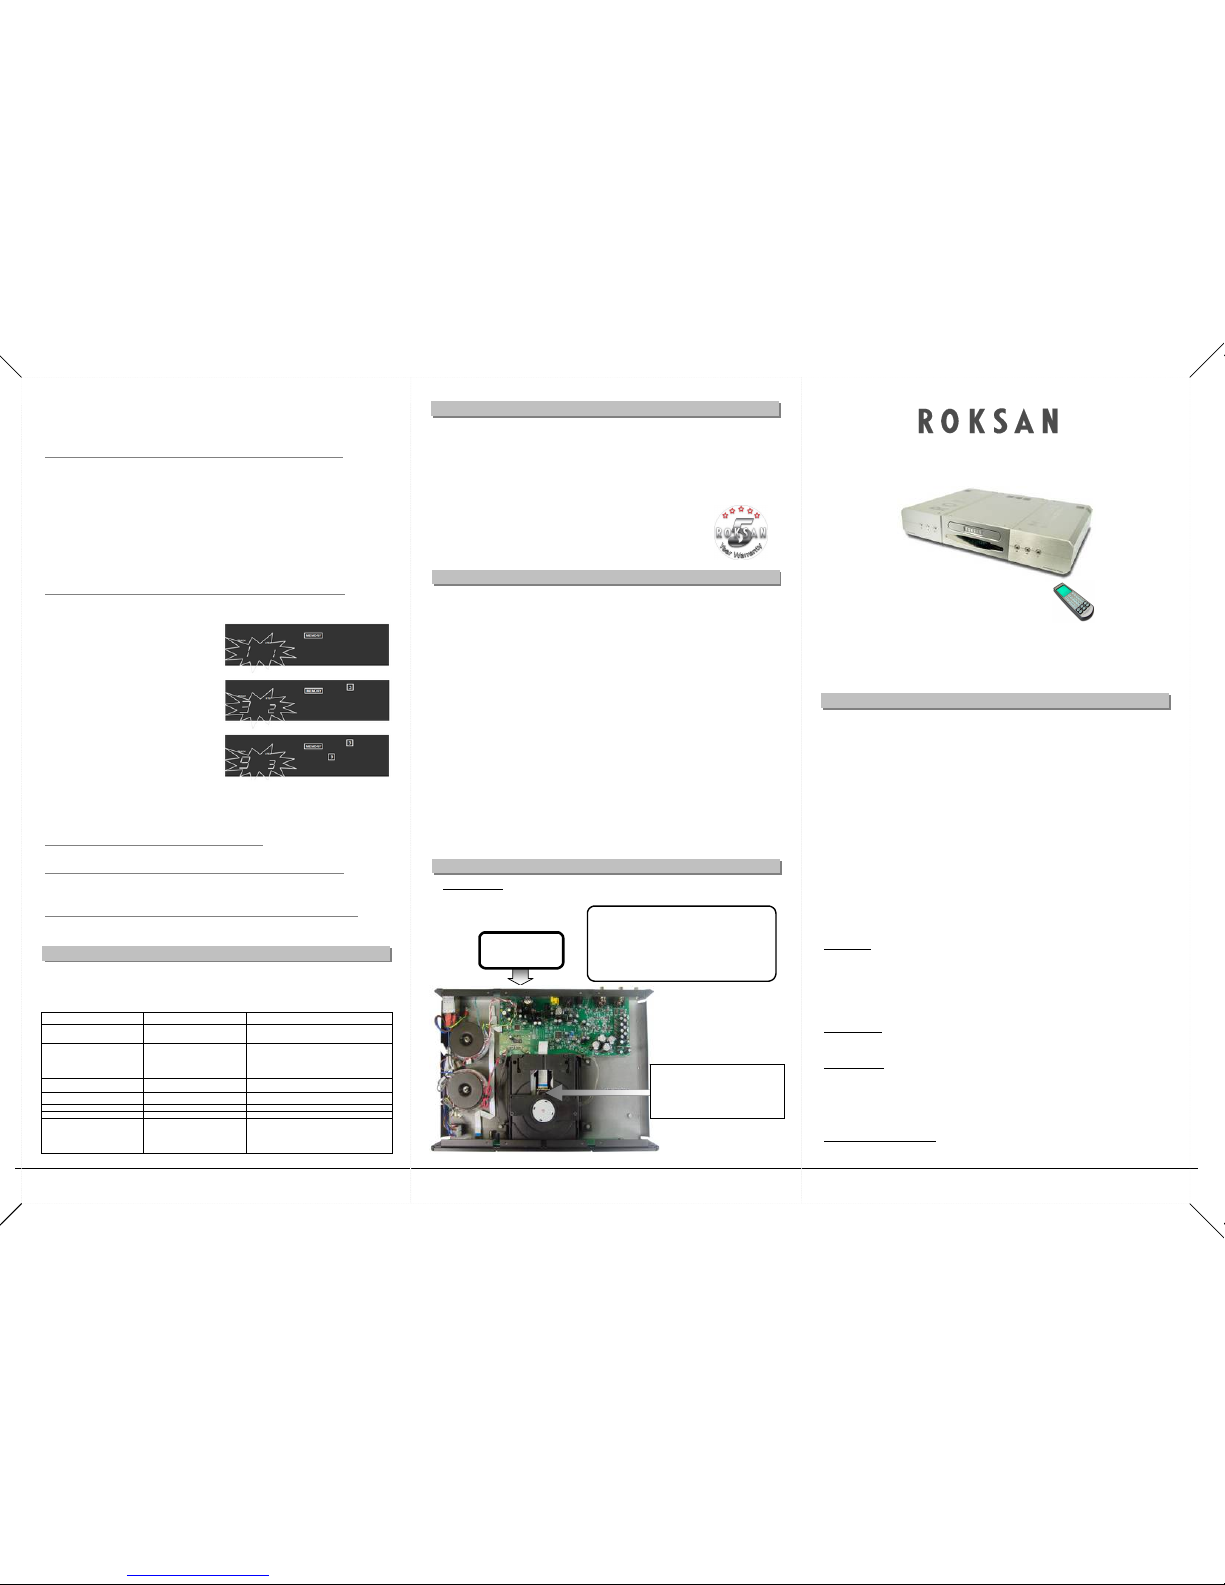
Caspian M2 Balanced CD Player User Manual
Congratulations on your purchase of the ROKSAN M2 Balanced CD Player. This CD Player is
designed and manufactured to the highest specification and rigorously tested to offer you many
years of trouble-free pleasure.
Your M2 Balanced CD Player is at the heart of your hi-fi system. Its correct installation, set-up and
operation will have a profound influence on the sonic performance of the entire hi-fi installation.
Please read the contents of this manual thoroughly. It will help you to understand your hi-fi
equipment better and enhance your listening pleasure.
This manual is divided into the following sections:
Safety Instructions (Accompanying card)
Safety Certification
Introduction
Cautions
Installation
Setup
Operation
Troubleshooting
Guarantee
Notes
Specifications
U
UN
NP
PA
AC
CK
KI
IN
NG
G
Included in the packing of M2 Balanced CD Player you will find:
One mains lead fitted with the correct mains power plug for your country
One Roksan learning system remote handset (RMX-108) and x4 AAA batteries
One information pack and warranty card
After removing these items please retain all packing materials. Correct packing is necessary for
transportation of your M2 Balanced CD Player.
M
MA
AI
IN
NT
TE
EN
NA
AN
NC
CE
E
After disconnecting the CD Player from the mains supply, the cabinet and front panel may be
cleaned with a lightly dampened soft cloth or chamois leather. Avoid using abrasives or solvents.
E
EU
UD
DI
IR
RE
EC
CT
TI
IV
VE
ES
S
This product is designed to comply with the legal provisions of EU Directives 89/3336/EC and
72/23/EC. The standards which have been applied are those which were in force at the time of the
introduction of this product.
This product bears the CE mark.
This product is compliant to EN 60065.
This product must be earthed. Please ensure that other equipment connected to it is earthed
according to the manufacturer•s instructions.


