4600 Olson Memorial Highway | Minneapolis, Minnesota 55422 I www.roomandboard.com I 800.486.6554
5/13/16
1
2
3
5
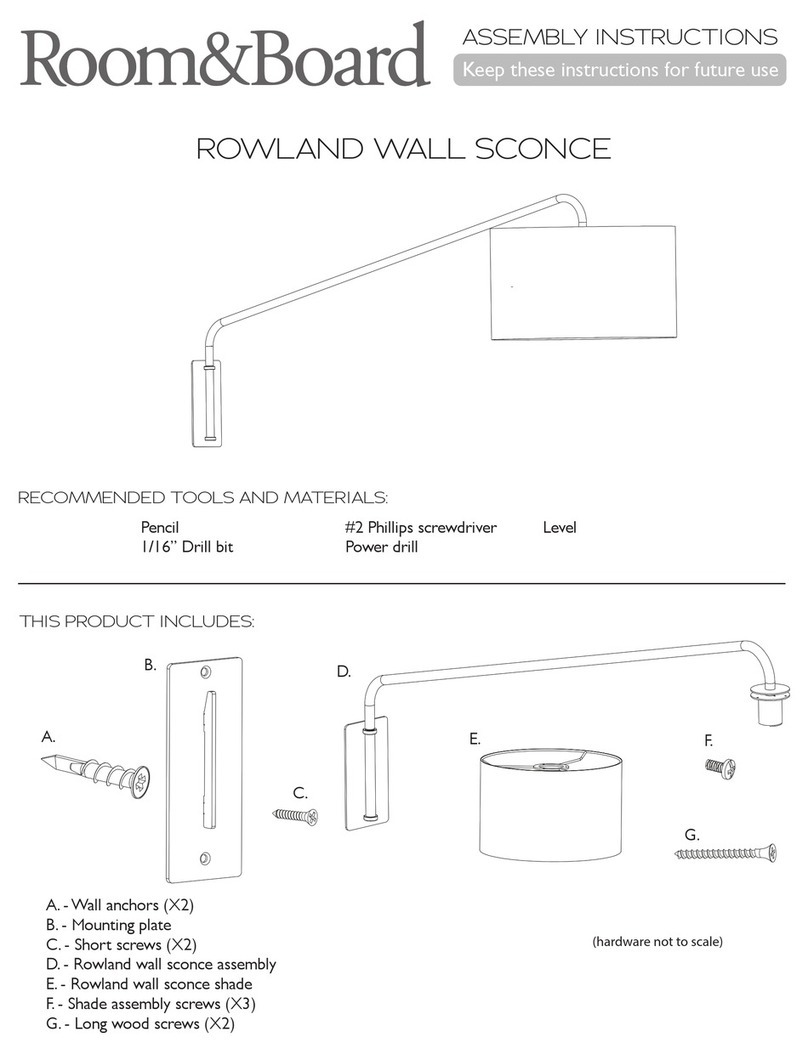
Hold the mounting plate to your wall in the desired location. Use a level to ensure the mounting plate is
vertical.Then use a pencil to mark your wall through the two screw holes on the mounting plate.
With a power drill, use a 1/16” drill bit to drill pilot holes at your marks.Then use a screwdriver or power
drill to screw the wall anchors into your predrilled holes. Be sure to drill the anchors in fully so they are
flush with the wall before continuing to the next step.
Place and hold the mounting plate over the wall anchors so the two screw holes align with the wall anchors.
The mounting plate should be positioned so the protruding cleat points upward. Using a #2 Phillips
screwdriver, insert the short screws through the mounting plate and into the wall anchors. Tighten the
screws fully until the mounting plate is flush and firmly mounted to the wall.
4
Attach the Lantern shade to the Lantern wall sconce assembly with the provided assembly screws after
sliding it up over the bulb socket. Rotate the shade so the vertical seam is in your desired location before
fully tightening the screws.
Slide the Lantern wall sconce assembly downward over the mounting plate. The protruding cleat of the
mounting plate should lock into the vertical slot at the back of the sconce assembly.
If mounting this sconce to a wall surface material other than drywall, alternative hardware might be
necessary. 2 long wood screws are provided to mount the mounting plate directly to a wall stud. Consult a
professional if you have any questions regarding proper installation.
SPECIAL CONSIDERATIONS:


