saco Baumatic BTC2.2 User manual

Operating Instructions – Hob Baumatic BTC2.2
Control Panel
1. On/Off button
2. Safety lock button
3. Safety lock neon
4. Minus button
5. Plus button
6. Cooking zone indicator
7. Decimal point symbol
8. Double hyperspeed zone dual circuit On/Off button
9. Timer minus button
10. Timer plus button
11. Timer display
12. Timer neon
13. Double hyperspeed zone dual circuit indicator neon
Touch controls
All operations are performed by means of touch controls that can be found on the control panel. Each touch control
has a visual display that corresponds to it. Every time you press a touch control, an acoustic signal will sound.
Turning on and off
•Touch the on/off button (1)
•The cooking zone indicators (6) will both read “0”
•The decimal point symbols (7) will flash on and off.

Turning on a zone and setting a power level
A zone must be selected within 10 seconds of turning the hob on.
•Press the plus (5) button for the zone that you want to use.
•Adjust the zone between power levels 1 and 9, using the plus and minus buttons. By
holding down either of these buttons, the value on the zone indicator (6) will adjust up or
down every 0.3 seconds
Turning on the dual circuit zones
The double hyper speed zone has two cooking areas that you can use, a central
section and an outer section. You can use the central section (A) independently or
both sections (B) at once.
Press the plus button of the double hyperspeed zone. Adjust the double hyperspeed
zone between power levels 1 and 9 using the plus and minus buttons. The central
section is then switched on.
If you wish to also activate the outer section of the double hyperspeed zone, you
should press the double hyperspeed zone dual circuit On/Off button (8). The double
hyperspeed zone dual circuit indicator neon (13) will light.
Turning off the double hyperzone’s outer section
•Both zones of the dual circuit must be switched on.
•Press the double hyperspped zone dual circuit On/Off button (8)
•The double hyperspeed dual circuit indicator neon (13) will go out and the outer section will switch off.
Turning off a zone gradually
Press the minus button of the zone that you want to switch off, until the number in the cooking zone indicator
reaches “0”. After 3 seconds, the zone will switch off automatically.
Turning off a zone instantly
Press the minus button and the plus button simultaneously. The zone will then switch off immediately. An “H” will
show in the cooking zone indicator (6) alternating with “0”.

Turning the hob off
Once you have switched off all of the cooking zones, you should turn off the hob. Press the On/Off button (1).
Residual heat indicator
•After a zone is switched off, the corresponding cooking zone indicator (6) will show the letter “H”, alternating
with “0”. This means that the temperature of the zone is over 60°C and is high enough to cause injury.
•If you switch off the appliance using the On/Off button then only the ‘”H” will appear in the cooking zone
indicator.
•When the temperature falls below 60°C then the letter “H” and “0” will stop alternating (if the hob is still
switched on), or the “H” will go out (if the hob is not switched on).
Locking the hob top
•The whole hob top can be locked by pressing the safety lock button (2) whilst the appliance is turned on.
•The safety lock neon (3) will light to show that the safety lock feature has been switched on.
•When the safety lock feature is activated, it will disable any of the other buttons on the control panel, except the
On/Off button.
•To disable the safety lock feature, you should press the safety lock button again. The safety lock neon will go out
and you are then able to adjust the power of any zone on the hob.
Automatic pre-heating
•This feature will set a cooking zone to maximum power and will then automatically set the cooking zone to a
power level that you have selected after a certain period of time.
•Press the minus button (4) once and the power level 9 appears on the cooking zone indicator then release the
minus button.
•Press the plus button (5) once and a flashing decimal point symbol will appear on the cooking zone indicator and
then release the plus button.
•Use the minus button to adjust the zone to the power level that you want to cook at.
•When the minus button is released, the decimal point will stop flashing and the power level that you have
selected will appear on the cooking zone indicator.
•Once the automatic pre-heating time period is over, the hob will beep once and the decimal point symbol will go
out.
•The period of time that a zone will automatically pre-heat for before
dropping to the actual power level is shown here:

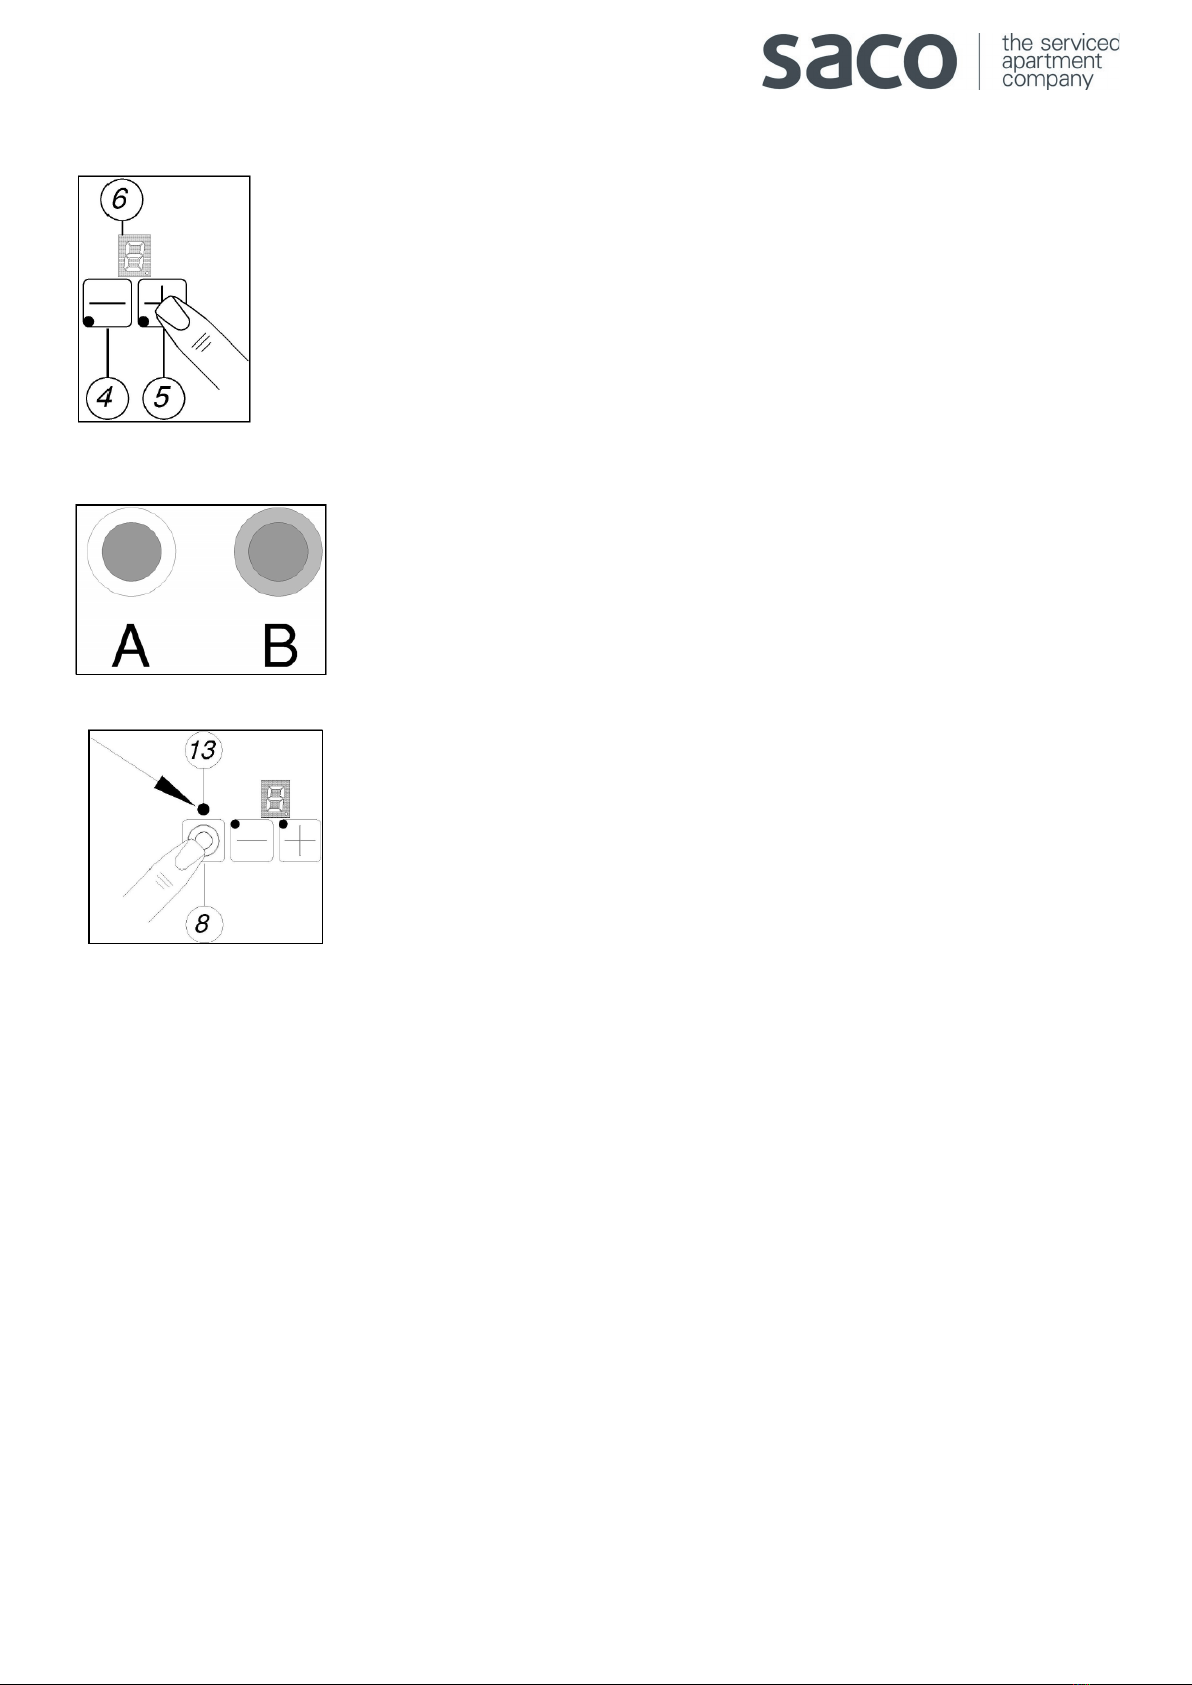
Increasing the power level during automatic pre-heating
•If a zone is already within automatic pre-heating mode, you can adjust the power level.
•To increase the power level press the plus button until it reaches the desired level.
•The pre-heating time will be adjusted. It will take into account the amount of time that has already elapsed.
Switching off automatic pre-heating
•If a zone is already within automatic pre-heating mode and you wish to cancel it: Press the minus button, the
automatic pre-heating mode will then be cancelled and you can use the hob in normal operation once more.
The hob timer
•Touch either the plus (10) or minus (9) buttons of the timer. If you press the minus button (9) “99” will appear on
the timer display (11), if you press the plus button (10) “00” will appear on the timer display (11). A “t” symbol
will appear on both of the cooking zone indicators (6).
•After selecting the timer, a zone must be selected within 10 seconds by pressing one of the plus (5) or minus (4)
buttons. You should use these buttons to select your desired power level.
•The zone will switch on and start to heat; a light (12) will switch on next to the relevant cooking zone indicator
(6).
•Use the plus (10) and minus (9) buttons to adjust the timer that appears in the timer display (11).
•Once the minus or plus buttons are released, the countdown will start immediately.
•The timer will be assigned to the zone that you have switched on.
•You can adjust the time that has been set, by using the plus (10) or minus (9) buttons for the timer.
•At the end of the time period that has been set, an acoustic signal will sound that lasts for 30 seconds, “00” will
flash on the timer display (11) and the selected zone will switch off.
•To cancel the audible alarm, press either the minus (9) or plus (10) buttons for the timer.
•The timer can only be used for one zone at a time. If you have the other zone in use, it will not switch off at the
end of the countdown time.
•If you wish to cancel the timer setting before it reaches the end of the countdown period, press the plus (10) and
minus (9) buttons of the timer simultaneously.
If you cancel the timer setting, the selected zone will still remain on; therefore you will need to turn the zone off
manually.
Table of contents
Other saco Hob manuals
Popular Hob manuals by other brands

Foster
Foster 7334240 user manual

Turbo Incanto
Turbo Incanto TM29 Instruction manual / installation manual

AEG Electrolux
AEG Electrolux 79301 KF-N Installation and operating instructions

Bosch
Bosch PKM8DV1 Series instruction manual

NEFF
NEFF T D83 Series instruction manual

Hotpoint
Hotpoint GX901X Instructions for installation and use