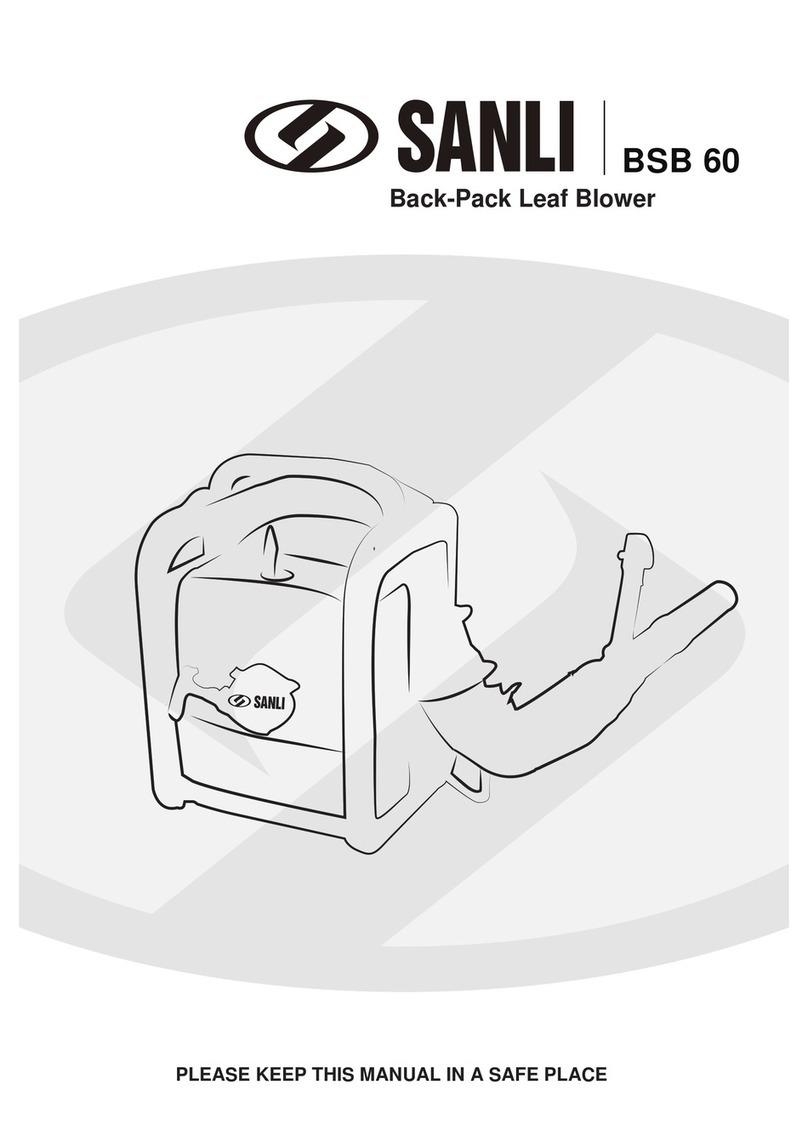
SANLI SLB260 User manual

Please read this instruction manual carefully
before operating your new Sanli Blower / Blower Vac.
Blower Vac
SLBV260
Blower
SLB260
Blower / Blower Vac

2 Sanli Blower / Blower Vac User Guide
Sanli products are monitored and enhanced on an on-going basis to comply with
changing technical standards and requirements. As a result, Sanli reserves the right to
alter design and specications at any time without prior notice.
Congratulations on choosing a
Sanli Blower / Blower Vac.
12 Month Warranty
Thank you for your purchase.
This product comes with a manufacturer’s warranty from Sanli Australia Development
Pty Ltd that your new product will be free from defects in materials and workmanship for
the period stated above, from the date of purchase, provided that the product is used in
accordance with accompanying recommendations or instructions where provided. This
warranty is in addition to your rights under the Australian Consumer Law.
You will be provided with a refund, repair or exchange by Sanli for this product if it becomes
defective within the warranty period. Sanli will bear the reasonable expense of claiming
the warranty. This warranty will no longer apply where the defect is a result of alteration,
accident, misuse, abuse or neglect.
Please retain your receipt as proof of purchase and contact Sanli’s Customer Service
difculties with your product.
Our goods come with guarantees that cannot be excluded under the Australian Consumer
Law. You are entitled to a replacement or refund for a major failure and compensation for
any other reasonably foreseeable loss or damage. You are also entitled to have the goods
repaired or replaced if the goods fail to be of acceptable quality and the failure does not
amount to a major failure.
For New Zealand customers, this warranty is in addition to statutory rights observed under
New Zealand legislation.
This warranty does not cover;
• Commercialuse
• Normalwearandtear
• Consumableitems(includingsparkplugs)
• Defectsorfaultscausedbyanactoromissionafterleavingmanufacture
• Incorrect,contaminatedorpoorqualityfuel(olderthan3months)oroil
• Incorrectmaintenanceorstorageoftheproduct
• Waterdamageorenvironmentalconditions
• Failuretoobservesafetyrequirements
• Anylossordamagearisingfromfaultypartsorworkmanship
• TransportcosttoandfromauthorisedSanliDealer

Sanli Blower / Blower Vac User Guide 3
Contents
Blower / Blower Vac features...................................................................................... 4
Tips on Blower / Blower Vac safety. ............................................................................ 5
AssemblyInstructions................................................................................................ 6
Attaching the vacuum tube ........................................................................................ 6
Preparing the vacuum bag.......................................................................................... 6
Attaching the vacuum bag.......................................................................................... 7
Starting your Blower / Blower Vac .............................................................................. 8
Basic maintenance made easy ................................................................................... 9
Usingyouraccessories-(BlowerVaconly). ............................................................. 10
Technical specications ............................................................................................ 10
Fast trouble shooting................................................................................................ 11
Contact Sanli Australia.............................................................................................. 12

4 Sanli Blower / Blower Vac User Guide
Blower / Blower Vac features.
1
1
8
8
12
9
9
10
11
11
10
13 14
15
2
2
3
3
5
5
7
7
4
4
6
6
1 Throttle control
2 Choke lever
3Air lter
4 Fuel mixing bottle
5 Tools
6 Fuel tank
7 Blower attachment
8Ignitionswitch
9 Spark plug
10 Starter handle
11 Securing screw
12 Vacuum tube attachment
13 Vacuum bag
14 Straps
15 Elbow tube
Blower Vac
Blower

Sanli Blower / Blower Vac User Guide 5
Tips on Blower / Blower Vac safety.
WARNING! The information contained within this safety section is
extremely important. Personal injury to the user and to others may
result if this section is not read and acted upon at all times.
1. Before starting your Blower / Blower Vac inspect it carefully to ensure that there
are no loose parts and that it is in good working order.
2. Be sure of your footing. Always walk, never run, when operating the Blower /
Blower Vac.
3. Beawarethatthemachine’sexhaustareaandotherpartsoftheBlower/Blower
Vac get very hot during, and right after use.
4. Turn off the engine and disconnect the spark plug cap before cleaning,
transporting or making adjustments.
5. Werecommendyouavoidoperatingtheunitwhenitisraining,orafternightfall.
6. Do not ll the tank, or start the Blower / Blower Vac indoors, or in a poorly
ventilated area, as exhaust gases contain poisonous substances and petrol fumes
are ammable and dangerous.
7. Never open the fuel ller cap, or ll the tank while engine is running or if the engine
is still hot after use. And please ensure that you securely tighten the petrol cap
after lling.
8. Do not transport the Blower / Blower Vac in a vehicle if there is any petrol in the
tank.
9. Store fuel and oil in a cool well-ventilated place, away from direct sunlight and not
near gas cylinders or hot water heater systems.
10. Do not smoke when lling the fuel tank, using the machine, or when petrol is in
the immediate area. And never use or store the Blower / Blower Vac near a naked
ame.
11. Sanli recommends that you wear ear protectors, safety goggles and safety boots
when using a Blower / Blower Vac.
12. All servicing and repair work under warranty must be carried out by an Authorised
Sanli Dealer, otherwise the 12 month warranty may be void.

6 Sanli Blower / Blower Vac User Guide
Blower.
Join the two Blower attachment tubes
together(refertonumber7onpage4)
then attach onto machine as shown in
(Figure 1). Rotate tube clockwise into
locking position then tighten securing
screw.
Vacuum attachments
(BlowerVaconly).
Unscrew locking wing-nut and store safely
untilclosingtheinletgrill(Figure 2).
Attaching the vacuum
tube.
Join the two Vacuum attachment tubes
together
(refertonumber12onpage4)
then open grill and
attach onto machine as
shown
(Figure 3). Rotate tube clockwise
into locking position.
Figure 2.
Figure 1.
Lock
Lock
Figure3.
Assembly instructions

Sanli Blower / Blower Vac User Guide 7
Vacuum bag.
Open zipper and pass narrow end of
elbow tube through hole at opposite
end. Pull narrow end of tube out of hole
until it is held rmly in place at wider end
(Figure 4).
Attach elbow tube to the machine and
twistinplaceasshownin(Figure 5) then
tighten the securing screw.
Figure 4.
Figure 5.

8 Sanli Blower / Blower Vac User Guide
Mix 25 parts of 95 octane regular
unleaded petrol to 1 part 2-stroke oil
(25:1).Donotoverllthetankasthiscan
risk fuel spilling on hot parts when in use.
Press primer bulb three or four times until
a ow of fuel is visible inside the fuel line
see(Figure 6).
Slide the ignition switch back from the
STOPposition(Figure 7).
Set choke lever into closed position if
starting from cold (Figure 8).
Pull the starter cord until the Blower /
BlowerVacstarts(orsoundslikeitwants
tostart)thenreturnchoketoopen
position.
After it starts, allow the engine to warm up
foratleast20to30seconds.
For warm restarts, do not prime, just pull
the cord and it will start after one or more
pulls.
To stop the engine, simply slide the
ignition switch forward to the STOP
position (Figure 9).
Figure 7.
Figure 8.
Figure 9.
Figure 6.
Starting your Blower /
Blower Vac.
STOP
ON

Sanli Blower / Blower Vac User Guide 9
Basic maintenance made easy.
WARNING! If your Blower or Blower Vac is not serviced correctly,
you could void warranty and reduce its ability to operate effectively.
1. Spark plug.
Waituntiltheenginehascooledbeforedisconnectingthesparkplugcoverandthen
removingthesparkplugwiththeboxspannersupplied.Ifitisdirty,youcancleanthe
plug with a wire brush.
The applicable spark plug for this machine is the NGK BPMR7A. For optimum results
we advise you to replace the spark plug after 20 hours of use.
Whenrettingthesparkplugtakecarenottoover-tighten.Ifadjustingyourself,notethat
the spark plug gap must be set to 0.6 to 7.0mm.
2. Air lter.
Ensure that the engine is cool, remove the air lter cover and then take out the air lter
element, see
(Figure 11)
. Put the cover back on the housing immediately to prevent any
objects falling into the air intake.
Carefully brush off any excess dirt particles, or clean lter element using lukewarm soapy
water.Whencleaningwithwater,rinsethoroughlyandallowtodrybeforereplacingair
lter element.
3. Storing petrol and oil.
WARNING! Petrol is highly ammable so extreme caution must
be taken. Always store petrol in approved containers and ensure
petrol is less than three months old.
Carbon
0.6mm Air lter
element
Figure 11.

10 Sanli Blower / Blower Vac User Guide
The shoulder strap see (Figure
10) can be adjusted in length
for the convenience of the
operator and hooks onto the
eyelets on the bag.
Figure 10.
Technical specications.
Using your accessories -
Blower Vac only.
Model number SLBV260 SLB260
Engine type 2-stroke engine 2-stroke engine
Engine model 1E34Fpetrolengine 1E34Fpetrolengine
Fuel mix 25:195 octane regular unleaded petrol
to 2-stroke oil
25:195 octane regular unleaded
petrol to 2-stroke oil
Engine displacement 26cc 26cc
Engine idling speed 2,800rpm 2,800rpm
Engine power 0.71kW@6,000rpm 0.71kW@6,000rpm
Spark plug type NGK BPMR7A NGK BPMR7A
Spark plug gap 0.6 to 0.7 mm 0.6 to 0.7 mm
Fuel tank capacity 500ml 500ml
Noise level 79dBA 79dBA
Dry weight 4.5kg(notincludingvac) 4.5kg
Warranty 1 year domestic warranty 1 year domestic warranty

Sanli Blower / Blower Vac User Guide 11
Fast trouble shooting.
Often, a depleted, loose, or dirty spark plug is responsible for a Blower or Blower Vac
not being able to start, but there can be a number of other reasons. Refer below to the
list of potential problems you may encounter, along with suggested remedies.
For servicing and all warranty work, contact your local Authorised Sanli Dealer.
Problem Likely cause Suggested remedy
Engine does not start
Out, or almost out, of fuel
Spark plug dirty
Spark plug not connected
Fuelolderthan3months
Waterinthefueltank
Inletgrillnotclosed(blower
vaconly)
Dirty air lter
Filltankwithfresh2strokefuel(25:1)
Clean or replace with a new spark plug
Press rmly on the terminal cover
Drain stale fuel and replace with fresh 2 stroke fuel
Contact an authorised Sanli dealer
Secure grill
Clean or replace with a new Sanli air-lter
Engine stops often
Dirty air lter
Blocked fuel supply
Fuel cap is not venting
Incorrecttypeoffuel
Clean or replace with a new Sanli air-lter
Ensure the fuel line is not pinched or blocked
Ensure vent hole in the fuel tank cap is clear
Draintankandllwith2strokefuel(25:1)
Engine loses power
Dirty air lter
Blocked fuel cap vent holes
Clean or replace with a new Sanli air-lter
Ensure vent hole in the fuel tank cap is clear

Call the Sanli Customer Service Desk on 1800 466 068
Email:[email protected] Web:www.sanli.com.au
HeadOfce:9GatwoodClose,Padstow,NSW2211
This manual suits for next models
1
Table of contents
Other SANLI Blower manuals