8 / 156
English
Warranty
I. Warranty
Empi warrants the Saunders Cervical Traction device to be free from defects in workmanship
and materials for one year.
Empi will repair or replace, at its facility, any product found to be defective. This warranty does
not apply to any product damaged by misuse, or repaired or altered by anyone other than
Empi in Clear Lake, South Dakota.
This warranty is in lieu of any or all other warranties, expressed or implied. No person is authorized
to bind Empi to any representation of warranty other than those specifically set forth herein.
NOTE: Warranty period begins with the date of purchase from manufacturer for one year.
II. Limitation of Liabilities and Disclaimer of Warranties
A. Empi’s sole obligation in the case of any breach of its warranties set forth in Paragraph I
above, shall be, at Empi’s option, to repair or replace the Product with a new or factory
If the unit is leaking air, try the following:
• Checktheairhoseconnectionsatthecylinderandthepumpand
gently tighten as necessary. Do not over-tighten as the threads may
strip.
• Makesurethattheunithasnotslippedandgonetofullexcursion
(4”)
• PerformaPOPtest.Withnooneintheunit,pumpupthepressure
until the unit makes a loud pop (at about 50 lbs.,) then rotate the
gauge to the release position, and proceed with your treatment.
If you have any questions, please call your authorized Empi Traction
Dealer or call Empi Customer Service at 1-800-862-2343.
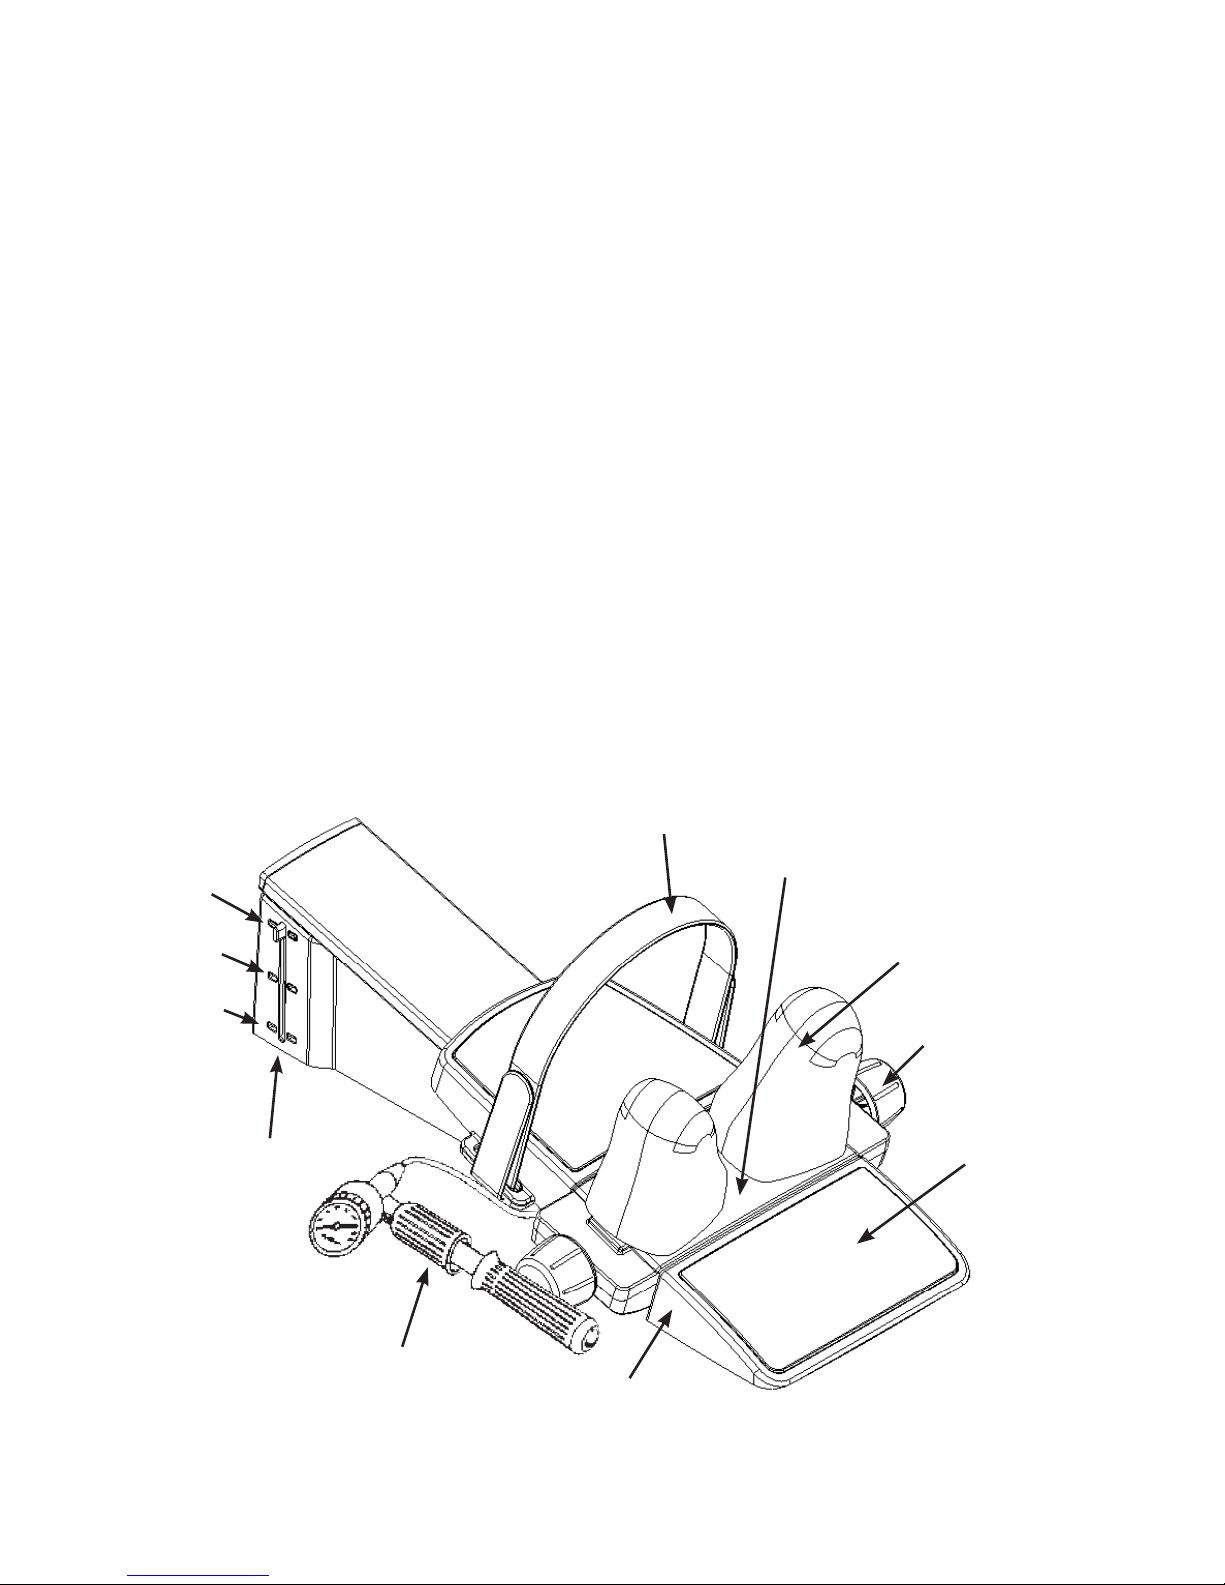
Replacement Parts and Accessories
Below is a listing of replacement parts and accessories. Please call
1-800-328-2536 for details and pricing.
DESCRIPTION PART NUMBER
Headstrap and Pads 700723
Hand Pump Replacement Kit 700472
Angle Adjuster 700724
Carrying Case 700725
Instructional DVD 802968
User’s Guide 360365