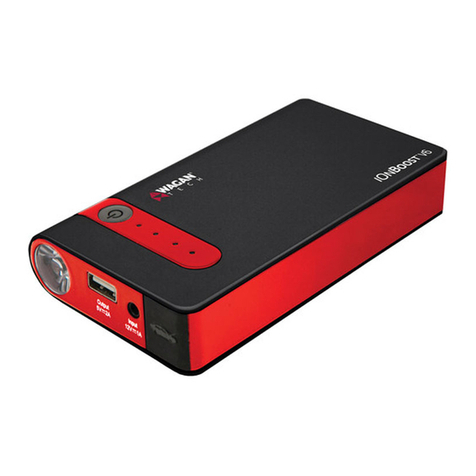
SC POWER SCB15 User manual

!1!/!11!
INSTRUCTION!MANUAL!JUMP!STARTER!SC!POWER!SC15!INSTRUCTION!MANUAL!JUMP!STARTER!SC!POWER!SC15!
INSTRUCTION MANUAL
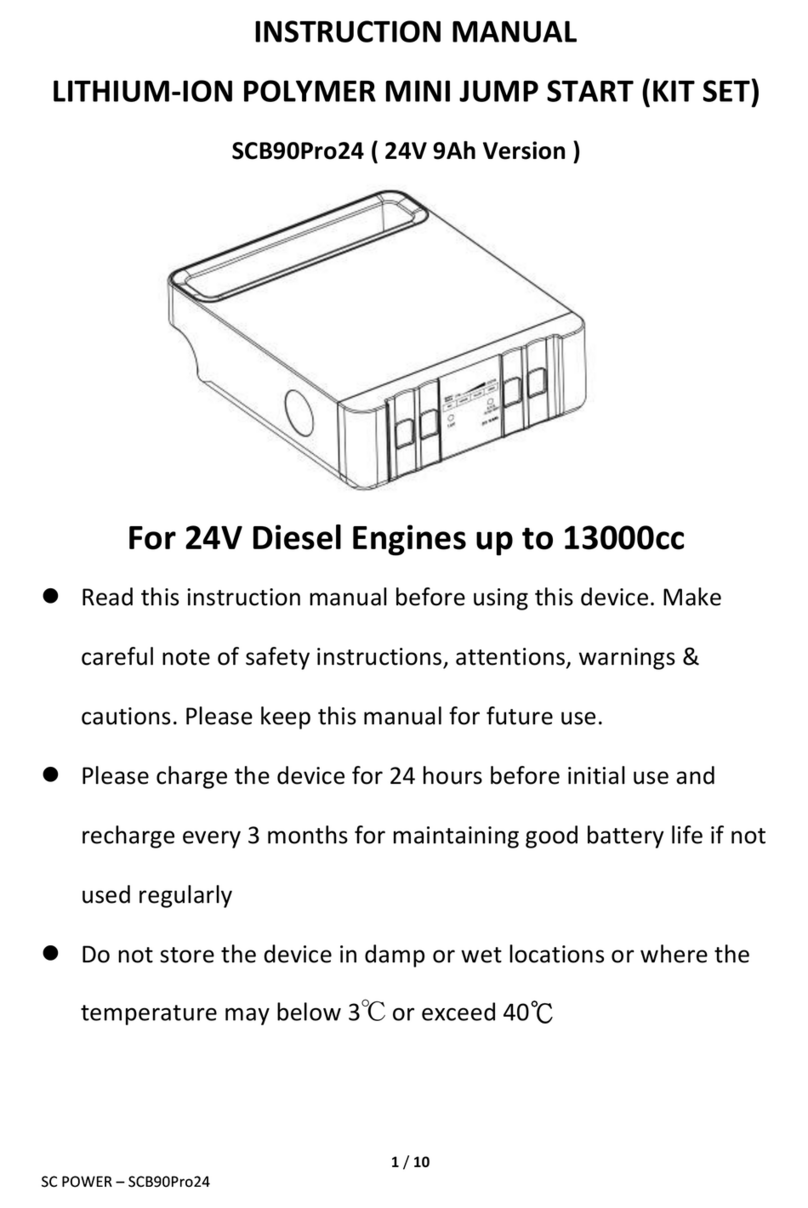
LITHIUM-ION POLYMER MINI JUMP STARTER (KIT SET)
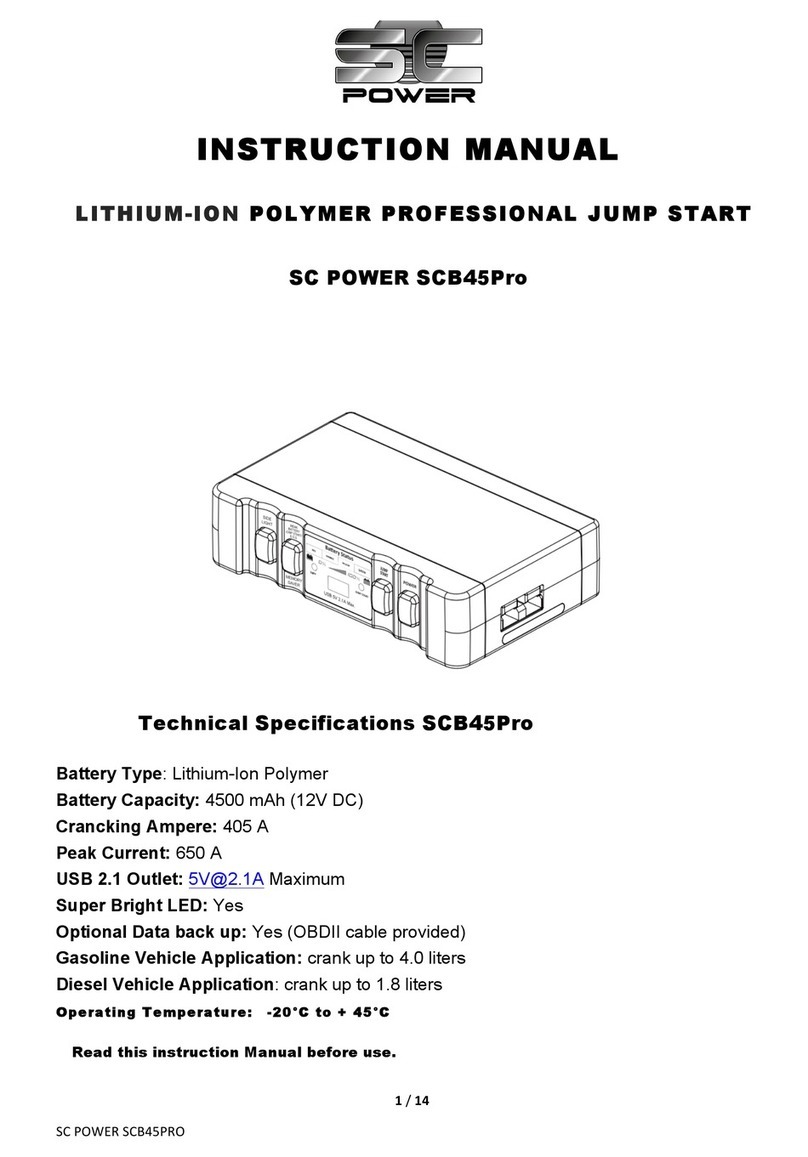
SC POWER SCB15
Technical Specifications SCB15
Battery Type: Lithium-Ion Polymer
Battery Capacity: 1500 mAh (12V DC)
Crancking Ampere: 150 A
Peak Current: 350 A
Super Bright LED: Yes
Optional Data back up: No
Gasoline Vehicle Application: crank up to 1.2 liters
Operating Temperature: -20 to + 45
!PLEASE READ THE INSTRUCTIONS CAREFULLY BEFORE USING THIS PRODUCT. MAKE
CAREFUL NOTE OF SAFETY INSTRUCTIONS, WARNINGS & CAUTIONS
!THIS PRODUCT SHOULD ONLY BE USED FOR ITS INTENDED PURPOSE. FAILURE TO
FOLLOW THESE INSTRUCTIONS MAY CAUSE DAMAGE AND/OR PERSONAL INJURY
!PLEASE KEEP THIS INSTRUCTION MANUAL FOR FUTURE USE
!PLEASE FULLY CHARGE THIS PRODCUT BEFORE INITIAL USE AND RECHARGE EVERY
3 MONTHS FOR MAINTAINING GOOD BATTERY LIFE IF NOT USED REGULARLY

!2!/!11!
INSTRUCTION!MANUAL!JUMP!STARTER!SC!POWER!SC15!INSTRUCTION!MANUAL!JUMP!STARTER!SC!POWER!SC15!
!DO NOT STORE THE DEVICE IN DAMP OR WET LOCATIONS OR WHERE THE
TEMPERATURE MAY BELOW 3OC OR EXCEED 40OC
WARNING! RISK OF EXPOSIVE GASES. Working in the vicinity of a LEAD
ACID battery is dangerous because it can generate gases. It is important to
remember that batteries generate explosive gases during normal operation.
ATTENTION!
Neglecting the instructions & cautions below might cause personal injury and harm or
influence the function of the device.
CAUTION:
- Use the device exclusively for those purposes for which it has been developed.
- Do not use the device under the rain or in damp conditions. The functionality of the device
might be affected.
- Keep the device away from inflammable material.
- Always make sure the device is properly used and safely stored.
- Keep the device away from children & infirm access.
- Do not expose the device directly to solar radiation and / or other sources of heat.
- Never throw or drop this product to avoid causing damages.
- The appliance is not intended for use by people (including children) with reduced physical,
sensory or mental capabilities, or lack of experience and knowledge, unless they have been
given supervision or instruction. Children should be supervised to ensure that they do not
play with the appliance.
- If you do not plan to use the product, please disconnect the DC connector of the universal
adaptor from the Mini Jump Starter. The Mini Jump Starter will change to power save mode
to conserve the battery.
- Never attempt to alter or disassemble the product. If there is any problem with the product
please contact your dealer or place of purchase for further assistance.
- Repairs and maintenance may only be accomplished by authorized specialists, who are
familiar with the dangers/ regulations which go along with this equipment.
- The Mini Jump Starter must be recharged every 3 months for maintaining good battery life if
not used regularly.
!

!3!/!11!
INSTRUCTION!MANUAL!JUMP!STARTER!SC!POWER!SC15!INSTRUCTION!MANUAL!JUMP!STARTER!SC!POWER!SC15!
SCB15 PACK CONTENT
Main unit
L158 X H48.5 X D85mm
ACCESSORIES INCLUDED:
AC/DC
Adapter
Booster
Cable
Carry Bag
In Car Charger
Charging the device
1. Charge via AC adapter
a) Connect the AC adapter to the 12VDC input of
the device.
b) Attach the adapter to AC mains, the adapter will
automatically commence charging the battery.
2. Charge via DC charger
a) Connect the charger to the 12VDC input of the device.
b) Attach the DC charger to car lighter socket. The red light
of the DC charger will light on and the charge will
automatically commence.

!4!/!11!
INSTRUCTION!MANUAL!JUMP!STARTER!SC!POWER!SC15!INSTRUCTION!MANUAL!JUMP!STARTER!SC!POWER!SC15!
Charging indication
Please refer to the table of light indication for
showing the charge status and the battery
capacity (shown on right).
Capacity Spectrum
Green light on 81%—100%
Yellow light on 61%—80%
Orange light on 41%—60%
Red light on 21%—40%
Red light flashing 20% below
LED process for charging
Red(flashing)→Red(on)→Orange(flashing) →Orange(on) →Yellow(flashing) →Yellow(on) →Green(flashing)
→Green(on) →Completed
ATTENTION
Recharge the device immediately if the red light of the battery indicator is flashing.
ATTENTION!
1. USE ONLY THE AC TO DC ADAPTER AND THE DC CHARGER INCLUDED IN THE PACKAGING. NEVER
TRY TO ATTEMPT TO USE OTHER CHARGING UNITS, OTHERWISE THE BATTERY MIGHT BE
DAMAGED.
2. DO NOT CRANK THE CAR WHEN CHARGE IS ON PROCESS. OTHER FEATURES, SUCH AS USB
OUTPUT CAN BE USED DURING THE CHARGING PROCESS.

!5!/!11!
INSTRUCTION!MANUAL!JUMP!STARTER!SC!POWER!SC15!INSTRUCTION!MANUAL!JUMP!STARTER!SC!POWER!SC15!
3. ONCE THE CHARGE IS FINISHED, PLEASE DISCONNECT THE CHARGER FROM THE POWER SOURCE
AND DETACH THE DC PLUG FROM THE DEVICE.
4. THE DEVICE IS PROTECTED FROM EXTREME TEMPERATURE, SO IT IS NOT RECOMMENDED TO
OPERATE AT AMBIENT TEMPERATURE LOWER THAN -20℃OR HIGHER THAN +45℃. IN FACT THE
OPERATION MAY NOT BE ACTIVATED OR MORE CRANK ATTEMPTS MAY BE NECESSARY.
MOREOVER, THE CHARGING PROCEDURE WILL NOT START IF THE TEMPERATURE OF THE
BATTERY PACK IS EXCEEDING THE RANGE FROM 3℃TO 40℃.
5. MALFUNCTION – BATTERY INDICATOR WILL BE FLASHING SIMULTANEOUSLY AS PROTECTION
CIRCUIT HAS BEING ACTIVATED. PLEASE FIX THE PROBLEM BEFORE TURN ON THE DEVICE
AGAIN.
&
CONDITION BEFORE USE
Ensure the below conditions are guaranteed before pressing the JUMP START button.
1.
Ensure the capacity of the battery is full
Jump Start can only be used when the spectrum
lights up to GREEN or YELLOW.
3.
Ensure the contact terminals of the car battery are clean.
Erase any corroded substance from battery terminals and
ensure correct contact point at the clip. Please note that the
battery terminals must be properly connected before pressing
the JUMP START button.

!6!/!11!
INSTRUCTION!MANUAL!JUMP!STARTER!SC!POWER!SC15!INSTRUCTION!MANUAL!JUMP!STARTER!SC!POWER!SC15!
Jump Start can’t be used when the spectrum of
ORANGE, RED light is illuminated or RED light is
flashing, fully charge the device immediately.
2.
Ensure the polarity is properly connected
!
!
Indication:
In case of reversed polarity, the battery indicator
will be will be flashing simultaneously once the
power is turned on.
4.
Ensure the cable is properly wired and well connected.
Detach by removing the plug only & DO NOT pull the cable to
detach it from the device.
DO NOT bend the cable when carrying the device.
ILLUSTRATIONS:

!7!/!11!
INSTRUCTION!MANUAL!JUMP!STARTER!SC!POWER!SC15!INSTRUCTION!MANUAL!JUMP!STARTER!SC!POWER!SC15!
Front Panel
!
!
!
Left side panel (DC jack for charging)
Right side panel (Booster terminal & side light)

!8!/!11!
INSTRUCTION!MANUAL!JUMP!STARTER!SC!POWER!SC15!INSTRUCTION!MANUAL!JUMP!STARTER!SC!POWER!SC15!
OPERATION OF CAR CRANKING
Step 1
Connect the Battery
!!
Attach the red positive clamp (+) to the positive (+) battery
post, then attach the black negative clamp (-) to the car
chassis or to the negative pole of the battery.
Indication:
Jump Start can only be used when the spectrum lights up to
GREEN or YELLOW.
Step 2
Press power button for 1 second to turn the
device on.
Fully charged condition as indicated
on left is important for cranking the
car successfully.
Step 3
Cranking the car
!
Press JUMP START button to turn on the JUMP START
function
Step 4
Cranking up the car then turn power off
Once the car engine has started, press power button
again to turn the power off.
Remove the clips (negative clip first) from the
battery as soon as possible.

!9!/!11!
INSTRUCTION!MANUAL!JUMP!STARTER!SC!POWER!SC15!INSTRUCTION!MANUAL!JUMP!STARTER!SC!POWER!SC15!
Indication:
JUMP START red light is on
Note: Red light is flashing, the voltage of car
battery is too low or it is short circuiting or dead.
ATTENTION!
1. The activity of engine cranking will last for 4 seconds and the device will automatically cut the power off. If the vehicle has
not started within this time, wait for 15 seconds and repeat again. (Maximum 5 cranking attempts are recommended,
otherwise the device might be damaged.)
2. Once the car engine has successfully started, please press the power button to turn off the device A.S.A.P.
3. Always re-charge the device after use and/or make sure it is fully re-charged before use.
4. In case of reversed polarity or if you try to crank an engine exceeding its capability, the device will be automatically
protected and all functions will be terminated. The red LED of Jump Start will flash. Please turn off the device
immediately and try the next attempt until the conditions are clear.
OPERATION OF CAR WITH A WEAK BATTERY (EXTREMELY LOW VOLT.)
Indication: Jump Start red light is flashing

!10!/!11!
INSTRUCTION!MANUAL!JUMP!STARTER!SC!POWER!SC15!
Power on the Mini Jump Starter. To energize the output manually, hold the Jump Start and Weak Battery Jump Start
simultaneously for 3 seconds. The Jump Start light is flashing and the clamps will be live in this condition. Please make
sure the polarity is properly connected before these 2 buttons are pressed, otherwise the device
will be severely damaged. Turn the vehicle’s starter over until the engine starts, the device will turn off after
cranking for 4 seconds. If the vehicle has not started within this time,!wait for 15 seconds and repeat again. (Maximum 5
cranking attempts are recommended, otherwise the device might be damaged.)
ATTENTION:
1. Once the car engine has successfully started, please press the power button to turn off the device A.S.A.P.
2. The device will automatically shut down when idled for 2 minutes.
3. Always re-charge the device after use or have it fully re-charged before use.
4. Even though the device has a protection, please avoid trying to crank an engine exceeding its capability.
5. In case the operation on a car with a weak battery has failed and Jump Start red light is flashing, the car battery is
short circuiting or dead. Please replace the battery as soon as possible or get in contact with a professional engineer
to examine the car.
SIDE LIGHT
Press SIDE LIGHT BUTTON to turn it on. The light must be turned off after use, otherwise the battery power will be
depleted.

!11!/!11!
INSTRUCTION!MANUAL!JUMP!STARTER!SC!POWER!SC15!
5V&USB&PORT
Connect the electronic appliance to the USB port of the device and turn the power on. It can deliver 5.0VDC 2.1A to
power up most 5VDC input digital devices like mobile-phone, tablet PC as well as other 5V USB products. ( Original
cable is required for delivering maximum current )
Recommendation:
!If it is anticipated that the Jump Starters is to be used in very cold conditions, it is recommended that it is kept indoors in
a warm environment. Furthermore, it is recommended that to keep the device on charge for overnight prior to use. It is
also recommended that when preparing for a jumpstart in extremely cold weather that you connect the clips to disabled
vehicle battery and turn the POWER on, then activate the JUMP START feature by depressing the Jump Start button
(JUMP START red light on), then wait for 3-4 minutes prior to cranking the vehicle. This will help activate or “warm” the
disabled vehicle battery for best possible results.
!Sometimes it may happen that the car engine does not start at the first crank, so we recommended to take several
attempts (no more than 5), so that the battery is warmed up and its performances result enhanced.
!To grant the best possible performance of the device, it is recommended to recharge it every 3 months, or to refresh it
at least one time within 6 months. If the battery is not fully recharged after use and not regularly charged at the above
stated intervals, the device will not operate properly and may quickly deteriorate.
!The device is protected from extremely high temperatures, anyway it is not recommended to store it inside the car
compartment during summer time, and recharge it at high ambient temperature. (Please refer to page 4 at point 4 of
this user manual).
!
Table of contents
Other SC POWER Remote Starter manuals
