ii
Contents
Chapter 1: Setting Up ...............................................................1-1
Introduction .............................................................................................................. 1-1
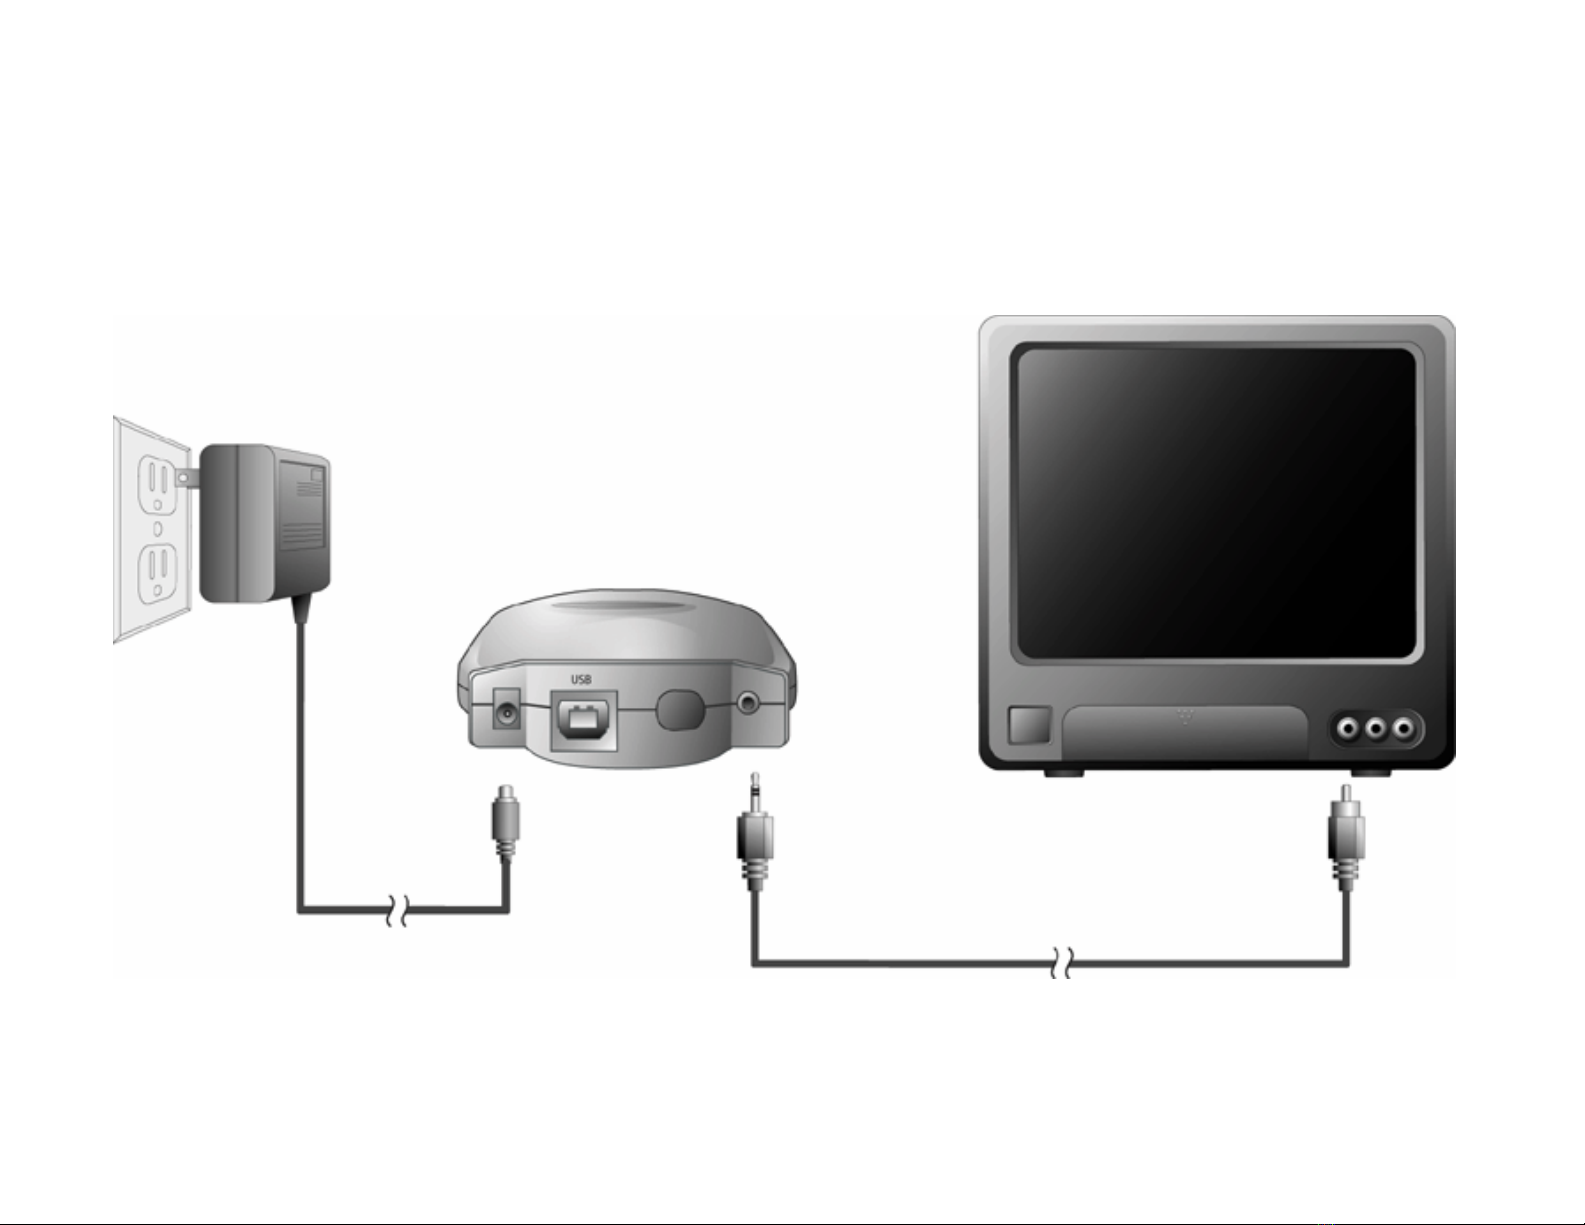
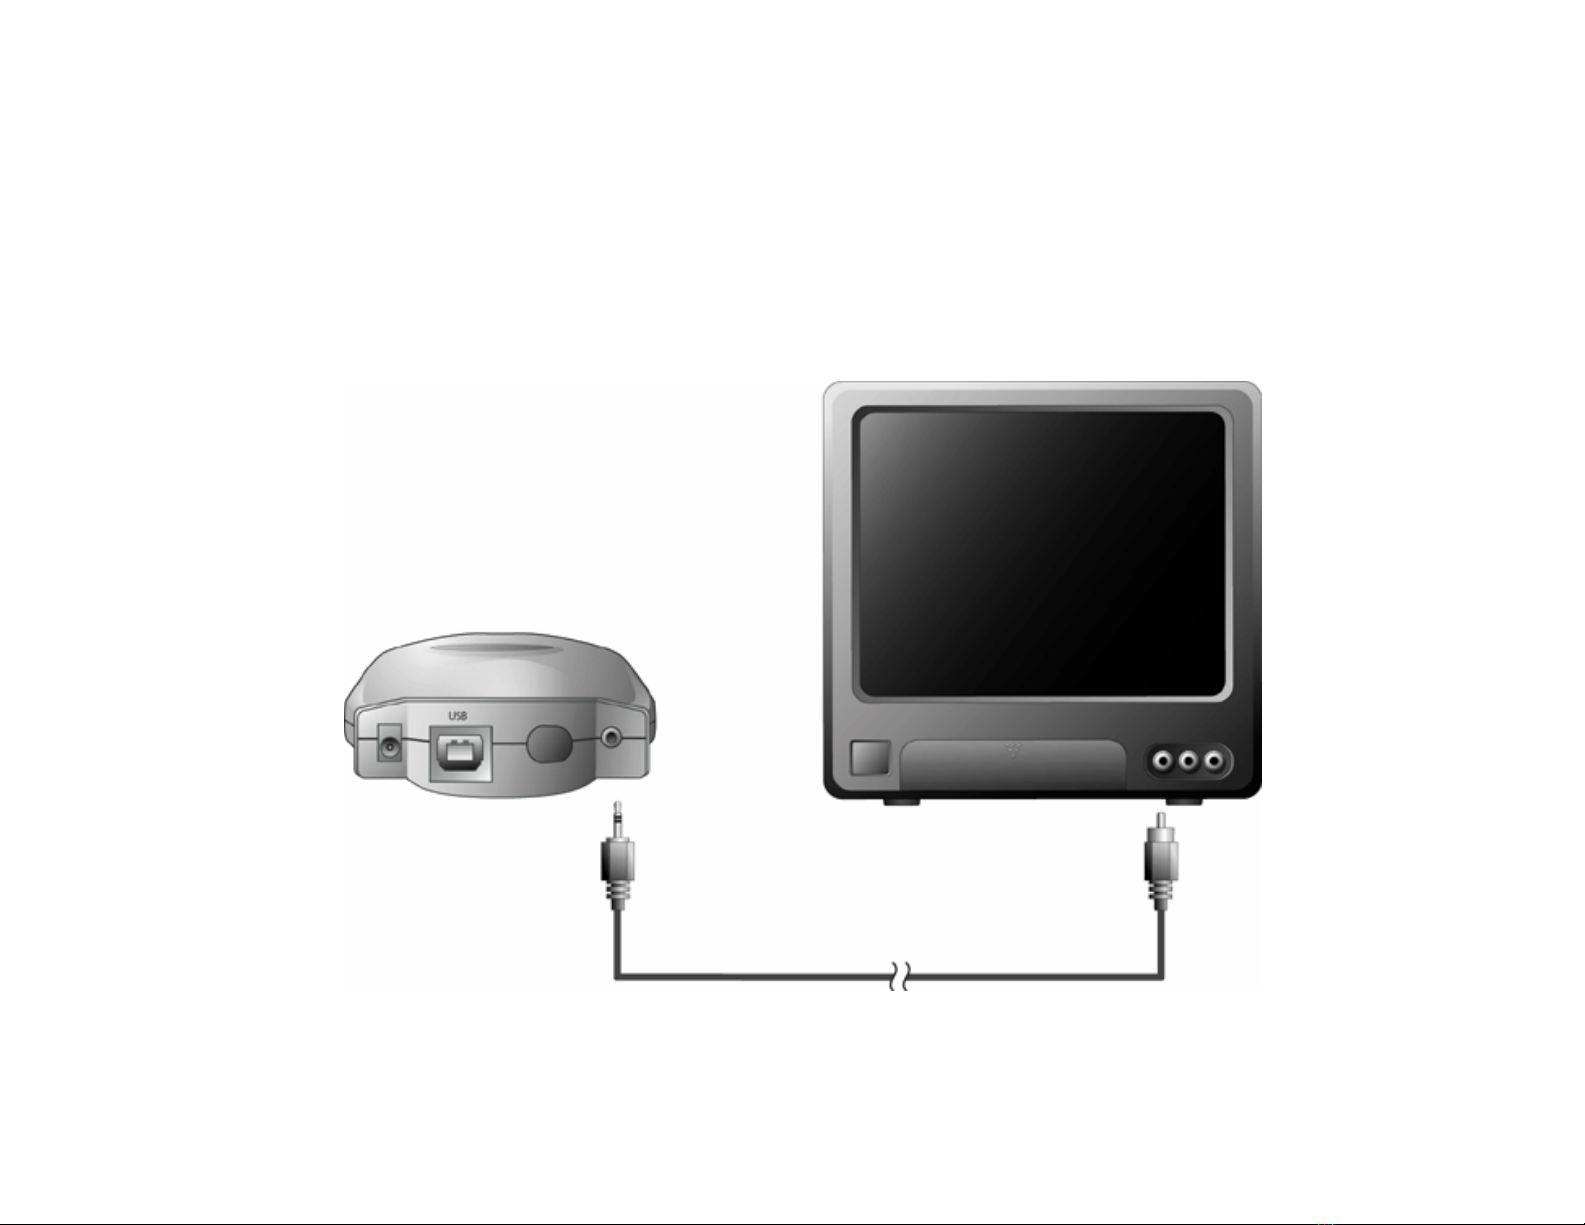
Setting up TV Photo Show....................................................................................... 1-2
Chapter 2: Using TV Photo Show with Your TV....................... 2-1
Changing the language..........................................................................................2-2
Changing your card.................................................................................................2-3
Viewing the photos on your card...........................................................................2-4
Working with a photo...............................................................................................2-7
Rotate ................................................................................................................ 2-7
Zoom/Pan.......................................................................................................... 2-9
Viewing a slide show............................................................................................. 2-11
Videotaping a slide show..................................................................................... 2-12
Deleting a photo.................................................................................................... 2-14
Turning off TV Photo Show .................................................................................... 2-15
Removing your memory card.............................................................................. 2-16