TO REDUCE RISK OF INJURY:
Before any use, be sure everyone using this tool reads and understands
all safety instructions and other information contained in this manual.
CAUTION: Wear appropriate personal hearing protection during use.
Under some conditions and duration of use, noise from this product may
contribute to hearing loss.
Save these instructions and review frequently prior to use and in
instructing others.
WARNING: When using electric gardening appliances, basic safety
precautions should always be followed to reduce risk of fire, electric
shock, and personal injury, including the following:
READ ALL INSTRUCTIONS
KEEP CHILDREN AWAY - All visitors, children and pets should stay at a
safe distance from the work area.
DRESS PROPERLY – Don’t wear loose clothing or jewelry.
Wear protective hair covering to contain long hair. They can be caught in
moving parts. Use of rubber gloves and substantial footwear is
recommended when working outdoors. Always wear long pants while oper-
ating this string trimmer.
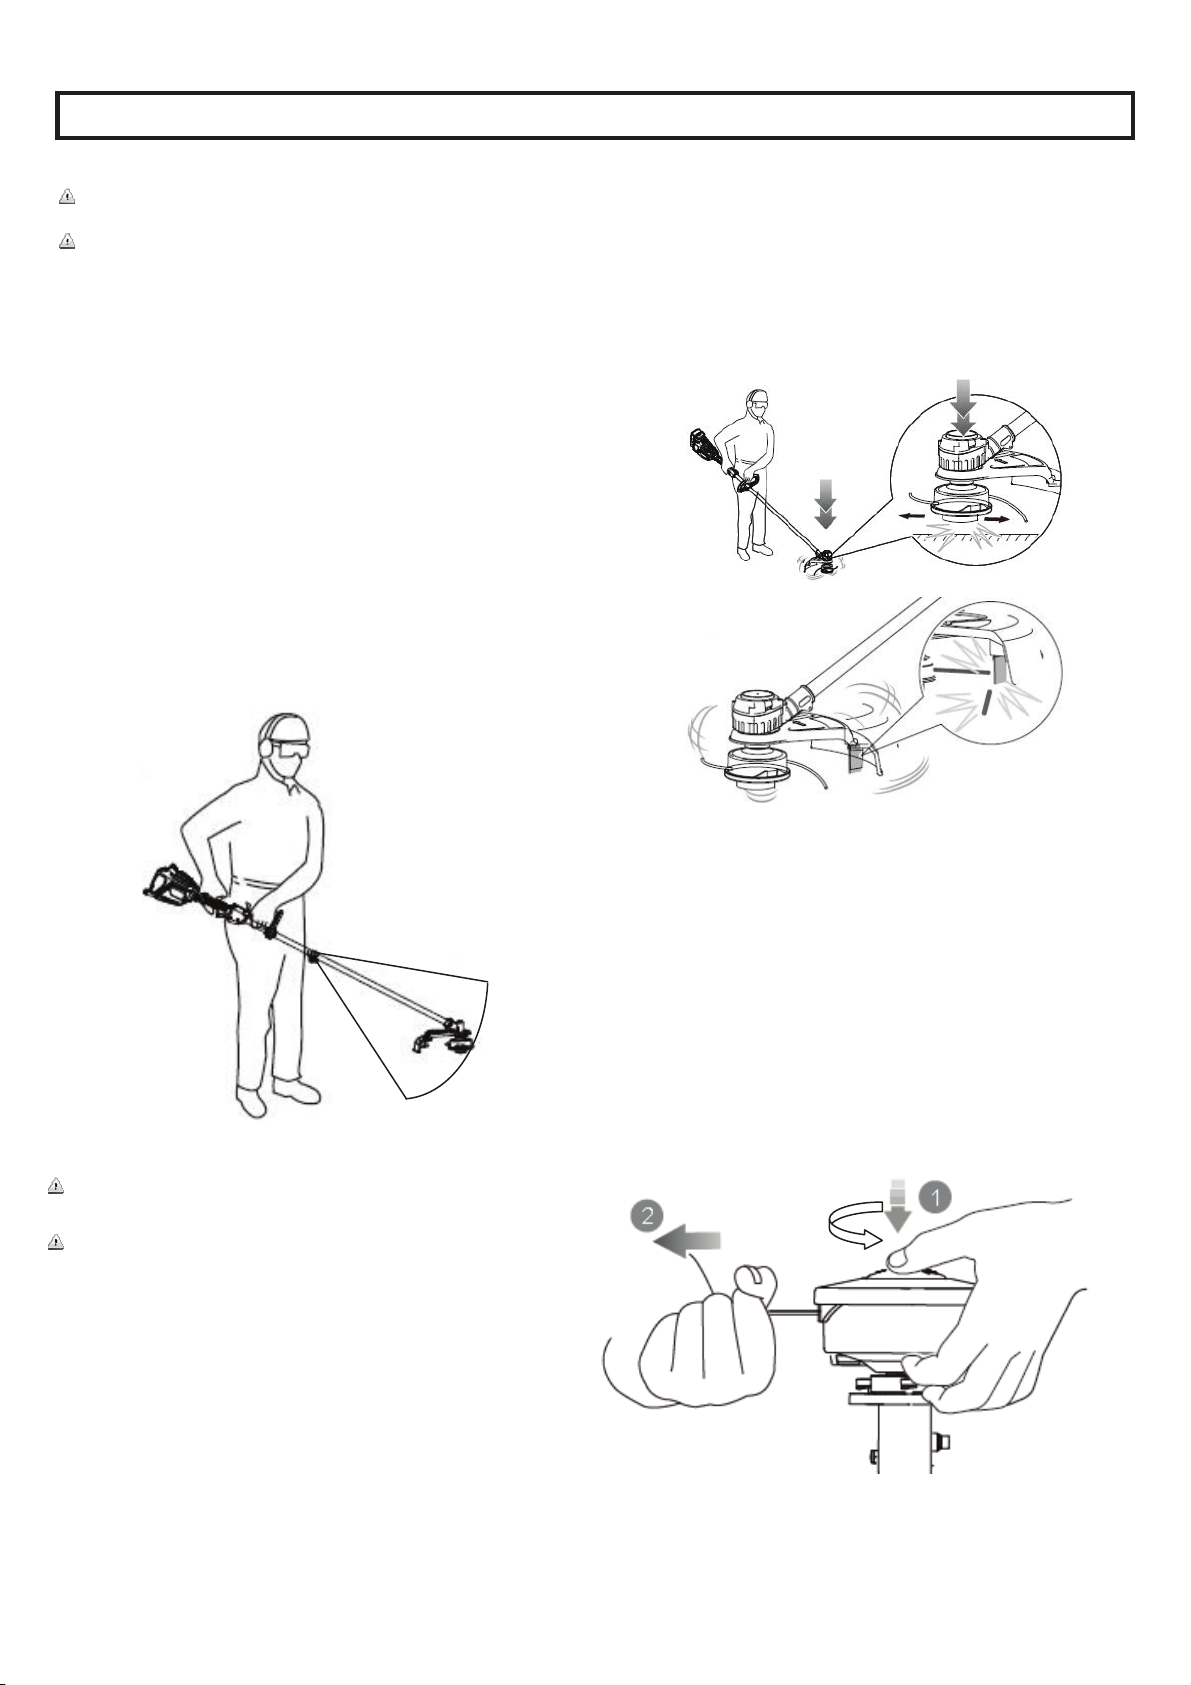
USE SAFETY GLASSES –Wear safety glasses with side shields or
goggles that are marked to comply with ANSI Z87.1 standard when
operating this product. Use face or dust mask if operation is dusty.
USE RIGHT APPLIANCE – Do not use appliance for any job except that
for which it is intended.
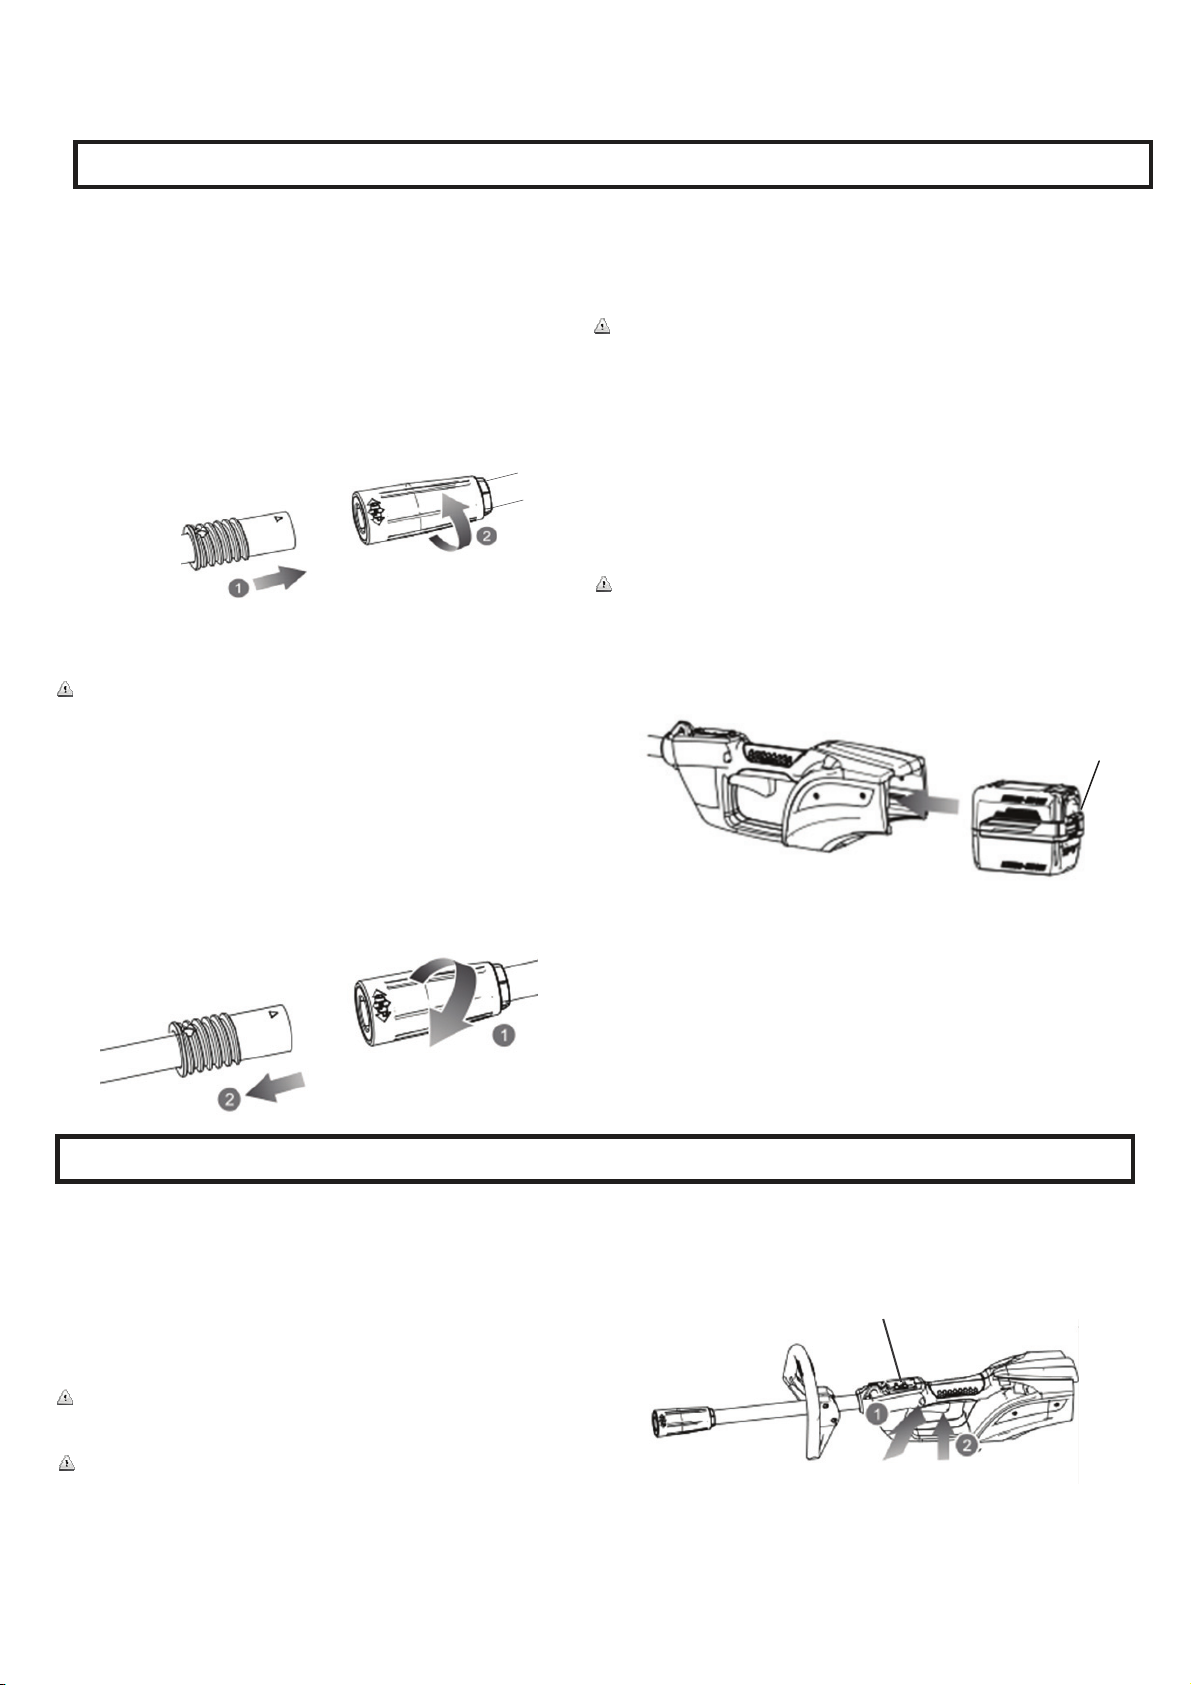
REMOVE THE BATTERY FROM THE STRING TRIMMER when not in
use or when servicing or cleaning. Do not leave unattended.
CHECK DAMAGED PARTS – Before further use of the string
trimmer, a guard or other part that is damaged should be carefully checked
to determine that it will operate properly and perform its intended function.
Check for alignment of moving parts, binding of moving parts, breakage of
parts, mounting and any other condition that may affect its operation. A
guard or other part that is damaged should be properly repaired or replaced.
Call our customer service help line at 1-800-618-7474 for assistance.
LIGHTING - Only operate trimmer in daylight or good artificial light.
DON’T OVERREACH – Keep proper footing and balance at all times.
WARNING: Do Not use the string trimmer with any type of
accessory or attachment. Such usage might be hazardous.
AVOID DANGEROUS ENVIRONMENTS – Don’t use trimmer in rain,
damp or wet locations. Do not operate trimmer in gaseous or explosive
atmospheres. Motors in these tools normally spark, and the sparks might
ignite fumes.
AVOID UNINTENTIONAL STARTING – Be sure switch trigger is in the
locked or off position before inserting battery pack. Carrying tools with
your finger on the switch trigger or inserting the battery pack into a tool
with the switch on invites accidents.
DANGER: Risk of cut. Keep hands away from lines. Keep both hands on
handles when power is on.
DANGER: Don’t use tool if switch trigger does not turn it on or off. Call
Customer Service for assistance.
DANGER: Do not dispose of the batteries in a fire. The cell may explode.
Check with local codes for possible special disposal instructions.
DANGER: Do not open or mutilate the batteries. Released
electrolyte is corrosive and may cause damage to the eyes or skin. It may
be toxic if swallowed.
WARNING: Keep guards in place and in working order.
WARNING: Keep hands and feet away from cutting area.
DO NOT ATTEMPT to remove cut material or hold material to be cut
when lines are moving. Make sure trimmer switch is off when clearing
jammed material from guard. Do not grasp the guard or lines when picking
up or holding the trimmer.
CAUTION: Lines coast after turned off.
DON’T FORCE STRING TRIMMER – It will do the job better and with less
likelihood of a risk of injury at the rate for which it was designed.
STAY ALERT – Watch what you are doing. Use common sense. Do not
operate string trimmer when you are tired or under the influence of
medications, drugs or alcohol.
STORE IDLE STRING TRIMMER INDOORS – When not in use, your
string trimmer should be stored indoors in a dry and high or locked-up
place, out of reach of children.
WARNING: Do not operate the equipment while barefoot or when wearing
sandals or similar lightweight footwear. Wear protective
footwear that will protect your feet and improve your footing on
slippery surfaces.
WARNING: Use only identical manufacturer’s recommended
replacement parts. Use of any other parts may create a hazard or
cause product damage.
WARNING: Use only the manufacturer’s recommended
replacement string in the cutting head when using a string trimmer
attachment. Do not use any other cutting attachment, for example,
metal wire, rope, or the like. To install any other brand of cutting
head to the string trimmer attachment can result in serious personal
injury.
MAINTAIN TRIMMER WITH CARE – Keep guard and handles
clean for best performance and to reduce the risk of injury. Keep
handles dry and free from oil and grease.
WARNING: California Proposition 65: This product contains
chemicals known to the State of California to cause cancer, birth
defects or other reproductive harm.
WARNING: Some dust created by this product could contain
chemicals known to the State of California to cause cancer and birth
defects or other reproductive harm. Some examples of these
chemicals are:
-chemicals in fertilizers
-compounds in insecticides, herbicides and pesticides
-arsenic and chromium from chemically treated lumber
Your risk from exposure to these chemicals varies, depending on
how often you do this type of work. To reduce your exposure to
these chemicals, wear approved safety equipment such as dust
masks that are specially designed to filter out microscopic particles.
WARNING: Cancer and Reproductive Harm -
www.P65Warnings.ca.gov.
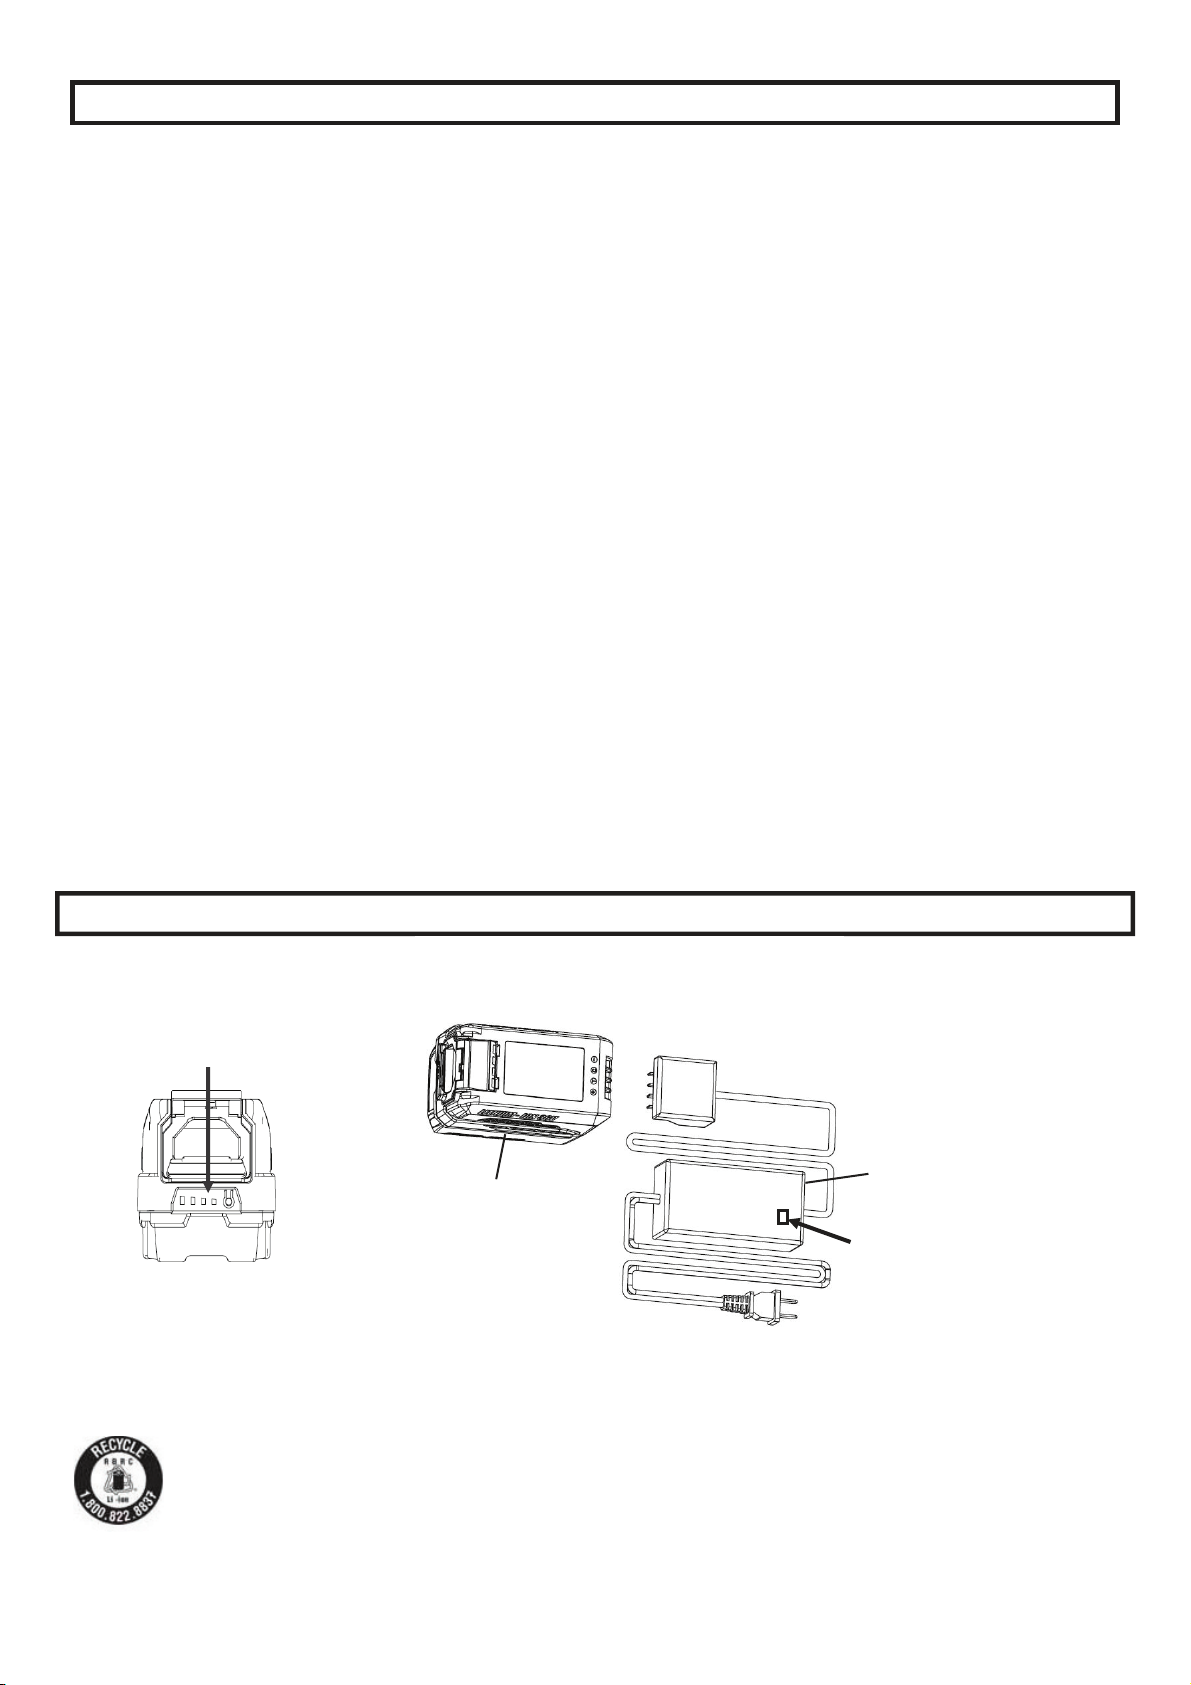
CAUTION: Use only the following type and size battery(ies):
BL82040, BL85040.
CAUTION: Exercise care in handling batteries in order not to short
the battery with conducting materials such as rings, bracelets, and
keys. The battery or conductor may overheat and cause burns.
When battery pack is not in use, keep it away from other metal
objects, like paper clips, coins, keys, nails, screws or other small
metal objects, that can make a connection from one terminal to
another. Shorting the battery terminals together may cause burns or
a fire.
CAUTION: Disconnect the battery pack from the appliance before
making any adjustments, changing accessories, or storing
appliance. Such preventive safety measures reduce the risk of
starting the appliance accidentally.
CAUTION: Do not use a battery pack or appliance that is damaged
or modified. Damaged or modified batteries may exhibit
unpredictable behavior resulting in fire, explosion or risk of injury.
CAUTION: Do not expose a battery pack or appliance to fire or
excessive temperature. Exposure to fire or temperature above 130°
C may cause explosion. The temperature of 130°C can be replaced
by the temperature of 265°F.
CAUTION: Follow all charging instructions and do not charge the
battery pack or appliance outside of the temperature range specified
in the instructions. Charging improperly or at temperatures outside
of the specified range may damage the battery and increase the risk
of fire.
CAUTION: Have servicing performed by a qualified repair person
using only identical replacement parts. This will ensure that the
safety of the product is maintained.
CAUTION: Do not modify or attempt to repair the appliance or the
battery pack (as applicable) except as indicated in the instructions
for use and care.
2
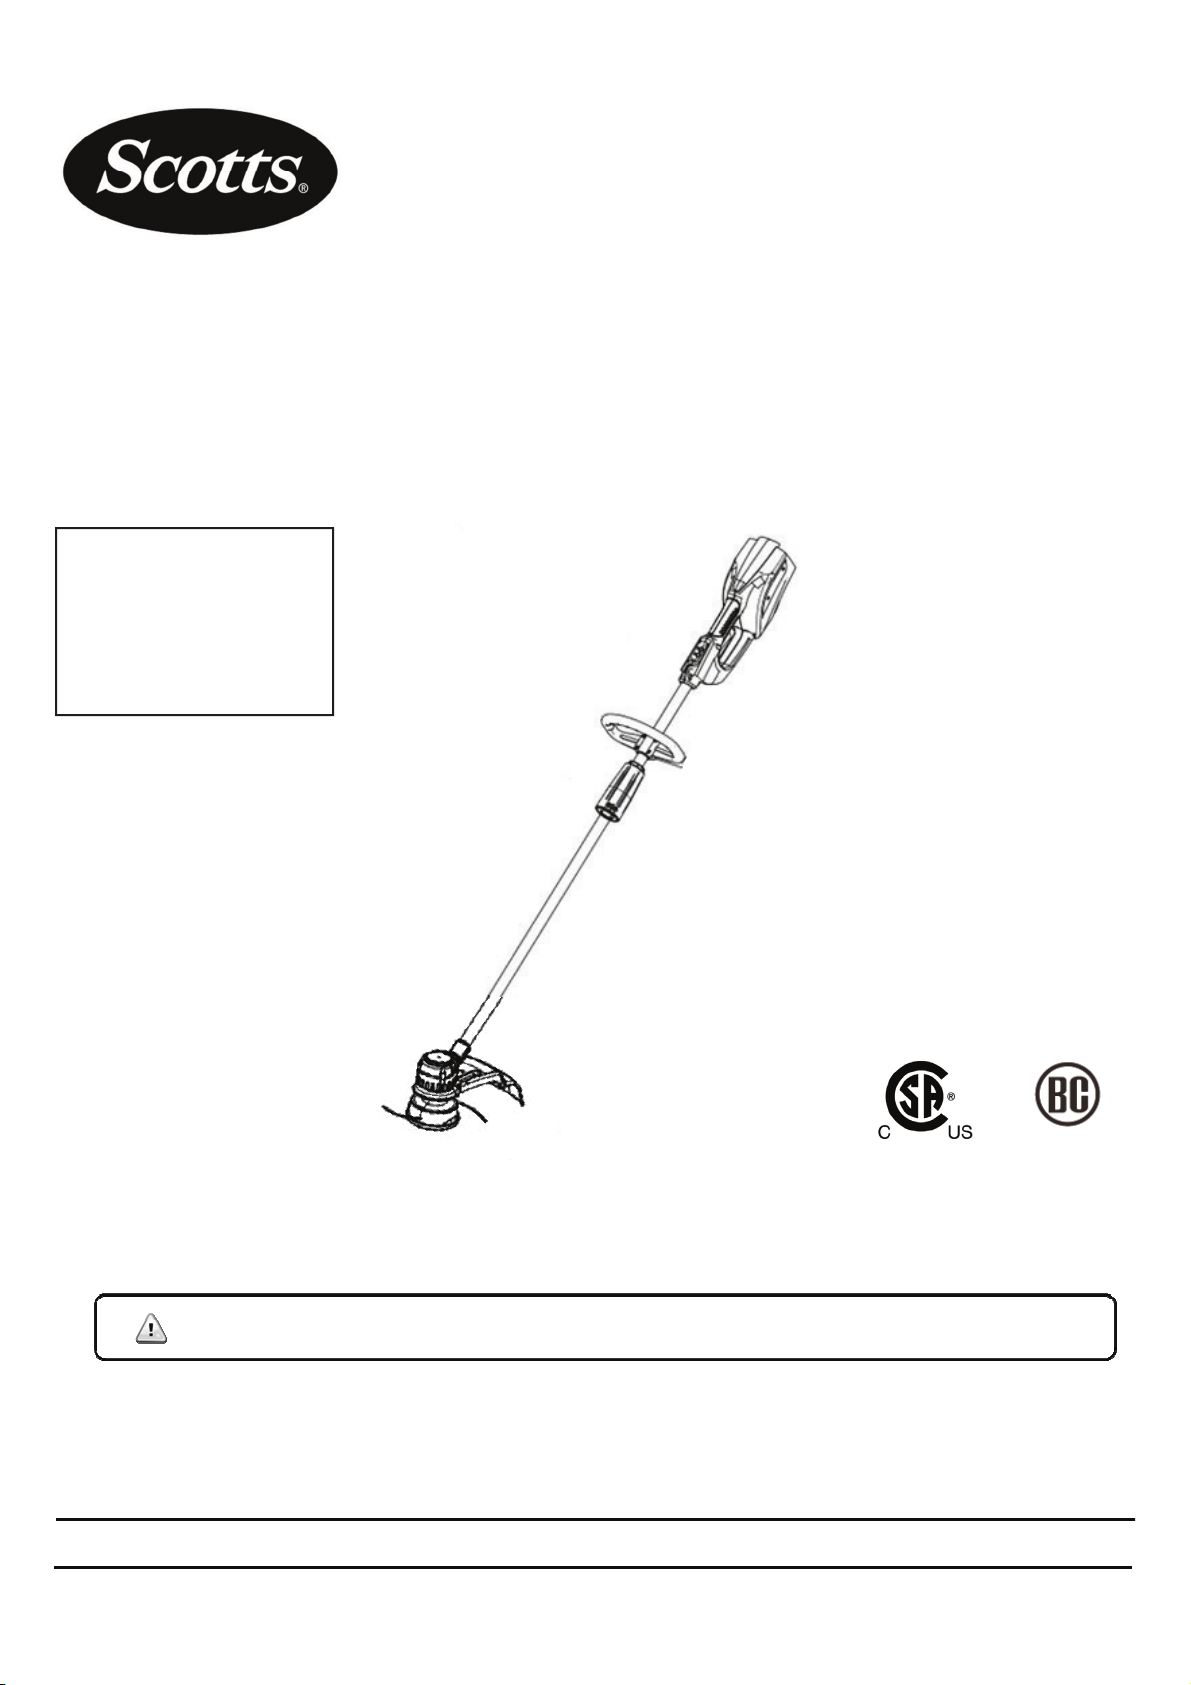
Model LST01540S
IMPORTANT SAFETY WARNINGS