5
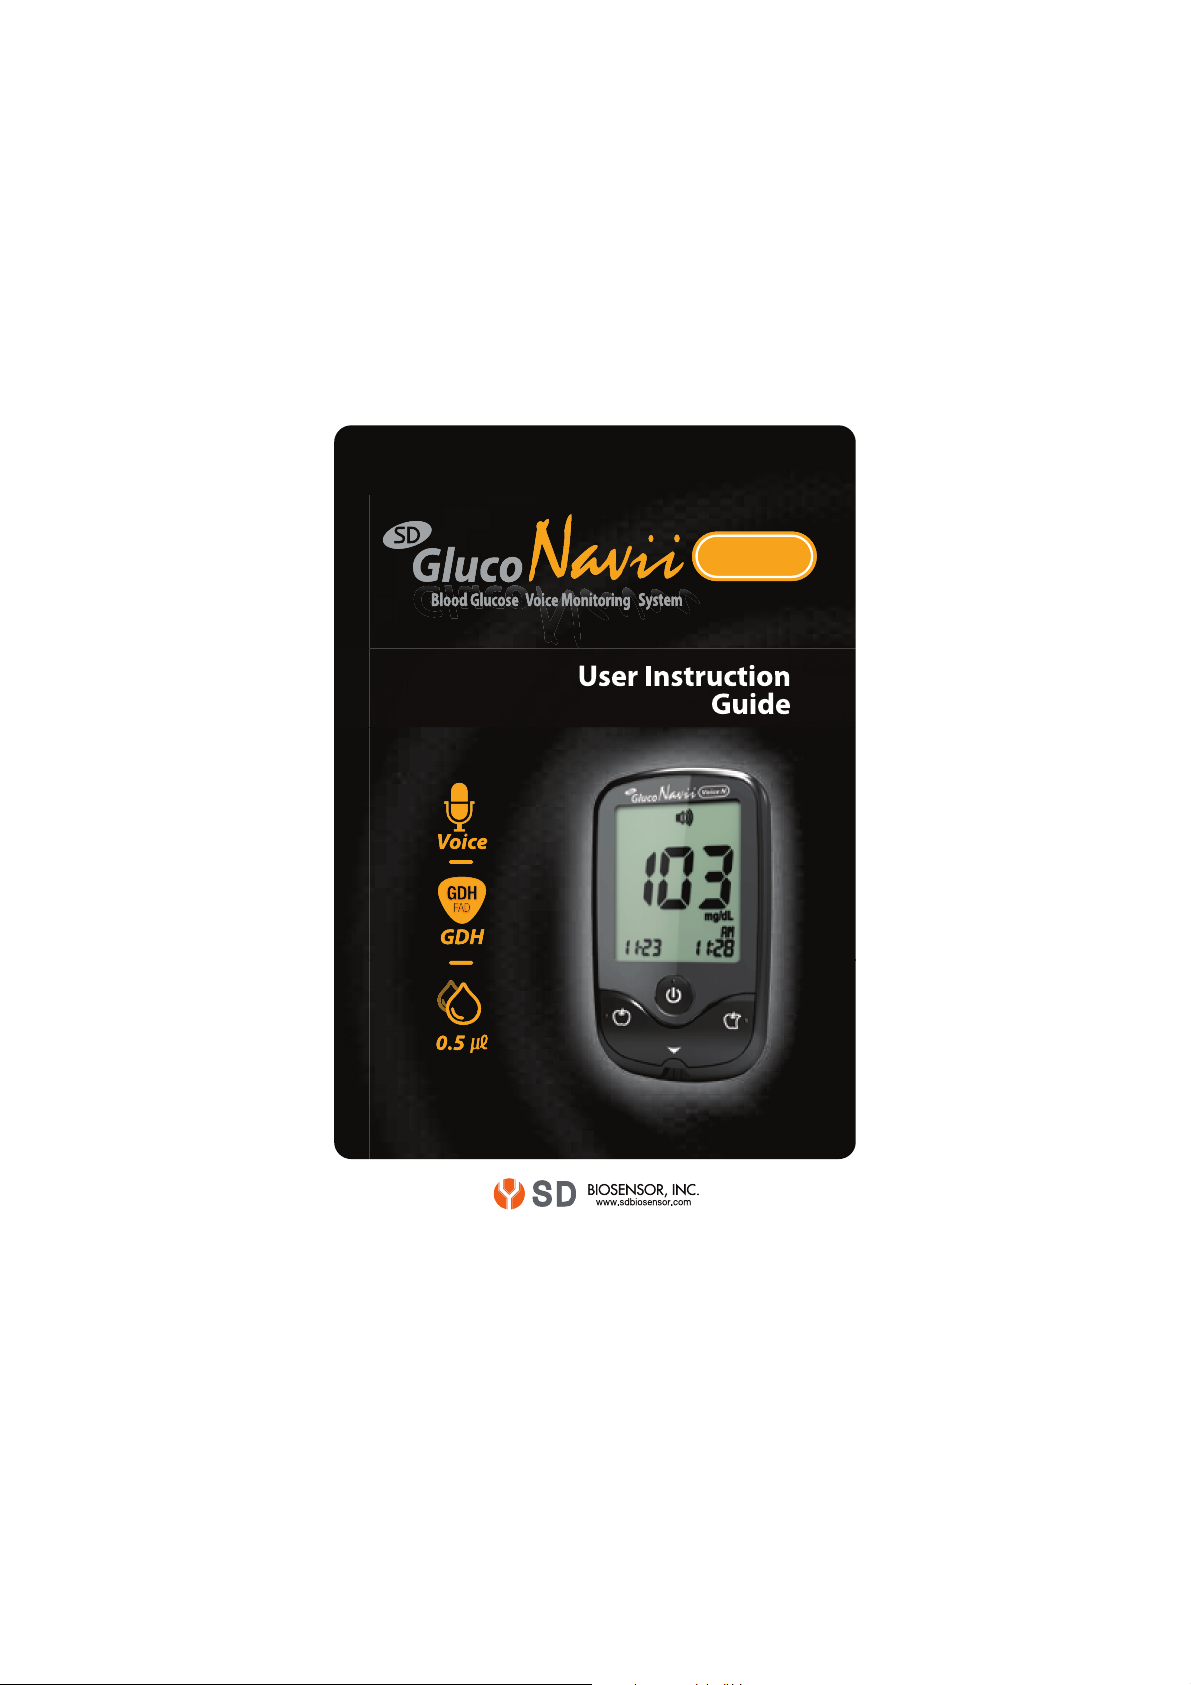
SD GlucoNavii® Voice N BLOOD GLUCOSE MONITORING SYSTEM
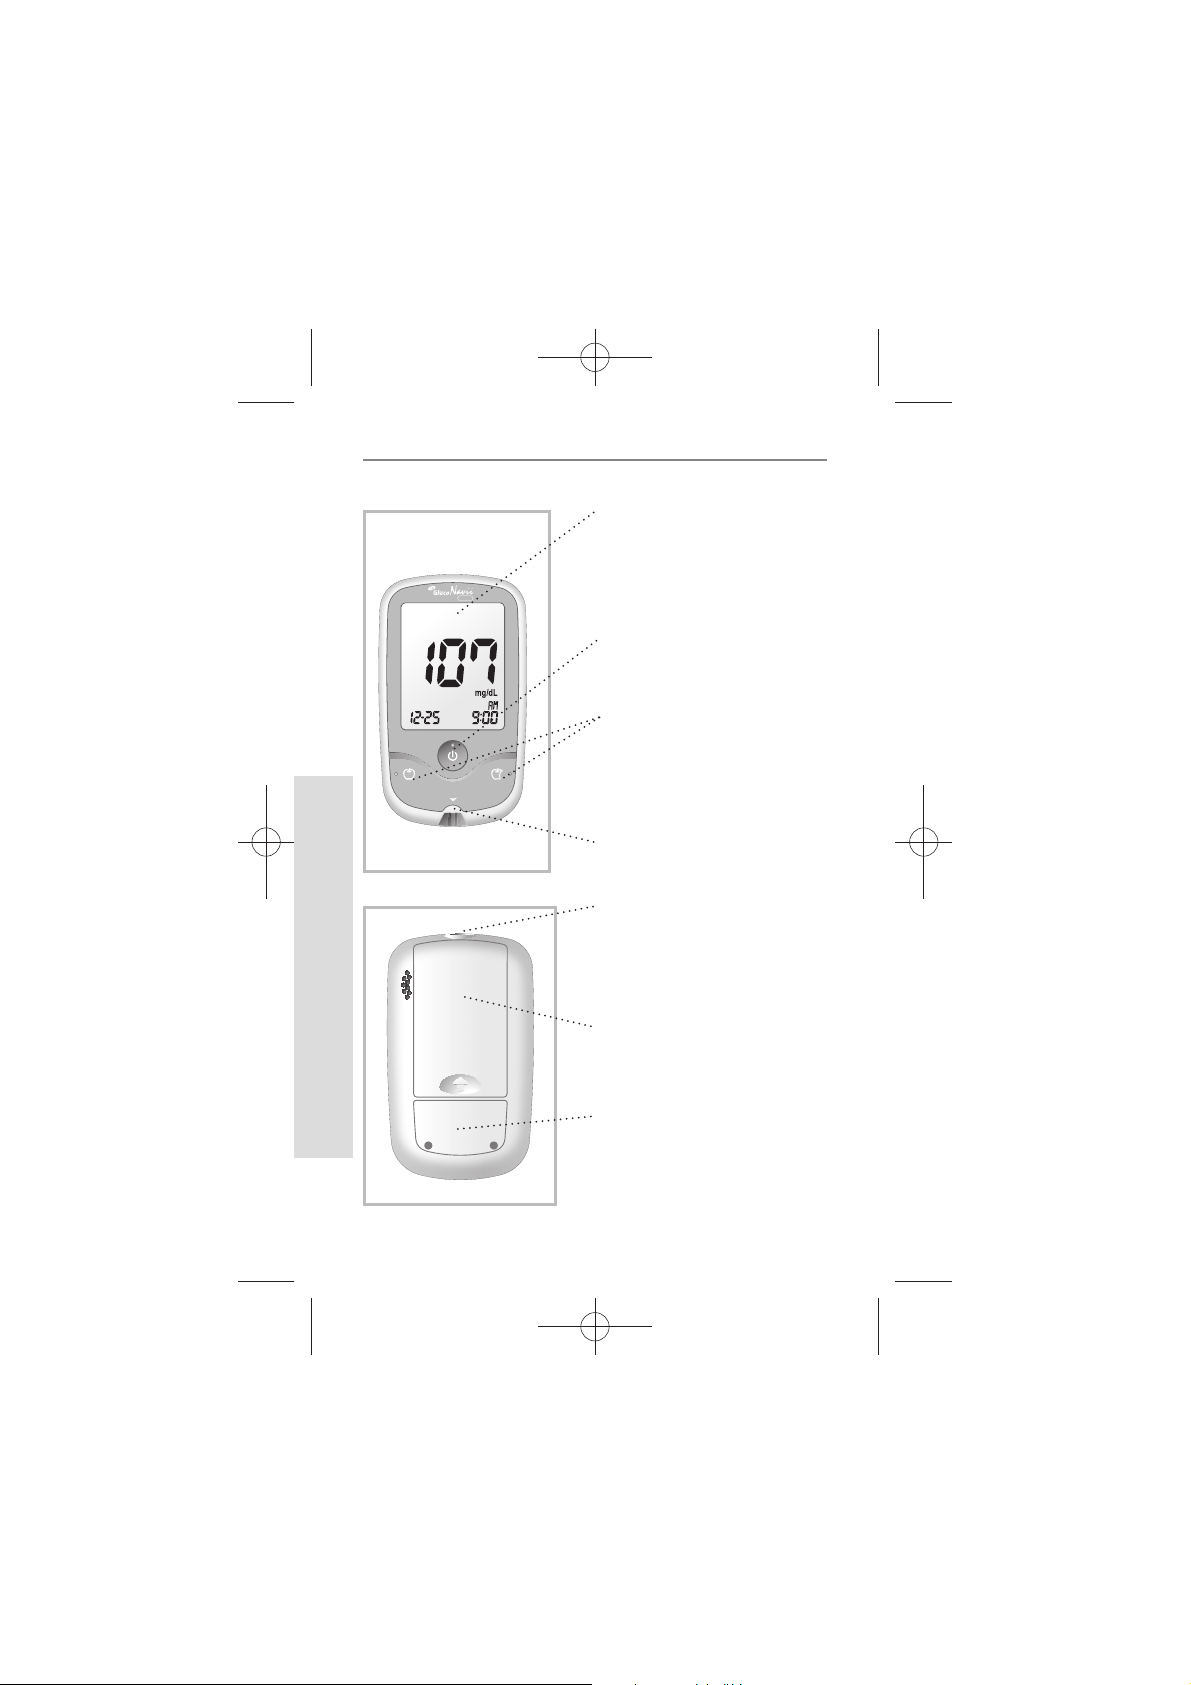
Understanding Your New System
tKeep the meter and testing supplies away
from small children.
tThe battery door, test strips, lancets,
protective disks, and control solution cap are
choking hazards.
tDo not eat the test strips.
tDo not swallow or inject SD GlucoNavii®
control solution, or use control solutions for
any purpose.
CAUTION
Important Information
tDehydration: Severe dehydration resulting from exces-
sive water loss may cause false low results. If you believe
you are suering from severe dehydration, consult a
healthcare professional immediately.
tLow glucose results: If your test result is lower than 70
mg/dL or is shown as Lo, it may mean hypoglycemia(low
blood glucose). This may require immediate treatment
according to your healthcare professional’s recommenda-
tions. Although this result could be due to a test error, it is
safer to treat rst, and then repeat the test.
tHigh glucose results: If your test result is greater than 180
mg/dL or is shown as HI, it may mean hyperglycemia(high
blood glucose). If you do not have symptoms, rst repeat
the test. Your healthcare professional can work with you
to decide what actions, if any, you should take if you
continue to get results higher than 180 mg/dL or if you
have symptoms.
tRepeated unexpected results: If you continue to get
unexpected results, check your system with control
solution. See Checking the System with Control Solution
on pages 30 - 35. If you are experiencing symptoms that
are not consistent with your blood glucose results and
you have followed all instructions in this User Instruction