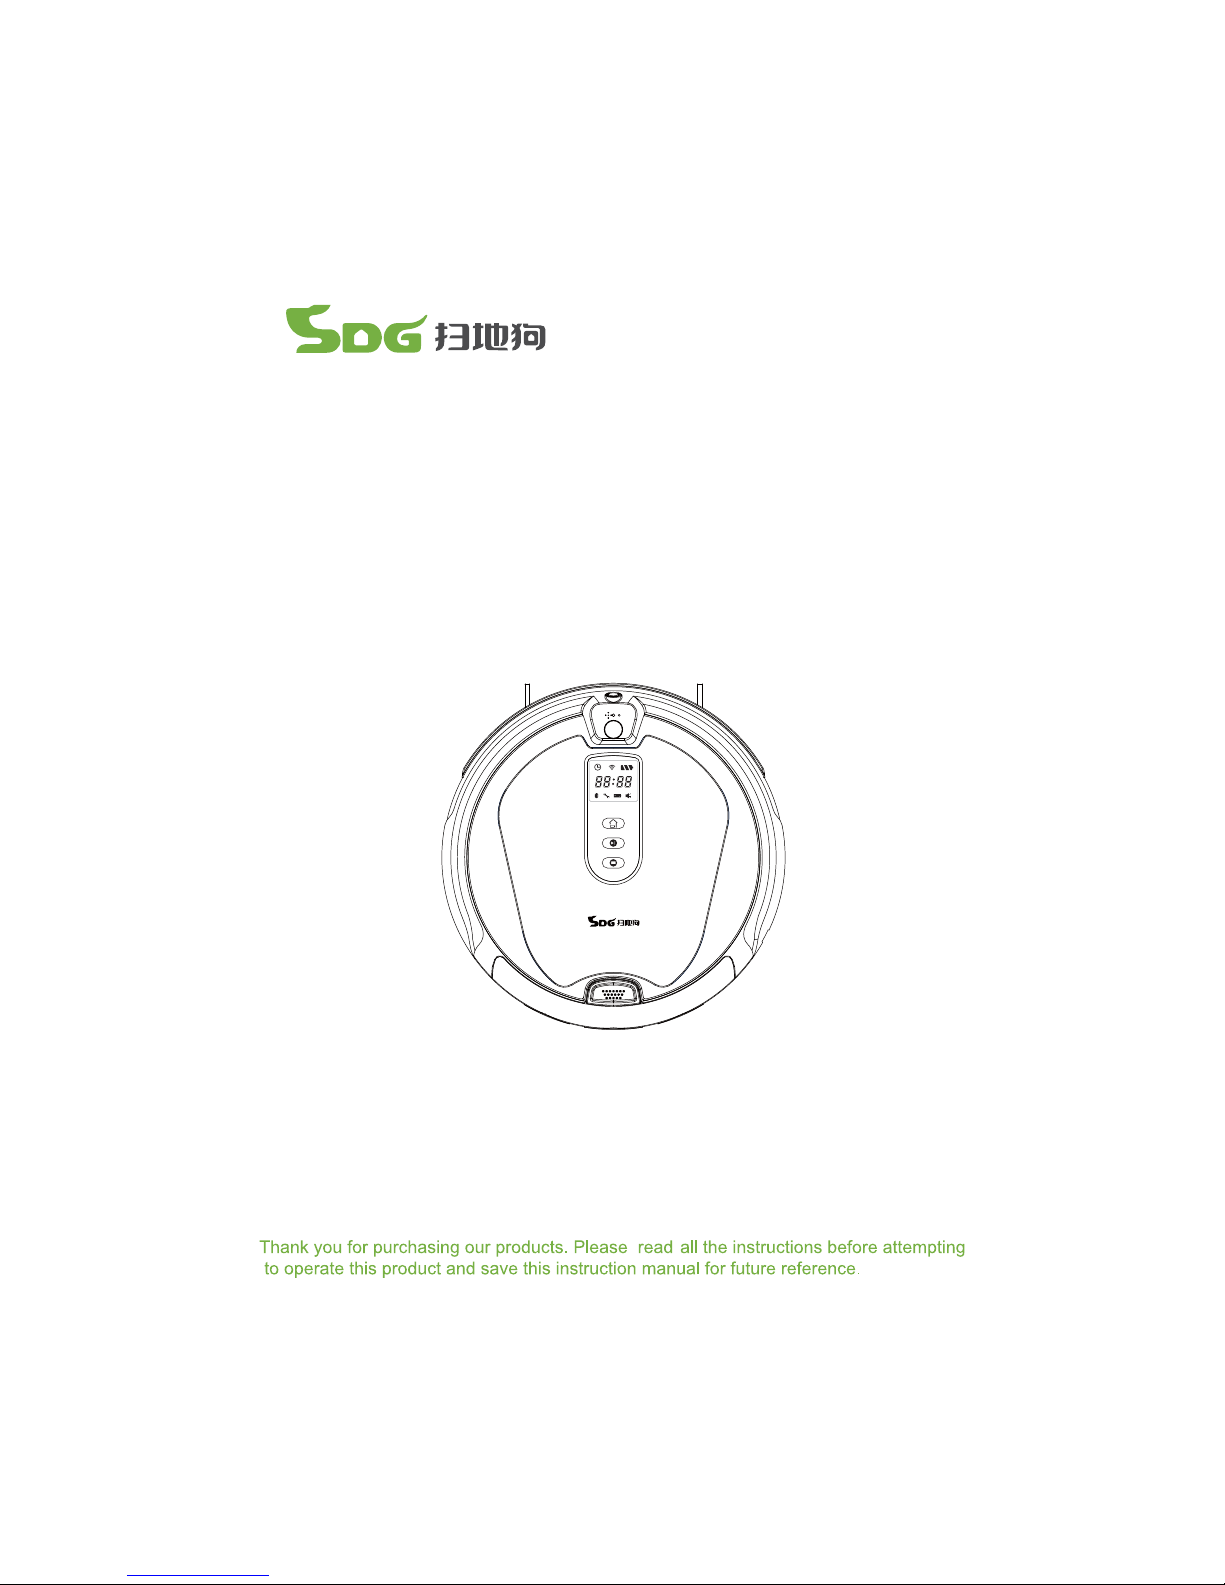
Table of contents:
1.Safety instruction
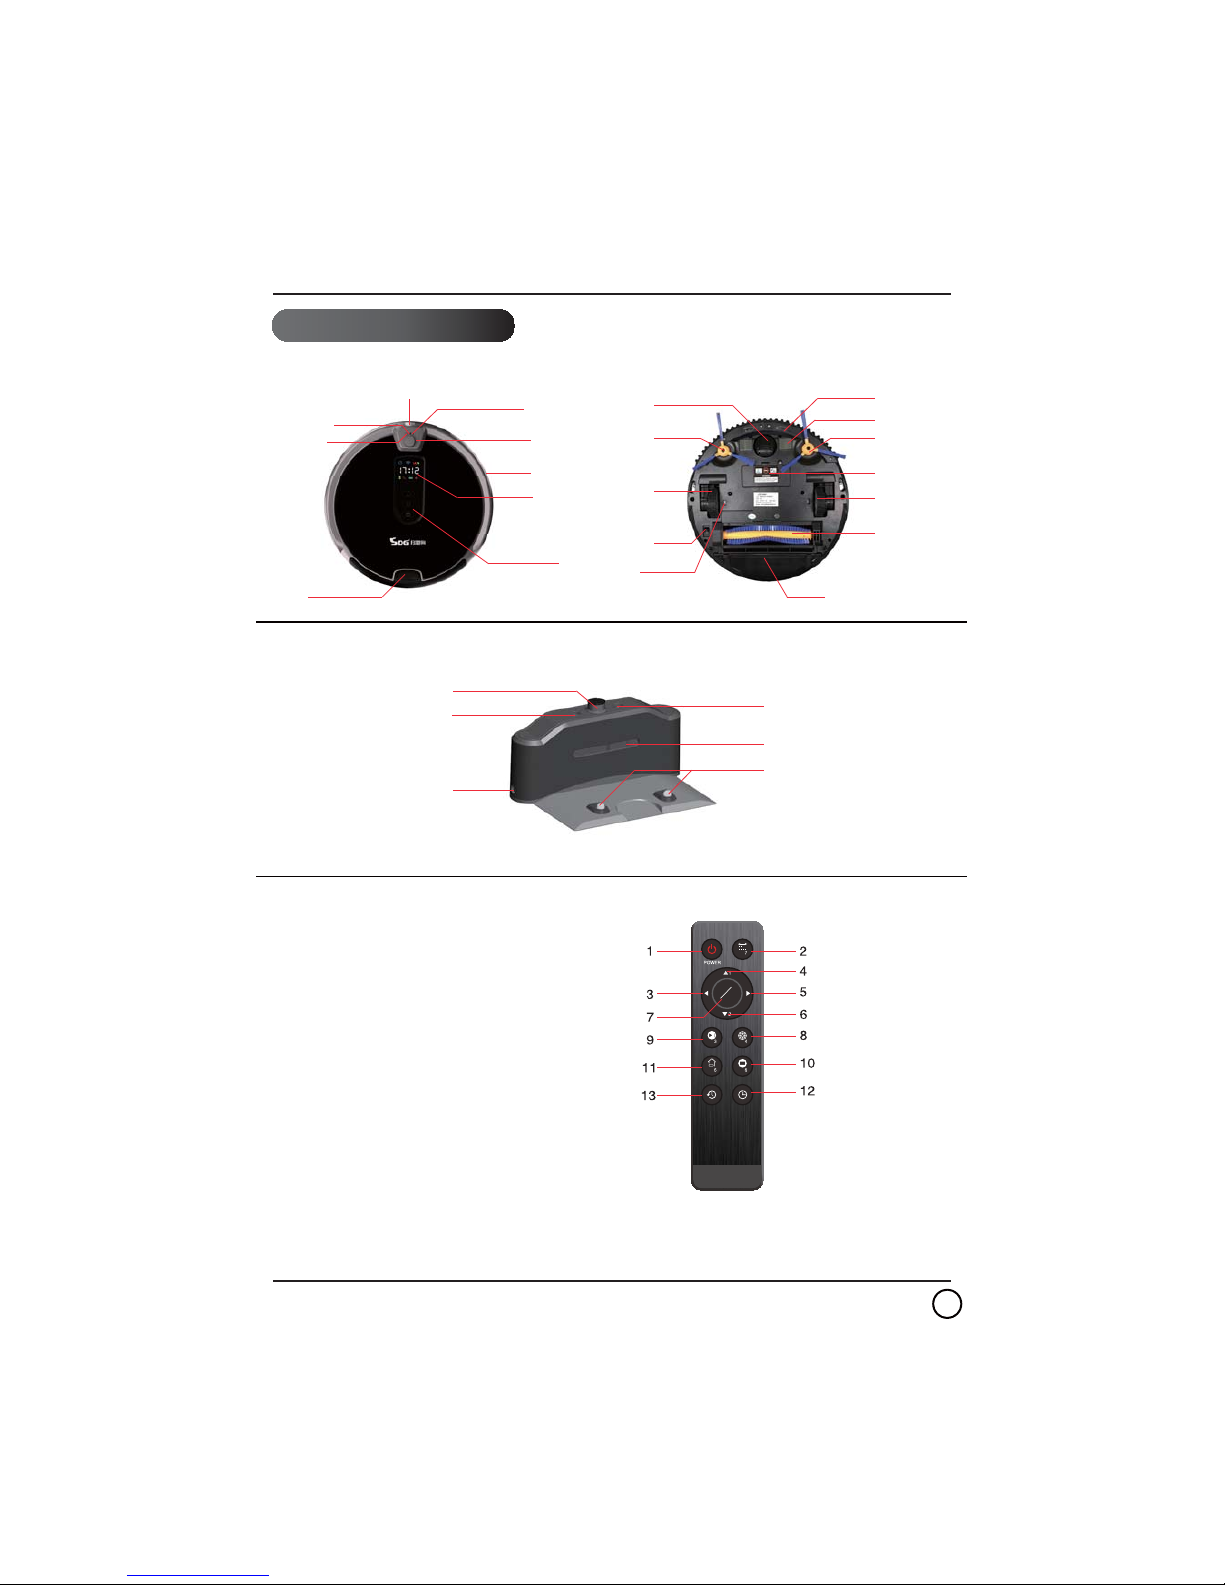
2.Components of cleaner
3.Charging base
4.Operation instruction
5.Cleaning modes
1.1 About the instruction manual
1.2 About power supply
2.1 Parts name
2.2 Power rated
1.3 Suitable usage
1.4 Attention before use
1.5 Attention for children
1.6 About rechargeable battery and disposal
1.7 About package
1.8 Technical support
4.1 Display screen and control panel
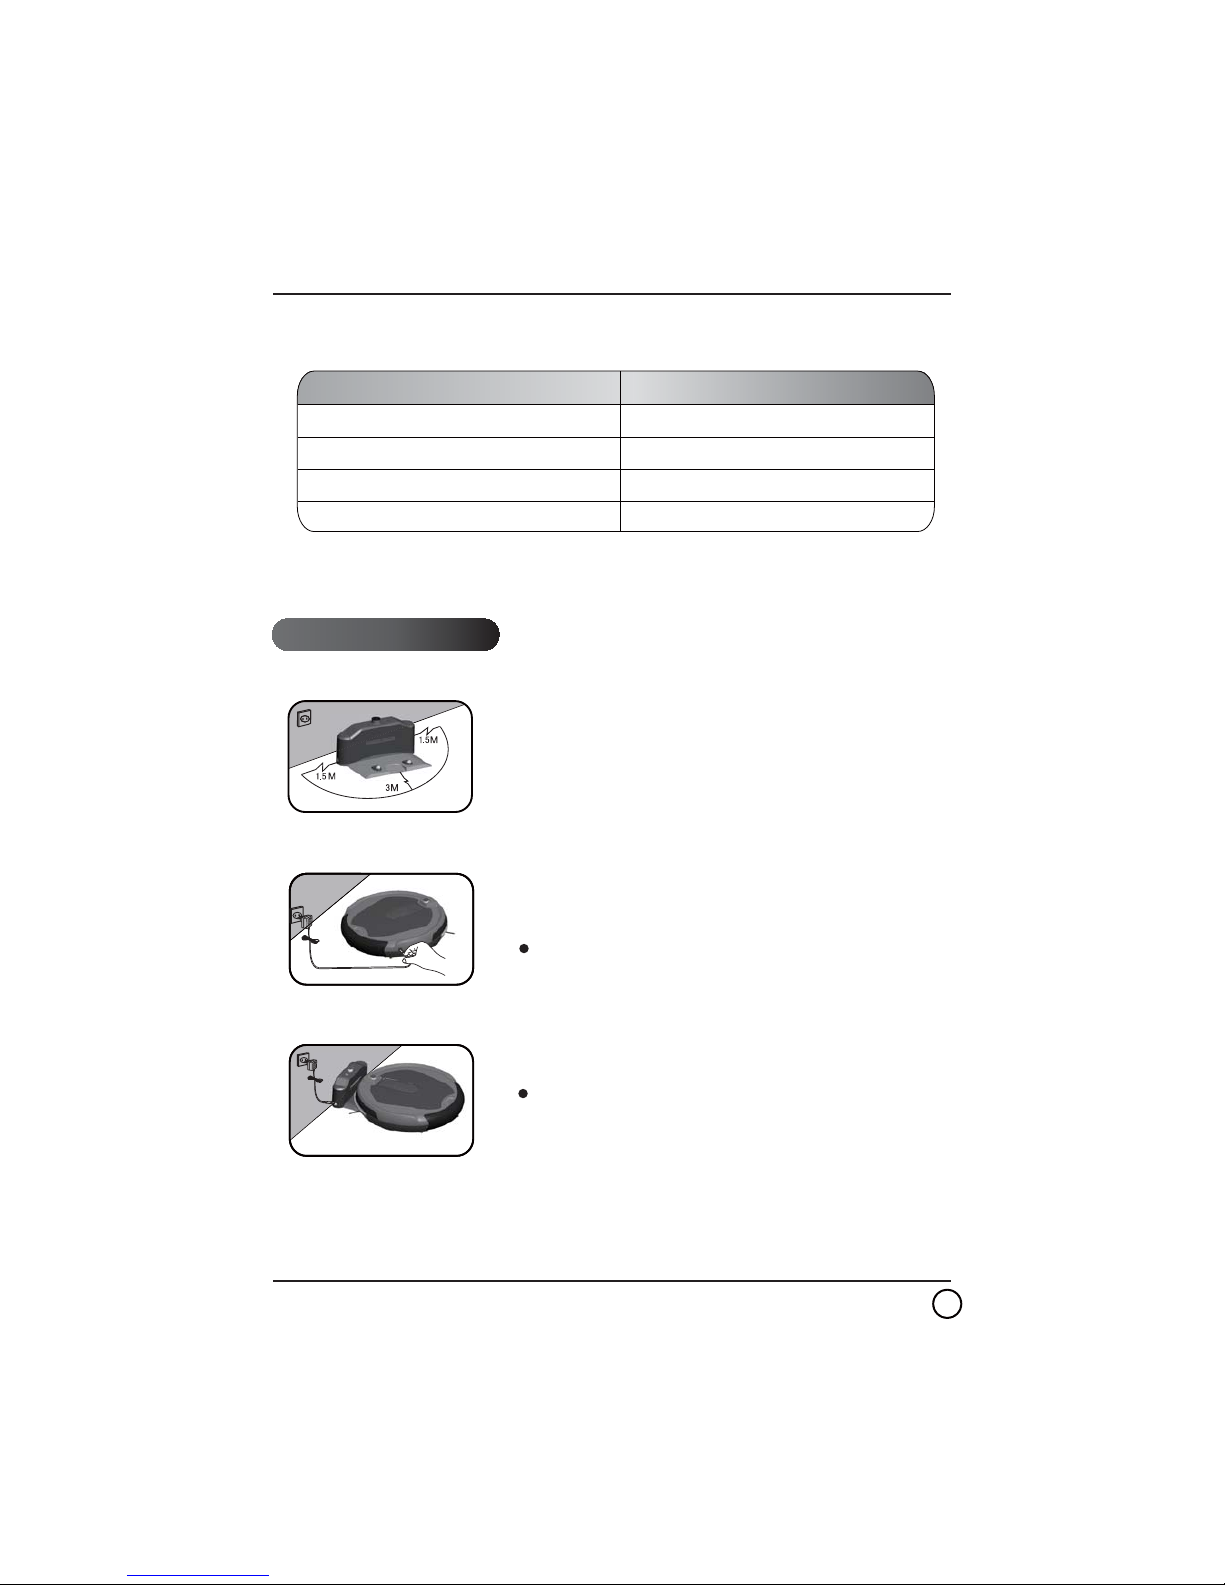
4.2 Switch on the unit
4.3 Stop the unit
5.1 Auto mode
5.2 Spot mode
5.3 Mopping
6.Maintenance
7.Failure checking
8.Trouble shooting
6.1 Cleaning the dust box and filter
6.2 Cleaning the infrared receiver and charging connector
6.3 Cleaning the side brushes or replacement
6.4 Cleaning the fabric brush
4.4 Sleep mode
4.5 Pre-set timer
4.6 Full-go
6.5 Assembly the trailing bar and mop pad