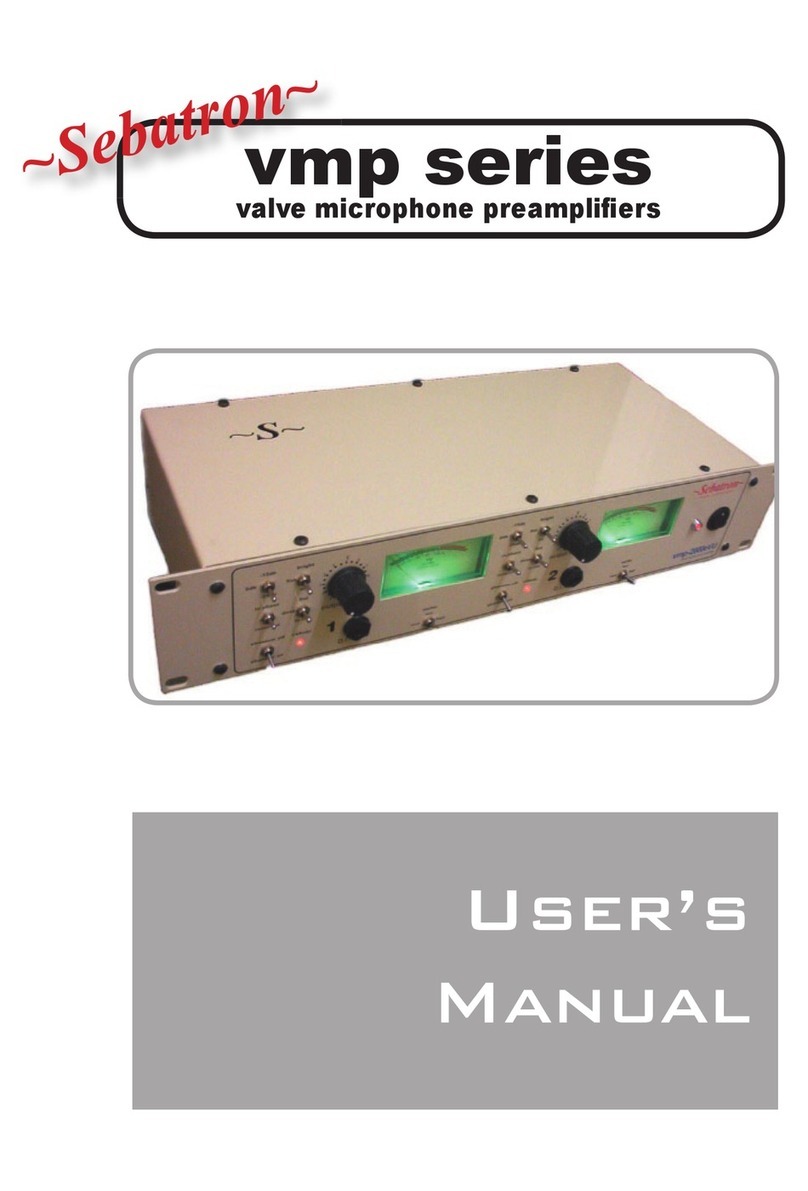
Sebatron VMPQuadPlus User manual

~Sebatron~
~S~
~S~
Innovative Australian Audio
VMPQuadPlus operating manual
Copyright Sebatron 2017

Table of Contents:
VMPQuadPlus
1/Introduction
2/Features
3/Functions and dials
4/Connections: inputs and outputs
5/Operation: mic, Direct Input
6/Operation: processing line level signals
7/Maintenance: valve type, replacement
8/Specifications
9/Safety and precautions
High Voltage Four Channel Valve Microphone Preamplifier
with Direct Input

1. Introduction
The preamplifier is arguably the second most important piece of equipment
in any audio signal chain configured for recording.The most important piece is
the microphone.However performance of the microphone is very much
dependent on the performance of the preamplifier so in one sense they are co-
dependent and both equally crucial in creating well recorded material.
The VMPQuadPlus is a preamplifier that not only serves its purpose in
amplifying microphone and direct input signals to a suitable recordable line level
but also has the ability to musically enhance and enrich signals either subtly or
heavily so that they are both more pleasing and more exciting to the ear. This is
done via the interaction of the valve (or vacuum tube) and its carefully matched
associated circuitry.
The VMPQuadPlus was designed to take full advantage of the positive
attributes of audio valves by giving the user a wider range of textures
obtainable through the careful use and setting of three different gain and level
parameters - the pad/gain control,the normal/+12db toggle and the final output
level control.Each has a different function in the preamplifying circuit and they
can be used to not only optimize the signal level for recording but to enhance
and thicken signals which would otherwise sound ordinary or thin when recorded
through conventional preamplification.
This is because the VMPQuadPlus contains no integrated circuits or ‘chips’
and uses the valve for all the active voltage gain. All circuitry is totally discrete
comprising of carefully chosen quality components,switches and sockets etc.
Additionally the VMPQuadPlus design is completely single-ended true Class A
which creates a musically rich open tone and also means there is absolutely no
possibility of any of the crossover distortion that plagues Class B and its
associated designs.
By cutting down the signal path from excessive features we have provided
a purer more direct path for the signal that preserves its integrity and leaves any
characterful attributes to the harmonics and colours generated within the valve
itself.
We know that the VMPQuadPlus will provide you and your audience
endless hours of listening pleasure from the recordings that were produced
using it.
Congratulations on your purchase.
Sebastian.F.Sebatron

VMPQuadPlus
2. Features
-True Class A discrete circuit for wide crystal clear frequency response
-Full high tension plate rail voltage for extended dynamic range
-DC filament rail for low noise operation
-Quality 12AT7/ecc81 dual triode valve per channel
-Two band passive EQ on each channel
-Totally variable valve gain range from transparently clean to coloured
-Phase reversal switch on each channel
-Switchable +48vdc phantom power for condenser mics
-LED signal level indicator on each channel
-Direct input for electric instruments (Bass,Guitar,Keys etc.)
-No integrated circuits in the audio signal path for organic quality
-Fully balanced transformer coupled XLR inputs for warmth and depth
-Electronically balanced outputs increased clarity and headroom
-Fully balanced TRS outputs
-Heavy duty shielded internal power supply
-Switchable mains voltage ~110/120 or ~220/240
-Meticulous soldering, layout and build
-Quality components used throughout
-Solid 1.2mm mild steel powder coated chassis

3. Functions and Dials
-phantom on/off toggle
Activates the +48vdc power for
condenser microphones.
-LED signal indicator
Indicates when an audio signal is
present on the channel.
-Direct Input socket
A high impedence unbalanced
phono plug input that goes to the grid
of the valve.
Suitable for direct injection of electric
instruments (bass,guitars,keyboards etc.)
and up to line level signals from
soundcards etc.
Can also accept TRS balanced cables.
-air eq toggle
Upper frequency enhancement using passive circuitry.
Subtle boost at around 10khz and above.Situated at the front end of
the circuit so as not to boost valve noise.
Particularly useful for dynamic and ribbon microphones.
-low cut eq toggle
A mild cut of low frequency information starting at around 80hz.
Recommended for acoustic guitars, certain vocals etc.
-pad/gain control
Controls triode interstage coupling level. Used to either pad signals down to
avoid distortion and run the circuit transparently or to drive the circuit
and colour the signal with mild to heavy harmonic distortion.
-normal/+12db toggle
Runs the valve cleanly with some negative feedback (normal) or
in open loop (+12db) which introduces increased gain and valve colour.
-output level control
Final output level control of signal.Allows the circuit to be driven yet held back
so not as to overload the next piece of equipment.
-phase toggle
Switches output polarity of signal from normal to 180 degress phase.

4. Connections
XLR inputs/outputs
TRS outputs
-TRS phono outputs (4)
Seperate balanced phono outputs that can be used independently of the
XLR outputs.Tip hot ,sleeve cold.
Can be used with unbalanced cables.
-XLR inputs (4)
Fully balanced transformer coupled floating input.Pin two hot.
-XLR outputs (4)
Fully balanced actively buffered output.Pin two hot.
-Mains input
IEC style plug connector.
Input for mains power.
-Mains voltage selector
Switches unit mains voltage between ~220/240v and ~110/120v.
-Fuse holder
[email protected] or ~1[email protected] small fast blow fuse.

5. Operation
The VMPQuadPlus is very straightforward in operation.
Ribbon,Dynamic and Condenser microphones are all suitable to use.
For mic recording :
1. Plug mic into appropriate channel using xlr connector on back as input.
If mic is condenser type then turn down output level control and activate phantom
power switch.
2. Plug output of the VMPQuadPlus preamp (using balanced XLR or
unbalanced/balanced phono output cables) into soundcard etc.
3. For default setting the pad/gain control is usually best set in the middle
(12o’clock) and gain toggle set to normal.Confirm signal is in a good range when
signal LED lights up in correlation to input signal.
4. Adjust output level control to get healthy reading on recording device.
You have a choice to record cleanly or with colour by adjusting the toggle and
pad/gain control.
If more gain is required or more colour desired then set gain toggle
to +12db and increase/decrease pad/gain control to taste and output level control
to get optimum signal level to the connected recording device.
Direct Input (D.I.) Recording :
1. Plug Bass, Guitar, Keyboard or any other electronic instrument into the Direct
Input socket on the front panel.
2. Plug output of the VMPQuadPlus preamp (using balanced XLR or
unbalanced/balanced phono output cables) into soundcard etc.
3. Start with pad/gain control in the middle (12o’clock) and slowly bring up the
output level control until the desired recording level is attained.Confirm signal
is in a good range when signal LED lights up in correlation to input signal.
4. Adjust output level control to get healthy reading on recording device.
You have a choice to record cleanly or with colour by adjusting the toggle and
pad/gain control.
If more gain is required or more colour desired then set gain toggle
to +12db and increase/decrease pad/gain control to taste and output level control
to get optimum signal level to the connected recording device.

6. Operation (cont.)
Processing Line Levels :
The VMPQuadPlus is capable of handling strong line level signals.
By carefully running line level signals into the VMPQuadPlus preamp
it is possible to warm up your mixes and give them that special sonic texture
that they may require.If using the VMPQuad Plus for mastering purposes
just activating the ‘air’ switch and running the material with a slight amount of
colour may be all that’s needed.Careful adjustment of the pad/gain,toggle and
output level controls will set the range at which the signal is being driven.
The subtle organic compressing characteristics of the valve will start to
become apparent when signal levels are pushed slightly hot. We suggest
dialing in a suitable amount of colour and then backing off slightly so as to not
bring on the onset of too much distortion.
As with mic or direct input recording the same techniques apply
regarding getting your signals sounding more organic and colourful.
There are two inputs to choose from when running line level signals into
the VMPQuadPlus preamplifier.You can either use the XLR balanced line inputs
on the back or the Direct Input socket on the front.Neither has any special sonic
advantages as the bulk of the colouration is obtained from the valve.
Generaly speaking though,we recommend the direct input socket on the front
panel as this is a direct path to the grid of the valve.
1.Plug line level signal into VMPQuadPlus by either using balanced XLR input
on back or unbalanced phono Direct Input on front.
2. Plug output of the VMPQuadPlus preamp (using balanced XLR or
unbalanced/balanced phono output cables) into soundcard etc.
3. Start with pad/gain control fully left and gain toggle switch to ‘normal’ then
slowly bring up the output level control until the desired optimum recording level
is obtained.Confirm signal is in a good range when signal LED lights up
in correlation to input signal.
4. Adjust output level control to get healthy reading on recording device.
You have a choice to record cleanly or with colour by adjusting the toggle
and pad/gain control.
If more gain is required or more colour desired then set gain toggle
to +12db and increase/decrease pad/gain control to taste and output level
control to get optimum signal level to the connected recording device.

7. Maintenance
Valve Type : 12AT7 (equivalents : ECC81 , CV4024)
The VMPQuadPlus preamp comes stocked with brand new J.J valves.
Sebatron uses J.J (Brand) 12AT7 valves exclusively in all the currently
produced designs.These valves are favoured because of their realistic
representation of the audio spectrum as well as their low-microphony and
open-ended frequency response.Please note-valves vary greatly not just in
frequency response or sound quality but also in noise floor and
microphony.
Other recommended brands include: Amperax,Telefunken,Phillips,
JAN,National Electric,Mullard.
Valve life :
As the VMPQuadPlus is a preamp then valve wear is not as severe as
standard guitar amplifiers etc. Valve life also varies from valve to valve but is
generally three to five years with average useage and up to ten years if used
sporadically. As valves approach the end of their lifespan there usually is a
rise in noisefloor (hiss-noise) and a narrowing of the sonic bandwidth.
If useage is minimal and within 10 hours a week on average then we
would recommend valve replacement around the four to five year mark.
Heavier useage, twenty hours a week and upwards for example , we would
recommend valve replacement around three years.
One should keep in mind the fact the VMPQuadPlus is a pure
Class A design which means the valves are active even when no signal is
going through so it is a good idea only to power up for useage and not leave
the unit on for hours for no reason.This will minimize wear and therefore
increase valve life.
If possible allow approximately 1 to 3 minutes for a complete warm up
of the valves before commencing recording.This is so the valves can stabilize
in the conditions the unit is powered up in. It’s not cruicial of course and you
may wish to use the unit immediately which is fine also but there still will be a
warm up time of at least 30 secs before the valves will begin to pass
a decent signal.
Replacing Valves :
Replacing valves is easy - simply take off the lid of the unit and pull the
offending valve upwards with a slight wobble to get it out of the socket.
Plug the replacement valve into the socket keeping in mind the
orientation of the gap in the pins so that they line up correctly.

8. Specifications
Inputs :
Balanced XLR (pin 2 hot) and (direct input) unbalanced 6.5mm phono.
Outputs :
Balanced XLR (pin 2 hot) and balanced TRS 6.5mm phono (tip hot).
Gain: 70db per channel
Frequency response: 20hz-60khz +/- 2db , 20hz-110khz +/- 3db ‘air’ on
Mic input impedance: 1K ohm
Direct Input impedance: 1M ohm
Maximum input level: +10dbu mic input ,+16dbu Direct Input
Maximum output level : +30dbu
Noise (EIN): -126db
Total Harmonic Distortion: variable 0.05%-1% approx.
Mains power input: 110/120VAC-220/240VAC.Switchable on back.
Current consumption: 0.8amp ~220/240 or 1.6amp ~110/120
Dimensions: 482mmX190mmX89mm (W-D-H)
Weight: Approx. 6kg.
Mains Voltage Selector :
On the back of the unit near the mains power input you will see a
small rectangle cut into the chassis so that access can be gained to the
Mains Voltage Selector Switch. This switch should be set to your local
mains power voltage.
This switch is usually set in the factory for the appropriate voltage that
the unit is destined for however in cases of re-sale etc. it is always
recommended to check this switch before initial power up.

9. Safety and precautions
-Do not operate unit in wet enviroments. Avoid moisture and excessive heat.
-Do not remove lid when mains power cord is connected.
-Always replace with same type of rated or recommended fuse.
-Operating temperature range : 0C to +50C approx.
-To prevent the risk of electric shock do not operate with lid removed.
-Do not open when connected to mains AC source.
-Do not expose to dripping or splashing and do not place objects filled with
liquids such as vases on top of the unit.
-For proper safety the unit must be connected to a mains socket outlet with a
protective earthing connection.
-Unit is live even when switched off.Indicator lamp beside the on switch does not
mean the apparatus is disconnected from the mains.To disconnect completely
from the mains supply cable needs to be removed from the apparatus.
-The mains power disconnect device for apparatus is the appliance coupler on
the rear of the apparatus and shall remain readily operable.
-No user servicable parts inside.Refer service to qualified personel.
-Refer to manual illustration for input and outputs connect.
Ventilation :
Like all other Class A equipment this unit will
produce heat during normal operation .Please consider this when
mounting- do not block the ventilation holes,do not place directly
above or below hot equipment (e.g. amplifiers, power supplies,
heaters - preamplifiers are also best kept away from this kind of
equipment due to electrical noise)
Servicing :
Please do not open the case unless instructed to do
so by Sebatron.There are no user serviceable parts inside apart
from the valves.If your unit is not performing as expected please
contact your dealer to find the nearest authorised service agent.
Service/Repair queries :

Table of contents
Other Sebatron Amplifier manuals
