SECO-LARM AMPRO 350 User manual

SECO-LARM U.S.A., Inc.
Irvine, CA, 92614, U.S.A.
OWNERS
MANUAL
AMPRO
TM
350
Vehicle Security System

AMPRO
TM
350 Owner's Manual
SECO-LARM U.S.A., Inc.Page 2
CONGRATULATIONS
From the moment you purchased this AMPRO Vehicle Security System, you became a part
of the SECO-LARM family. You started taking advantage of over 27 years of advanced
security engineering. You joined a team of engineers, technicians, designers, and people like
yourself who know how important protecting your car is. You discovered the SECO-LARM
difference.
This difference is important because the AMPRO is more than just an alarm. It is a
complete security and convenience system. It is like having your personal security guard and
butler on call in your car, 24 hours a day.
Keep in mind that the best security systems will not work properly without careful installation.
Therefore, the AMPRO is designed for installation by your professional SECO-LARM
dealer. He understands both his alarms and your needs, and will work hard to ensure the
AMPRO does its job for you. Welcome to the family: SECO-LARM, your dealer, and you!
IMPORTANT
This AMPRO security system contains many innovative features and unique functions.
Please read this Owners Manual carefully in order to understand all of this alarm’s security
and convenience features. Some features may require the addition of sensors or accessories
not included with this alarm. Please consult your professional SECO-LARM dealer.
NOTICE
The information and specifications printed in this manual are current at the time of publication.
However, the SECO-LARM policy is one of continual development and improvement. For this
reason, SECO-LARM reserves the right to change specifications without notice. SECO-LARM is
also not responsible for misprints or typographical errors.
Copyright © 1997 SECO-LARM®U.S.A., Inc. All rights reserved. This material may not be
reproduced or copied, in whole or in part, without the written permission of SECO-LARM. This
vehicle security system is protected by patents in the U.S.A., Great Britain, Germany, Hungary,
Taiwan, China, Japan, and Korea. Other U.S.A. and international patents are pending.
INSTRUCTIONS TO THE USER
This equipment has been tested and found to comply with the limits for a class B digital device,
pursuant to part 15 of the FCC Rules. These limits are designed to provide reasonable protection
against harmful interference in a residential installation. This equipment generates, uses and can
radiate radio frequency energy and if not installed and used in accordance with the instructions, may
cause harmful interference to radio communications. However, there is no guarantee that
interference will not occur in a particular installation. If this equipment does cause harmful
interference to radio or television reception, which can be determined by turning the equipment off
and on, the user is encouraged to try to correct the interference by one of more of the following
measures:
* Reorient or relocate the receiving antenna.
* Increase the separation between the equipment and receiver.
*
Connect the equipment into an outlet on a circuit different from that to which the receiver is connected.
* Consult the dealer or an experienced radio/TV technician for help.
This equipment has been certified to comply with the limits for a class B computing device, pursuant
to FCC Rules. In order to maintain compliance with FCC regulations, shielded cables must be used
with this equipment. Operation with non-approved equipment or unshielded cables is likely to result
in interference to radio and TV reception. The user is cautioned that changes and modifications
made to the equipment without the approval of manufacturer could void the user's authority to
operate this equipment.
This device complies with FCC Rules Part 15. Operation is subject to the following two conditions:
(1) This device may not cause harmful interference, and (2) this device must accept any interference
that may be received, including interference that may cause undesired operation.

AMPRO
TM
350 Owner's Manual
Page 3
TABLE OF CONTENTS
Transmitter Functions....................... 3
Arming .......................................... 4
Zone Bypass ................................... 5
Sensor Bypass ................................ 5
Armed ........................................... 5
Emergency Call for Help (Panic)....... 5
Total Protection ............................... 6
Disarming ...................................... 6
Patented Stay-SafeDisarm™ ............ 7
Emergency Disarm.......................... 7
True Trigger™................................. 7
Chirp Delete (Silent arm/disarm) ..... 7
Valet .............................................. 8
Tamper Indicators, Trigger Zone ID .. 8
Dual-stage Shock Sensor................. 8
Starter Disable ................................ 9
2nd and 3rd Channel Outputs......... 9
Power Door Locks ........................... 9
Domelight Supervision .................... 9
2nd Car Operation ........................ 10
Other Features .............................. 10
Appendix 1 — Understanding the
Siren Chirps & Light Flashes ............ 10
Appendix 2 — Understanding the
LED flashes ................................... 11
Appendix 3 — Programmable
Features ........................................ 11
Accessories ................................... 12
1. Press transmitter button #1 to:
lArm and disarm the alarm.
lTurn the siren ON (and shut it OFF) in
an emergency.
lLock/unlock power door locks.
lBypass an open zone.
2. Press transmitter button #2 to:
lOperate channel 2 (such as popping
the trunk or rolling up the windows).
lSilently arm or disarm the alarm.
lBypass the alarm’s sensors.
3. Press transmitter buttons #1 and #2
simultaneously to:
lOperate channel 3 (such as window
roll-up or remote engine starting).
TRANSMITTER FUNCTIONS
Button #1
These features and functions are explained in
this Owner's Manual.
Button #2
Buttons #1 & #2
simultaneously

AMPRO
TM
350 Owner's Manual
SECO-LARM U.S.A., Inc.Page 4
ARMING
There are three different ways to arm your
alarm. Tell your dealer which is best for you:
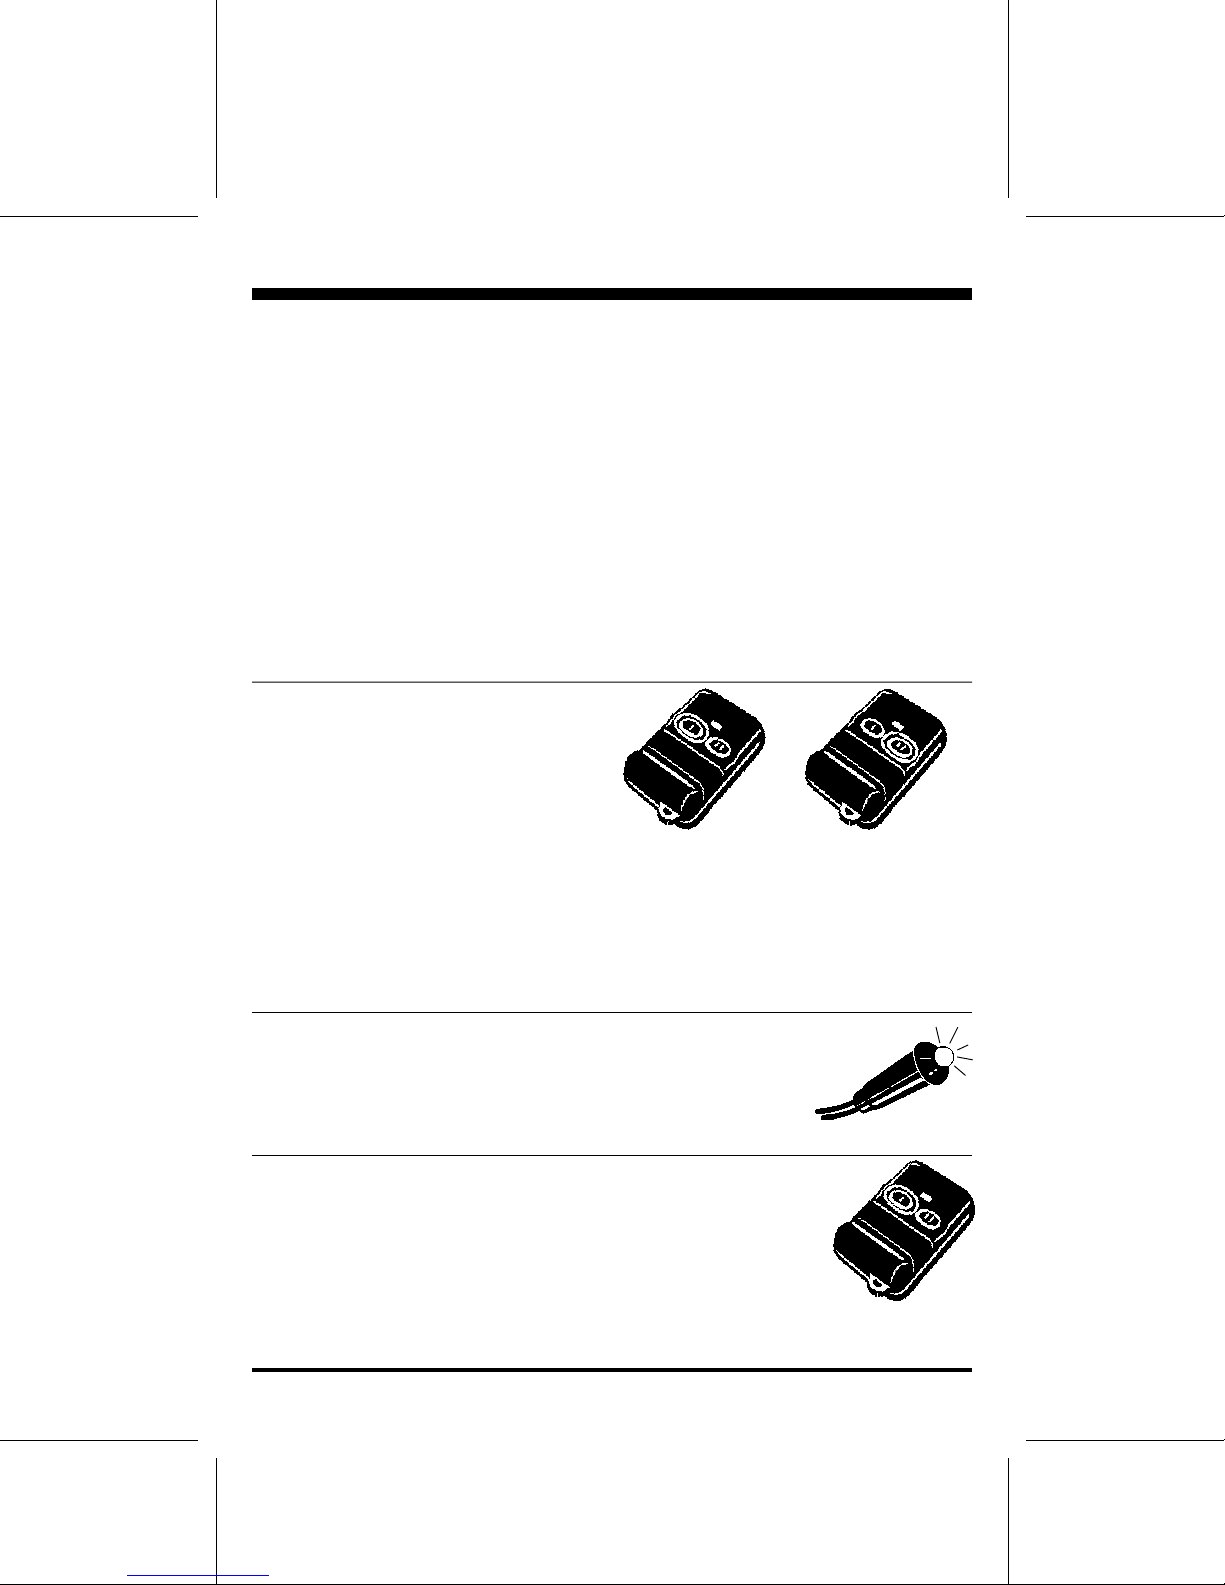
qActive Arming
Turn your ignition OFF.
Close all the doors.
Then press transmitter
button #1. If the siren
chirps and parking lights
flash once, the alarm is fully armed.
If the siren chirps 3 times, the alarm is
either waiting for the vehicle's delayed
domelights to turn OFF (if your vehicle is
so equipped), or it is telling you that one of
the alarm's zones (a door, or the hood or
trunk) is either open or is not functioning
properly. (See ZONE BYPASS, page 5).
qPassive arming Switch sensing only
Turn the ignition OFF, and open a door to
exit the car. When the last door is closed
(and the domelight turns OFF, if your car
has delayed domelights), the siren chirps
and the parking lights flash once. The LED
flashes quickly during the 30-second
arming countdown, after which the siren
chirps and parking lights flash once more
to confirm the alarm is completely armed.
If you wish, you can open a door during
the arming countdown, and keep it open
for as long as needed. The LED turns OFF
while the door is opened. Close the last
door, and the siren will chirp and parking
lights flash once to show the 30-second
arming countdown has started again. The
LED will also begin to flash quickly.
If you close the last open door, and the
siren does not chirp and parking lights do
not flash, you know that one or more
openings are not closed properly. This is
SECO-LARM's patented Quick and Quiet
Testing (Q.Q.T.™), and it prevents you from
thinking your alarm is armed when it may not
be. In this case, double-check that all the
doors, as well as the hood and trunk, are
closed properly, and that your vehicle's
domelights are OFF. If you cannot locate
the problem, but need to arm the alarm,
then press button #1 to immediately arm
the alarm and bypass whatever zone is
open (see ZONE BYPASS, page 5).
qPassive arming Switch/current
sensing
Turn your ignition OFF. The siren chirps
and the parking lights flash once, and the
LED begins to flash quickly to show the
alarm is in the 30-second arming
countdown. 30 seconds later, the siren
chirps and parking lights flash once more
to confirm the alarm is completely armed.
If you leave a door open during the
arming countdown, the siren chirps three
and the parking lights flash three times at
the end of the arming countdown to
indicate the alarm has armed. The
opened door is ignored until it is closed
(no chirps or flashes) and the alarm has
fully armed. However, closing it may
trigger the shock sensor if the alarm has
already armed (see ZONE BYPASS, page 5).
NOTE — Under passive arming, regardless of
how the alarm is programmed, you can force
your alarm to arm immediately any time
during the 30-second arming countdown by
pressing transmitter button #1.
NOTE There are references to opening
or closing a door throughout this manual.
"Door" also includes your hood and trunk,
if they are protected. Ask your dealer.

AMPRO
TM
350 Owner's Manual
Page 5
When you press button #1 to arm the alarm,
and the alarm responds with three chirps and
three light flashes, there are two possibilities:
A. Delayed domelights — If your domelights
do not immediately turn OFF when you
close your car door (in other words, your
vehicle has delayed domelights), this is
normal. The alarm should protect all the
openings once the domelights go OFF.
B. A zone was bypassed — In other words,
the alarm has armed, but a hardwired
door is not protected (either because it is
ZONE BYPASS open, or because its pin switch is broken).
If the bypassed door is later closed, it will
be restored (no siren chirp or light flash).
If your alarm indicates a bypassed zone, find
the cause as soon as possible to ensure your
vehicle is completely protected. For instance,
if your driver's door is not properly closed
when you arm your alarm, a thief may be able
to open any door without setting off the alarm.
NOTE — The three zone bypass confirm
chirps will not sound if chirp delete is
engaged. However, the parking lights will still
flash three times. See CHIRP DELETE, page 7.
To trigger the alarm in an emergency, press
and hold transmitter button #1 for 2 seconds.
The siren sounds and the parking lights flash
for about 40 seconds. Stop the siren and the
parking lights any time by pressing button #1
again.
EMERGENCY CALL FOR HELP (PANIC)
If the alarm was disarmed
when you triggered the
emergency call for help,
the alarm immediately arms
and the doors lock. If the alarm
was armed, the opposite will occur.
ARMED
When the 30-second arming countdown ends,
or when button #1 is pressed, the siren chirps
and parking lights flash once, and the LED
starts flashing to show the
alarm is armed.
SENSOR BYPASS
This is useful if you know, based on
experience, that your shock sensor (or other
add-on sensors) will false trigger, such as
when you park near a construction site.
Should you wish to bypass your alarm's
sensors, first press button #1 to arm the alarm
(even if the alarm is set for passive arming).
The siren chirps and the parking lights flash
once (three times if a zone is bypassed) to
confirm armed. Within three seconds, press
button #2. The siren chirps three times and
the parking lights flash three times to confirm
sensors are bypassed. The sensors are
automatically restored the next time button #1
is pressed. NOTE — The three sensor bypass
confirm chirps will not sound if chirp delete is
engaged. However, the parking lights will still
flash three times. See CHIRP DELETE, page 7.
→
→
→
→

AMPRO
TM
350 Owner's Manual
SECO-LARM U.S.A., Inc.Page 6
lThe starter disable prevents the car from
being started.
lIf the shock sensor detects light taps on the
car, it will trigger the pre-intrusion alert
(the siren chirps three times and the
parking lights flash three times) to warn
potential thieves and vandals. However, if
it detects a strong shock to the car, such as
shock caused by prying the trunk open, it
will trigger the alarm for 40 seconds. (See
DUAL-STAGE SHOCK SENSOR, page 8.)
lOptional SECO-LARM shock, motion,
glassbreak, and microwave sensors will
offer your alarm additional protection. Ask
your SECO-LARM dealer.
While your alarm is armed, your car is
protected in the following ways:
lPotential thieves or vandals will be
deterred by the flashing LED.
lIf anyone opens a door, the alarm will
immediately sound the siren and flash the
parking lights for 40 seconds. If the
opened door is not closed and current
sensing has not been selected, the siren
and lights will trigger for up to three 40-
second cycles, after which the alarm will
rearm, bypassing the open door.
lTurning the ignition key ON will trigger the
alarm for 40 seconds.
TOTAL PROTECTION
To disarm the alarm, press
button #1. The siren chirps
twice, the parking lights
flash twice then turn
steady ON for 6 seconds
(or until you turn the
ignition ON), and the LED
turns OFF. What happens next depends on
how your alarm is set (ask your dealer):
qAlarm set for active arming with
permanent disarm
The alarm is now completely disarmed.
qAlarm set for active arming with
automatic rearm, or alarm set for
passive arming
A. A 30-second automatic rearming
period begins.
B. Turn the ignition ON before the
rearming period expires to completely
disarm the alarm.
C. If you do not turn the ignition ON, the
alarm automatically rearms in 30
seconds. Once rearmed, the siren
chirps and the parking lights flash one
time, and the LED starts flashing.
NOTE — Ask your dealer if your doors
were hardwired to your alarm. If you open
a hardwired door during the 30-second
automatic rearming period, the alarm will
stop rearming until you close it. When you
close it (or when the delayed domelight
turns OFF), the siren chirps and parking
lights flash once, and the automatic rearm
period begins again. 30 seconds later, the
siren chirps and parking lights flash once
again, and the alarm rearms.
NOTE — The LED flashes quickly from the
time transmitter button #1 is pressed to
disarm the alarm until the alarm is either
completely disarmed or it rearms. The LED
turns OFF while a hardwired door is open.
DISARMING

AMPRO
TM
350 Owner's Manual
Page 7
PATENTED STAY-SAFE DISARM
TM
Any time your alarm is triggered (the siren is
sounding and the parking lights are flashing),
press transmitter button #1 once to shut the
siren and flashing parking lights OFF while
the alarm stays completely armed.
NOTE — If a door was open when you
pressed transmitter button #1, the siren chirps
three times and the parking lights flash three
times to confirm it is not protected (see ZONE
BYPASS, page 5).
There are times, especially at night, when you
may not want to hear the siren chirps. There
are 2 ways to delete chirps:
A. One-time delete — Just press button #2
any time before you need the chirps
deleted. For instance, press button #2
before you press button #1 to arm or
disarm the alarm, and the chirps will not
sound, but the parking lights will still flash.
The chirps are restored the next time you
press a transmitter button.
B. Permanent delete — Your dealer can
program your alarm to delete the chirps
on a permanent basis.
CHIRP DELETE (silent arm/disarm)
TRUE TRIGGER
TM
True Trigger stops repeated false triggers from
becoming a nuisance. Alarm sensors (except
pre-intrusion) which trigger five times while the
alarm is armed are automatically bypassed.
The rest of the alarm, however, continues to
protect the vehicle. All such bypassed sensors
automatically reset when the ignition is turned
ON, or if 30 minutes pass with no further
triggering of any sensors or the pre-intrusion.
However, if any sensor or the pre-intrusion is
triggered during the 30-minute countdown,
the countdown restarts.
While a sensor is bypassed by True Trigger, if
you disarm your alarm, the siren chirps four
times and the parking lights flash four times.
(Programmable — ask your dealer.)
If you lose your transmitter, you can disarm
your alarm with the ignition key and “VEPLe”
switch. While your alarm is either armed or
triggered, turn the ignition switch ON. Within
15 seconds, press and release the VEPLe
EMERGENCY DISARM switch 3 times. The siren and
the flashing lights stop if the
alarm was triggered, and then
chirp and flash three times. The alarm is
now in valet (see VALET on page 8).
NOTE — Either method deletes the arm,
disarm, pre-intrusion, zone bypass, sensor
bypass, emergency disarm, valet, and tamper
chirps. However, it does not affect the flashing
parking lights.
→
→
→
→

AMPRO
TM
350 Owner's Manual
SECO-LARM U.S.A., Inc.Page 8
VALET
Sometimes you may not wish your alarm to
arm when you leave your vehicle. (For
instance, if you leave your car with a valet
attendant, you may not want to teach him how
the alarm operates.) If your alarm is set for
active (manual) arming, this is easy — don’t
press button #1, and the alarm will not arm.
However, if your alarm is set to arm passively,
use the valet mode to prevent it from arming.
To enter valet, first disarm the alarm and turn
the ignition ON. Within 15 seconds, press
and release the VEPLe button 3 times. The
alarm is now in the valet mode. The siren
chirps and the parking lights flash once to
confirm. (Your alarm also goes into valet
when you use emergency disarm.
See
EMERGENCY DISARM on page 7).
To exit valet, just turn the ignition ON and,
within 15 sec., press and release the VEPLe
button 3 times. The siren chirps twice and the
parking lights flash twice to confirm valet is
exited and that the alarm is now disarmed.
While your alarm is in valet, the LED flashes
slowly when the ignition switch is OFF so
thieves think the alarm is armed. It does not
flash when the ignition switch is ON. The
doors lock and unlock with the transmitter.
The alarm's emergency call for help and 2nd
and 3rd channel outputs operate normally.
l3 flashes — An on-
board or add-on sensor
was triggered.
l4 flashes — A door
was opened.
l5 flashes — The hood
or trunk was opened.
These “memory” flashes automatically stop
when the ignition is turned ON.
If your alarm was triggered when you were
away, the siren will chirp four times and the
parking lights flash four times then turn ON
for 6 seconds when you disarm your alarm.
The LED flashes in quick cycles to show where
the car was violated as follows:
l1 flash — The current sensing circuit was
triggered.
l2 flashes — The alarm was triggered via
emergency call for help (panic).
TAMPER INDICATORS & TRIGGER ZONE ID
DUAL-STAGE SHOCK SENSOR
Your alarm includes a patented dual-stage
shock sensor.
The first stage (pre-intrusion alert) warns
thieves the alarm is armed. For instance, the
alarm will chirp three times and the parking
lights will flash three times if the sensor detects
a light bump to the vehicle. However, if the
thief attacks the car with sufficient force, the
alarm will trigger. (Your dealer can make the
shock sensor more or less sensitive to attack,
depending on your vehicle.)
Note that the shock sensor will not be ready to
trigger the alarm until three seconds after the
alarm is armed.

AMPRO
TM
350 Owner's Manual
Page 9
With this optional feature, while your alarm is
armed, your car will not start, even if a thief
has your keys.
Your alarm also has Automatic Starter Disable
(ASD). If your alarm is set for active arming,
and you do not arm your alarm, ASD
automatically engages the starter disable 10
minutes after you disarmed the alarm or
turned the ignition switch OFF. The LED stays
ON constantly to show ASD is engaged.
Once engaged, you must press transmitter
button #1 to disengage ASD before the car
will start. (Programmable — ask your dealer.)
STARTER DISABLE
With this optional feature, whenever you
disarm the alarm, your car’s domelights turn
ON for 30 seconds. This helps find your car
at night and make sure no one is hiding in it.
If the alarm is triggered, your car’s domelights
flash together with the flashing parking lights.
2nd & 3rd CHANNEL OUTPUTS
DOMELIGHT SUPERVISION
Your transmitter has two extra channels to
control optional accessories:
A. 2nd channel is commonly used
to "pop" the trunk. To use,
press transmitter button
#2 for 2 seconds,
either while the ignition
is ON and any door is
opened, or while the
ignition is OFF. Your dealer
can program 2nd channel operation to
either completely disarm the alarm or to
bypass all the alarm triggers for 10
seconds (bypass is great for popping open
the trunk). (Note — If no doors are
hardwired to your alarm, 2nd channel will
not operate with the ignition ON.) Ask your
dealer for details.
B. 3rd channel is commonly
used for remote car
starting. Press
transmitter buttons #1
and #2 together anytime
for as long as needed.
Sensors that may be
triggered by the activation of the 3rd
channel device are bypassed until they are
restored to their normal state (the doors,
hood, and trunk remain protected,
though). In other words, if you remote
start your vehicle, the alarm protects it
from unauthorized entry.
With this optional feature, your alarm can
automatically lock the doors when armed and
unlock the doors when disarmed. The doors
lock and unlock any time transmitter button
#1 is pressed. For extra security, they lock
automatically if the alarm is triggered.
(Exception — See EMERGENCY CALL FOR
HELP, page 5.)
Your alarm can be programmed for ignition-
controlled operation (doors lock when you turn
the ignition ON, and unlock when the ignition
is turned OFF, but all car doors must be
closed). It can also be programmed to lock
the doors every time the alarm passively arms
(be careful not to leave the keys and transmitters
in the car, though!). Ask your dealer.
POWER DOOR LOCKS

AMPRO
TM
350 Owner's Manual
SECO-LARM U.S.A., Inc.Page 10
Appendix 1 UNDERSTANDING THE
SIREN CHIRPS AND LIGHT FLASHES
A. 1 chirp/flash:
lWhen transmitter button #1 is
pressed, the alarm is armed.
lWhen a door is closed, the alarm will
arm in 30 sec. (under passive
arming).
l30 sec. after ignition switch is turned
OFF and all doors are closed (or
delayed domelights turn OFF), the
alarm is armed (passive arming with
switch sensing).
lSuccessfully entered the valet mode.
lWhen the ignition switch is turned
OFF, the alarm will arm 30 sec. later,
regardless of whether or not a door
is opened (passive arming with
current sensing).
B. 2 chirps/flashes:
lWhen transmitter button #1 is
pressed, the alarm is disarmed.
(After the two flashes, the parking
lights turn steady ON for 6 sec.)
lSuccessfully exited the valet mode.
C. 3 chirps/flashes:
lPre-intrusion warns potential thieves
or vandals who trigger the first stage
of any dual-stage sensor that your
car is protected by an alarm.
lWhen pressing transmitter button #1
to arm the alarm, indicates the
alarm arms even though it is not set
properly (door not closed, or broken
switch, or domelight is still ON, see
ZONE BYPASS on page 5).
lWhen pressing transmitter button #1
then #2, indicates sensor bypassed
(see SENSOR BYPASS on page 5).
lCompleted emergency disarm.
D. 4 chirps/flashes — When the alarm is
disarmed, indicates the alarm was
triggered while you were away.
NOTE — The chirps for arm, disarm, pre-
intrusion, zone bypass, sensor bypass,
emergency disarm, valet, and tamper can
be deleted (see CHIRP DELETE, page 7).
2nd CAR OPERATION
With this feature, your transmitters can control
alarms in two cars. Operation for both cars is
the same, except that the functions of button
#1 and button #2 are switched in the second
car. However, pressing buttons #1 and #2
simultaneously may operate
3rd channel in both cars at
the same time. (Ask your
dealer.)
OTHER FEATURES
lAnti-scan protection — If your alarm
receives 10 wrong RF transmitter signals
within 1 second, it will lock out all signals
for 5 seconds to help prevent thieves from
using scanners to break your alarm’s code.
lDual Power Protection — Helps keep
your alarm powered even if a thief cuts the
alarm’s main power line. (Optional — ask
your dealer.)

AMPRO
TM
350 Owner's Manual
Page 11
Appendix 2 UNDERSTANDING THE LED
FLASHES
A. Arming indicator — Flashes quickly
during the 30-second rearm or passive
arming countdown.
B. Door open indicator — OFF when a
hardwired door is opened during the 30-
second rearm or passive arming
countdown.
C. Armed indicator — Flashes when the
alarm is armed.
D. Disarmed indicator — OFF when the
alarm is disarmed.
E. Tamper and triggered zone ID —
Flashes one or more times after alarm
disarmed to indicate which zone triggered.
F. RF reception indicator — ON while
transmitter button is pressed.
G. Valet mode indicator — Flashes slowly if
the ignition switch is turned OFF (no flash
if ignition is ON).
H. Automatic Starter Disable (ASD)
engaged — Steady ON, starting 10
minutes after ignition switch turned OFF.
Ten programmable features allow you to
customize your alarm. Your dealer can
program them when the alarm is installed.
lPassive/active arming — In passive
arming, the alarm arms itself when you
turn the ignition OFF or close the last open
door. In active arming, press transmitter
button #1 to arm the alarm.
lPermanent chirp delete — Permanently
enables or disables the siren’s chirps.
lNormal chirp or Quiet Chirp™ —
Makes the siren’s chirps quieter.
(However, the siren is always loud if the
alarm is triggered or for pre-intrusion.)
lManual/auto door locks in passive
arming mode — If your alarm is set for
passive arming, it can be set to lock the
doors automatically when it arms (don’t
forget to take your keys!) if you wish.
lIgnition-controlled door locks — The
doors can be set to automatically lock/
unlock when ignition is turned ON/OFF.
lSiren and/or horn output — Instead of,
or in addition to, a siren, ask your dealer
to connect the alarm to honk your car’s
horn. In this case, the horn functions
similarly to the siren. (However, there is
no Quiet Chirp™ option for car horns.)
lPermanent disarm or auto rearm in
active mode — If your alarm is set for
active arming, choose whether it will
completely disarm when you press
transmitter button #1, or rearm
automatically if you do not turn the
ignition ON within a certain time.
lSensor bypass or alarm disarm for
2nd channel — For 2nd channel
operation, do you want the alarm to
temporarily bypass the sensors, or
completely disarm? Your dealer will
explain the difference.
lTrue Trigger™ — Enable True Trigger,
which bypasses a sensor that repeatedly
trips to help stop false alarms.
lAutomatic Starter Disable (ASD) —
Enables ASD, which disables the starter 10
minutes after you turn the ignition OFF,
even if the alarm is not armed!
Appendix 3 PROGRAMMABLE FEATURES

AMPRO
TM
350 Owner's Manual
SECO-LARM U.S.A., Inc.Page 12
Don't forget the ACCESSORIES!
SECOPAGE
®
35E
Vehicle security pager pages you if your car
is broken into
SK-919TD2A
Spare RF transmitter Get one for
everyone who drives your car
SLI®259
Dual stage microwave sensor Detects
movement inside car, protects open top
vehicles
SR-5220 or SR-5440N
Window roll up modules for 2 door or
4 door cars
SR-5202 or SR-5204
Complete 2 and 4 door lock kits for cars
without power door locks
SS-051ME
Dual stage glassbreak sensor Detects
the high frequency sound of glass breaking SR-5911
Power trunk release Adds convenience to
cars without power trunk release
Make your alarm
YOUR alarm!
Your dealer has a wide variety of other
accessories which can increase your
alarm's security and convenience. Ask for
more information. And insist on genuine
SECO-LARM accessories!
G:\MANUALS\AMPRO\350 OMU PM5
NOTE — The accessories on this page are optional.
Table of contents
Other SECO-LARM Car Alarm manuals
Popular Car Alarm manuals by other brands

Mopar
Mopar M8299 operating instructions

Clarion
Clarion UNGO PRO SECURITY K20 owner's guide

Audiovox
Audiovox Prestige APS-15KB installation manual

KEETEC
KEETEC TS 10 user manual

Directed Electronics
Directed Electronics AdvantGuard 5 owner's guide

Black Widow Security
Black Widow Security BW 6 Relay installation manual